
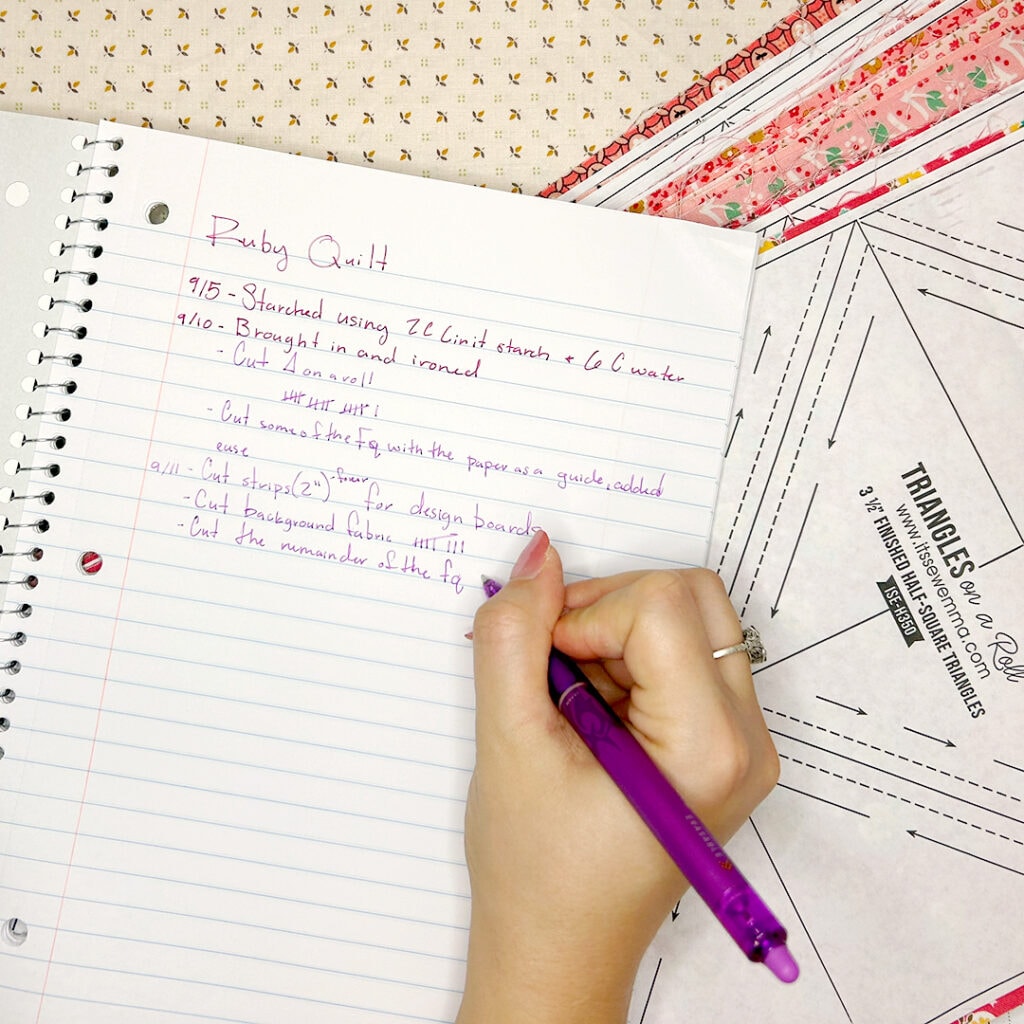
Hello again, Jolly Jabber Readers—it’s Kailee! Today, I’m taking you along for one of those magical days where the only thing on my to-do list was to quilt! From getting ready to tidying up the chaos, here is what a day in the life of this (overly) confident beginner quilter looks like.
I had so much fun reading through your comments on Part 1, and I have a new question for you! How do you balance working on multiple projects at once?! I have my quilting journal, so I remember where I left off, and design boards have been a lifesaver, but what other tips do you have for me?
If you read to the end of Part 1, I shared a secret with you that gives a bit more context to this dilemma I’m having, lol. If you read to the end of this post, you will get another quilty secret! Feel free to share your quilty secrets in the comments, too. Now, let’s jump into today’s post!
Setting Up for the Sewathon
Because my quilting happens in a shared space, I have to set up and put away my project each day. Since I had my fabric starched and cut, ready for a day of piecing, I set up my sewing station, ironing station, and cutting station. Below are all the products and sewing notions that I keep close at each:
- At my sewing station:
- At my ironing station:
- At my cutting station:
The bigger task at the start of my day was to get familiar with Triangles on a Roll paper and the piecing instructions for the Ruby Quilt pattern from the Triangles on a Roll Quilts book. So, once my space was set up and my tea was made, I sat down and watched the How to use the Triangles on a Roll Triangle Paper video and read through the whole pattern. Don’t be fooled into thinking I only referenced the video and pattern at the beginning of the day! I had this video on repeat all day long, and the pattern was never out of sight!
Tester Block- A Mini Triangles on a Roll Tutorial
A tip that I’ve heard from Kimberly and several other quilters is that it’s best to make one block, start to finish, before diving into the rest of the quilt. I did fudge this rule a tiny bit when I cut out all the fabric for my blocks at once, but it turned out fine, so fate was on my side for this one!
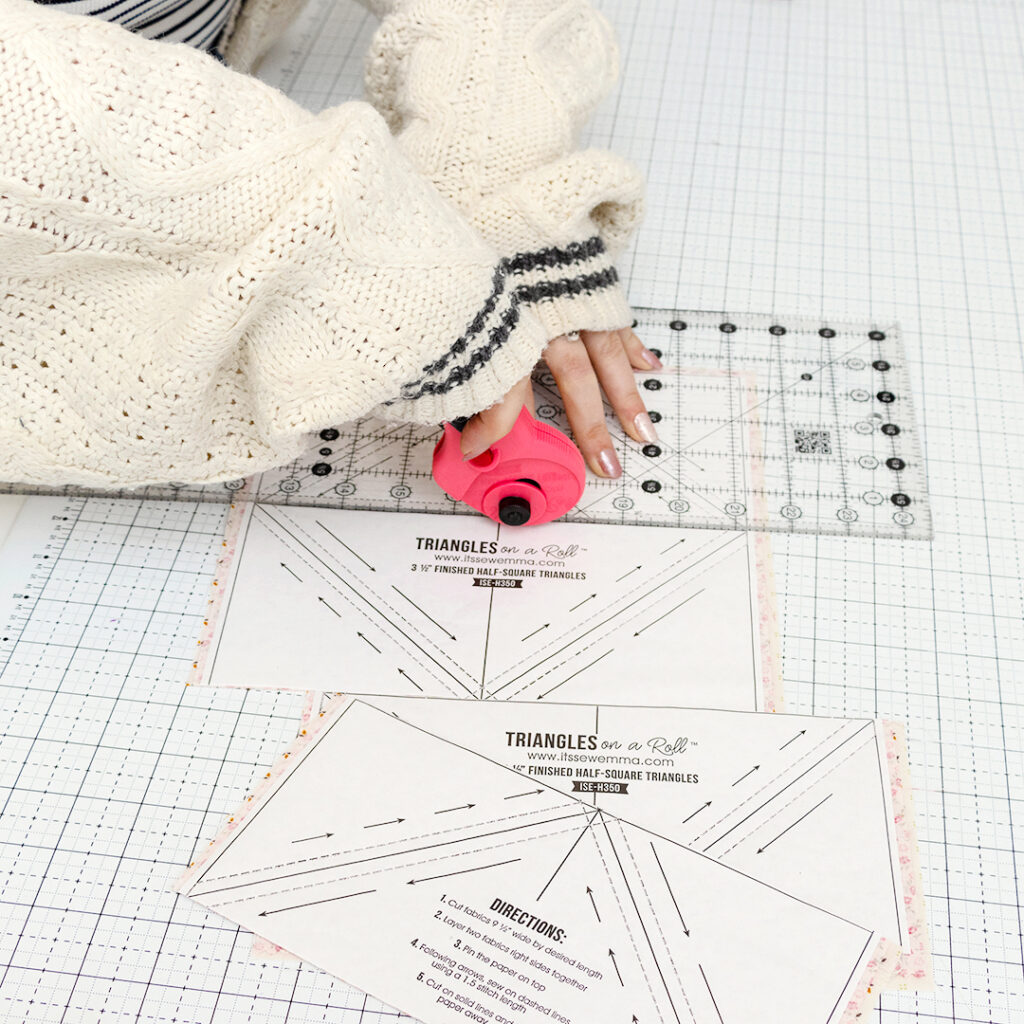
Then, with this video pulled up and my pattern fresh in my mind, I set out to make my first block. Below is a dramatic reenactment of me making this first block so I could give you a mini tutorial on the process of using Triangles on a Roll paper:
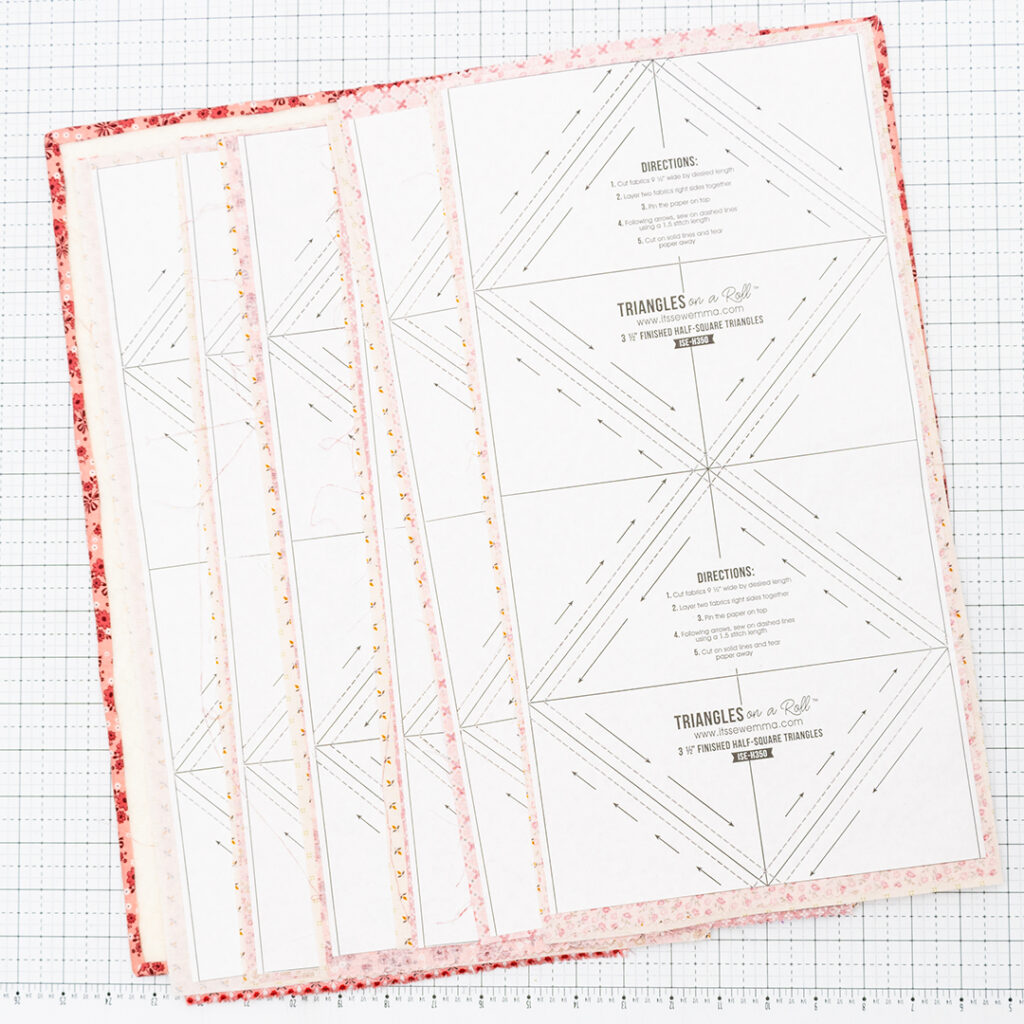
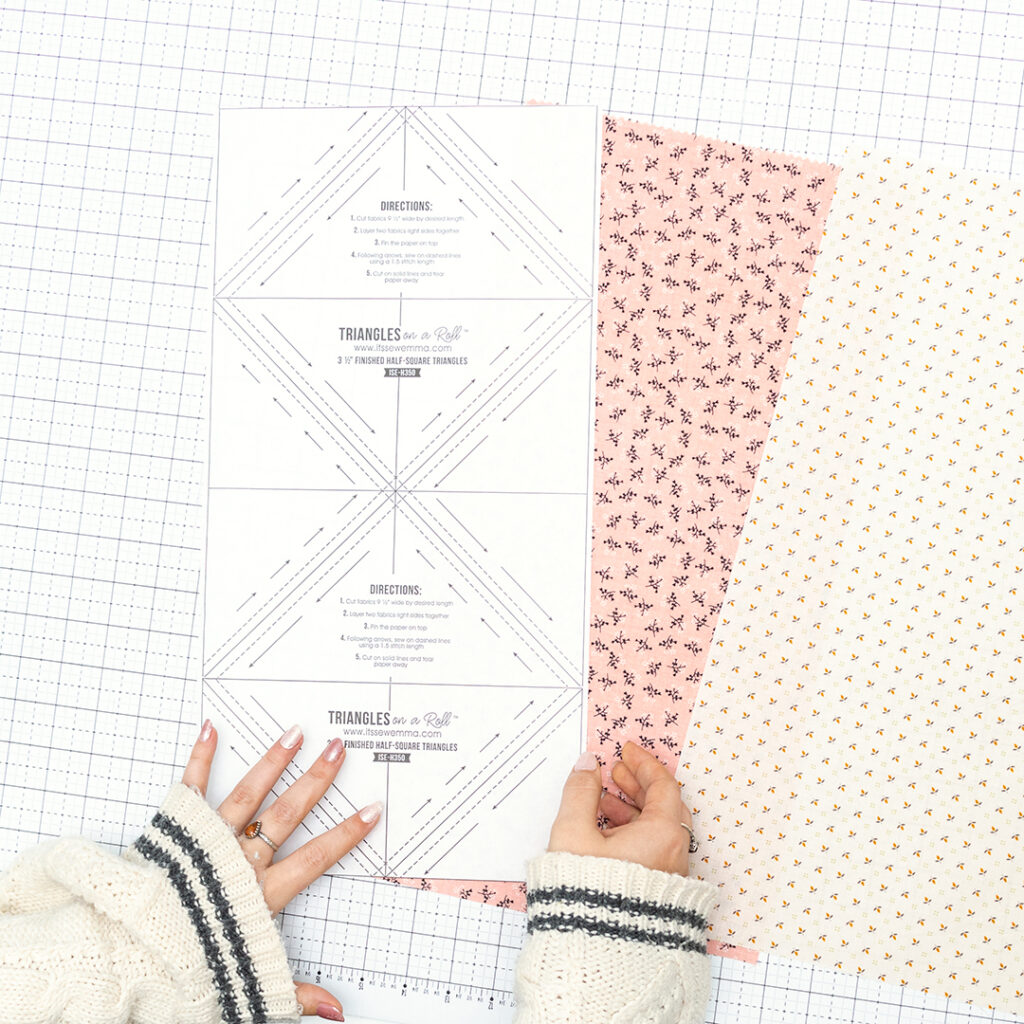
Step 1: Triangle Paper Sandwich
Build your Triangle Paper sandwich with the two pieces of fabric placed right sides together, and the Triangle Paper on top with the right side facing up.
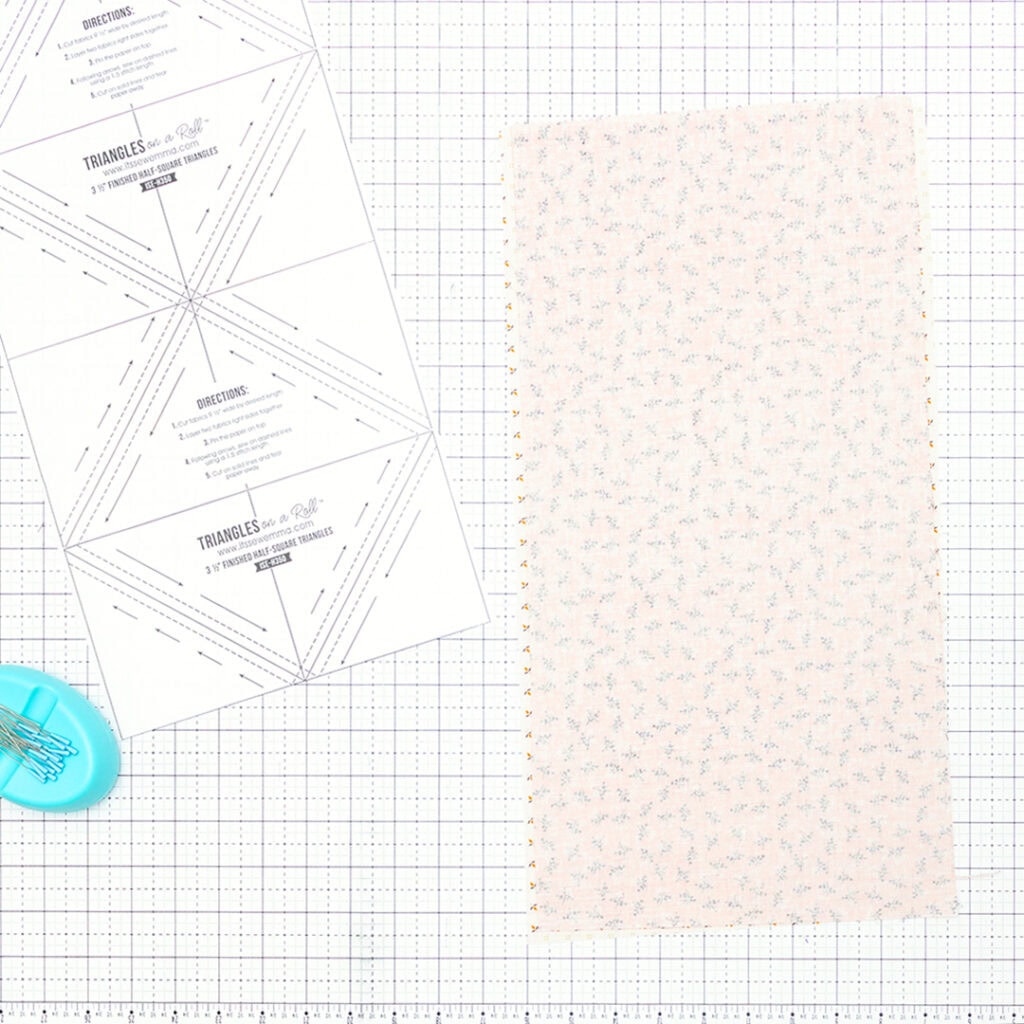
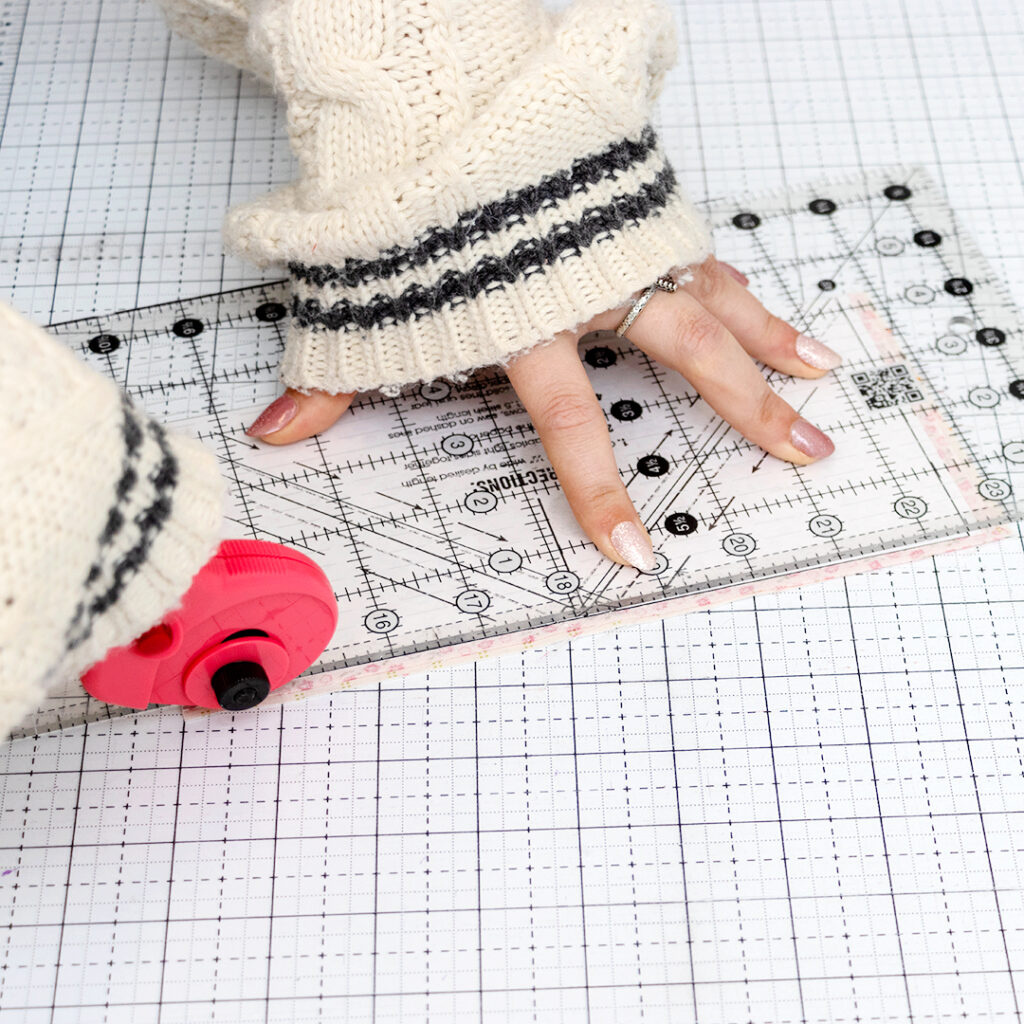
Step 2: Pinning and Sewing
Pin your Triangle Paper sandwich together in each corner, and in the open spaces in the middle. Then, take it to the sewing machine and sew along the dotted lines, as per Kimberly’s instructions in this video.


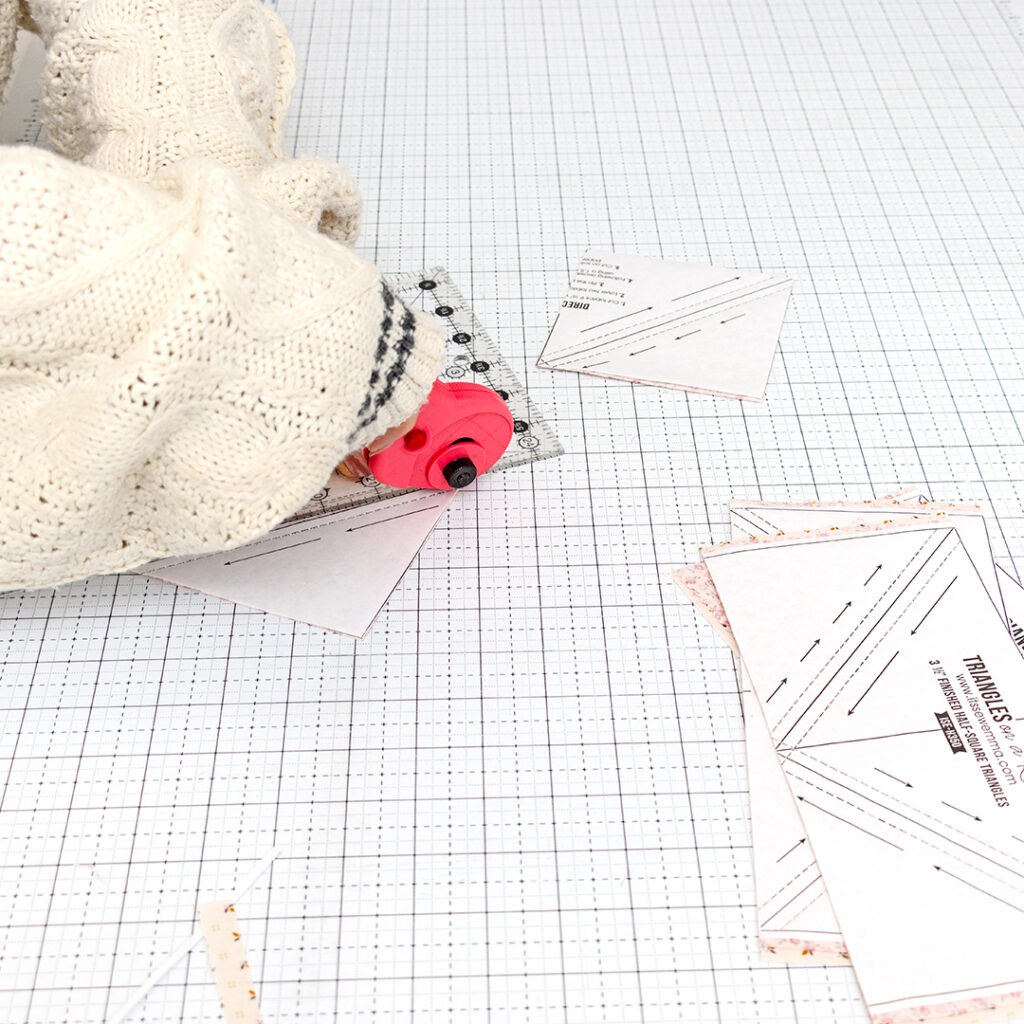
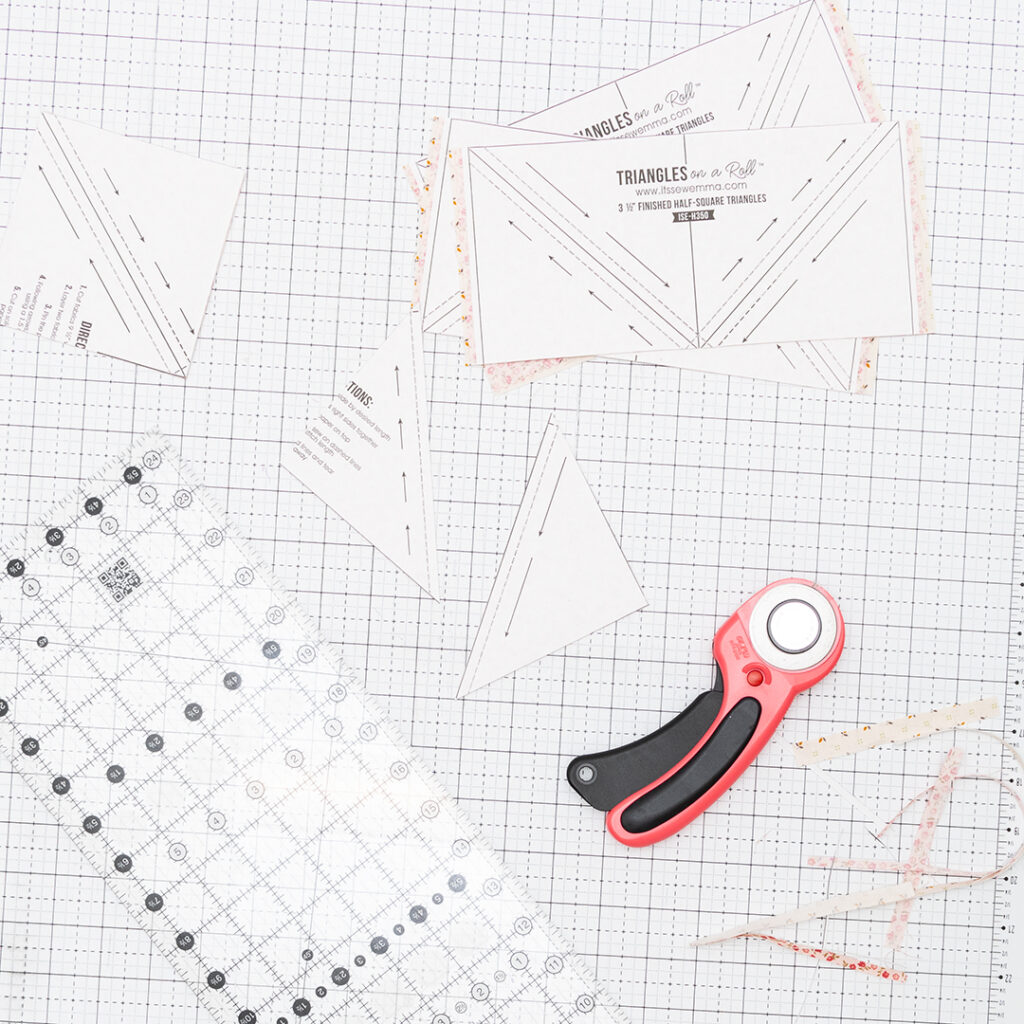
Step Three: Cutting and Removing the Paper
Cut along the solid lines on the paper, being sure to cut exactly on the lines so that the half square triangle blocks come out as perfect as possible! Then, tear away the paper to get them ready to press. Be sure to watch the video for all of Kimberly’s tips and tricks!
Step 4: Pressing and Trimming the Dogears
The pattern suggests pressing all the seams open, so that’s what I did! Since I’m ironing a seam on the bias, it’s important not to tug on the points, and Kimberly does a great job of demonstrating that in the video. I also found that because I starched my fabric, I was less prone to accidental warping.
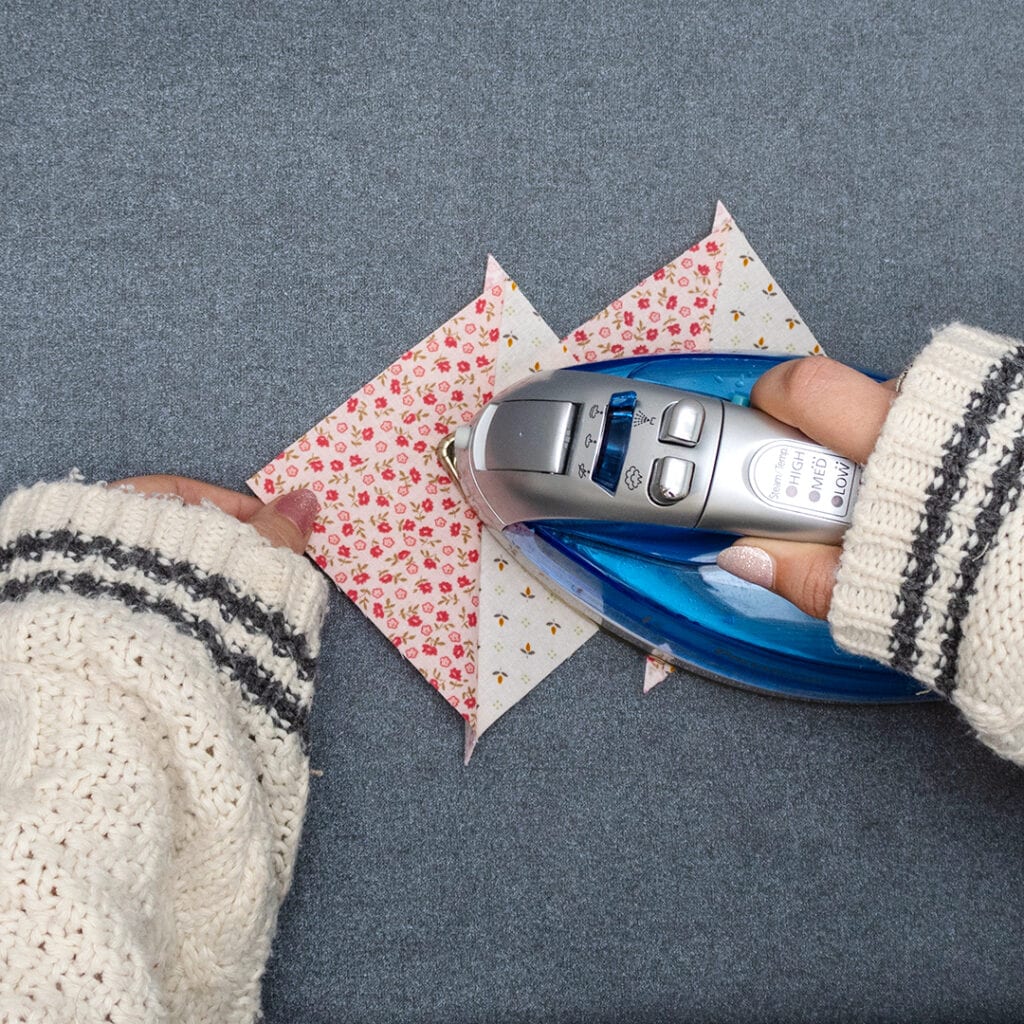
As you already know, I love it when my fabric is super crispy and as paper-like as possible! So, after initially pressing my seams open, I flip my blocks right side down, spray a light mist of spray starch over the open seam, and then press the seam with the iron to really set everything in. I found that this made pining the blocks so much easier, and I was less prone to having the seams flip while I was sewing.
Lastly, take a nice sharp pair of scissors and snip off the dogears! I liked using embroidery scissors for this task since there wasn’t much to cut, and we had just gotten in Kimberly’s Vintage Scissors, so the cuteness was also a deciding factor.
Next Step: Piecing the Full Block!
The combined power of pinning and design boards got me through piecing my first block without a hitch! Not only did I use Kimberly’s poke-a-pin method, I also used a tip from our Stitchy Staffer Teresa, and I pinned the seam allowance on both sides. This made sure that my alignment was going nowhere as I moved to and from the sewing machine! Here is our tutorial for How to use Kimberly’s Poke-A-Pin Method:
With one complete block of the Ruby Quilt done, I was ready to settle in and find my sewing flow.
Not pictured is the absolutely necessary step of showing everyone the block I just made! Stitchy staffers were interrupted in their workday by my excitement and requests for their approval, and friends and family got photos of my block, accompanied by several exclamation points.
Settling in and Sewing Away
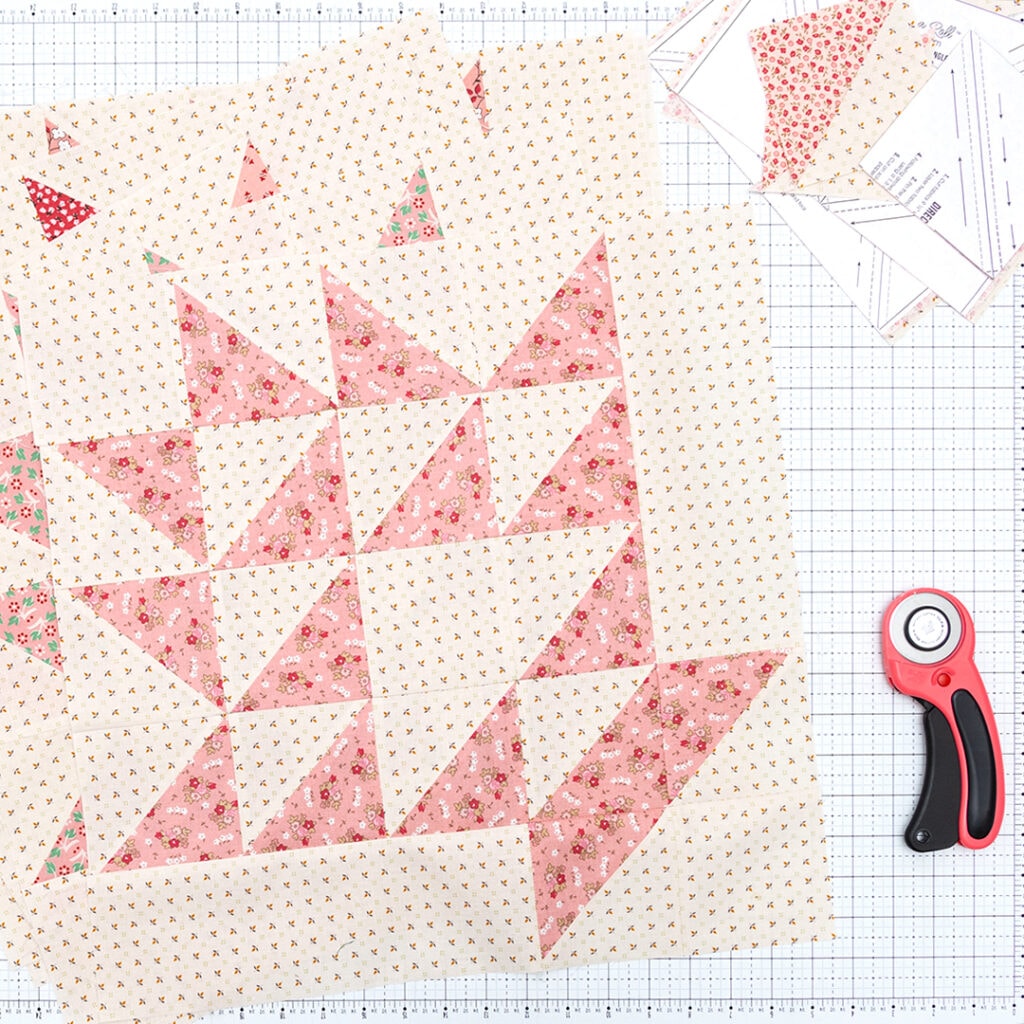
The rest of the day was a blur of sewing, cutting, pressing, and piecing—all to the soundtrack of an audiobook I borrowed from my local library. At the end of the day, I had three blocks finished and two laid out on 18-inch Design Boards, waiting to be pieced.


I also had several other Triangle Paper sandwiches sewn together and ready for the next time I had a spare 30 minutes to work on a block, along with some chaos that needed taming!
Design Boards have been my best friend through this whole process, especially since I work in a shared space! I use them to organize my finished blocks, my blocks in progress, the sewn Triangle Paper sandwiches, and the extra squares and rectangles of background fabric that I need for the blocks. Then, I stack them all up, put my pattern and quilt journal on top, and my project is tidy, organized, and ready for next time.
What’s Next?
Right now, I am almost done piecing all the blocks for my quilt top! The holidays were a super busy time here at Fat Quarter Shop, and as the dust settles, the quilting is gonna start picking back up. Next time, I will be back with a completed quilt top, and more adventures as an (overly) confident beginner.
If you read to the end of each post during this series, I share a quilty secret with you!
Today’s secret is that for most of my life, I swore that I would never be a quilter. When I was little, you would be hard-pressed to convince me to stop crafting. I wanted to learn every medium, master every skill, and make anything I could… with the one avid exception of quilting.
At around 7 years old, I was sitting in Mrs. Kathy’s living room, and she had a HUGE quilt on her lap with a pretty pink binding. Mrs. Kathy was, and still is, one of the most talented quilters I know, and as she sat there, hand stitching the binding to the back of the quilt with teenie tiny stitches, I scoffed and said something akin to, “I’m never going to do quilting. It takes waaayyyyy too long to finish anything! Plus, I don’t like hand stitching like you do.”
This was a stance I maintained until the spring of 2024 when my best friend taught me EPP during her birthday weekend festivities, and I fell in love.
So, to Mrs. Kathy, I want to share the secret that I am now a quilter and love hand stitching—you were right! To everyone else, the secret is that, as a very precocious child, I sealed my fate as a future quilter by declaring that I would “never” be one.
Stay connected to Fat Quarter Shop!


11 comments
Your quilt blocks are lovely! So glad you came over to the quilty side 🙂
You are doing a great job! I enjoyed reading about your quilting journey.
You will develop your quilting style as you make more quilts. You will find what works for you.
I’m 73 and started quilting when I was 24. It has been a source of joy for me. It sounds like that is what is also happening to you.
I look forward to reading your next post.
Take care and thank you for sharing!
I cannnot read your writing when you mention 2 cups ———-starch. Spray starch makes such a mess! Thank you
Linda Murch
Linit Starch. You can find it on Amazon.
Growing up in the Midwest in the 50’s and 60’s, I also swore I would NEVER quilt. I had watched my grandmother cut up fabric and clothing remnants using cereal box templates and hand piece them to make a quilt top. We used (and abused) her quilts as bedding and they were frequently washed and hung out in the sun to dry. I vowed to never put that much effort into such a common item. Somewhere along the way, my attitude changed, and at 78 years old, quilting is my happy time. I have been quilting for over 25 years, and the time spent in my sewing room is best time of day!
I was a dressmaker & always swore I would never quilt. My friend had a quilting shop & offered some basic sewing lessons, which she asked me to teach. I still swore I would not do patchwork, that was in the late 90’s, today I only do quilting & refuse to make clothes
My mother was a prolific quilter, and I had an unwritten rule to be nothing like my mother! January 2020, just prior to COVID shutdown, my quilter friend talked me into taking a quilting class she was giving at a nearby shop… I became hooked! (And the COVID shutdown gave me so much time to stay holed up and perfect my craft.) I turned 60 that year. Quilting has become my greatest pleasure in life (next to God and my family). Thankfully, my mother lived to see many of my quilts, and she was so very pleased one of her daughters became a quilter.
Thanks Kailee for sharing this blog. This will help me with Sweet Nothings Bunny Hill Quilt Kit. My quilty secret is to read the pattern before starting! Also, never say never!
I had to laugh so hard at your secret! I told my mother and grandmother when I was 8 I would never make jelly or can things as it was so boring and I could buy it in a can. I started making jelly and canning in my 30s. I also said I wouldn’t get married until I was in my 30s as I didn’t need a man to tell me how to spend my money. I got married at 19. If nothing else…don’t make these types of ultimatums…stuff happens.
I too am teaching myself to quilt! I am practicing with 5″ flannel squares. I am learning to make sure my blocks all touch corners properly. I am hand tying the points with matching cotton yarn. I have been going hog wild buying fabric! I am obsessed with all the fabrics I see that I love! I tell myself I should scoop them up before they are gone! I might be able to open my own fabric store soon!!!! LOL Thank you for all the pointers, Kailee! Can’t wait for Part 3!
The beauty of quilting is you find out the parts you don’t like and then someone else can make a living doing that part. Like to see but choosing fabrics has you flustered, Buy precuts. Hate the quilting part? Find a long arm specialist and ditch that part. Just love the quilting? Make one solid color quilt and plan out and sew fabulous patterns. Hat binding, make a self binding quilt.
My hacks! 1. Make mini shelves for your sewing machine. Buy invisible cabinet pulls. The ones that from the side look like half of a square steal tube that is supposed to be mounted at the very top of drawers and doors. Use peal and stick foam tape to mount. They come with a lip, so small items will not roll off. Depending on your machine mount them far away from fabric going through the harp of your machine. I keep a seam ripper, retractable lint brush, fine mechanical pencil, nail file, and band-aid in mine. 2. Attach a strong pin magnet at the top front of your machine directly at the highest point above your needle and slightly to the right. After a while you can pull pins and just flip them up there. And then they are so handy. 3. Prepare a piece of paper for notes on machine settings for different batting thicknesses, piece work etc. Once you find the exact pressure, needle type and size, thread weight and tension you like best tape this inside the door of your machine. It will always be where you need it. 4. Arrange all your frequently used tools and make a pact that you never ever put them down except where they go. Full time six weeks of sewing will make these movements automatic and also automatic to find those tools! Look and grab, look and place with no hunting and grunting, and you will then catch yourself skipping the look, and just grab. You will cut a lot of waisted time out if your hobby and reduce your frustration. 5. And lastly I have a seven project rule. Some quilts just take time to complete, especially if you are doing something eunique. It took me four years to find and buy hand wax made ancara dressmakers scraps to make 4″ squares for a quilt. Some pieces were small and or strips. I got creative to hide the fact that many squares were sewn to look like original fabric. There are no more than two of any fabric print in this king size quilt! Try not to impulse buy. But do carry a card with tiny pieces for color and notes of what you need in a zip lock or envelope. No sense in skipping opportunities that you actually need.