
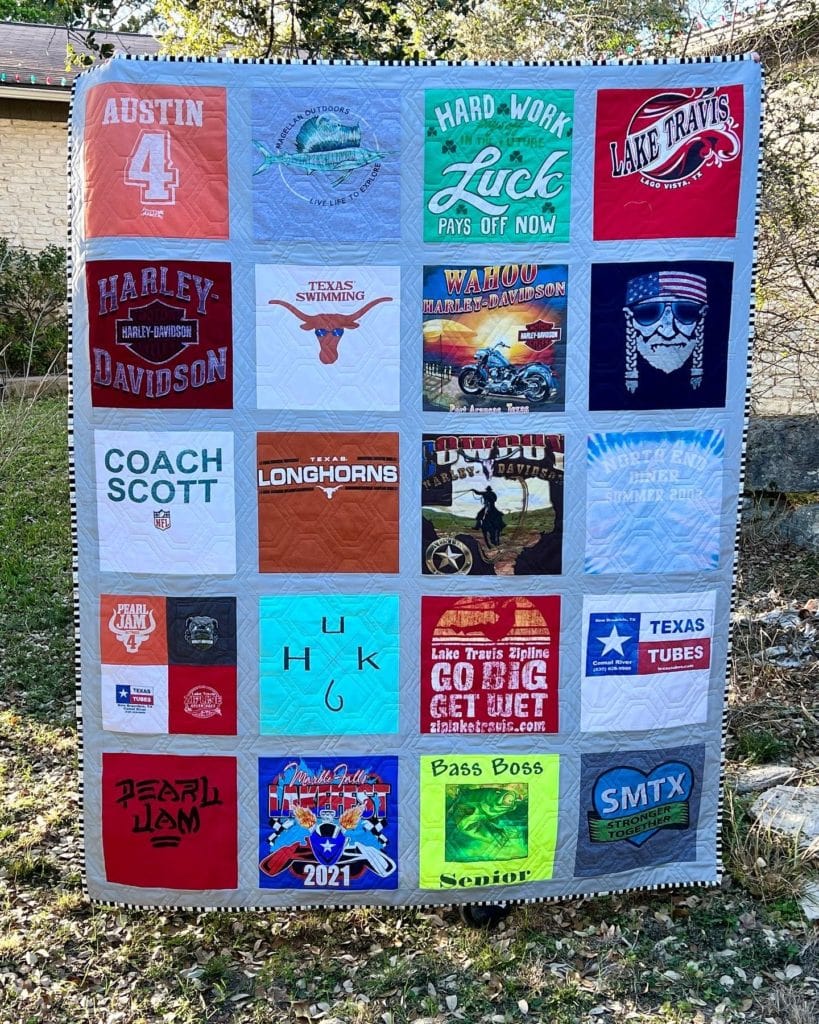
If you’re like many of us, you have cherished T-shirts sitting in a drawer because they carry a lot of great memories – but you don’t want to wear them out or risk spilling something on them. Gina Tell, one of our favorite longarm quilters, has the perfect solution in her video on How to Make a T-Shirt Quilt.
Maybe it’s the annual fun run, your beloved local sports team, or a concert tee from your favorite band, but you’ve probably picked up a T-shirt or two. When you make T-shirts into a quilt, you can keep those memories alive and display them to enjoy daily.
In the video below, follow along as Gina guides us through her tips, tricks, and steps on how to make a quilt from T-shirts. Then keep scrolling – we’ve written out the steps so you can reference them as you work on a memory quilt.
T-Shirt Quilt Supplies
You’ll need a handful of supplies to make this upcycled quilt. Here’s what Gina uses in the video:
- T-Shirts collected for this project (we recommend 12-15)
- Pellon 15″ x 108″ Fusible Sheerweight Interfacing
- A Jelly Roll (2.5″ strips of fabric for sashing)
- 16.5″ Quilting Square Ruler
- 12.5″ Quilting Square Ruler
- Aurifil 50wt Thread (Light Sand 2000)
- 45mm Rotary Cutter & Scissors
- Iron
- Misting Bottle
You can also find all the T-shirt quilt supplies on our website.
How To Make a T-Shirt Quilt: Step-by-Step
Even if you’ve watched the video a time or two, it’s nice to have written instructions to follow as you make your t-shirt quilt. Before you begin, ensure you have all the supplies assembled.
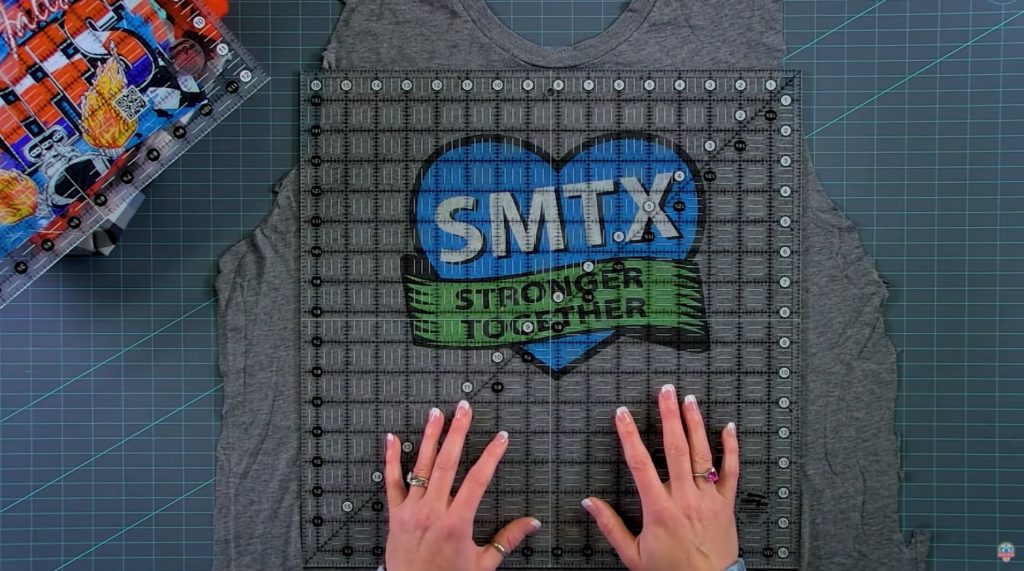
Step 1: Cut the Blocks
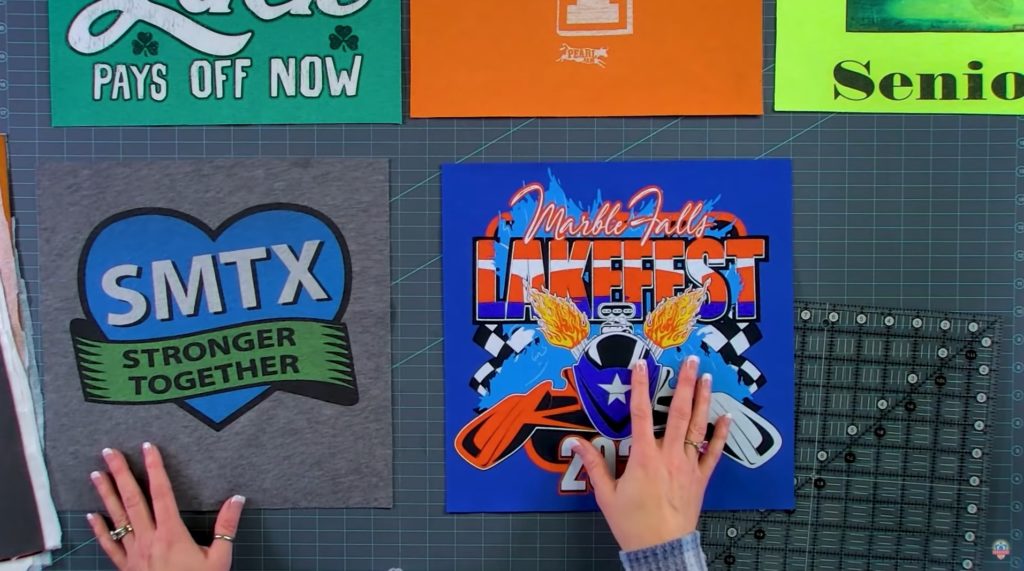
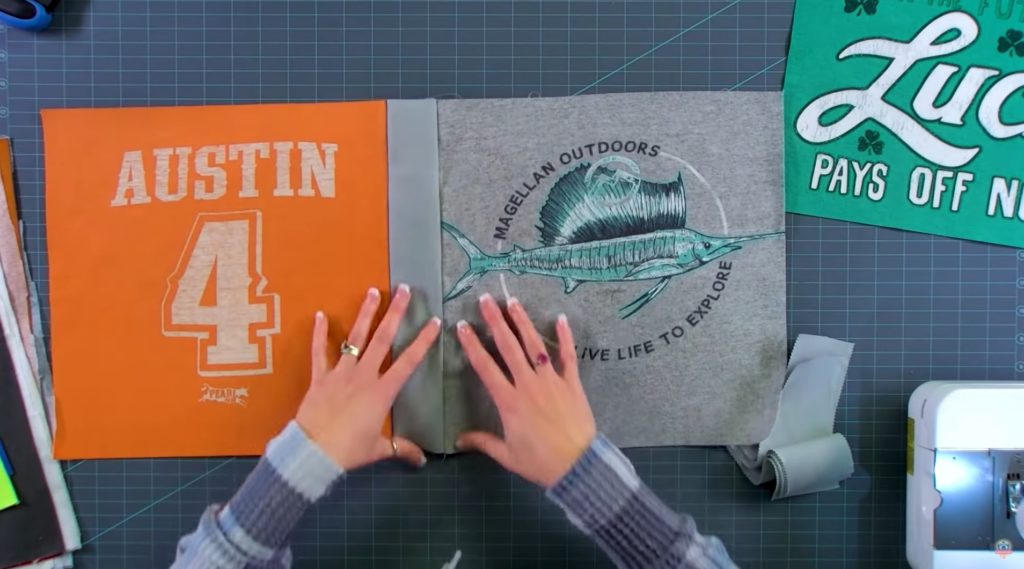
Determine the size blocks you want to use. Make sure your blocks are a uniform size and that all of the designs will fit within the block size you choose. Then, cut the shirts into blocks using the appropriate sized quilting ruler. In a pinch, you can use a cardboard template, but it’s best to use a plastic ruler so you can see and center the T-shirt design within the block.
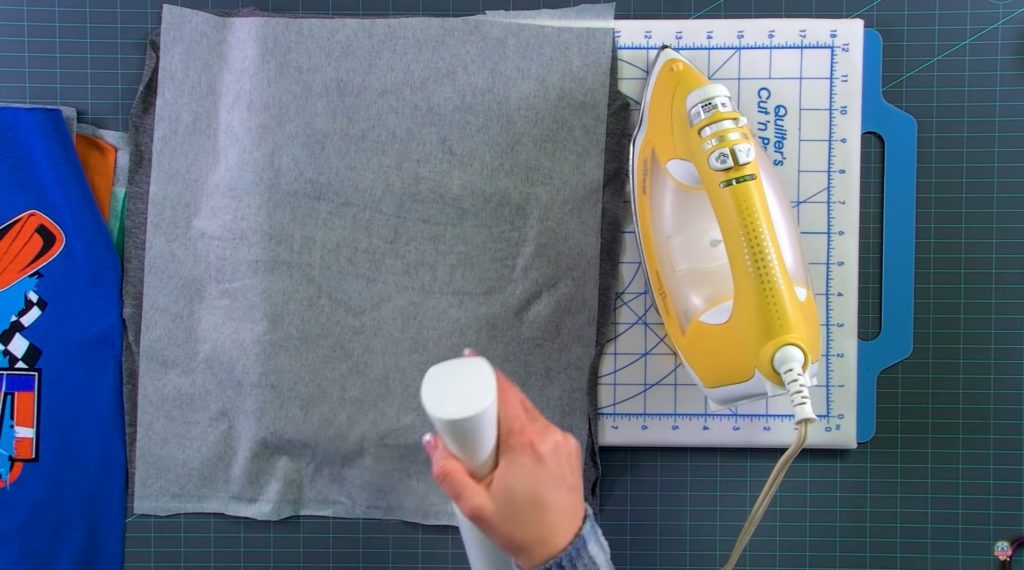
Step 2: Attach the Interfacing
Use an iron and misting bottle or damp cloth to attach the interfacing to the back of each of your newly cut shirt blocks. Interfacing helps manage the stretch of the t-shirt fabric. The rough side is the one with the glue – apply that side to the wrong side of the t-shirt block.
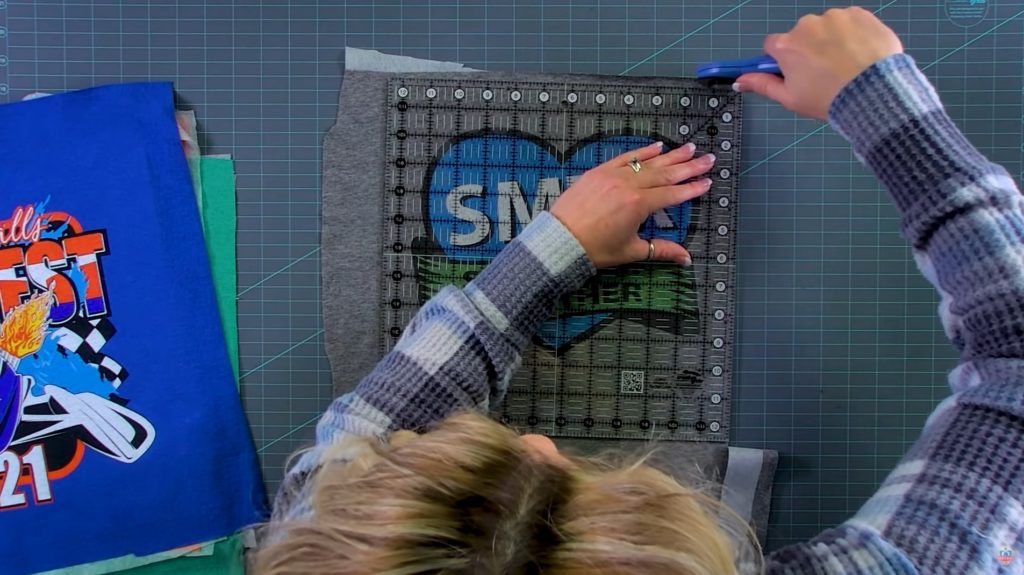
Step 3: Trim the Blocks
Once all of your shirts have interfacing on them, it’s time to trim your blocks down into their final size.
Step 4: Plan Your Quilt’s Layout
Before deciding how to sew together your T-shirt quilt, lay out all the shirt blocks on the floor or a design wall. Arrange them and rearrange them until you’re happy with the colors and look throughout. Grab your sashing, and let’s move on to Step 5.
H3: Step 5: Assemble the T-Shirt Quilt
This part is going to be a lot like any quilt you’ve assembled before from a pattern or book. It’s also going to be very straightforward for those beginners out there.
We’re going to make our rows first. We do this by sewing a strip of the sashing to the right side of the T-shirt block that you want to start your row with.
Next, you’ll attach the left side of another shirt block to the right side of that sashing piece. Repeat this until you have completed your row of blocks, then continue making your rows until you reach your desired T-shirt quilt size.
If you’d like to add outer borders, add the side borders, then the top and bottom borders.
H3: Step 6: Quilting
Finally, the quilt is ready to be quilted. Finish the quilt however you want. Whether you’re going to use a longarm quilter or are quilting it yourself, you’re well on your way to a special memory quilt.
FAQs: How To Make a T-Shirt Quilt
Below, we’ve answered some common questions and provided additional T-shirt quilt ideas to help you get started. Please contact us if you’d like to learn more about sewing a T-shirt quilt.
What if one of the designs is a lot smaller?
When you have several T-shirt designs that are smaller than the rest (e.g., pocket size), you can cut them into 6.5″ blocks and then stitch four of them together to make a block the same size as the other T-shirt blocks in your quilt.
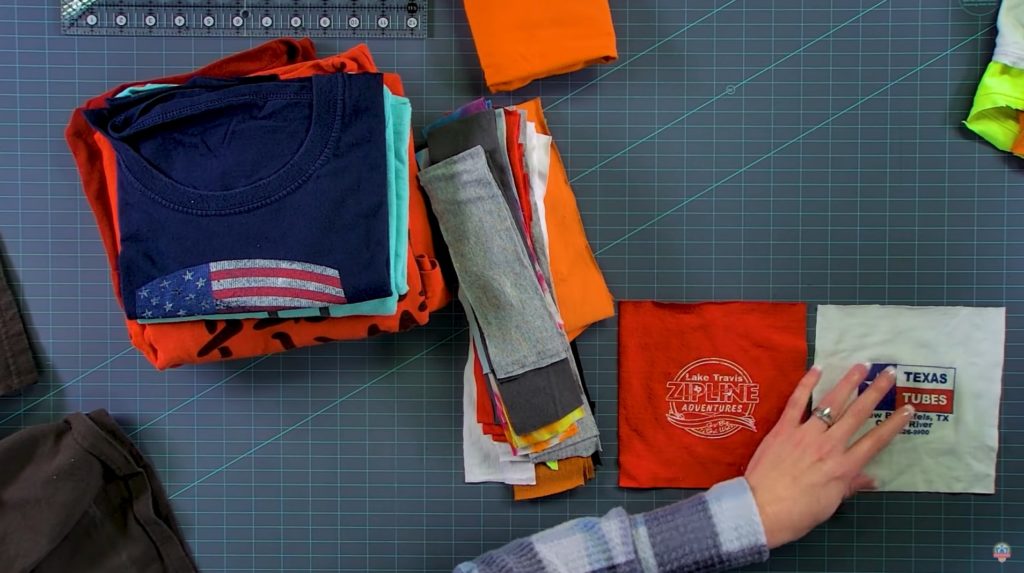
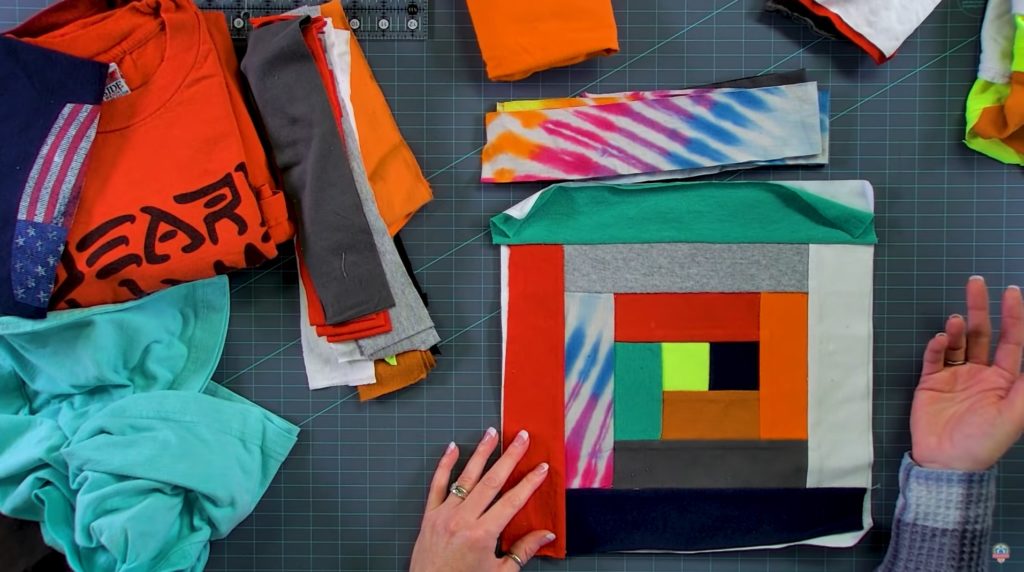
Is there a way to use all the extra T-shirt fabric?
In the video, Gina uses foundation paper to create blocks. These blocks can be the same size as the T-shirt blocks and be used in this quilt or to make a second quilt. Another great option for extra fabric is using Flying Geese Foundation Paper and making your border or sashing out of the extra T-shirt fabric.
H3: Can I use other shirt types in a T-shirt Quilt?
Other shirt types, like flannels, for example, can be great for quilts. Crazy Quilt Paper is a fun option for shirts, too.
Fat Quarter Shop Has Everything You Need to Make Your One-of-a-Kind T-Shirt Quilt
Using your T-shirt to make a quilt is a wonderful way to celebrate memorable moments in your life. Now that you know how to make a T-shirt quilt of your own, it’s time to get a move on. Fat Quarter Shop has the tools you need for your project – and yes, we have T-shirt quilt patterns to help inspire you. If you make a quilt with this tutorial, be sure to tag @fatquartershop and @gina_tell_threadgraffiti so we can see and share your work.
Shop T-Shirt Quilt Kits & Supplies
Stay connected to Fat Quarter Shop!


5 comments
I had sew much fun making this video with y’all, thanks for having me! ❤️
We were so happy to make it with you, thank you for all your hard work and help! 🙂
Great tips! Thank you!
Wonderful tips! I am getting ready to make 4, so this was really helpful!