
Hello again! I’m Marissa, a quilting newbie, and I’m sharing the journey of making my first ever quilt here with you on the Jolly Jabber. Today, I’m sharing my experience cutting and piecing the blocks for my Mosaic Quilt, and you can read on to find out more!
Also, if you missed the first part of this series, where I introduced myself and shared my plans, you’ll want to read that before continuing.
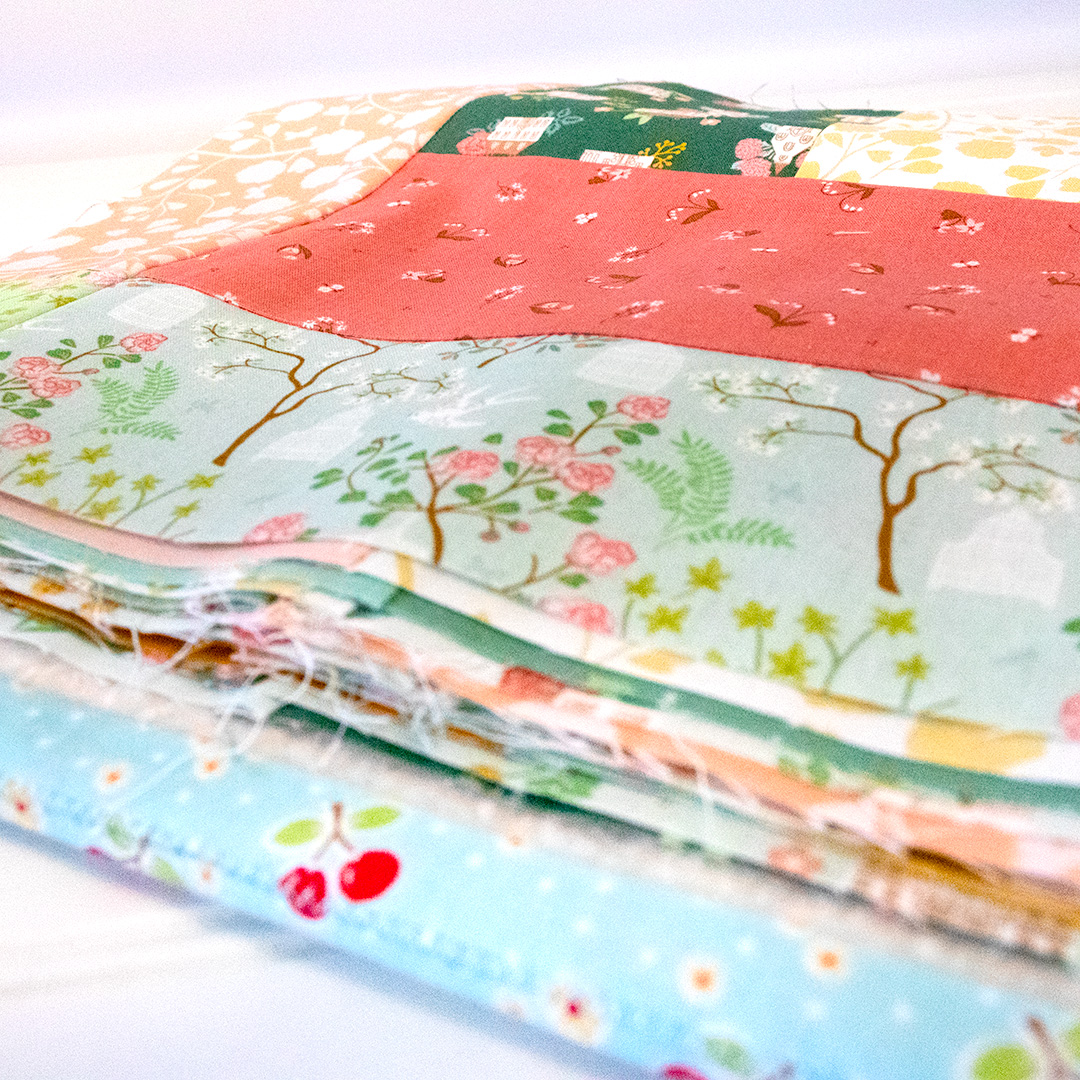
Cutting my Fabric
Something you don’t know about me is that I am big on planning. Why does this matter? I’m telling you this because it’s the best explanation for the amount of research I did before I even started cutting my fabrics.
I did everything from watching the Ultimate Beginner Quilt Series several times to searching Fat Quarter Shop’s YouTube Channel or here on the Jolly Jabber for information on how to cut fabric.
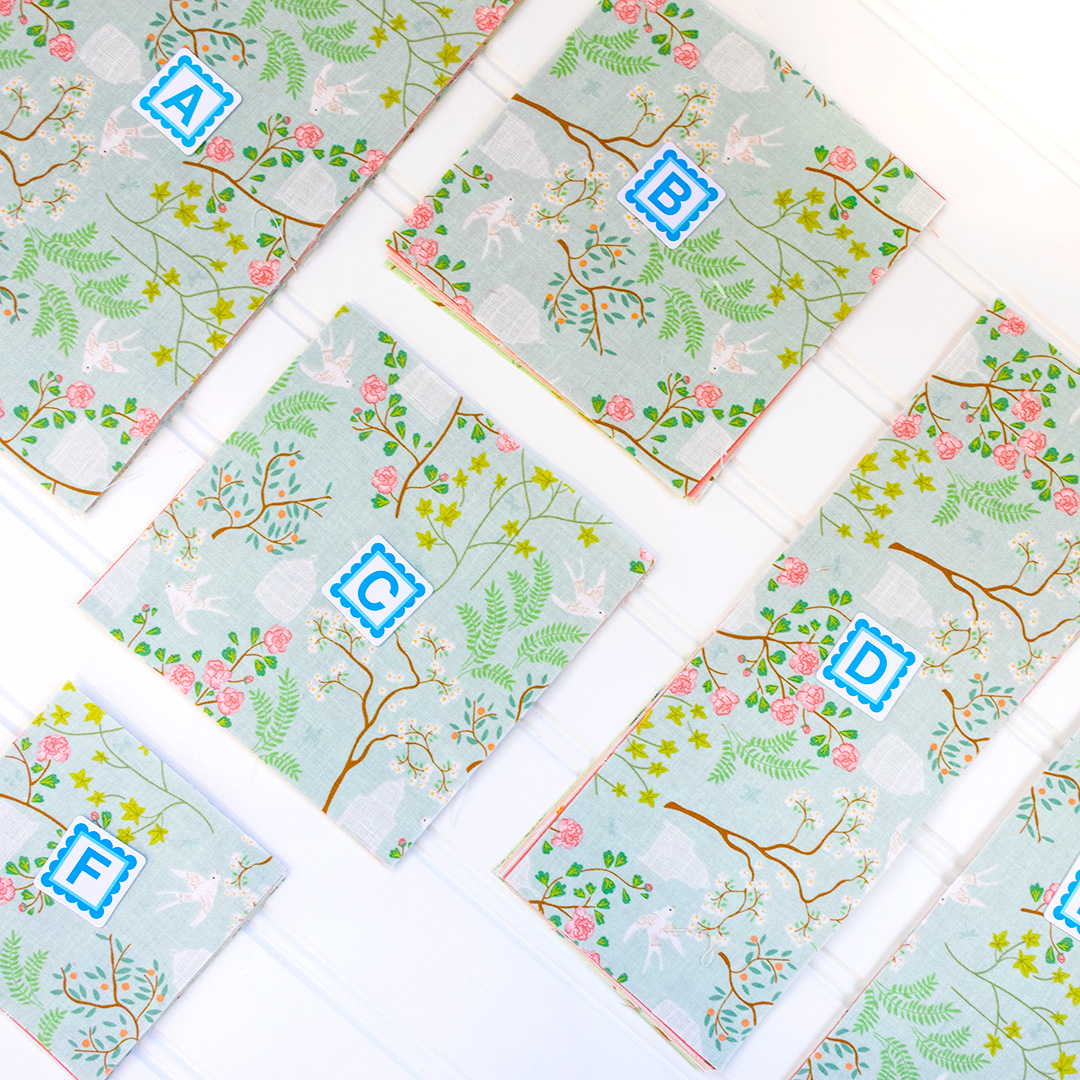
Thankfully all my cutting was just rectangles and squares, making it pretty easy overall. I did manage to cut my “F” squares too small at one point, but thankfully there is plenty of fabric in Fat Quarter Bundles for a mistake or two, and I was able to re-cut those pieces.
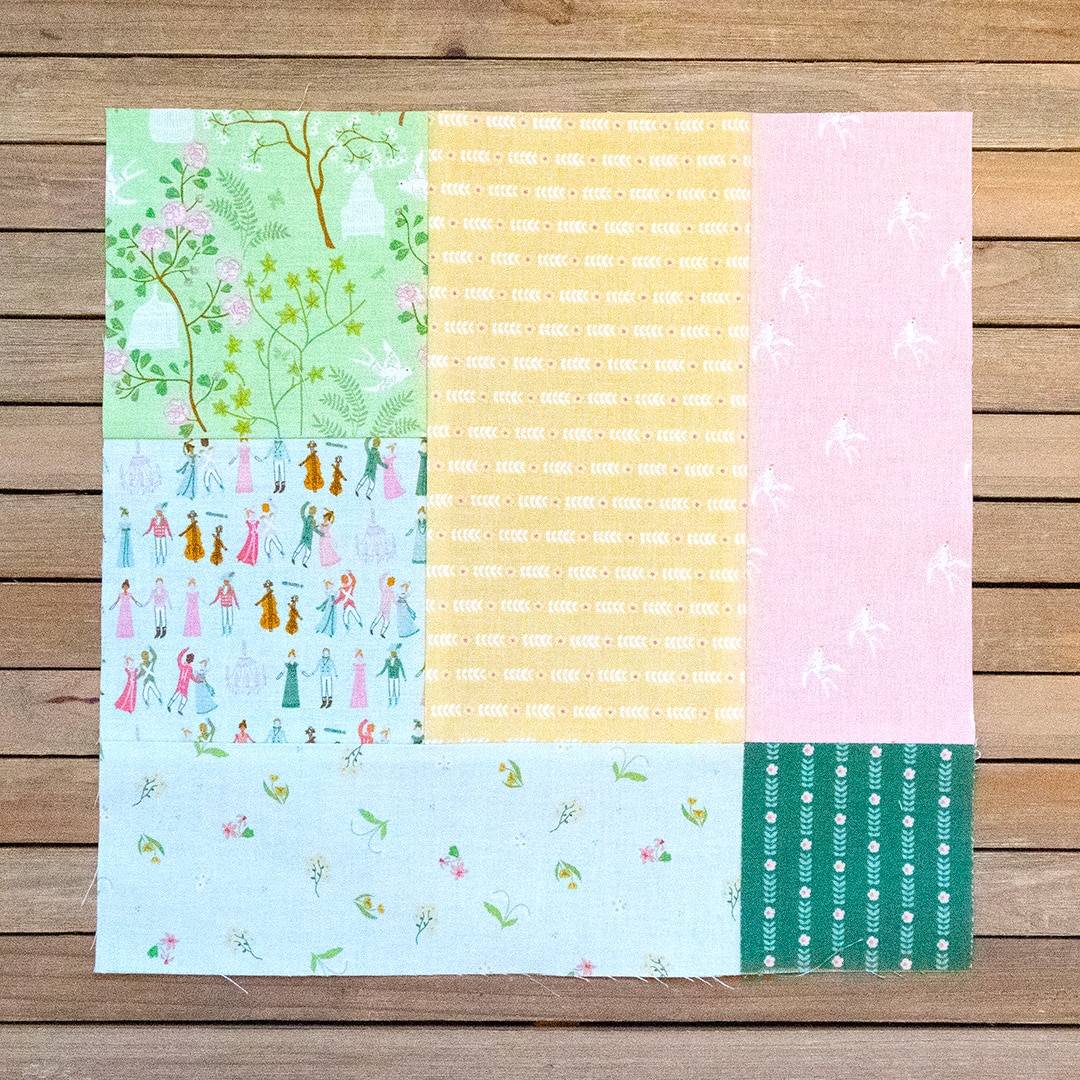
Piecing My Blocks
Piecing my blocks is where things got tricky for me. Remembering which way to press between stitching steps and making sure that all my pieces lined up just right was a fun challenge.
Thankfully the directions in Fat Quarter Style are simple and clear to understand, or I wouldn’t have managed a single block without mistakes.
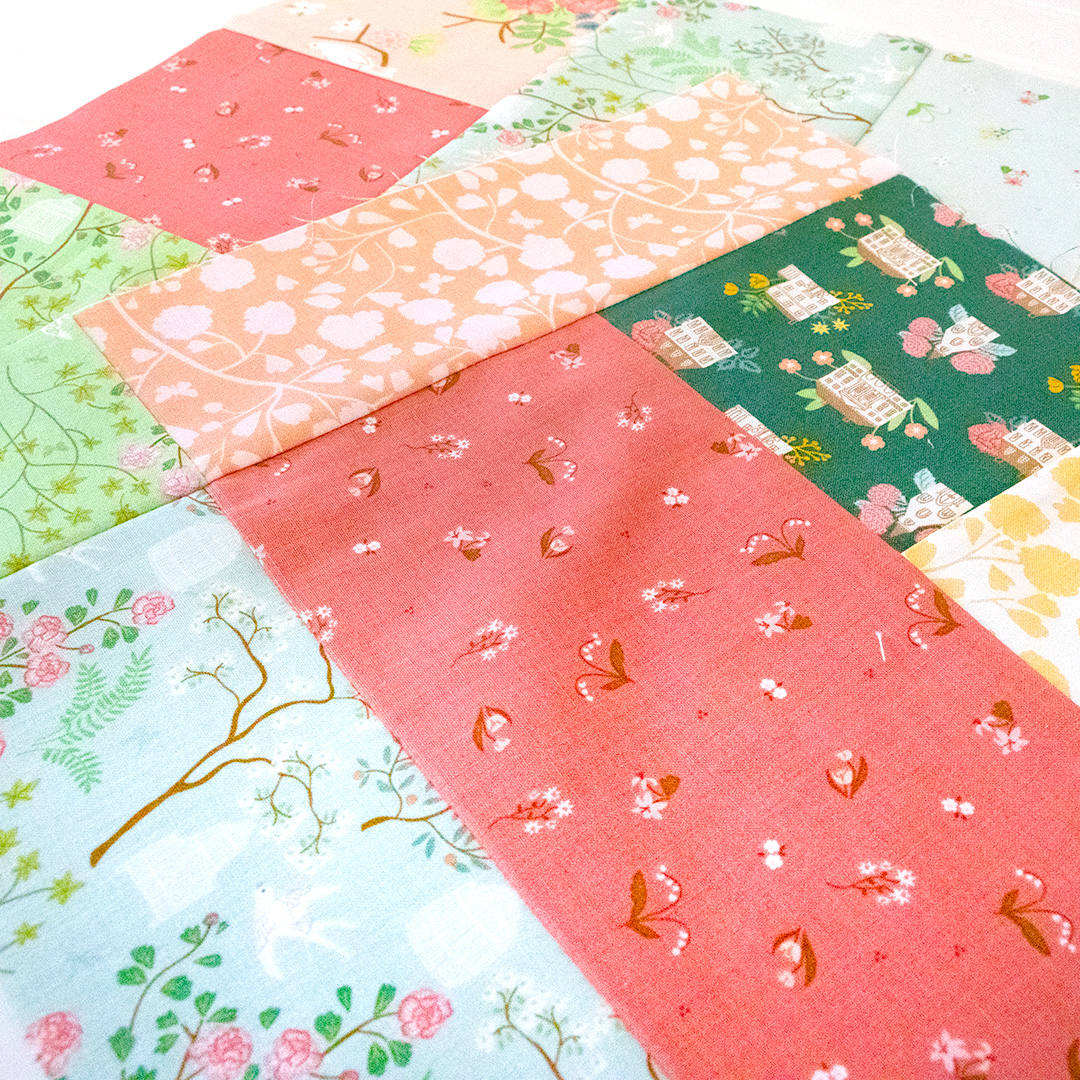
I know that even the most experienced quilters make mistakes now and again, so I didn’t let mine discourage me. Ultimately, I found it relaxing to unpick a seam when I sewed parts together the wrong way. I took the time to make it right, and I’m so glad I did!
The most helpful lessons I learned were making sure to move my hand on my ruler as I cut the fabrics (like this) and to pay attention to which direction the pattern says to press the seams.
Next Steps for Beginner Quilt
Overall, I’m delighted with how my blocks turned out, and I found it relaxing to work on them. You just might make a quilter out of me yet!
Please check back in next month to see how things turn out as I finish up. Next time I’ll add the borders and sashing, and assemble the quilt top. I’ll also make binding, and then add it to my quilt when it comes back from the longarmer!
If you have any advice on binding quilts for beginners, please feel free to drop it in the comments below.
See you next time and happy quilting!
Stay connected to Fat Quarter Shop!


3 comments
Your seam looked great on the block photo! Read Walk by Jacquie Gering before you send out your quilt to the longarmer. There are some very simple ways you could quilt your quilt without free-motion quilting. You got this! For the binding, look up big stitch binding, it is whimsical and simple.
Hi Mandy! 🙂
Thank you! I will look at those. I’m excited to learn more.
Your doing awesome! Keep it up!