
Have you tried cross stitch yet? If you haven’t but are wondering where to start, this post on how to cross stitch is designed just for you. We’re here to simplify the process and guide you through the basics of cross stitching with a new blog series!
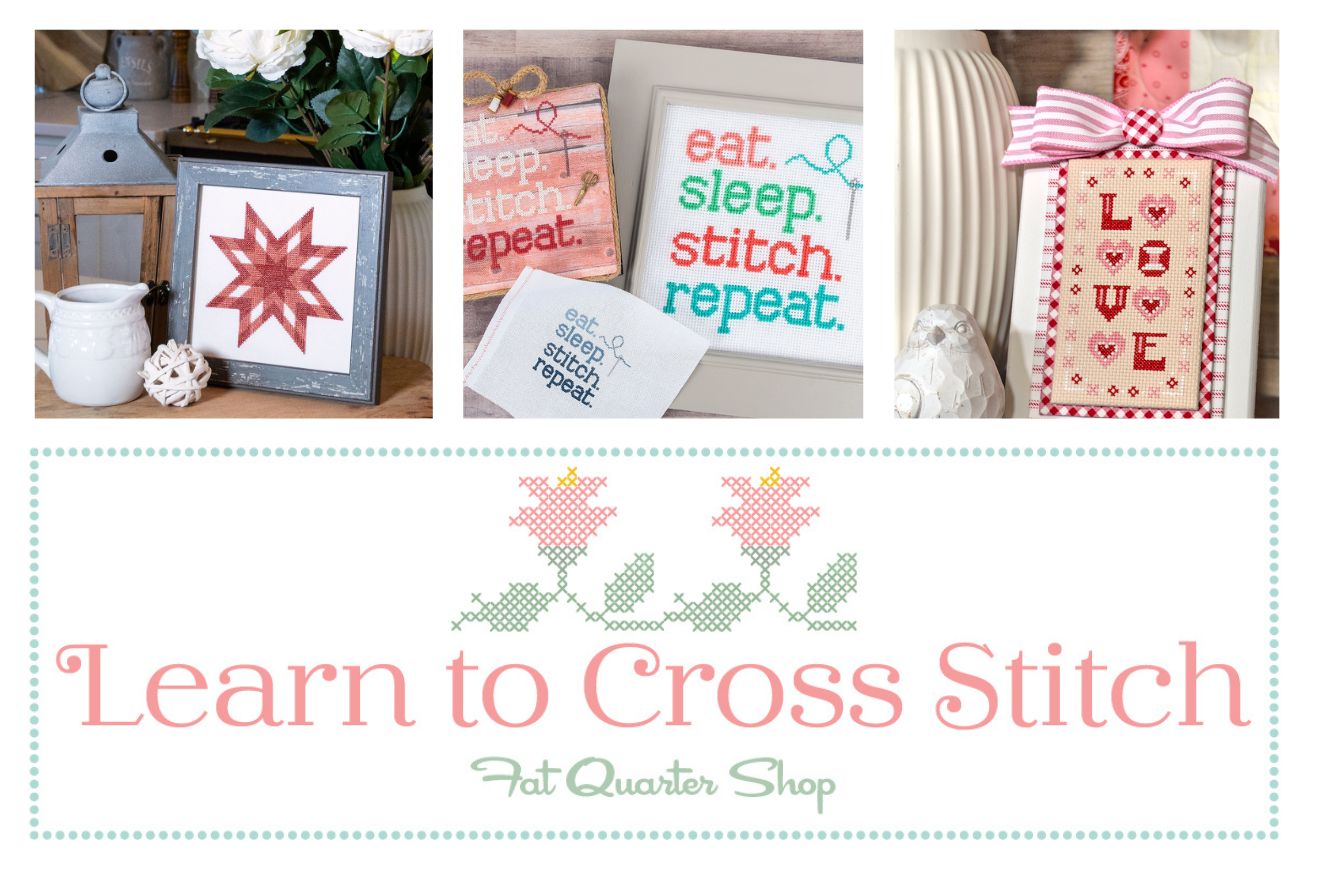
We’re excited to bring this new Learn to Cross Stitch series to you over the next handful of months. We’ll be diving in and sharing detailed guides on all things cross stitching including answering common questions we see on our social media and comments from all of you! Today we’re starting with an overview of the very basics of cross stitch, and you can use the menu below to easily hop to any section.
Today’s Cross Stitch Topics
What is Cross Stitch?
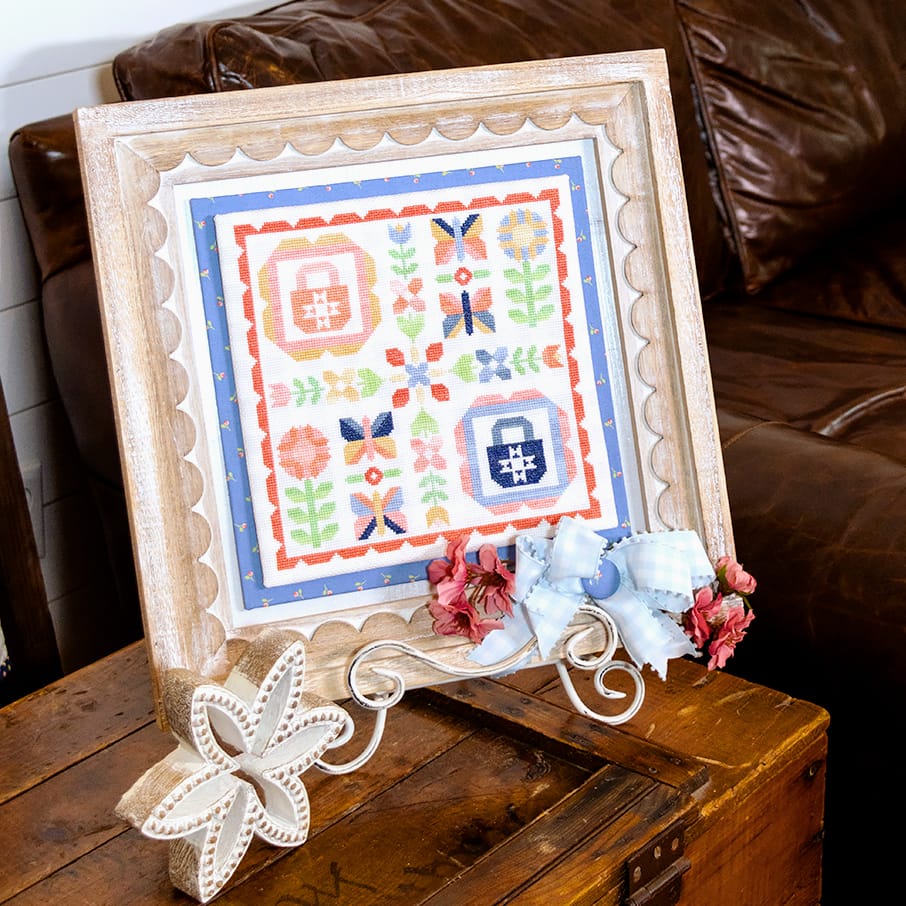
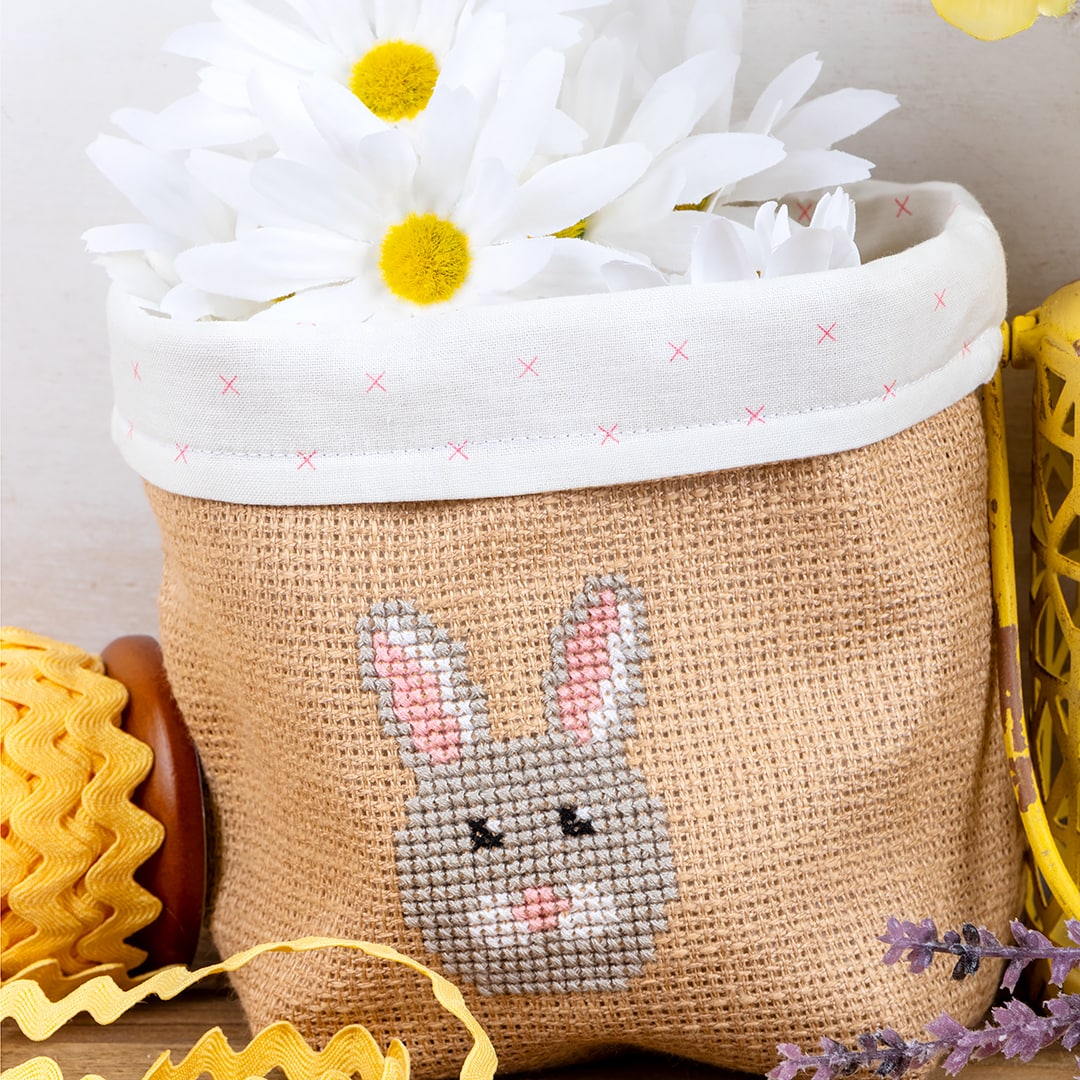
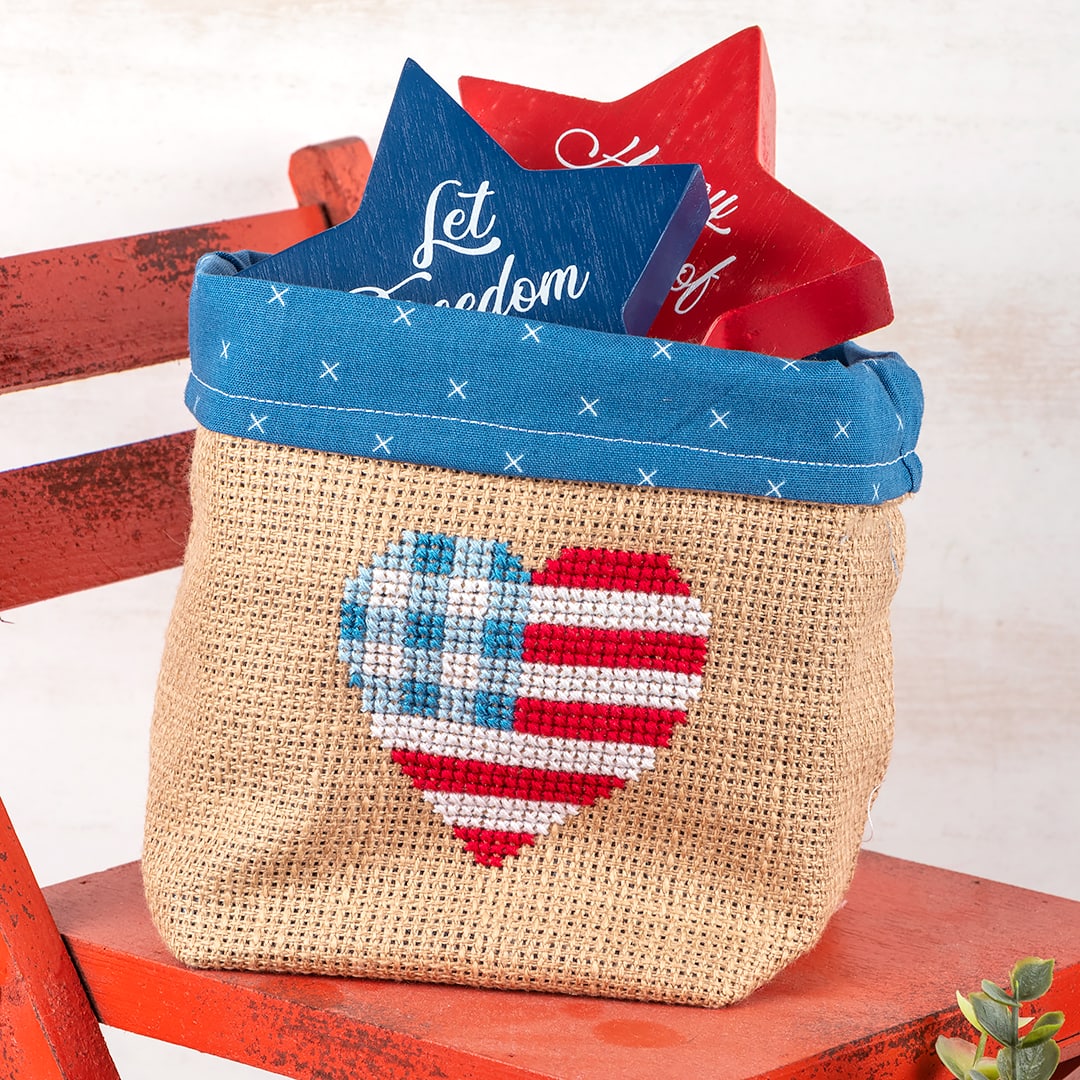
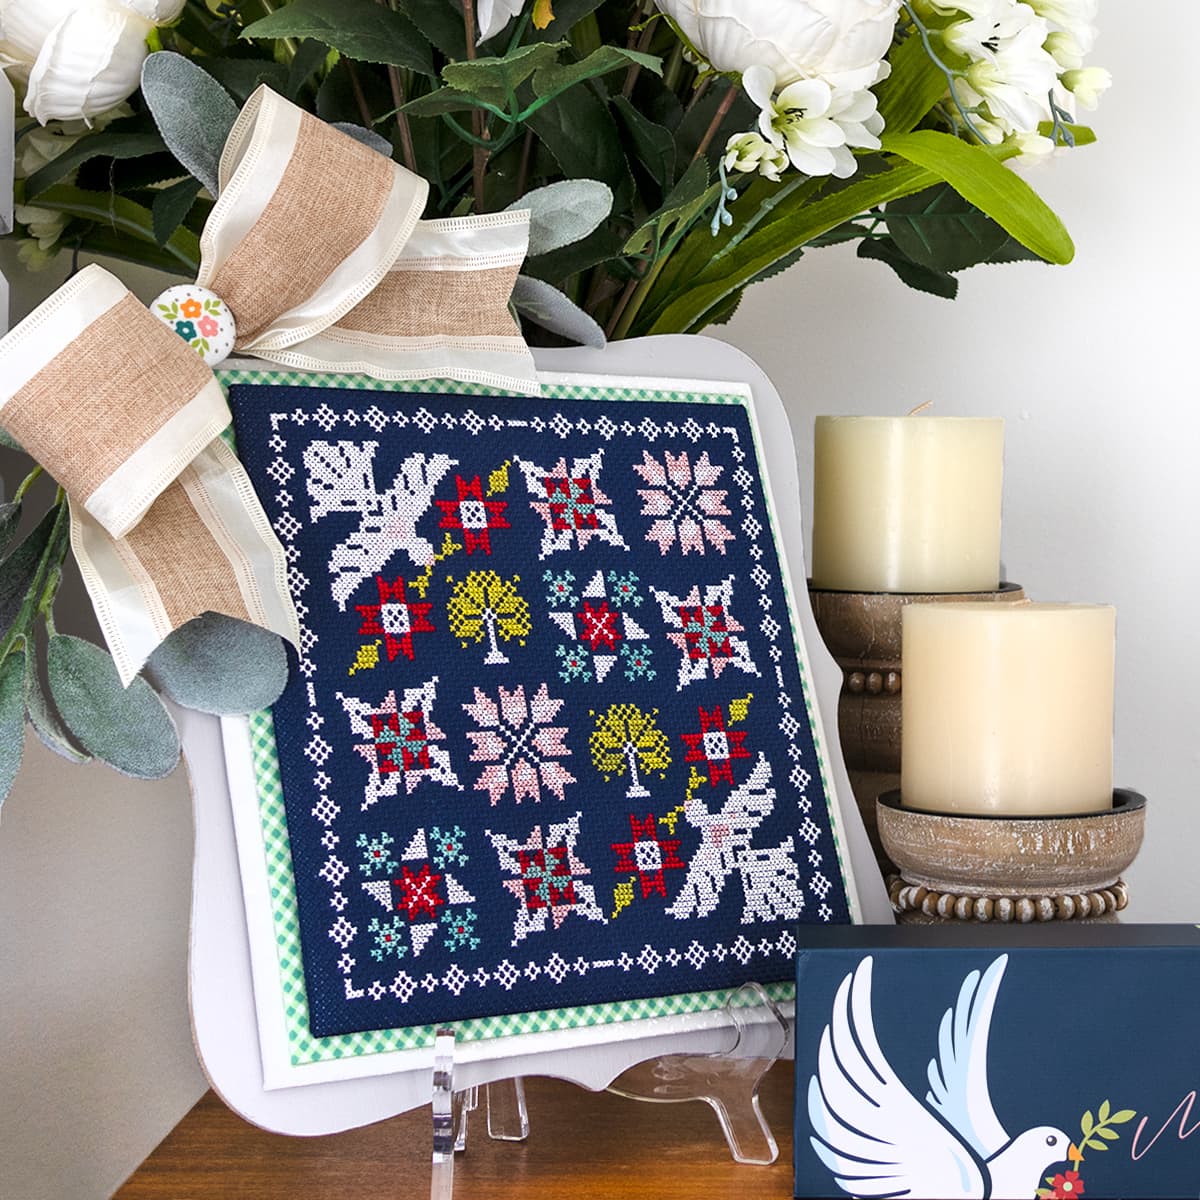
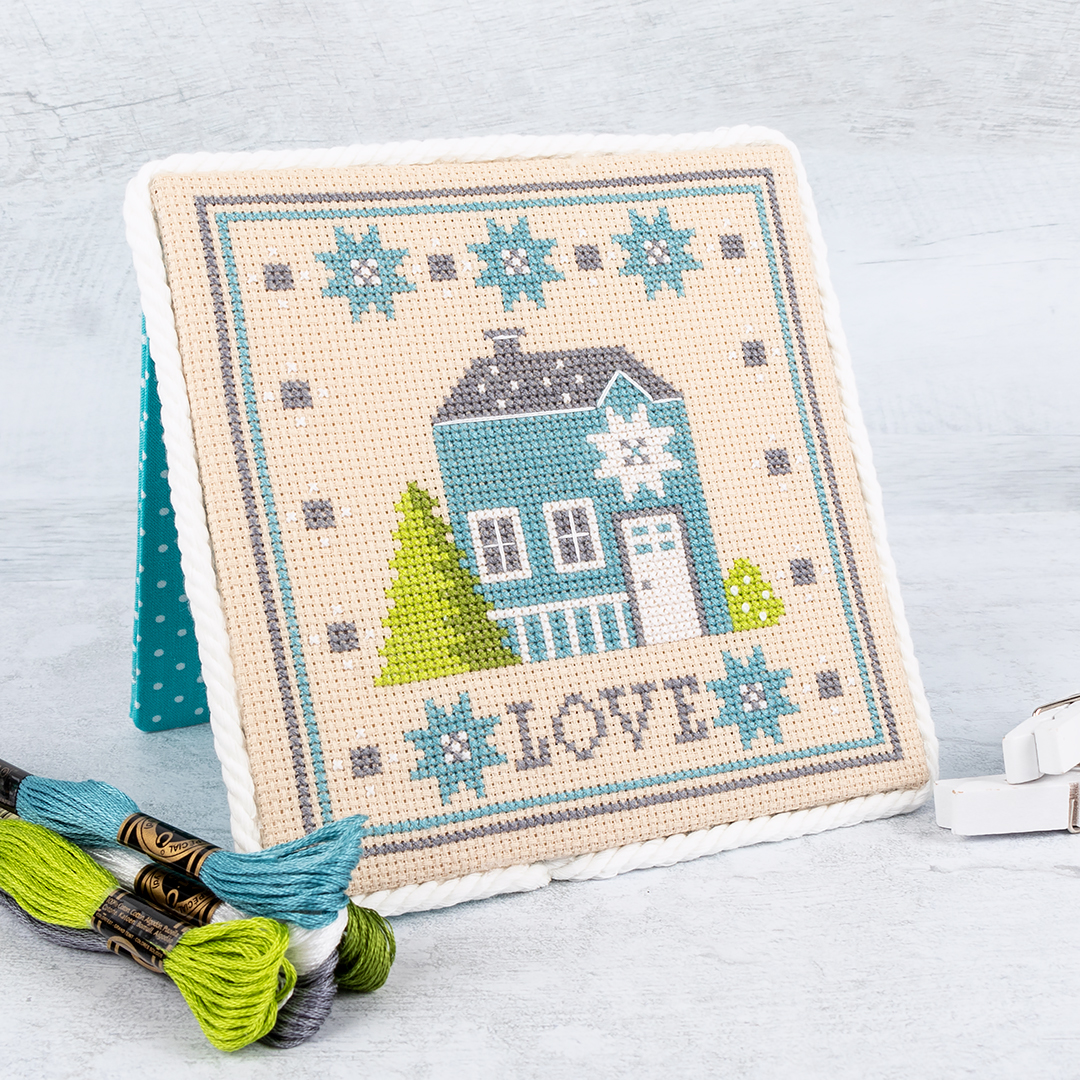
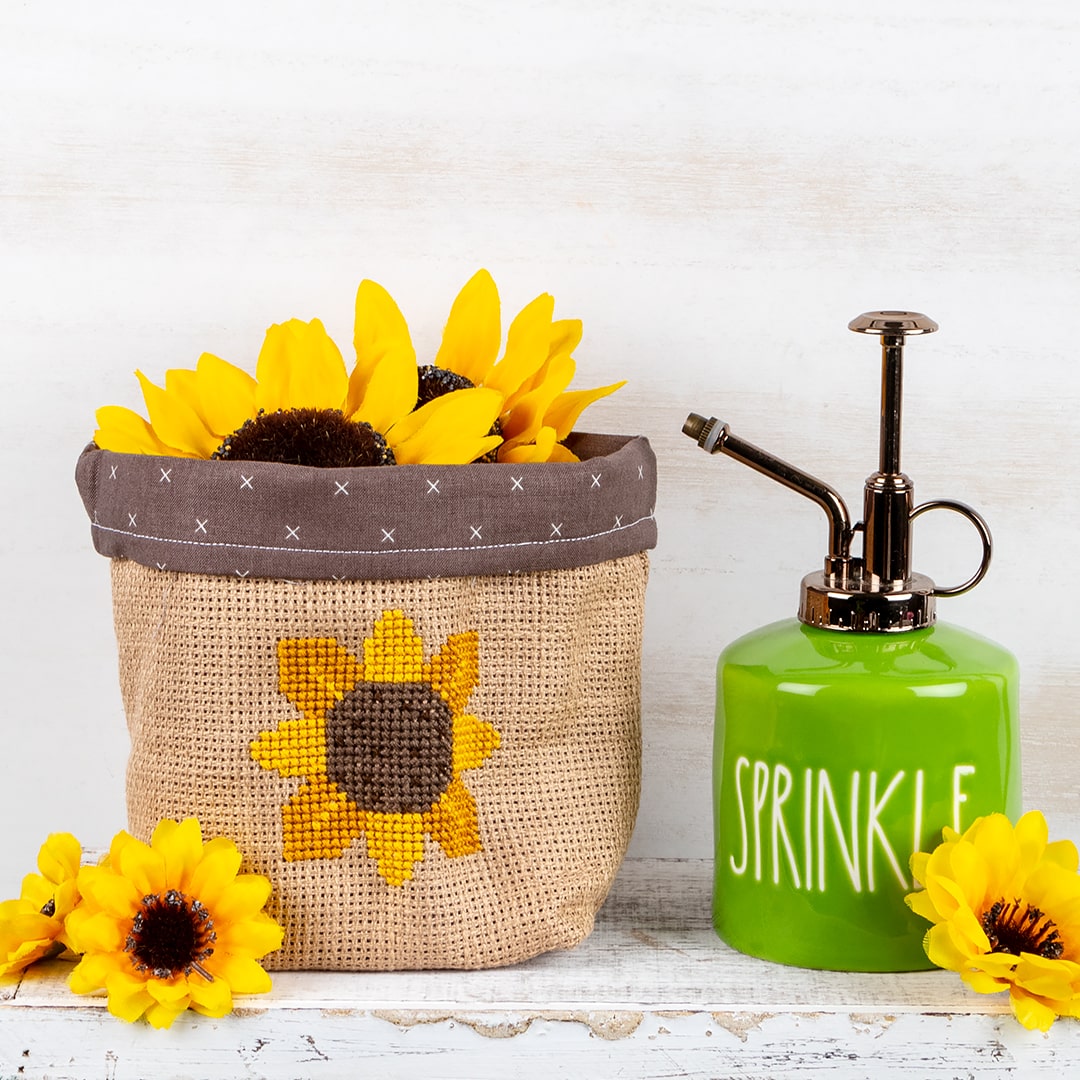
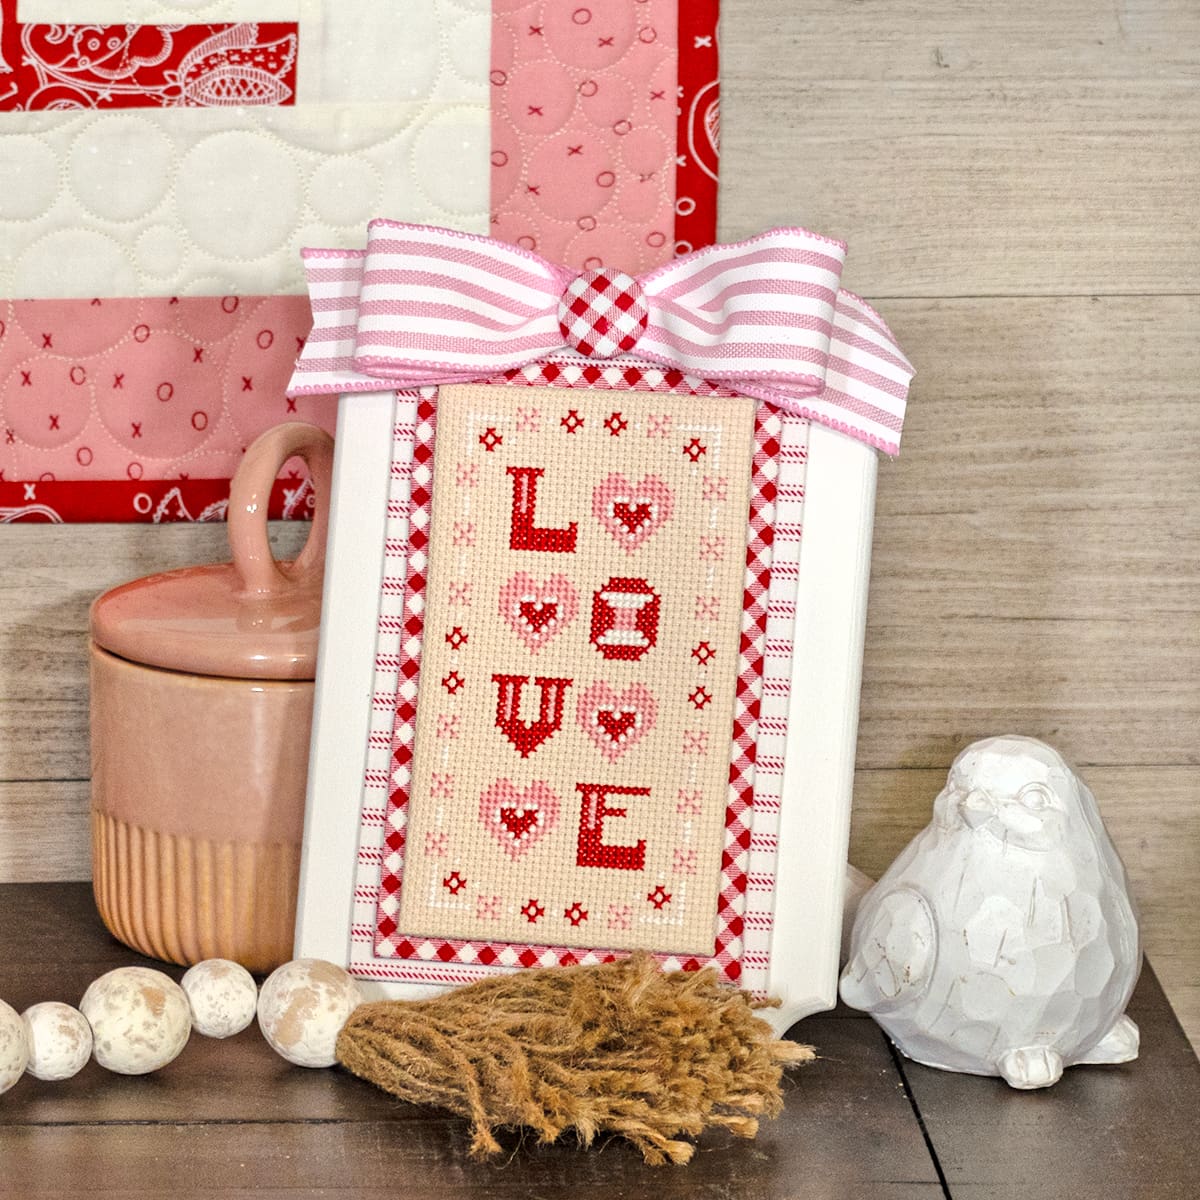
Cross stitch is like paint-by-number, but with thread! It’s a form of embroidery that creates designs with X-shaped stitches on fabric, just like its name. Cross stitch is an age-old craft that has enjoyed a resurgence in recent years, resulting in an explosion of new patterns, floss and cloth varieties. From historic to modern, sweet to irreverent, there’s bound to be something to suit your taste! Yet no matter how complex the pattern is, the stitching remains the same, making this art form accessible to everyone.
Click on an image below to access the free pattern for it.
Cross Stitch Supplies
The supply list is short, so you don’t have to spend a lot to get started.
Kimberly Jolly shares her list of the top five things you need to start cross stitching in the Cross Stitch University free video tutorial on YouTube. Cross Stitch University is a series of free cross stitching video tutorials on our FlossTube channel designed so you can work at your own pace learning to stitch a free beginner cross stitch pattern from start to finish.
Getting Started with Cross Stitch Supplies
In terms of supplies for cross stitch, the basics you’ll need to get started are:

For beginners, we recommend starting with a simple cross stitch pattern. You can use the free pattern featured in Cross Stitch University or find more free and paid cross stitch patterns at Fat Quarter Shop. The pattern you use will help determine which floss and cloth you select. Jump to this section to see how to read a cross stitch pattern.
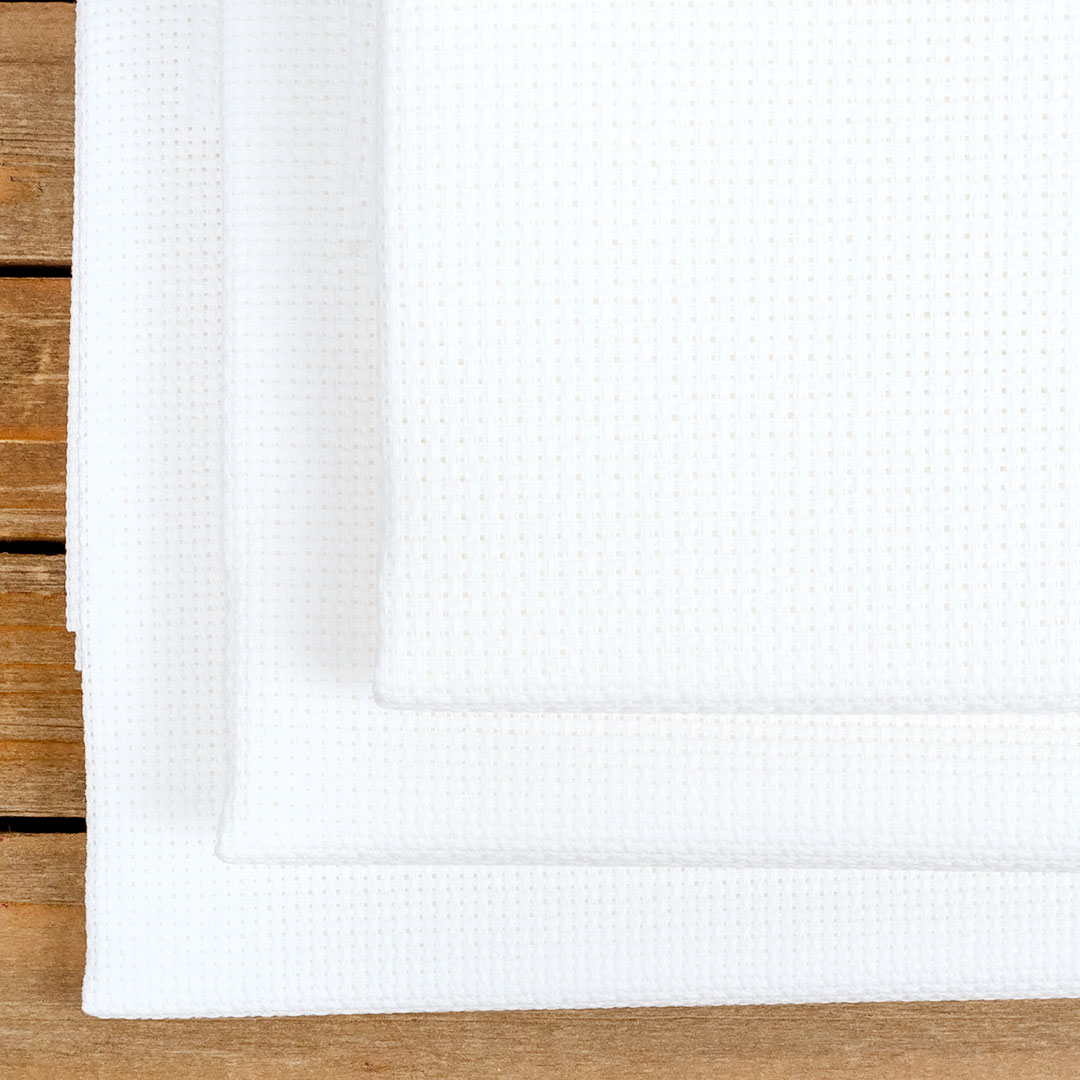
Continuing on, you’ll need some cross stitch cloth, the fabric with little squares or holes in it that you’re going to be stitching on. We talk more about cloth later in this blog series, but for now, you can learn more in our All About Aida, All About Evenweave, and All About Linen videos!
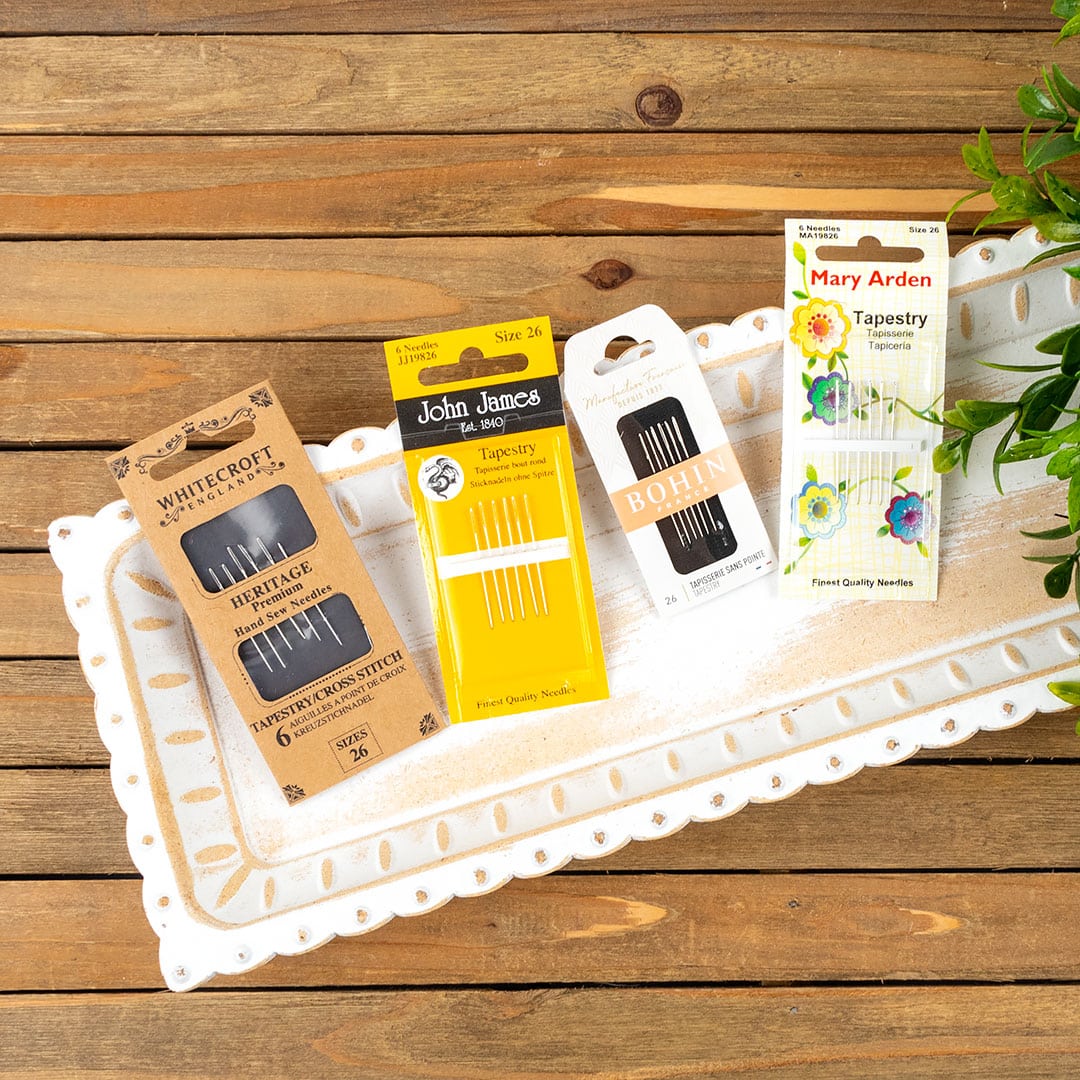
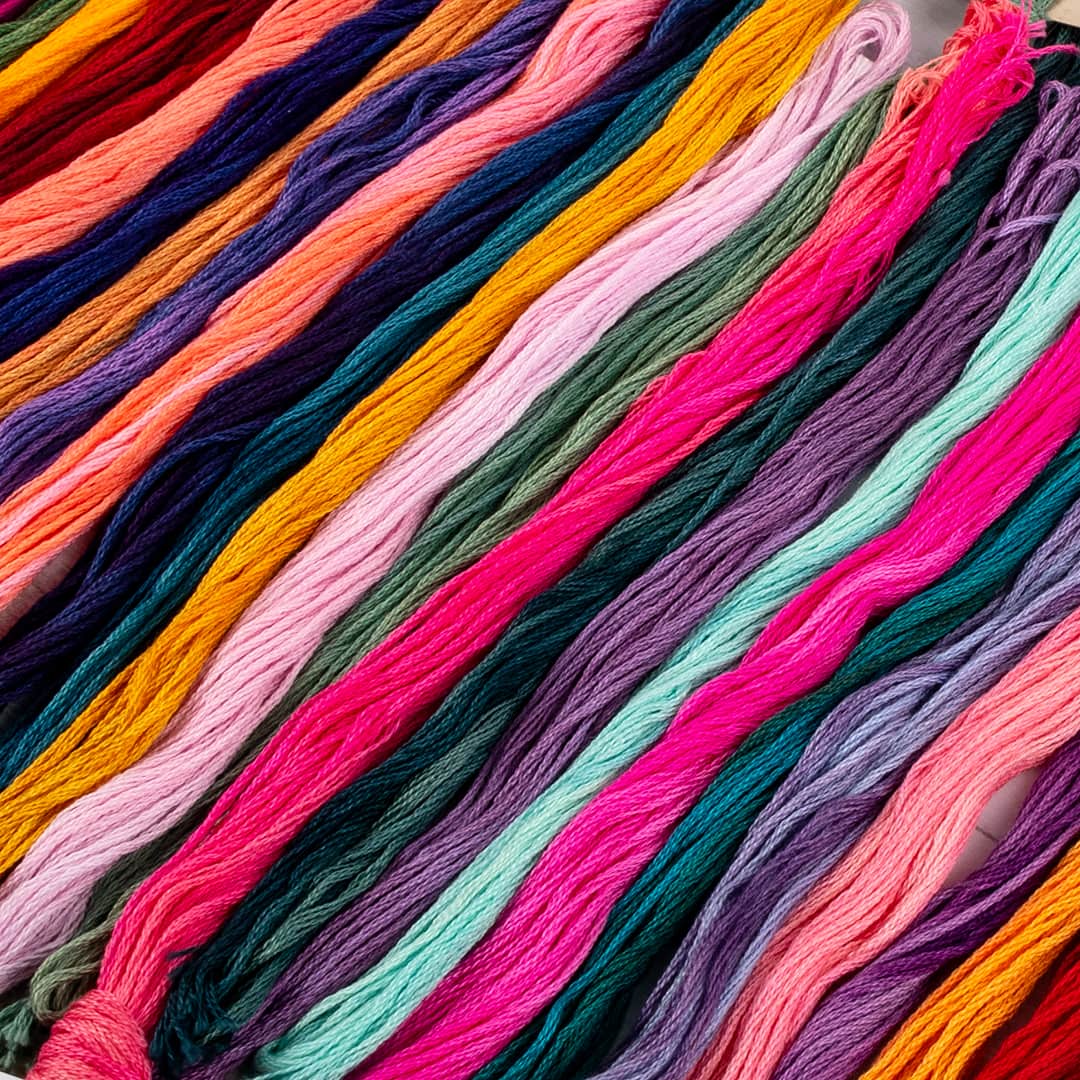
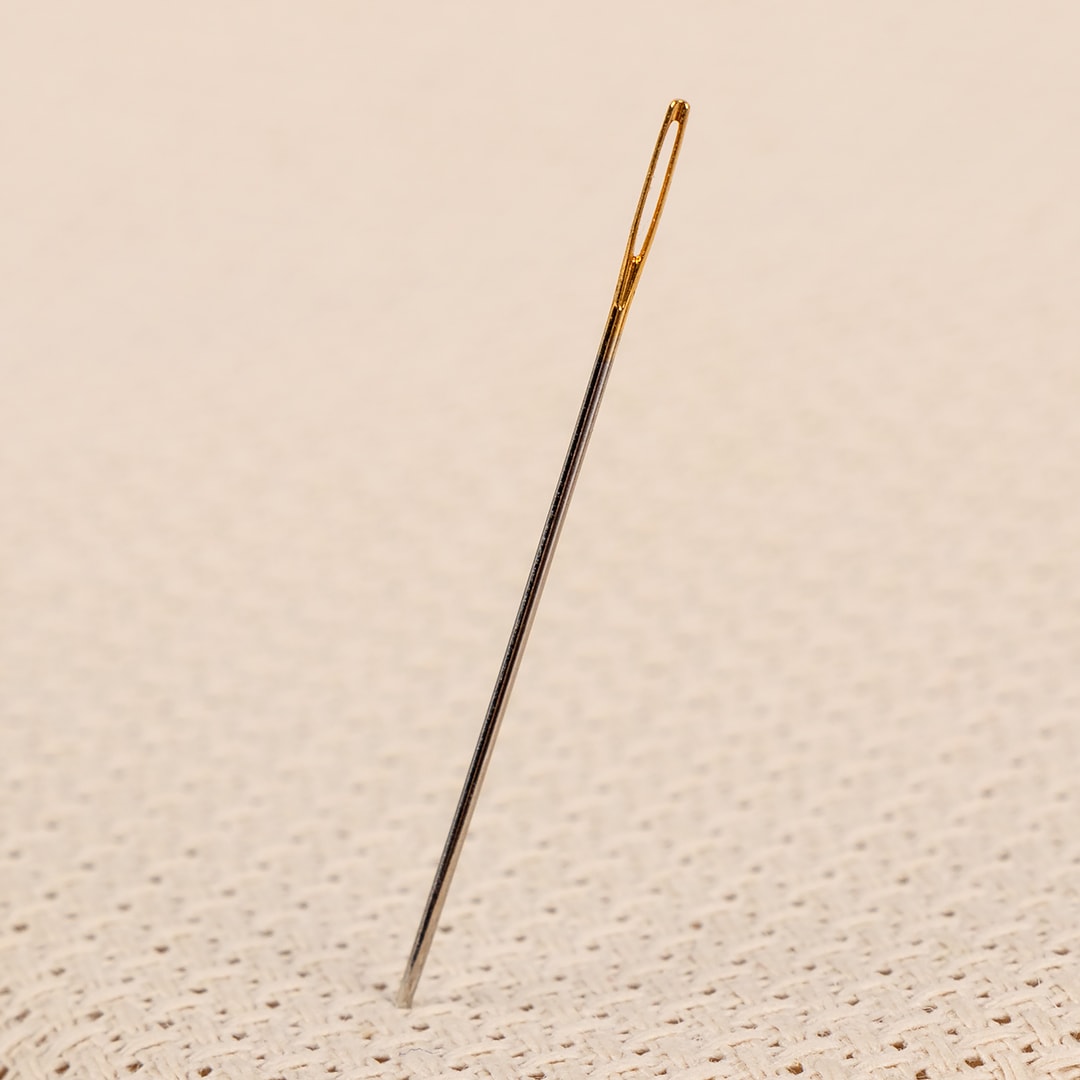
To learn how to cross stitch you’ll also need a tapestry needle and floss. Unlike sharp sewing needles, cross stitch and tapestry needles have a blunt end that glides easily through the holes in the cross stitch cloth. The floss, also called thread, comes in several styles and price points, from simple cotton to hand-dyed silk!
We’ll tell you everything you need to know about needles and floss in the next post in our Learn to Cross series here on the Jolly Jabber blog.
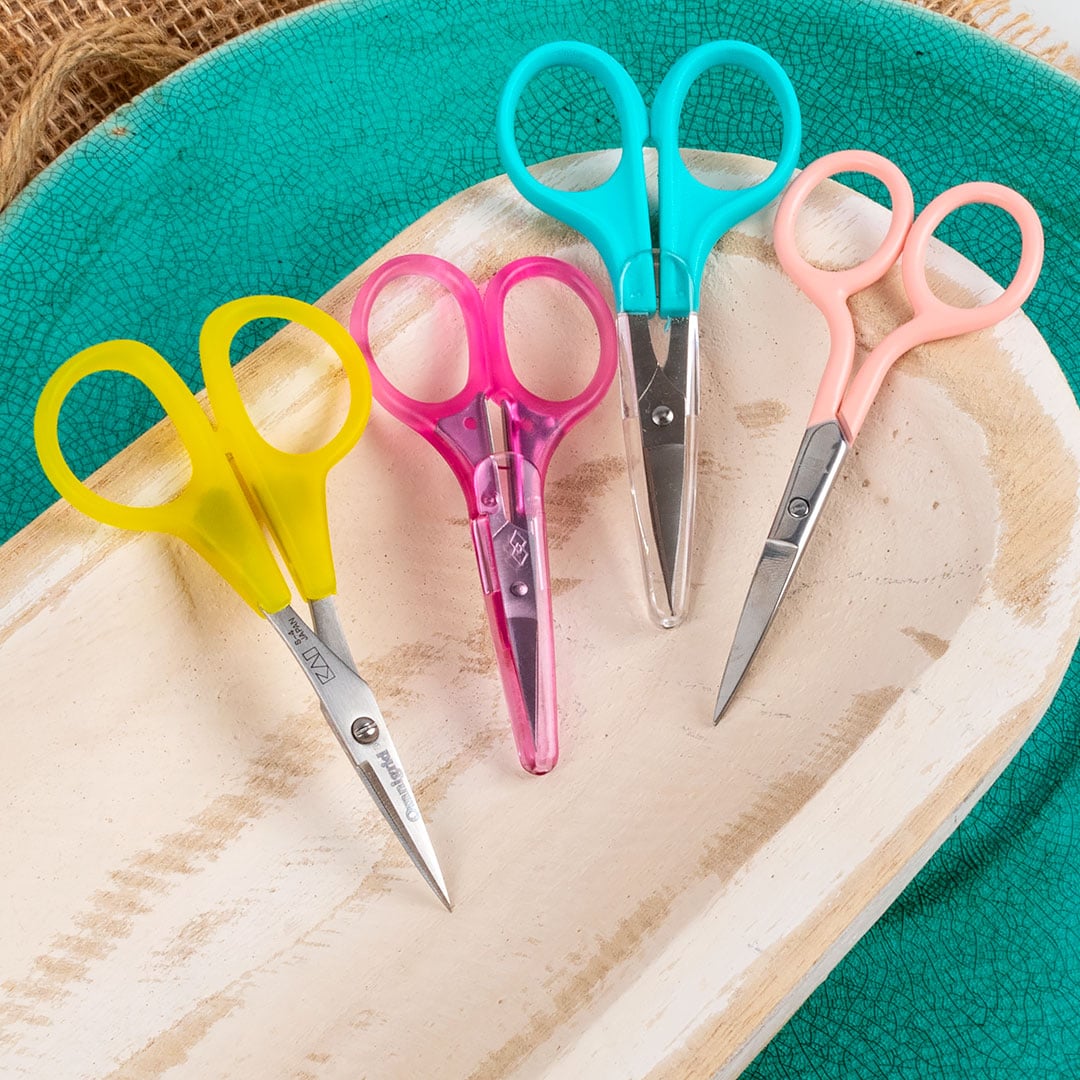
A pair of sharp scissors is an essential tool for stitchers that you probably already have if you’re into fabric. You’ll need them for cutting floss and cloth to the correct sizes.
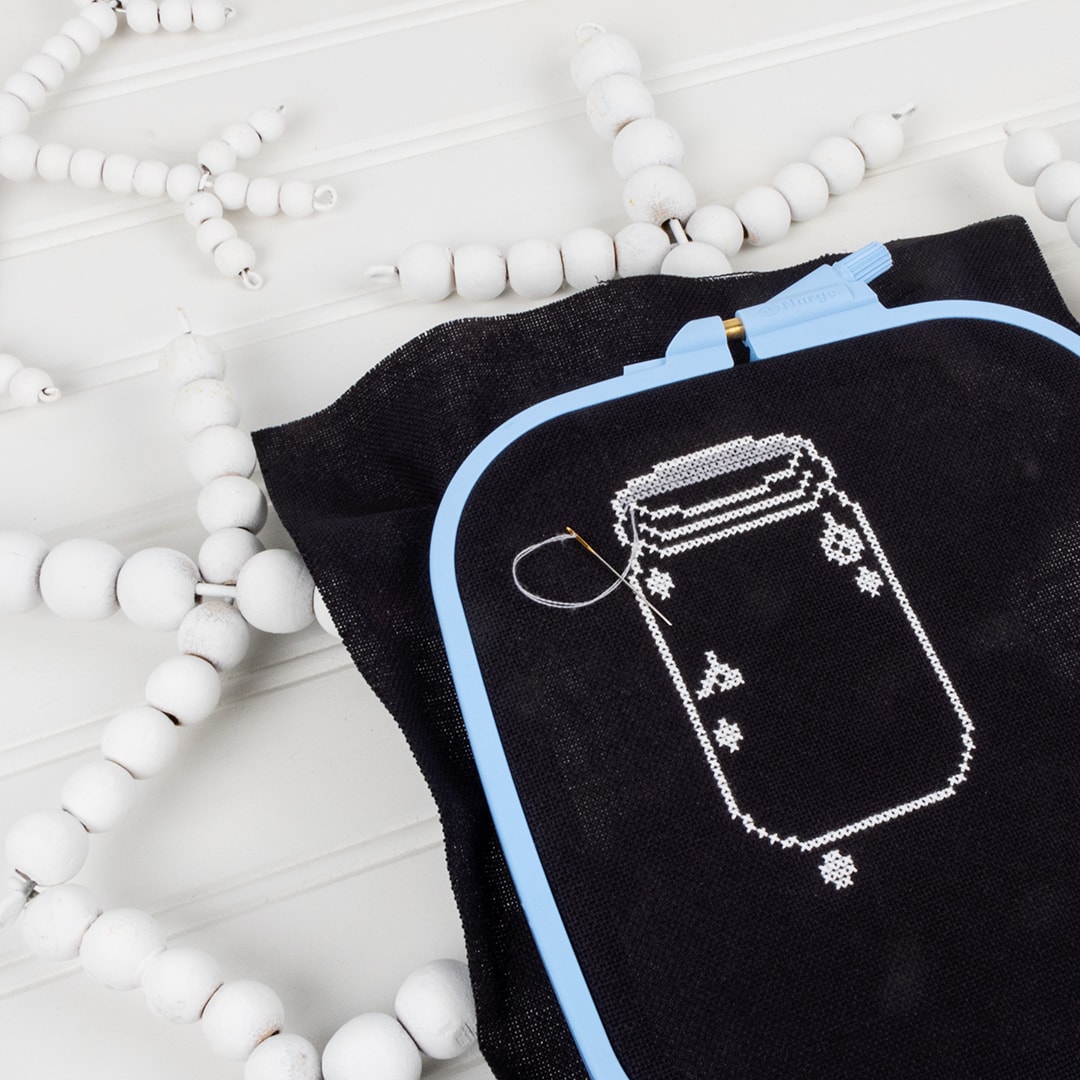
Finally, we recommend using an embroidery hoop to hold your fabric taut while you stitch. These frames may be round or square, made from wood or plastic, in several sizes to suit different projects. You can find out more about them in our All About Hoops video!
How To Read a Cross Stitch Pattern
Reading counted cross stitch patterns might feel like decoding a secret message, but fear not! Anyone can do it. Patterns include a few main sections including cross stitch information, the chart, the thread or color key, and sometimes a list of additional supplies recommended by the designer. Here’s an example from one of our patterns.
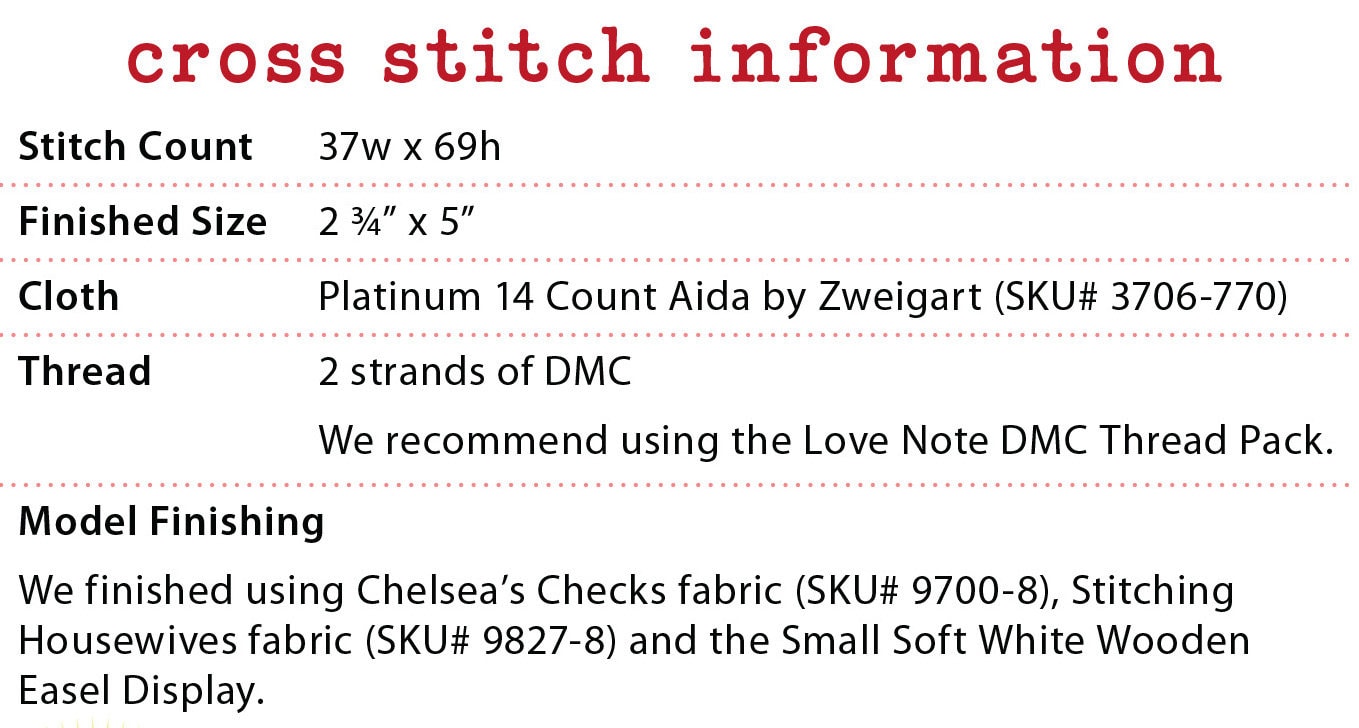
The cross stitch information section is usually on the front or back of the pattern. Based on the recommended cloth, it will tell you the stitch count and finished size. You’ll often find listed below the sizes along with the thread details. Finally, there are sometimes finishing details if a sample piece is shown.
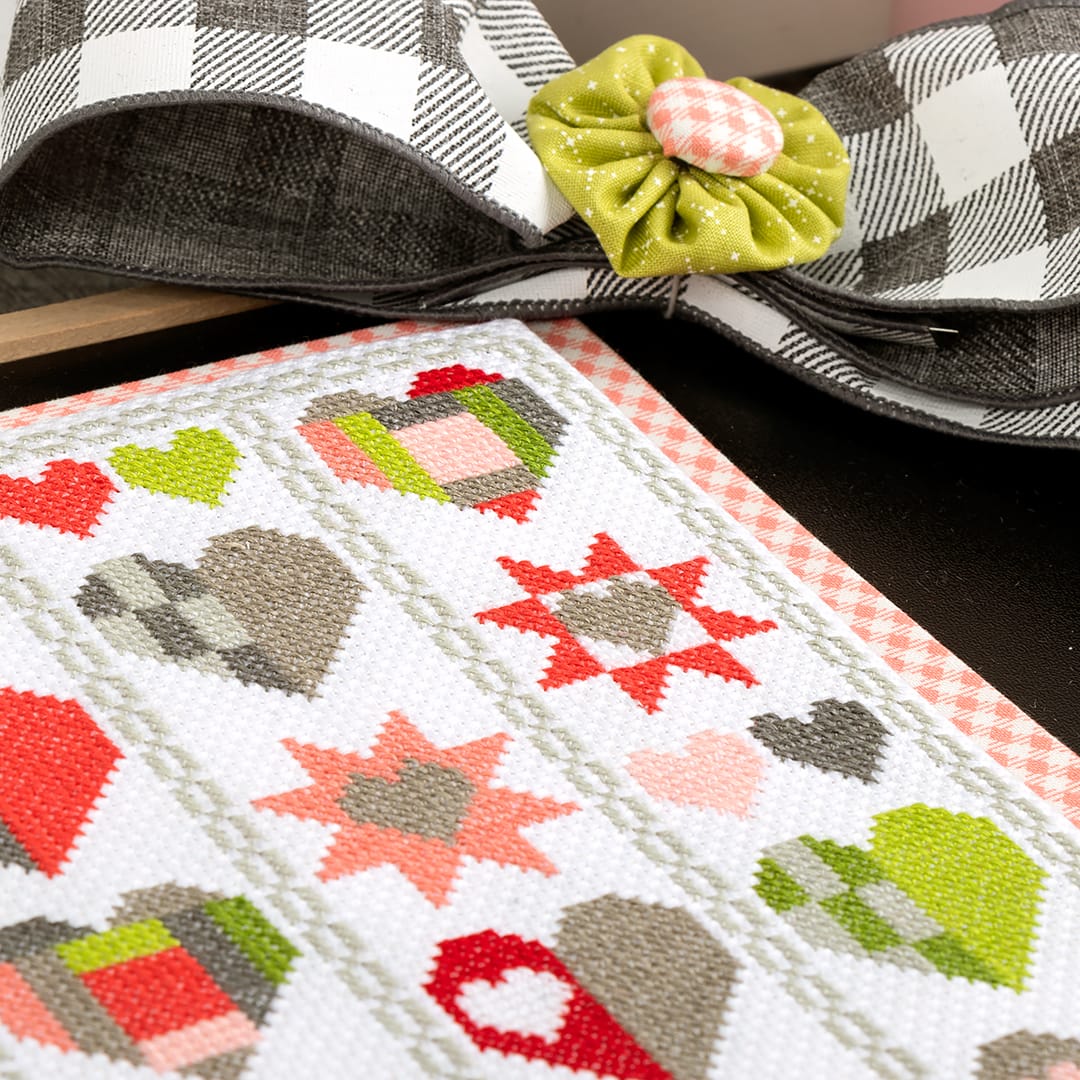
Counted cross stitch patterns are shown on a gridded chart marked with symbols to show you where to stitch on your cloth. This is different from stamped cross stitch where the design is printed on the cross stitch cloth.
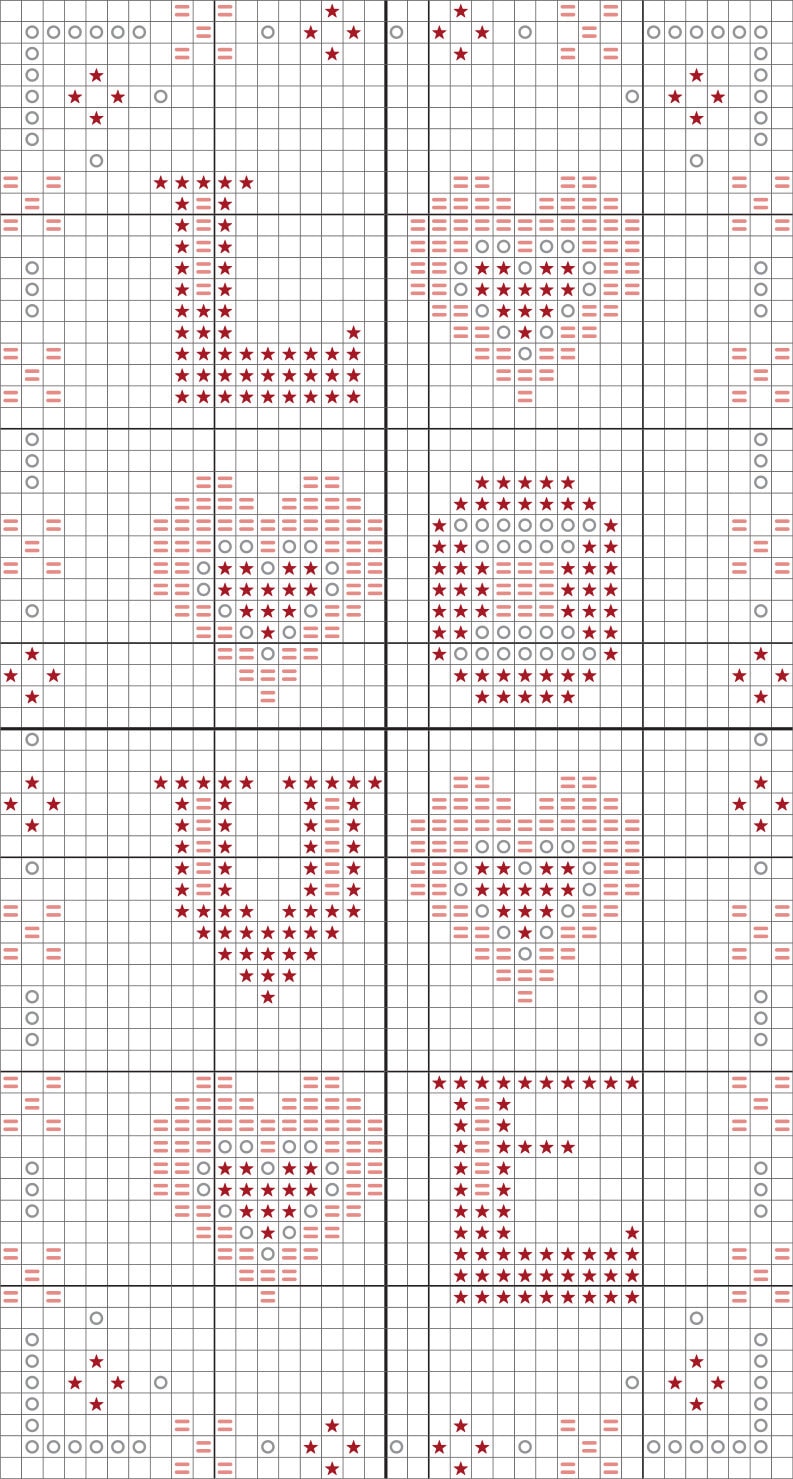
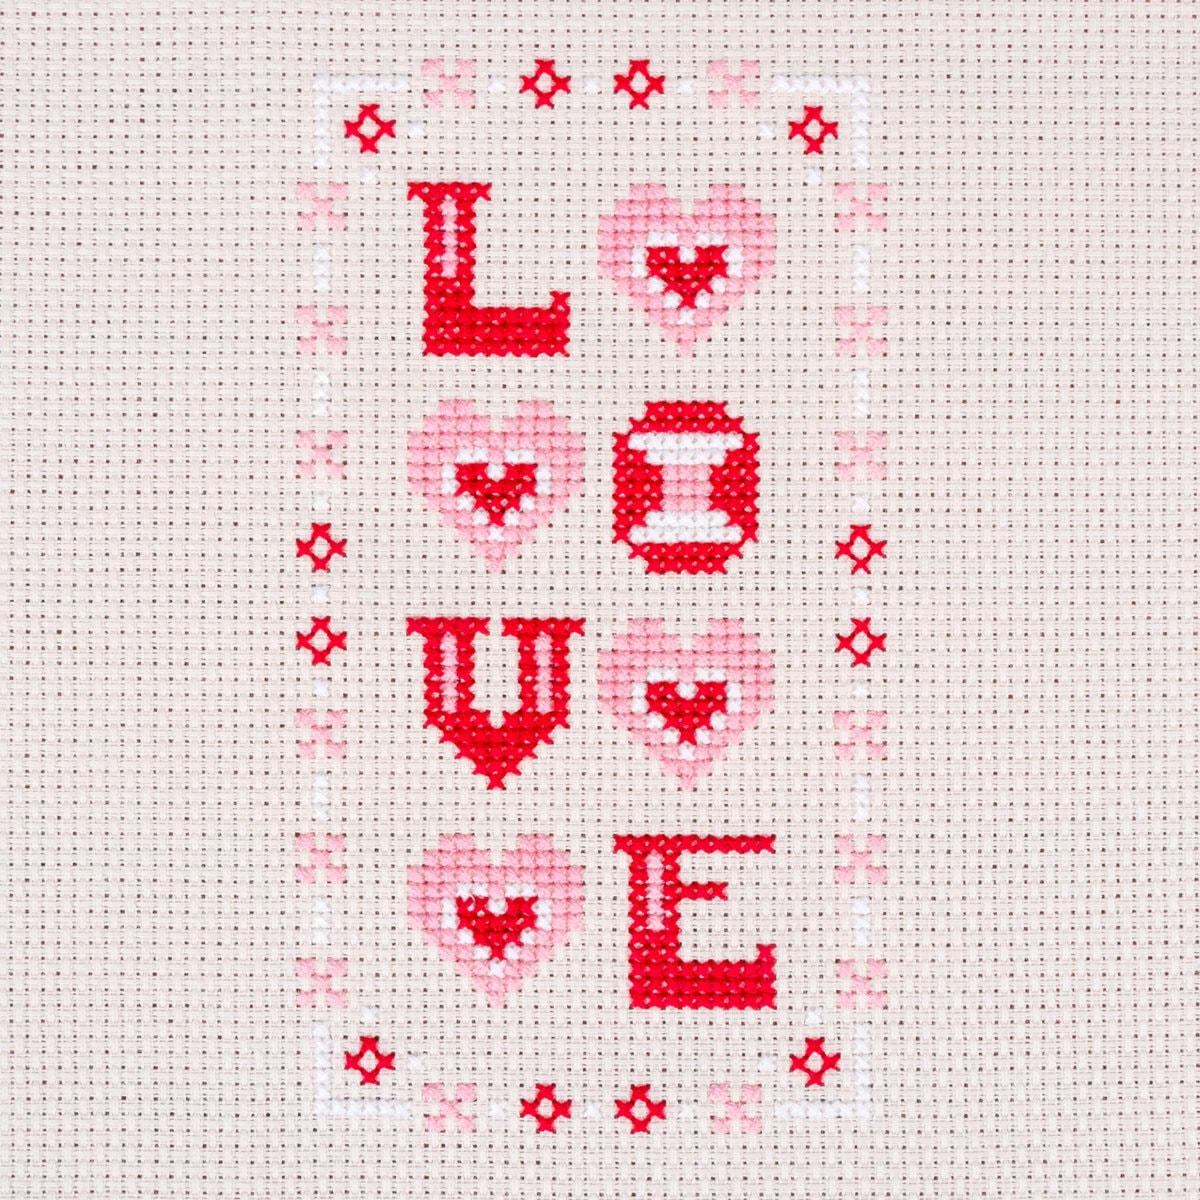
In the example above, the layout of the chart matches the grid design of cross stitch fabric. Each square on the chart is a square on your cloth. So, if you see a row of five star symbols on your pattern, you know to make five red stitches in a row on your fabric.
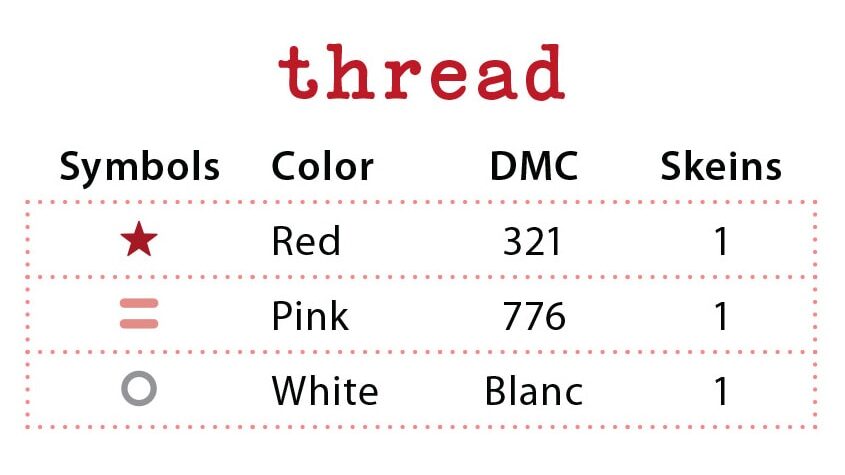
Every symbol on this chart represents a specific color of floss, which is shown on the thread key within the pattern, as you can see in this thread key above.
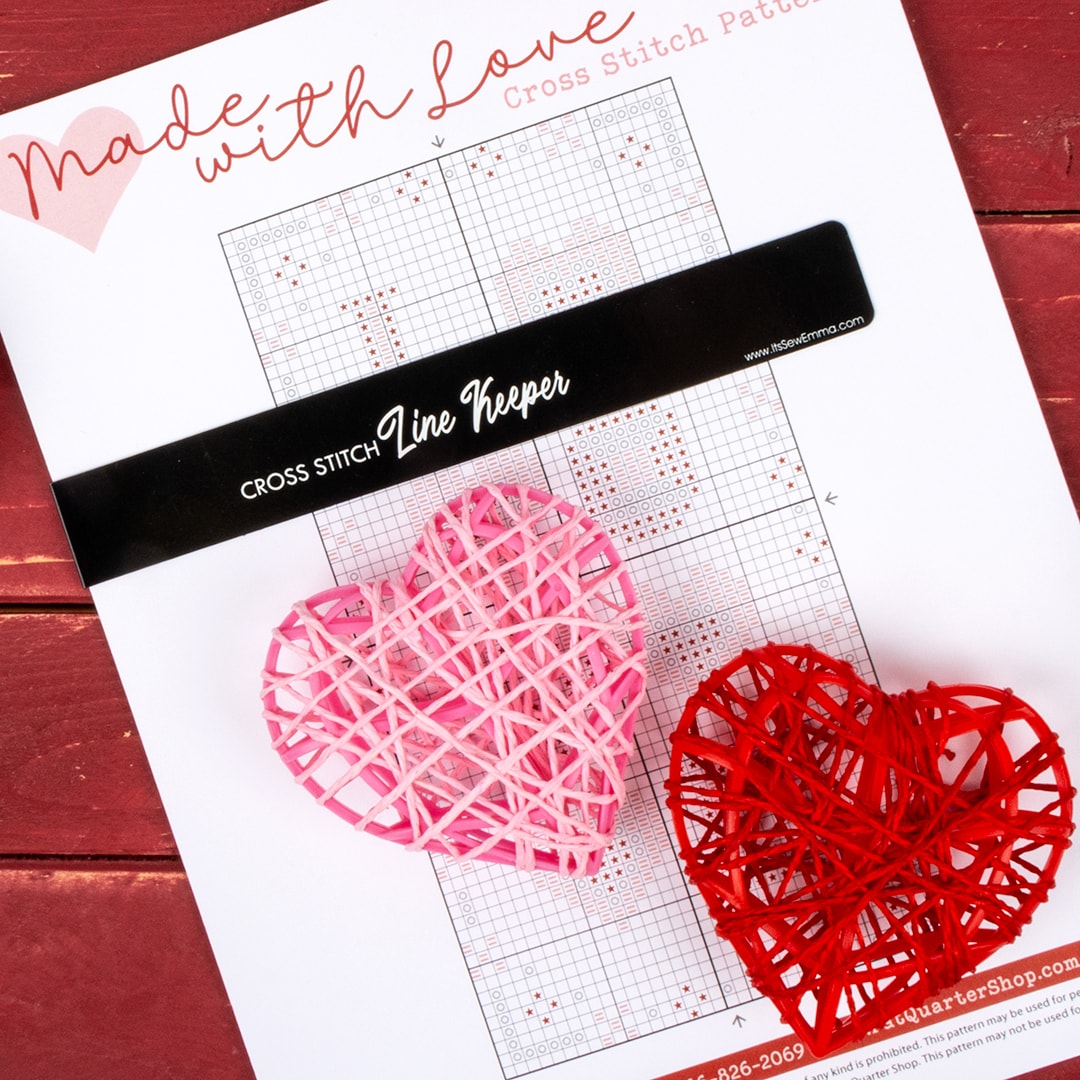
Many stitchers find line keepers to be useful to mark where in the pattern they are. The top edge of the magnet aligns with the row you’re working on so you never lose your spot!
Kimberly Jolly shows how to Read a Pattern in this video from Cross Stitch University.
Next Up for Beginner Stitchers
This is only the start! From floss to finishing, we’re going to tackle it all. We hope you continue to join us for our Learn to Cross Stitch Series by subscribing to this blog. On the desktop, you’ll find the Subscribe sign up near the top of the right-hand menu area, and on the phone, it’s near the bottom of the page.
We’ll be sharing everything you need to know about cross stitching throughout this series the first Tuesday and third Thursday of every month, until we reach the end! Check back April 2 because next up we’ll be sharing our guide on floss and needles.
Drop a comment below and let us know… what questions do you have about cross stitch? If you already stitch, who’s your favorite pattern designer?
Happy stitching!
Stay connected to Fat Quarter Shop!


19 comments
I followed the free pattern and watched the Cross Stitch Iniv.
My first experience and I feel I did a terrible job!
Trying to stitch in uniform stitches was my problem. If going left to right then I would get caught and stitch right to left.
How does a person avoid this?
Hi Judith!
I’m so sorry your first time stitching was so rough. That’s what we’re hoping this series over the next few months helps with!
We will be focusing an entire blog just on stitching and stitch types themselves, so keep an eye out!
In the meantime, I’ll work on getting you an answer to this and be sure we answer it for others later in the series!
Thank you for sharing your questions!
I find this very confusing…patterns hard to follow
Hi Shar! This is just a very basic introduction to cross stitching, but have a lot more to come explaining everything.
In one of our videos Kimberly explains step-by-step how to read a pattern here: https://youtu.be/1nw_OtZdjQw
Is there a particular pattern you’re trying to stitch and getting stuck on?
Hi and thank you for offering this!!! The only part of cross stitch I have a hard time with is the “stitch count.”
I’m stumbling try to get it!! What’s up with me!?!?
Hi Colleen!
You are not alone at all in this! We’re so glad to have you following along and I hope we can make it clearer for you as we go along!\
Thank you for sharing your questions!
For those who are new to Cross Stitch, FQS does an awesome job at teaching. I would recommend that you watch each video over and over until you feel comfortable. Don’t become frustrated with yourself. Once you learn the basics, you will love this craft. Cross stitching has a way of putting you at ease especially if the day was rough. When you see your finished project you will probably pat yourself on the back. Take your time, learn each segment of the program and before long you will have something beautiful to display in your home. (P.S. my favorite designers are Primrose Cottage and Robin Pickens).
Hi Sherry!
Thank you so much for the compliments to us, but also sharing this advice with everyone! ♥️
I bought the CSU pack at Christmas time. I had to pick out the border twice and start over. I was getting frustrated. The FB group suggested that I start in the middle and work my way out. I am done with the house and the stars, now I am starting the borders. FIngers crossed, everything finally comes out right! I used to cross stitch when I was young. I was looking for something to do in the evenings while we watch TV after a long day, since my mister frowns on me sewing in the evenings. So far I have bought 3 more patterns to work with this year! But, I do have a question. Can we substitute fabric if we need to?
I’m not with FQS, but you can change fabric anytime. Some people prefer a certain type – Aida, Even Weave, Linen, so they swap out. FQS has a calculator on their website to help you figure out how much fabric you will need based on the fabric and the stitch count of the project.
I’m looking forward to this series. For everyone who started stitching but are frustrated, I’m sure this is no different than learning any new skill… it takes practice!
I started cross stitching again after a lapse of several decades. I know this series will help me expand my knowledge of floss and fabric. Back in the day we had limited fabric choices. This is a whole new world!
Has anyone tried using a frixion pen to outline the finished edges of the pattern before beginning stitching? I’m considering doing this on the recent Stitch Quarterly I received. I lose my place and count so many times and I’m hoping this will help. Does anyone have any other suggestions?
I haven’t done this, but I do sometimes outline an area so I can fil it in without counting. Kimberly talks about this in one of the cross stitch university videos.
Some people actually grid their fabric with a pencil. You can find videos on YouTube. This is too much work for me, but some people do it.
I purchased the CSU kit and look forward to learning how to cross stitch. Since I am a very visual crafter, thank you for this “Learn to Cross Stitch” for beginners.
I just finished reading this guide and it really took me back to when I first started stitching. The guide does a great job of simplifying the essentials you need to start, like choosing the right fabric and floss. It reminded me of my own early mistakes, like not securing my thread well enough, which led to many loose ends! I appreciate how the blog breaks down the reading of patterns into easy steps—something I struggled with initially but now find quite satisfying. The part about the optional but recommended tools like the embroidery frame is spot on; using one really helped me keep my fabric taut and my stitches even. For anyone just starting out, this guide is a fantastic resource that makes cross stitching approachable and fun!
Jolly – Your “Learn to Cross Stitch” blog series does an amazing job simplifying cross-stitch basics and breaking down patterns for beginners. The optional tools recommendation, like the embroidery frame, really helps keep fabric taut and stitches even, making cross-stitch approachable and fun for new stitchers!