
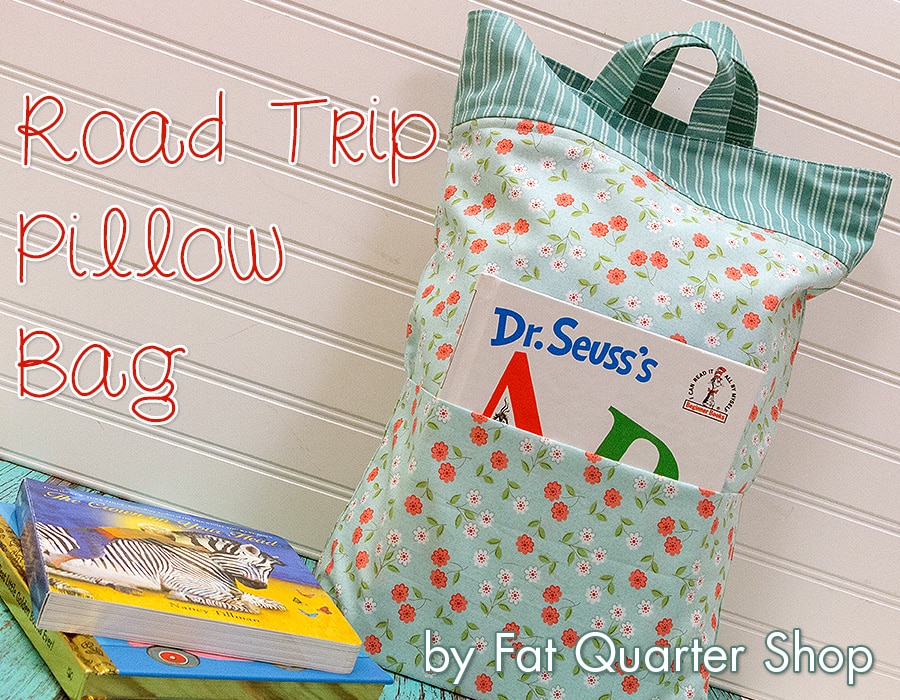
With school holidays coming up, lots of trips (especially road trips) are in full planning mode! We have the perfect little project to keep your little ones comfy as well as giving them a place to store their road trip necessities. We used the Nest collection by Lella Boutique for Moda Fabrics for our bag but you can put your own creative twist on it! Here’s what you’ll need to get started:

Supplies:
- 7/8 yard of main print (SKU# 5062-15)
- 1/2 yard of accent print (SKU# 5066-16)
- 1 spool of 50wt Aurifil Thread (50wt Aurifil Light Grey Turquoise)
- 12″ x 16″ Pillow Form
Cutting:
- Main Print –
- 2 – 13 1/2” x 15 1/2” rectangles (bag background)
- 1 – 13 1/2” x 16 1/2” rectangle (pocket)
- Accent Print –
- 2 – 4” x 13 1/2” rectangles (inside cuff)
- 2 – 4” x 7 1/2” rectangles (handles)
- 2 – 3 1/2” x 13 1/2” rectangles (outside cuff)
Instructions:
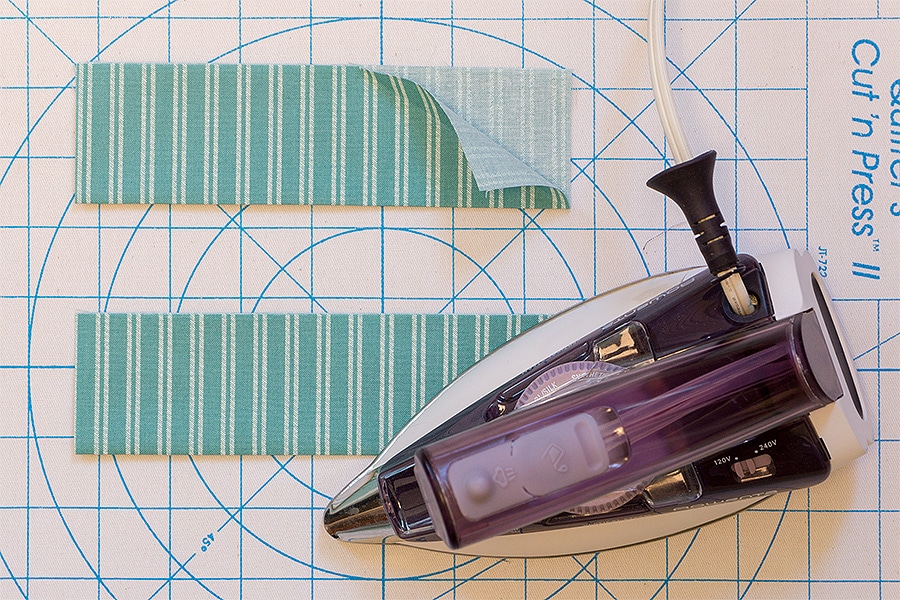
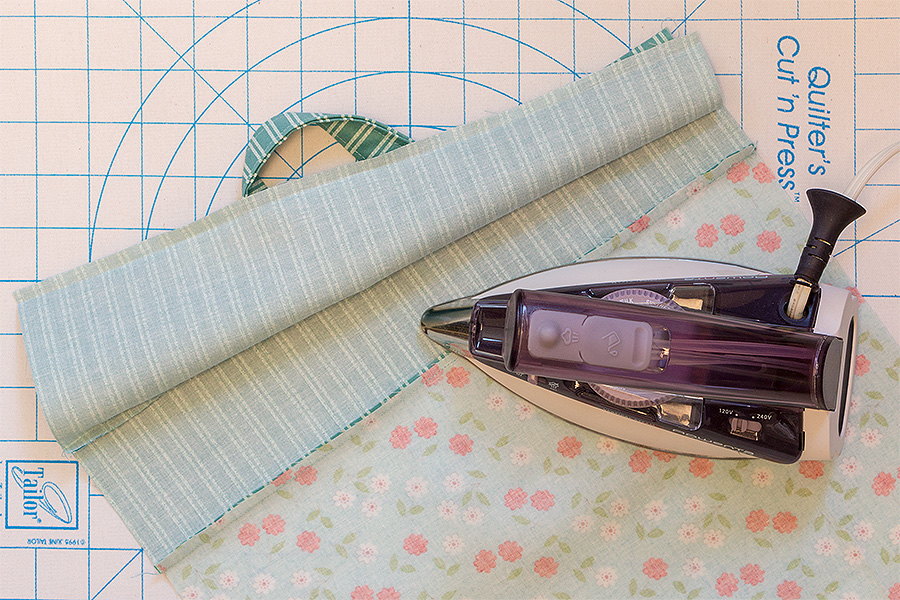
1) Fold the 4” x 7 1/2” accent rectangles in half, lengthwise. Press.
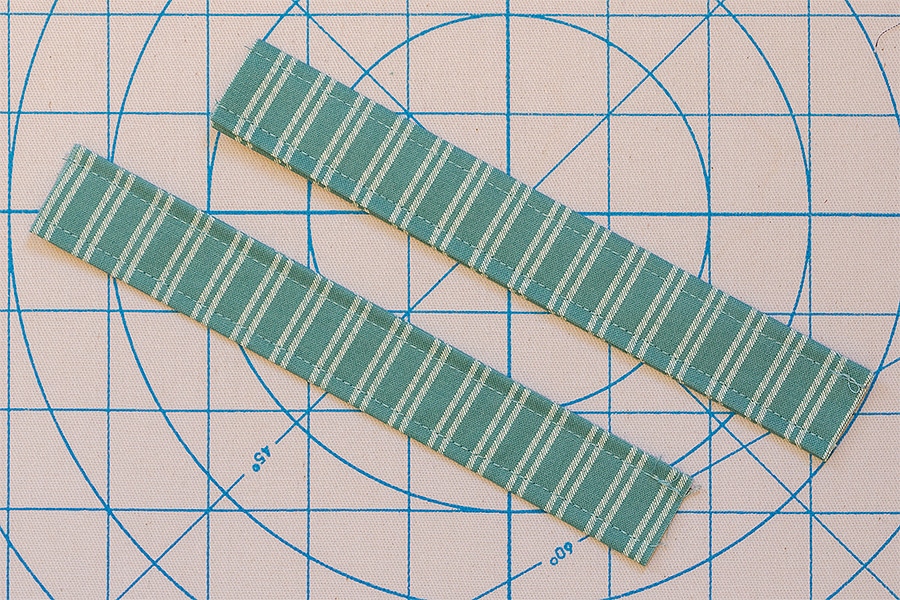
2) Open and fold each edge in to meet the fold mark in the middle. Fold in half again. Press. Topstitch 1/8” away from edge on both sides of the Handle Unit.
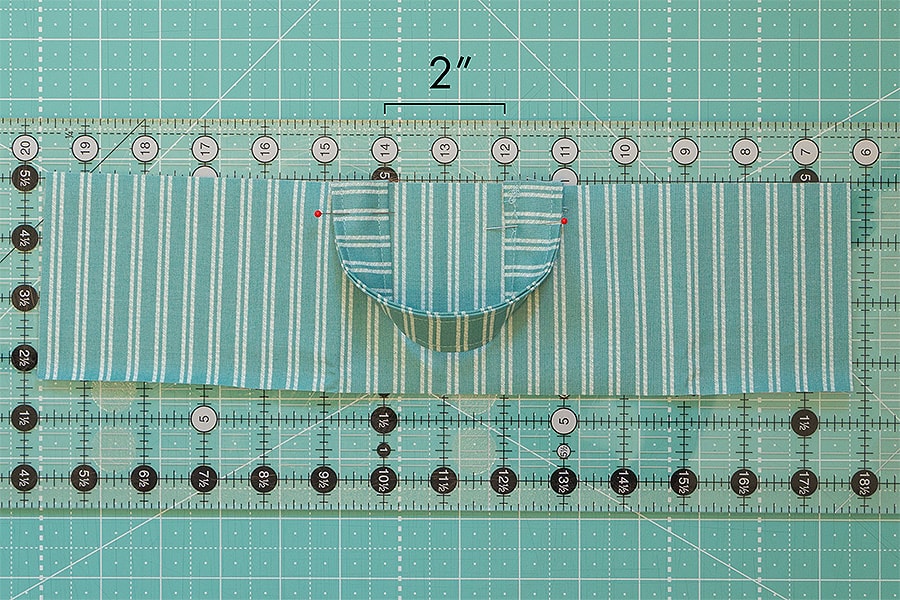
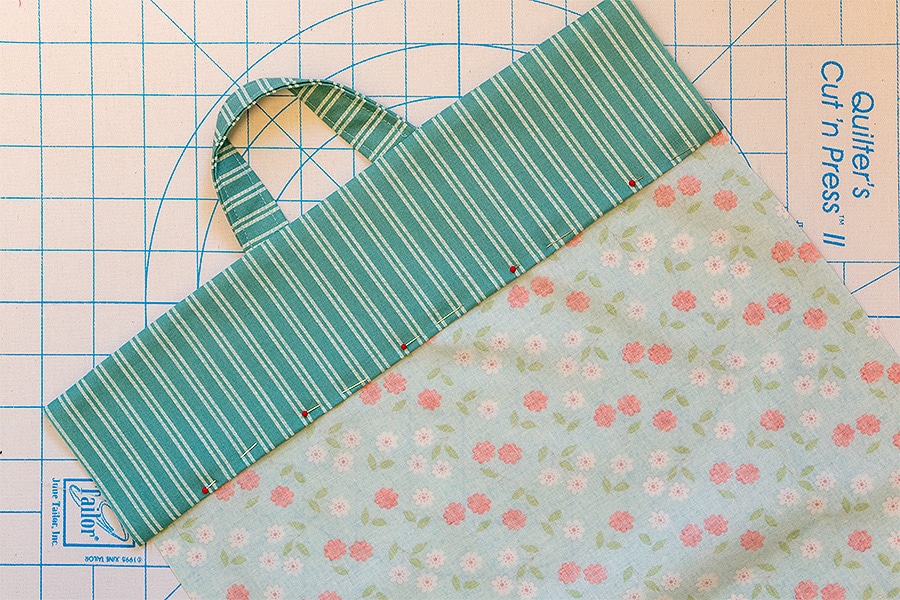
3) Pin a handle to the right side of a 3 1/2” x 13 1/2” accent print rectangle. Measure a 2” gap between the inside edges of the handle, and 4 3/4” from each side. Pin in place.
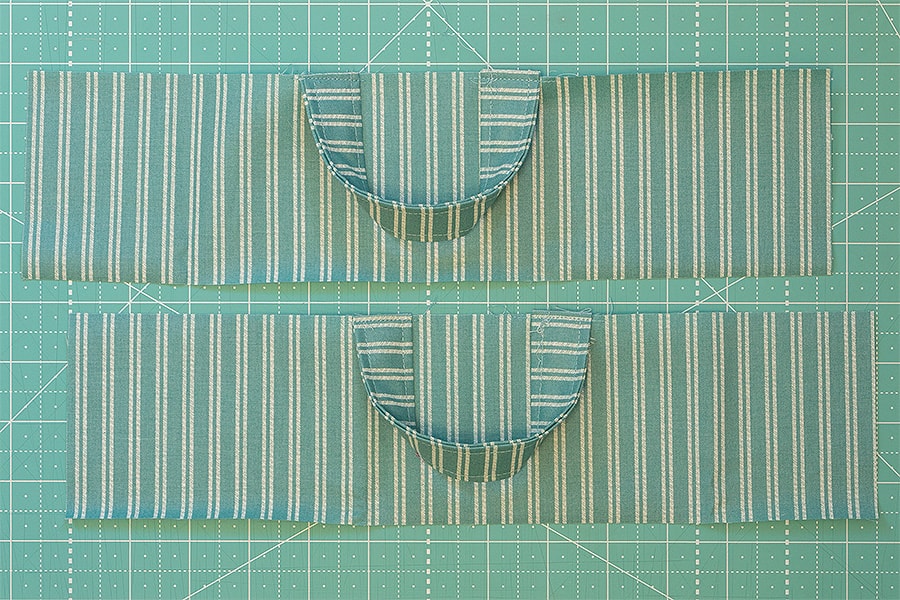
4) Using a 1/8” seam, sew the handles to the 3 1/2” x 13 1/2” accent print rectangle. Repeat with the other handle.

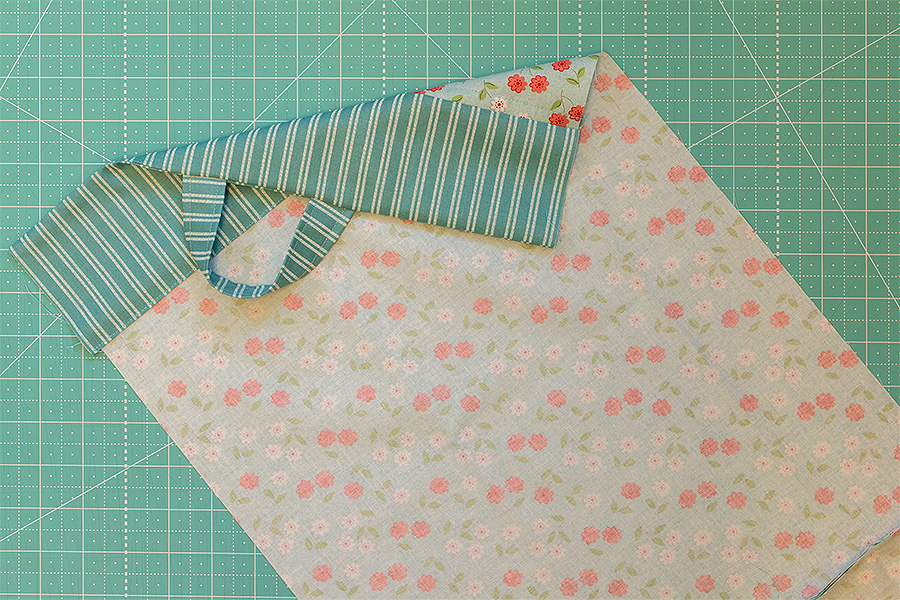
5) With right sides facing, layer the outside cuff and the 4” x 13 1/2” accent print rectangle matching raw edges. Sew along raw edge using a 1/4” seam.
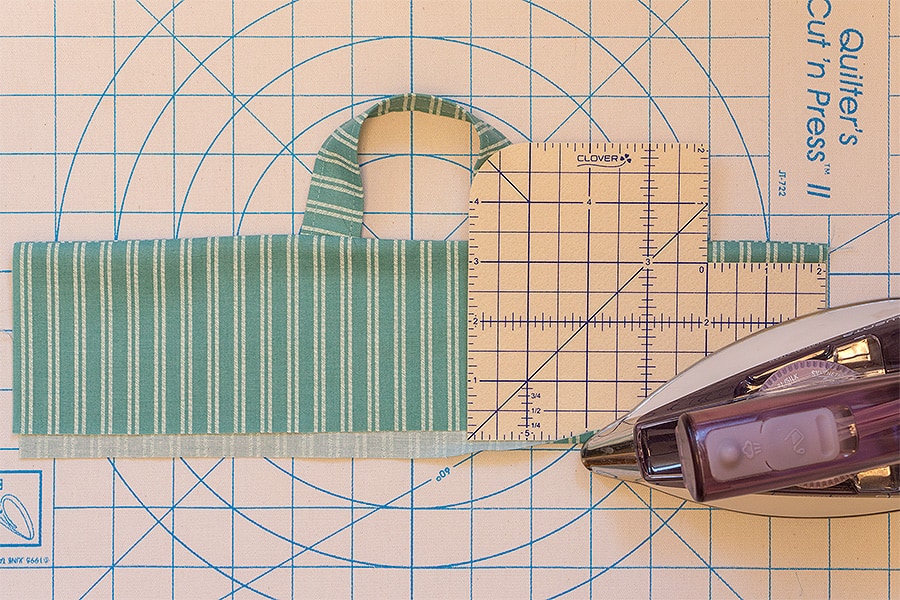
6) Fold up the bottom edge of the cuff unit 3/8” to create a finished edge. We recommend using Clover’s Hot Hemmer to get a really precise edge. Repeat for the other bag handle.
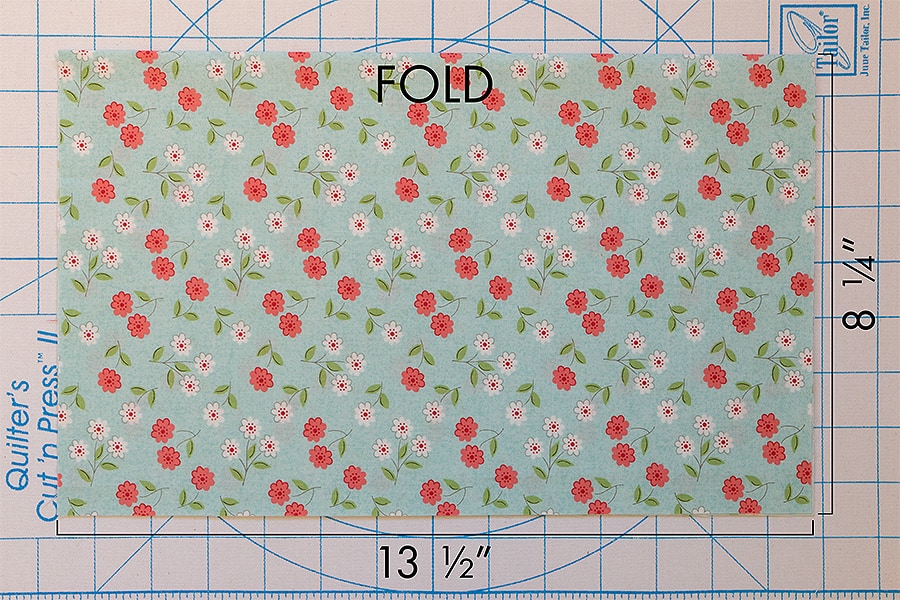
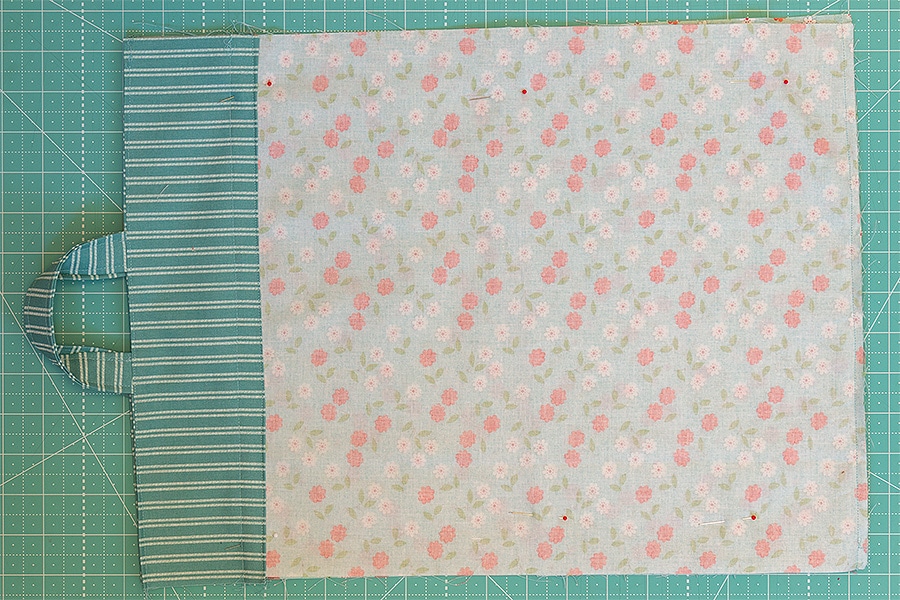
7) Fold the 13 1/2” x 16 1/2” main print rectangle in half along the long edge to create the book pocket.

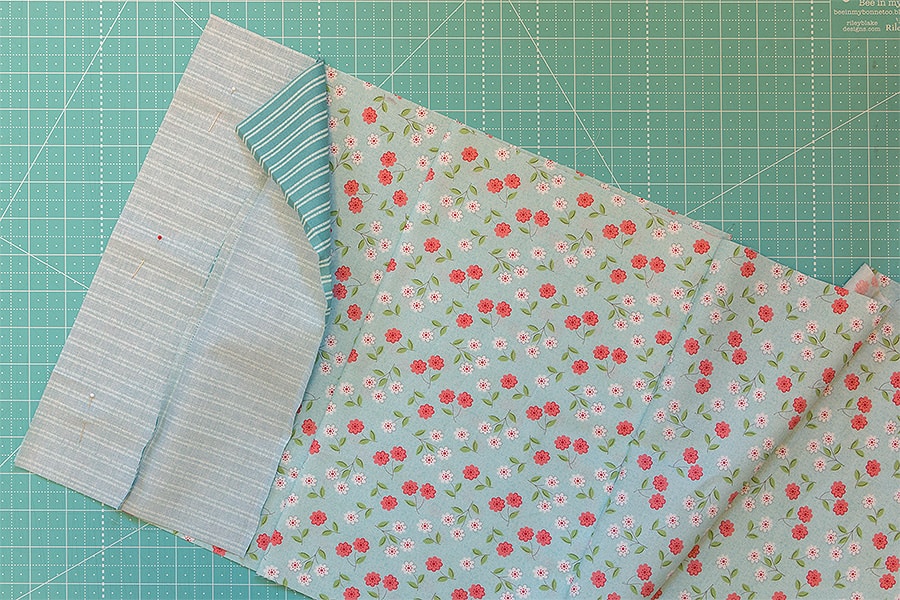
8) With right sides facing, layer the folded pocket between the 13 1/2” x 15 1/2” main print rectangles matching raw edges. Sew along the bottom edge of the bag using a 1/4” seam.
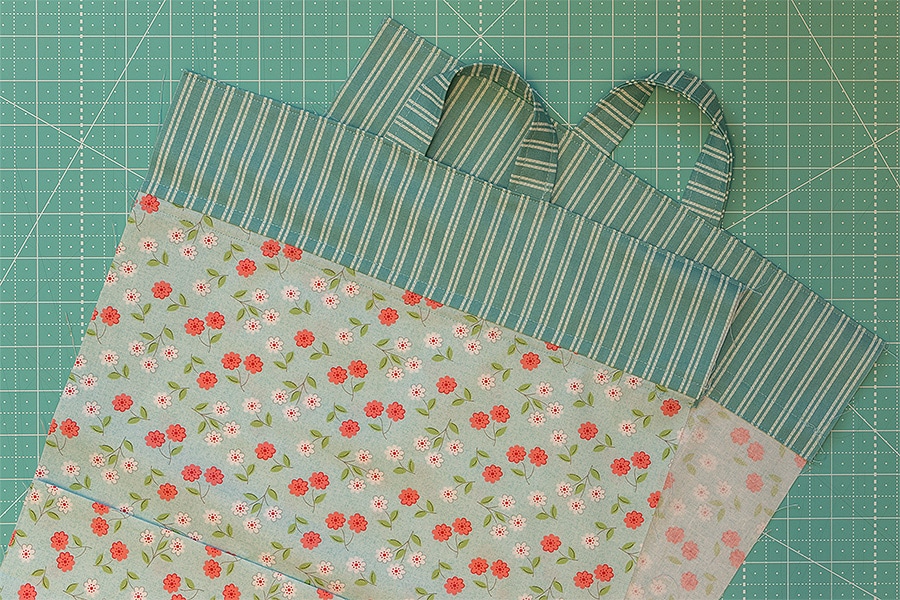
9) With right sides facing, layer a cuff unit and the main bag unit. Make sure to match the raw edge of the outside cuff unit to the main bag edge.
10) Sew along the raw edge using a 1/4” seam. Press toward the cuff.
11) Pin the finished edge of the cuff to the bag unit and sew along the edge.
12) Finish the cuff and handles off with a top stitch right below the open edge and the seam between the cuff and the main bag unit.
13) Repeat on both cuff edges.
14) Sew along the left and right edges using a 1/4” seam. Backstitch at beginning and end. To help finish off the inside of the bag use a zig zag stitch along the raw edges. Backstitch at beginning and end.

And that’s it! You now have yourself a super cute Road Trip Pillow Bag, perfect for taking on your next trip. We hope you decide to make your own Road Trip Pillow Bag and if you do, be sure to hashtag #RoadTripPillowBag so we can see and share your work. Happy quilting!
Stay connected to FQS!


15 comments
well that is pretty nifty! never thought of handles or pocket on a pillow case before… will be making a couple for the summer road trips! thank you!
Super cute, but wondering what size pillow I need?
I am curious about pillow size too.
I would probably make one as the ones I found were all different sizes.
Thanks!
I love it!!! What size pillow?
This would be for a Travel size pillow, standard pillows are 20x 30.
What a cute Travel Pillow Bag! Love the fabric choices, and perfect size for each child/person to take some things in along with their small pillow!Thanks for the tutorial!
Travel Pillow size is 12 x 16″
Cute idea! Could adapt to whatever size you want.
This is really handy! We never travel without pillows, so I love this pattern!
what a great idea!!! I love giving goodie bags to keep kids occupied during long trips 💕🤗
What an awesome tutorial!! Thank you! ❤️
What a perfect craft project for making traveling on a family road trip more comfortable and fun. Our readers will love this idea. We’ve shared your tutorial in our latest craft inspiration roundup on Crafty Like Granny dot com Cheers Jodie 🙂
What a cool idea! I’ll have to think about modifying this to hold a regular pillow & maybe a small throw blanket (in place of the book). That would be brilliant for traveling with a kiddo who wants to take a pillow & blankie into a hotel, etc. Looks like the handles are small enough that they wouldn’t cause a strangulation hazard either!
This was my 6 year old grandaughter’s first sewing project. We finished it in one afternoon yesterday. It is so cute!!
It’s a great idea. Design in so much beautiful. Thanks for sharing idea.