
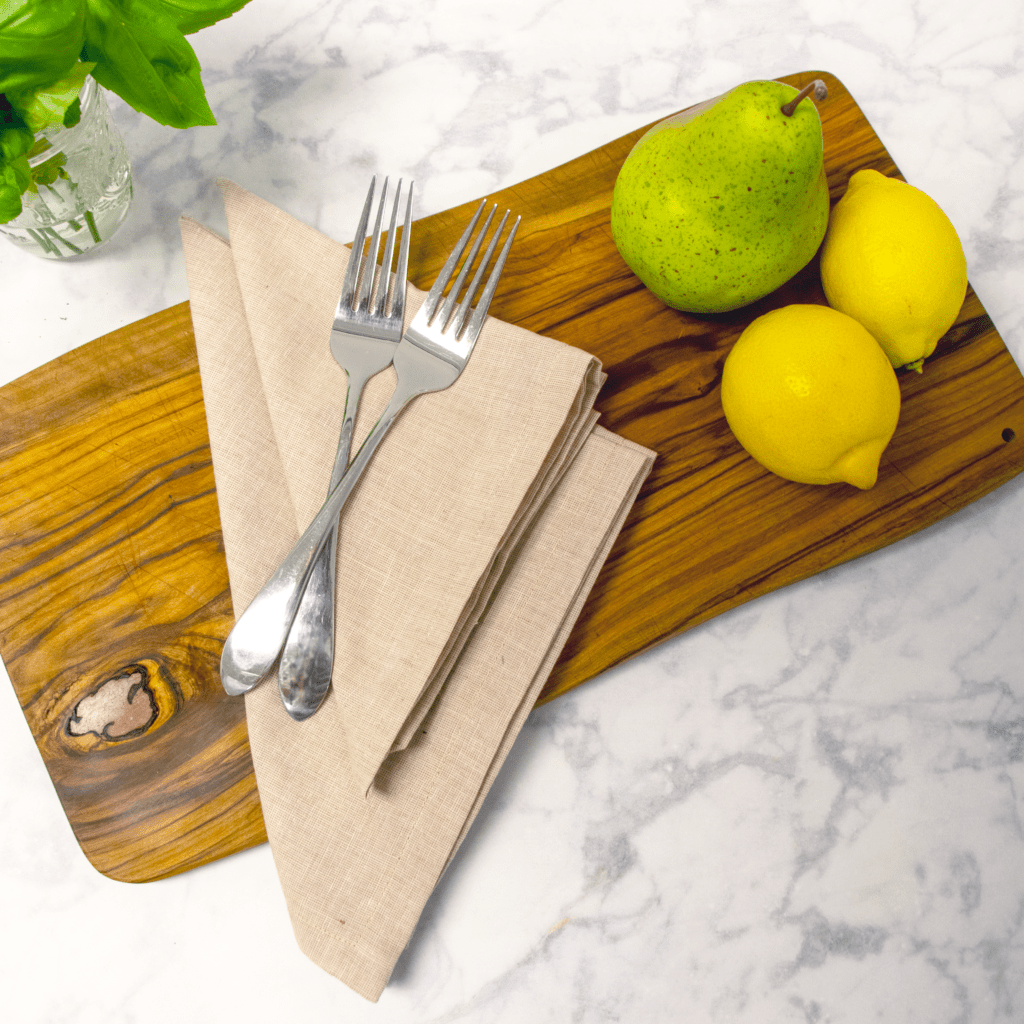
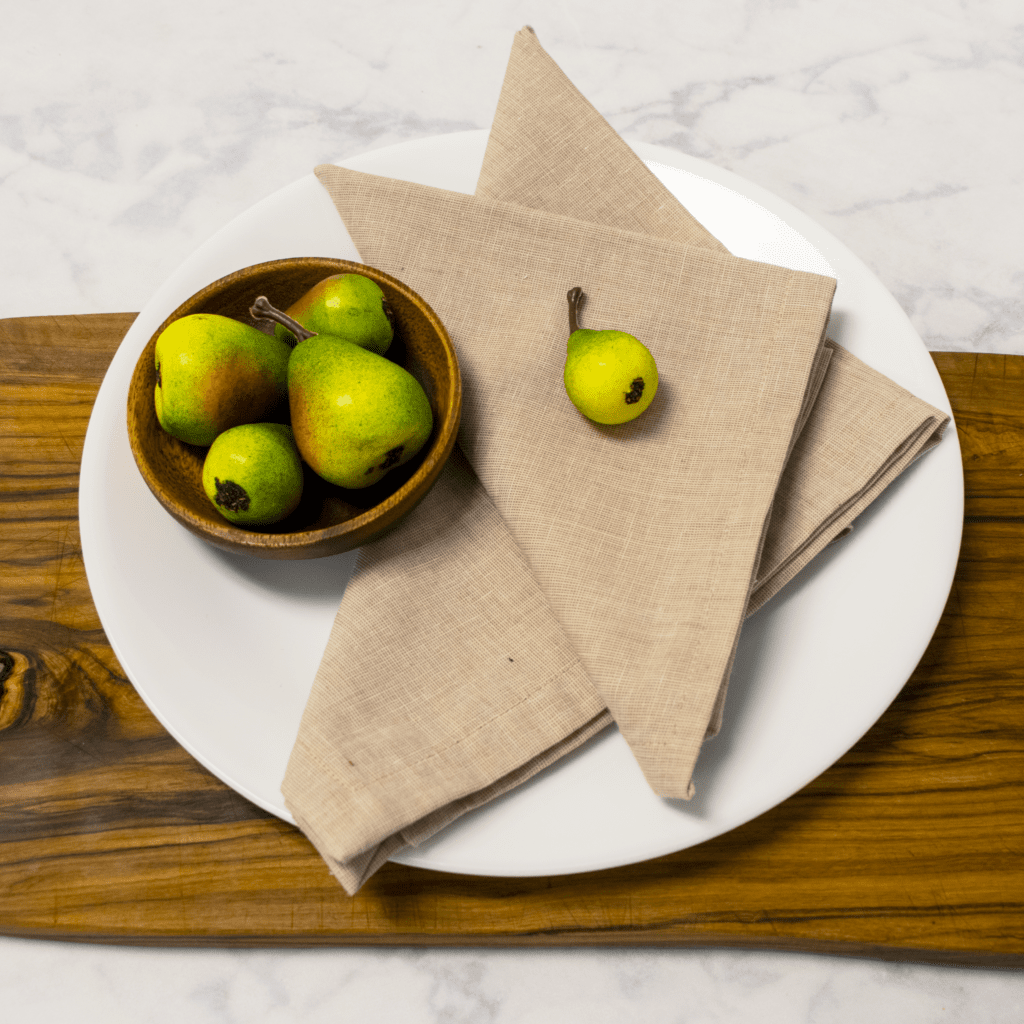
Today we’re bringing you an EASY tutorial for sewing napkins. This tutorial is super beginner-friendly and easy to knock out in one day! A set of cute napkins can make for a great gift since they’re useful, and you can personalize the fabric choice to whomever the napkins are for, to match their personal style or décor.
Are you ready for a simple and fun DIY project that will beautify your table? Keep reading for all the details on how to sew a napkin with mitered corners so easily you’ll have them ready by dinnertime!
Supplies
Besides your trusty sewing machine, you only need a handful of supplies for this DIY project!
When we saw the Compass Collection we knew the woven fabrics would be perfect for this DIY project due to the wide variety of simple solids, stripes, checks, and subtle color palette.
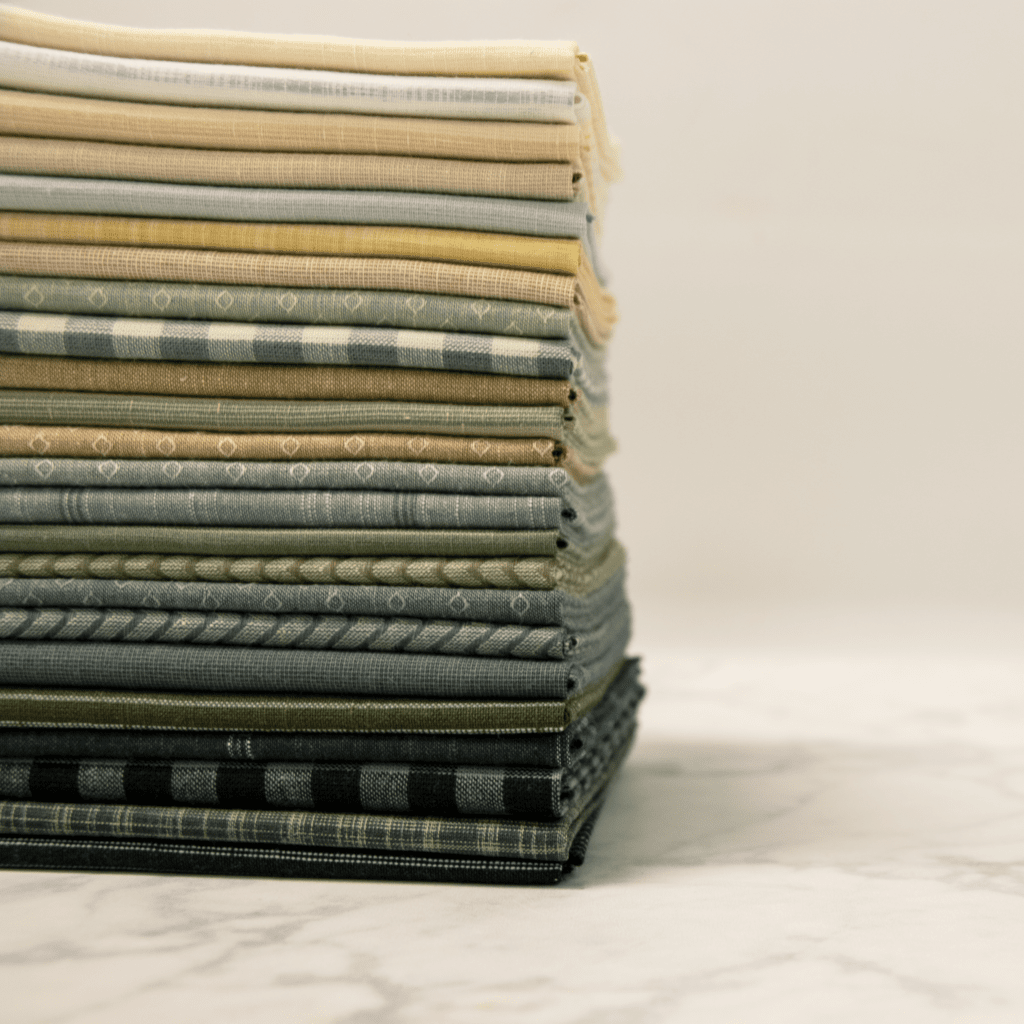
- 1 yard of woven fabric (We used the North Sand Dune and North Campfire from Compass by Laundry Basket Quilts for Andover Fabrics)
- Quilting Rulers (We used Creative Grids 4.5″ x 4.5″ and 6.5″ x 24.5″)
- Thread (We used thread in a contrasting color for demonstration purposes)
- Pins or Quilt Clips
Instructions for Sewing a Napkin
Cutting your Fabric:
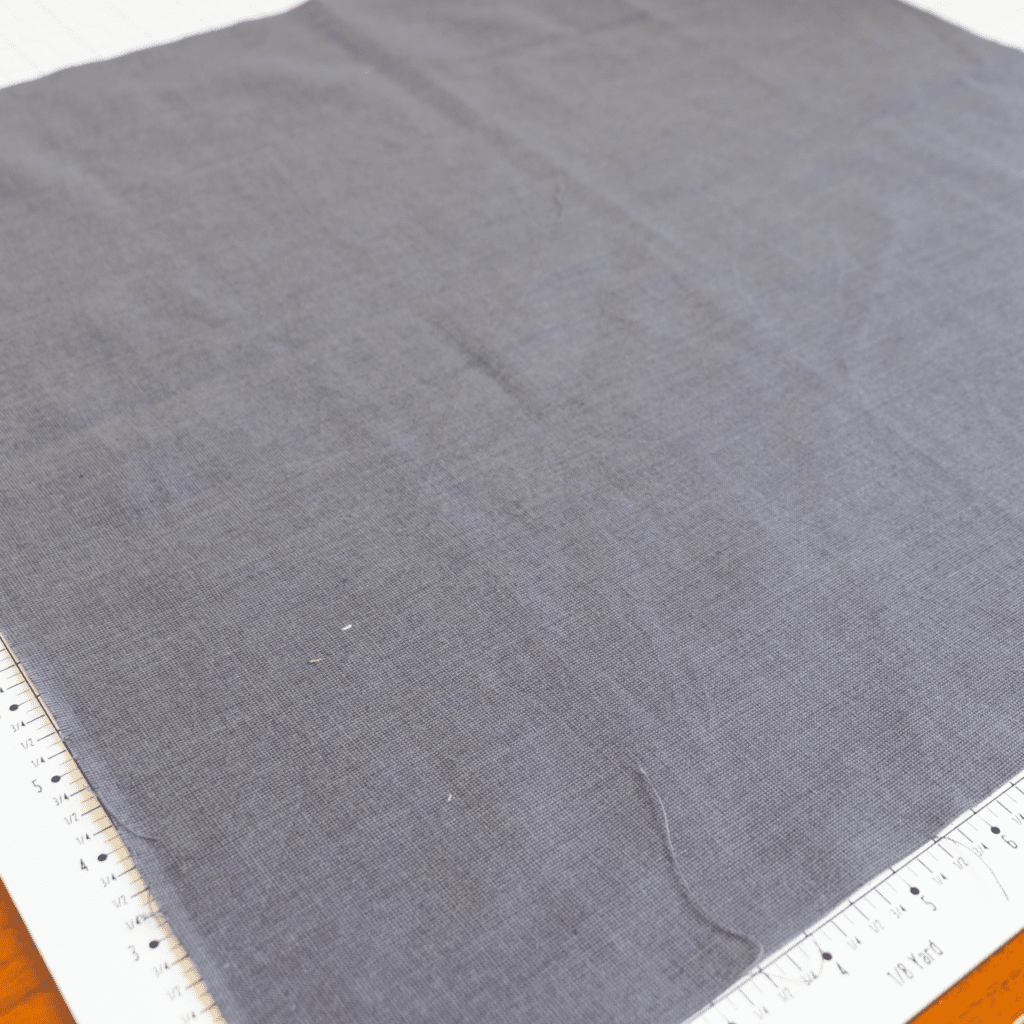
You’ll need to cut four 18″ x 18″ squares of fabric (When working with a woven fabric you can expect more fraying since the weave is looser than quilting cottons. Starching is a great way to counter this because it makes the fabric stiffer and easier to handle, but this is optional).
Note: You’ll only need one of these squares for each napkin. You can get a set of four squares from one yard of fabric.
Sewing a Napkin:
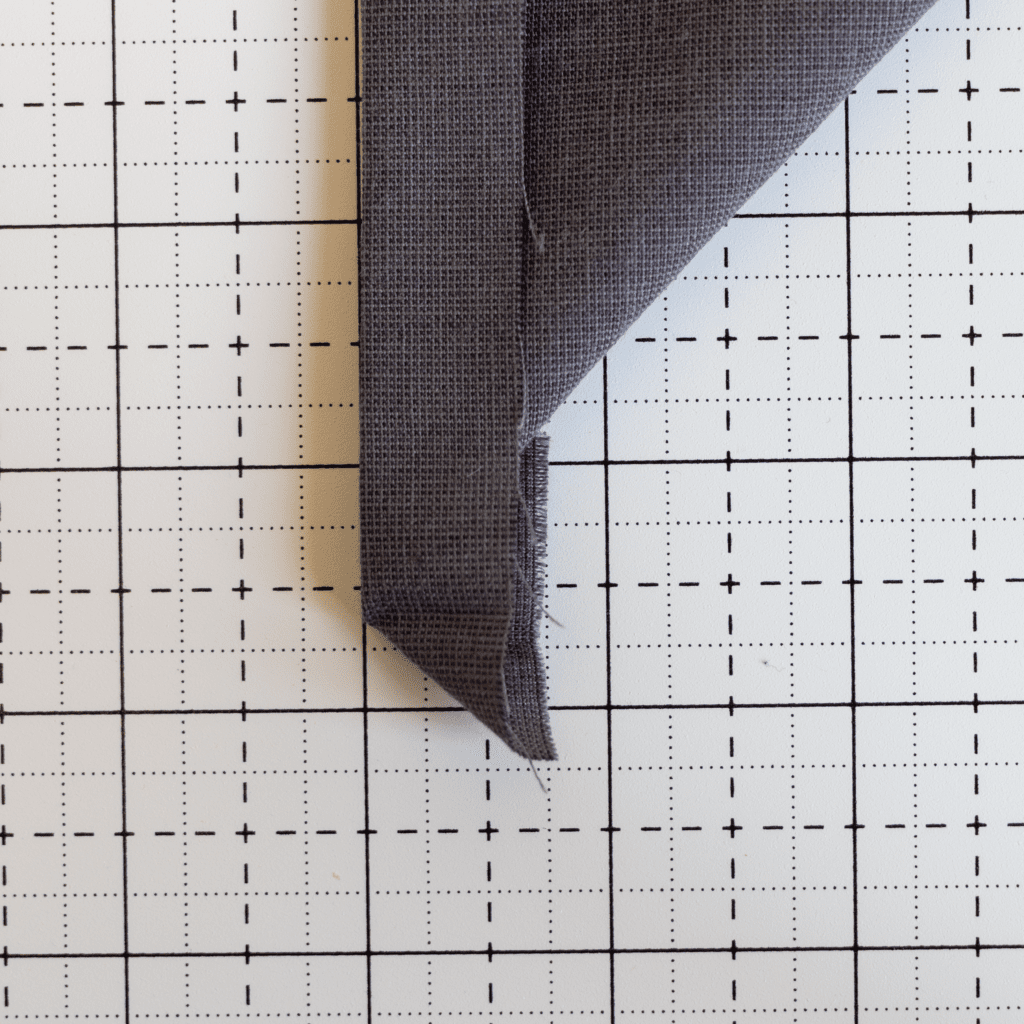
1. Place one square of fabric right side down on your ironing board, press out any wrinkles, then fold down 0.5″ from each side and press the fold in place. Fold right sides together on one corner and bring folded edges to a natural point.
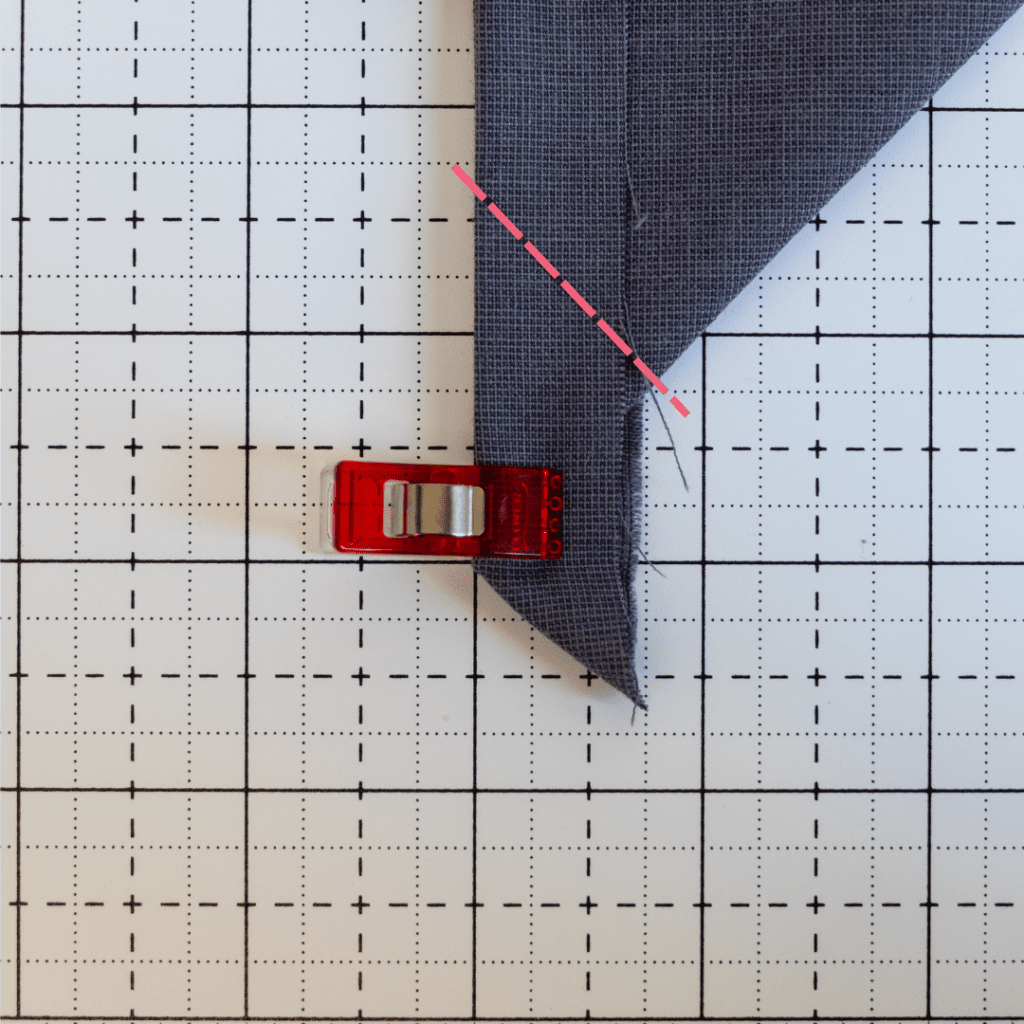
2. Draw a line here where the raw edge meets the point of the wrong side of the fabric at a 90 degree angle towards the fold.
Important: Make sure the line is going straight back over the fold not up and down at a right angle with the top edge of the fabric (See in picture).

3. Sew over the line you drew, backstitching at the start and end (or use a 1.5 stitch length to ensure the stitches are locked in). Then repeat these steps on all the remaining corners.
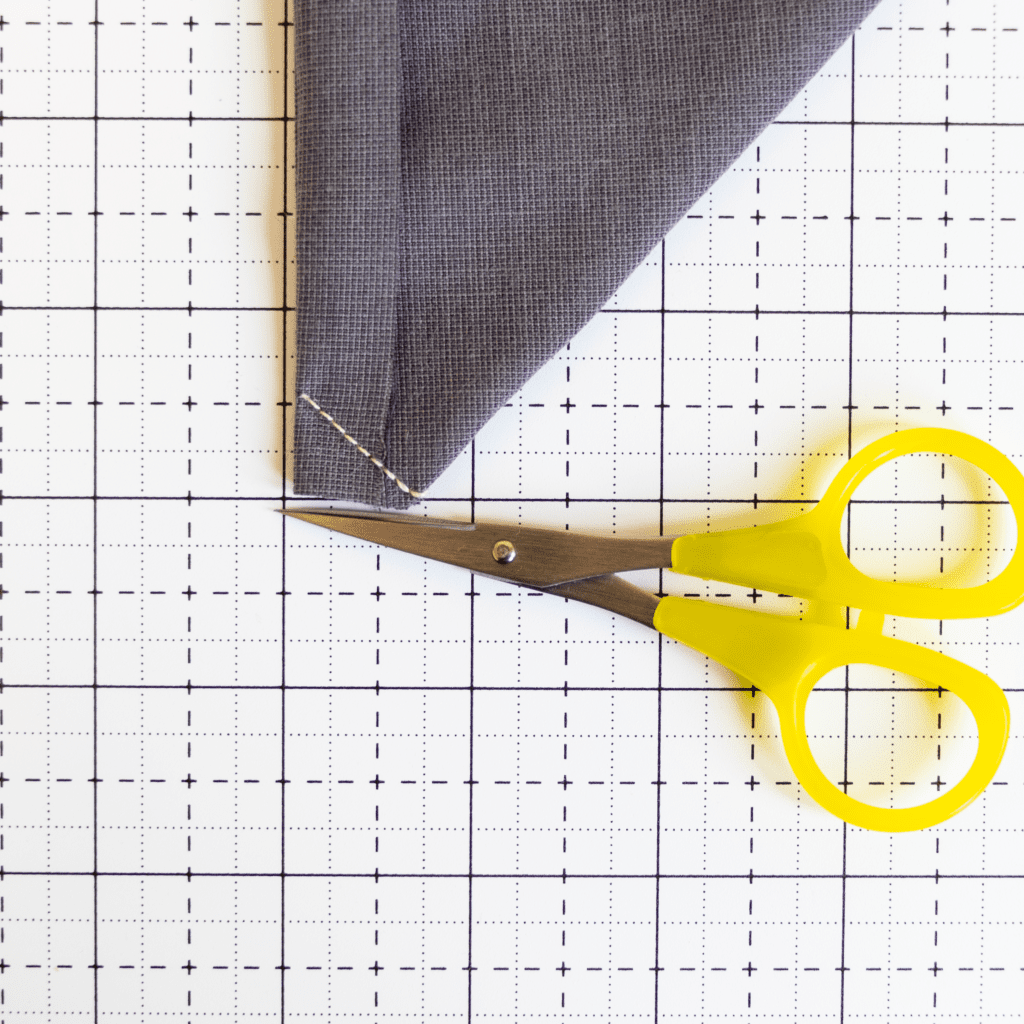
4. Clip to remove the excess from each corner approximately 0.25″ from the seam (leaving a triangle will form a nice seam when you move to step 5).
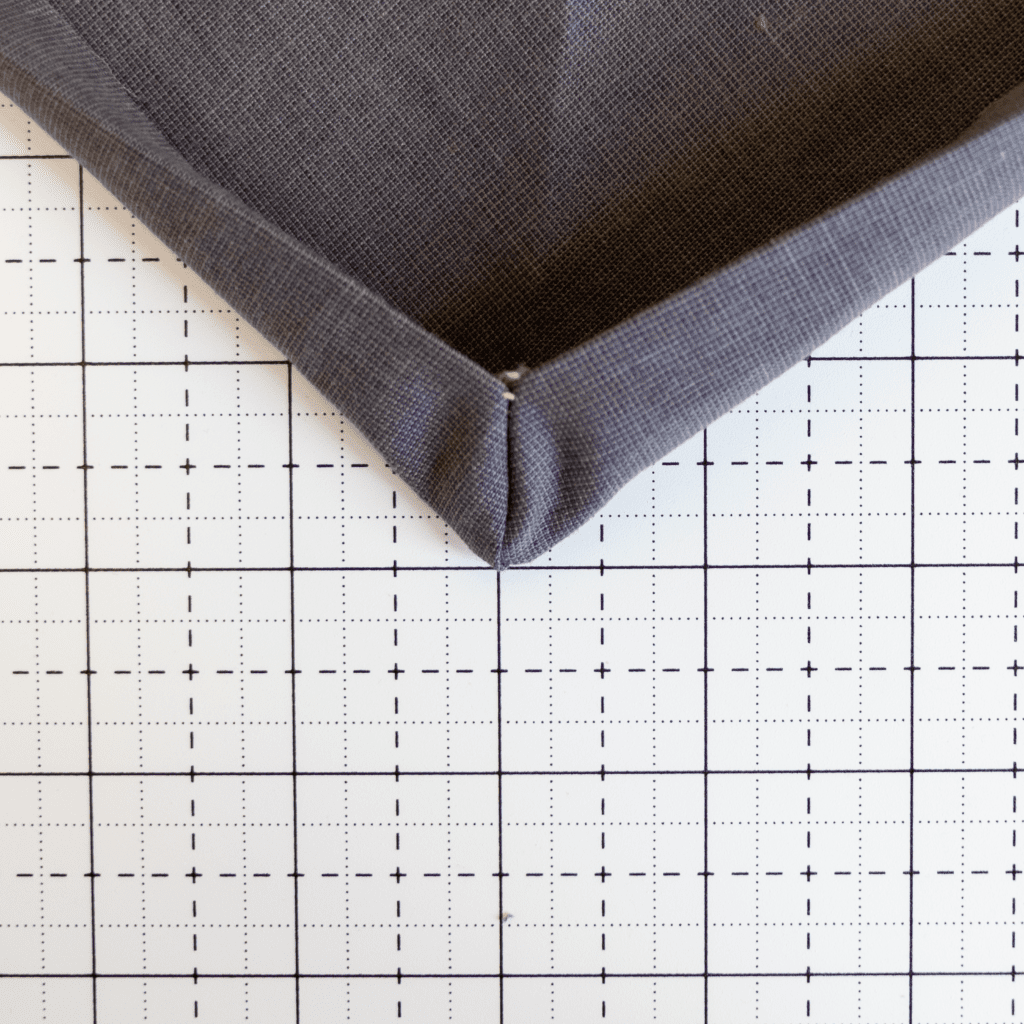
5. Finger press open and flip the open seam underneath, tucking the it inside so that its flat against the wrong side of the fabric. This should fold all four sides over another 0.5″
6. Press these seams flat as we did at the beginning. When you finish ironing, pin or clip all the way around the square and take your fabric to your sewing machine.
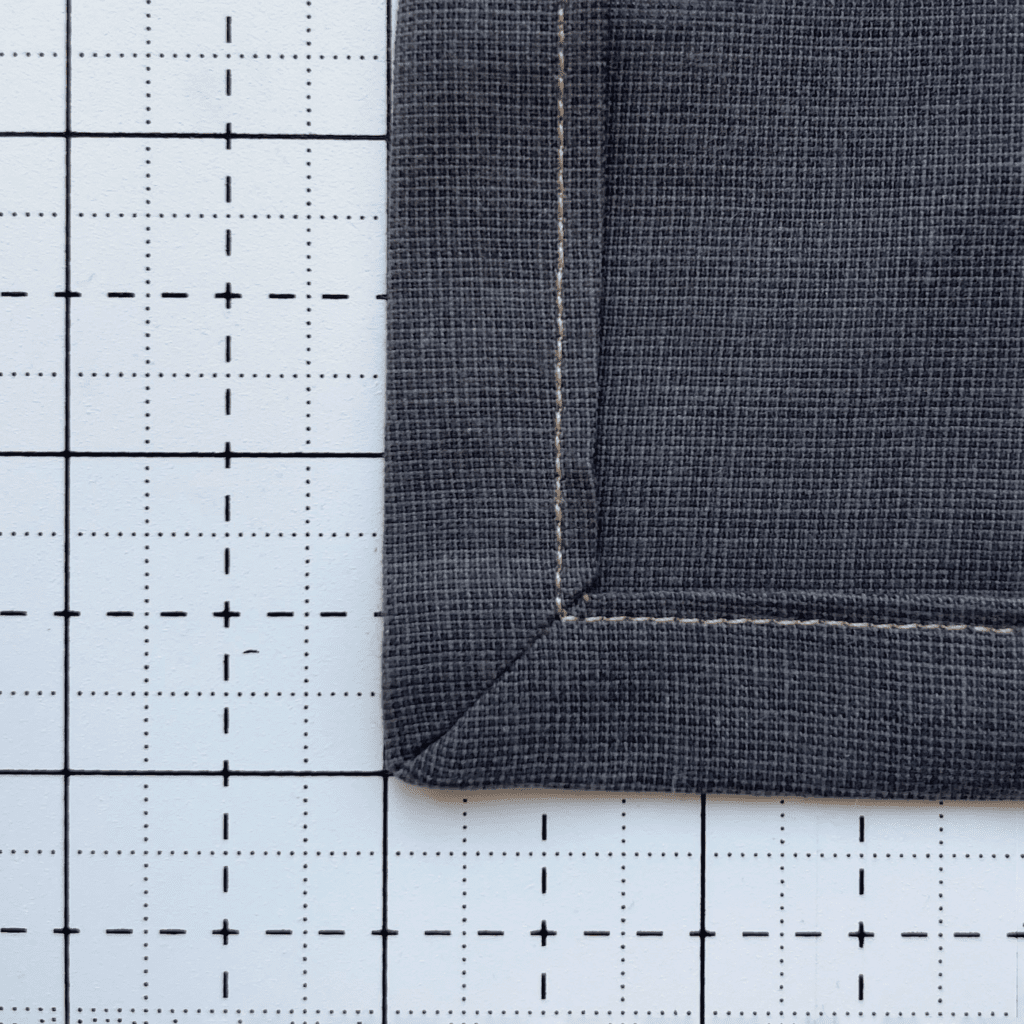
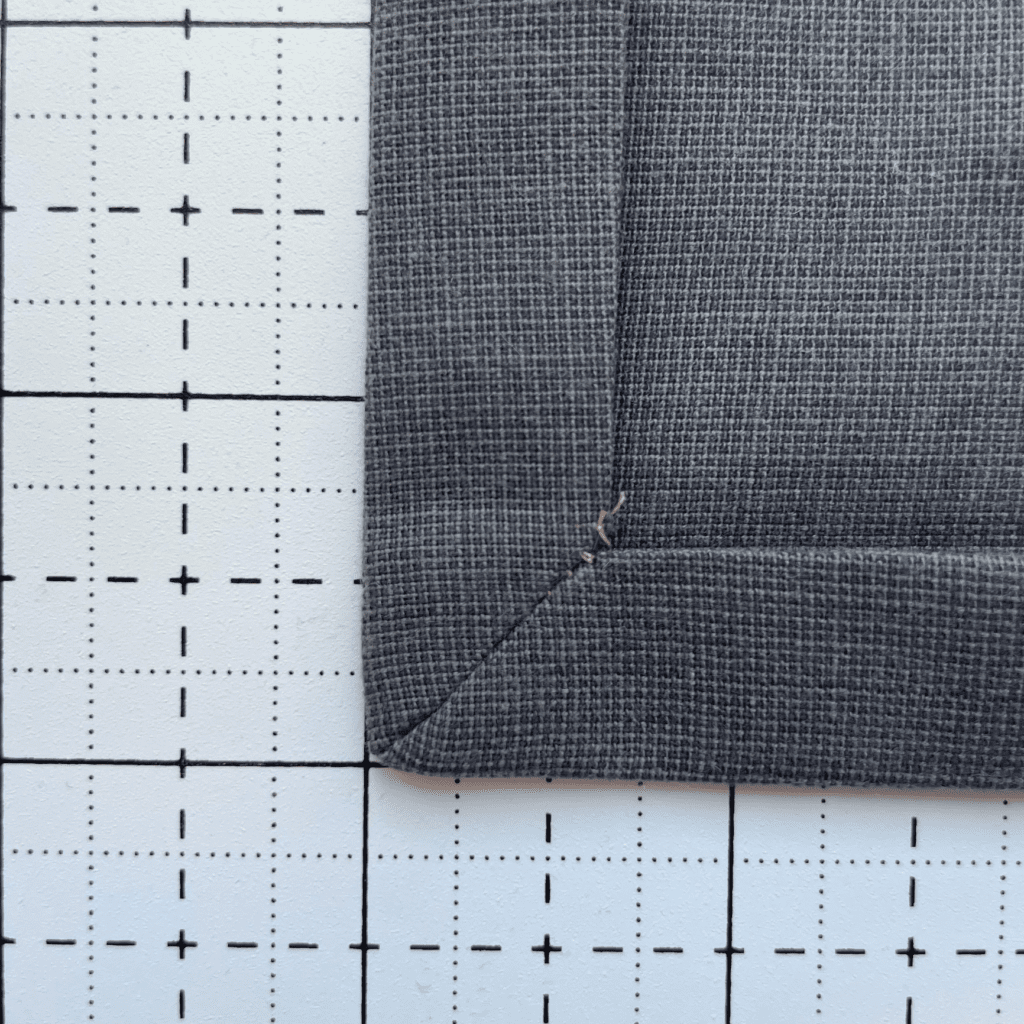
7. Sew an eighth of an inch from the inner edge of the folded fabric all the way around the square backstitching when you start and stop (We used a straight stitch and 2.4 stitch length).
Note: Leave the needle down but lift your sewing machine foot, turning the fabric when you reach corners to continue down the next side.
8. Give it a final press and fold. Repeat this process on the other three squares in your yard of fabric or on as many squares of material as you like to make a whole set.
For more DIY sewing inspiration, visit our tutorial page or social media. Fat Quarter Shop’s Pinterest and YouTube are full of tips, free patterns, and tutorials for sewing and quilting projects that you’ll enjoy making.
Share with #DIYNapkins
We hope you decide to make napkins of your own, and if you do, be sure to share them with us on Facebook and Instagram using #DIYNapkins and tagging @fatquartershop, so we can see and share your work!
Happy sewing!
Stay connected to Fat Quarter Shop!


3 comments
Napkins with mitered corners was the first thing I learned to sew.I must say the instructions I got was not this simple. Cute project, thanks FQS for sharing.
What happened to instructions 8. & 9. ? The instructions go to 7. , then jump to 10. ?
But it seems like they are complete instructions.