

Get ready to travel in style with this month’s In Stitches with Fat Quarter Shop’s pillow project! The Meadow Slumber Pillow is perfectly sized to tote along on your car or plane ride, and it’s sew adorable that all of your fellow travelers will be begging you for your secret! Be prepared for jaws to drop when you tell them that you made it!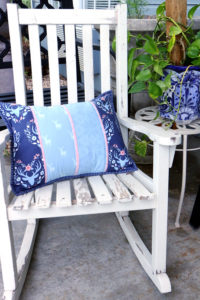
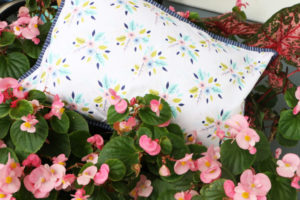
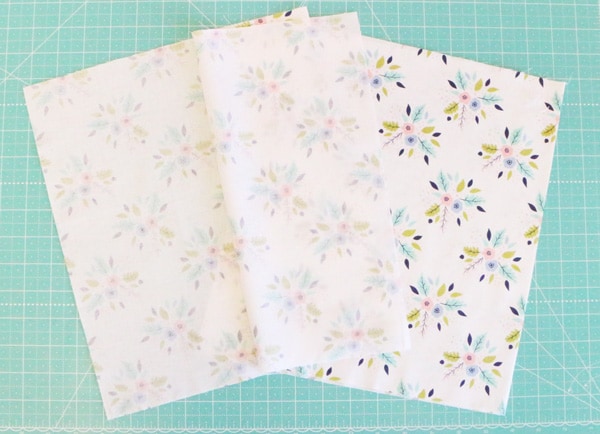
This beautiful pillow uses five of the fabrics from the beautiful new Meadow collection by Camelot and Aurifil 50 wt in Light Robin’s Egg color 2710! As soon as we got the Meadow collection in we couldn’t wait to create something with those beautiful and trendy florals! We’re loving those light navy prints, and we added the Meadow White Bouquet to the back for a bold pop of contrast!
Meadow Slumber Pillow Instructions
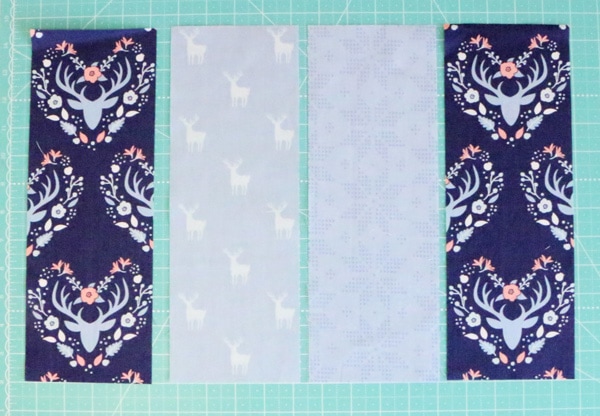
Cut 4 – 4.5” x 12.5” rectangles for the top (if fabric is directional pay attention to direction of the fabric)
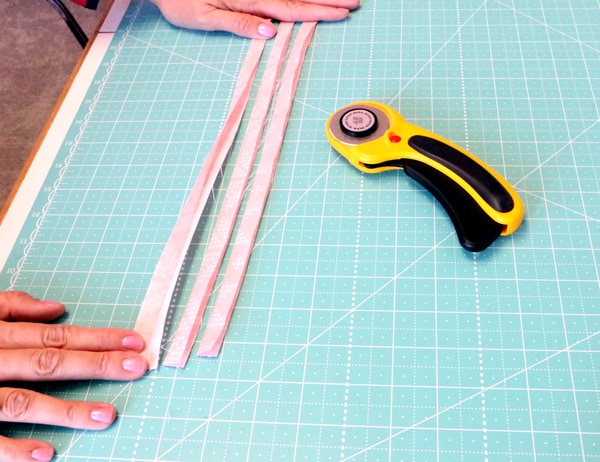
Cut 3 – 1” x 12.5” rectangles for the flange – fold in half wrong sides together.
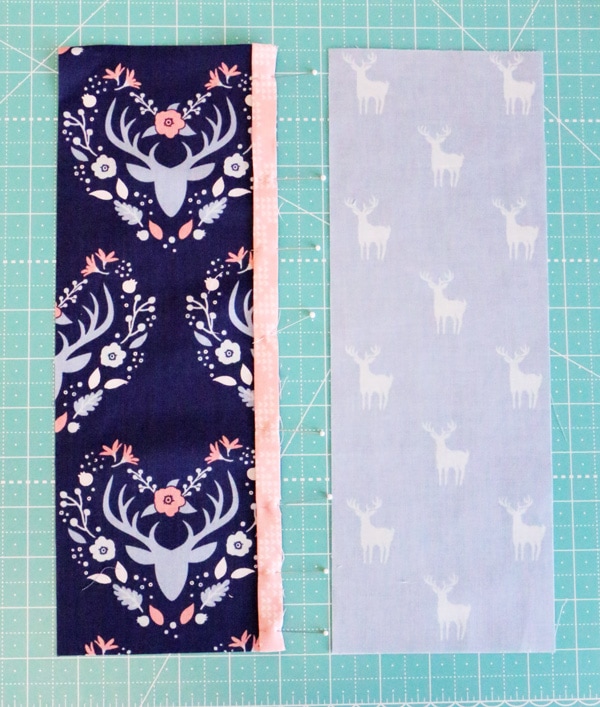
Place the flange in the center of the first two rectangles and pin it in place.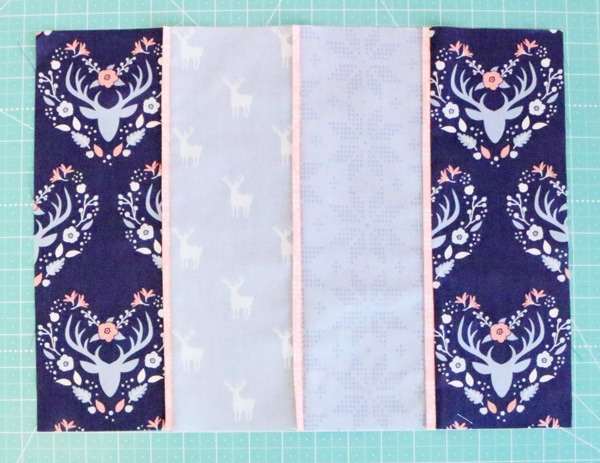
Continue to make the pillow top.
Cut 1 – 14 ½” x 18 ½” batting piece
Cut 1 – 14 ½” x 18 ½” muslin rectangle for Pillow Top backing
Layer the Quilt Top, Batting and Pillow Top Backing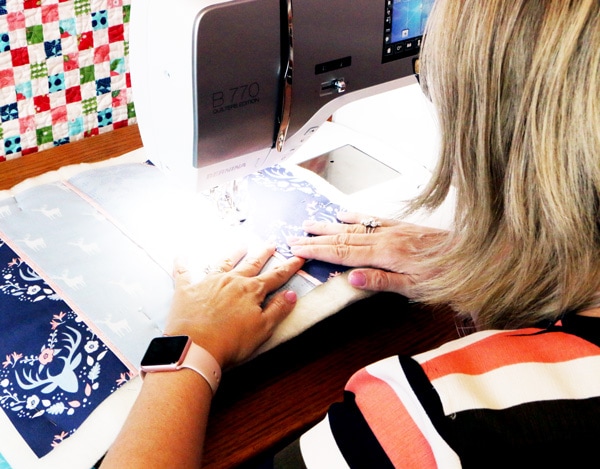
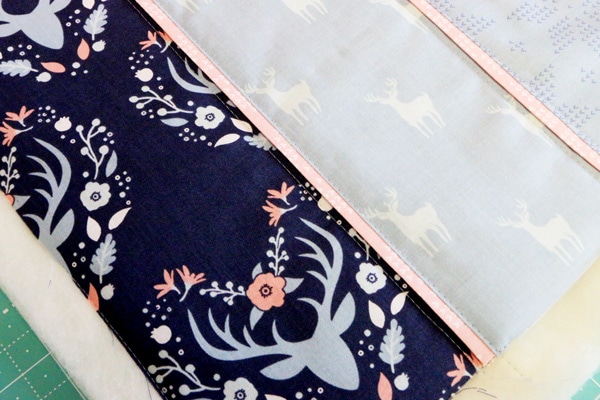
Quilt on your BERNINA 770 QE with a 10D foot, a 3.5 stitch length and move your stitch to the right two spots. Also use matching Aurifil thread color 2710 for contrast on the dark panels!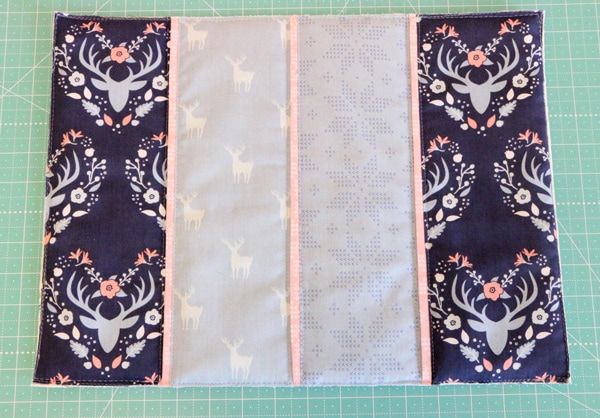
Trim Quilt Top
Cut two – 13” x 23” rectangles for the pillow backing
Put wrong sides together and press Center on the back of the pillow overlapping 4”
Center on the back of the pillow overlapping 4”
Pin in place and baste around the edge. Trim excess backing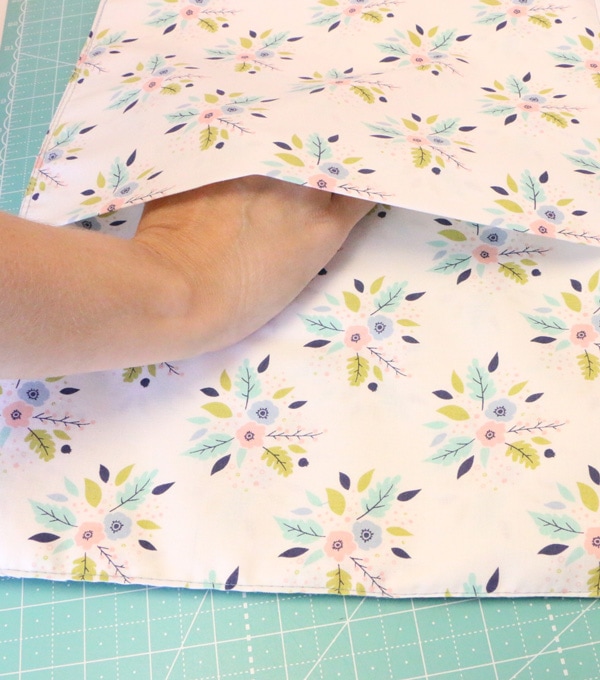 Cut 2 – 2” x width of fabric strips
Cut 2 – 2” x width of fabric strips
Bind
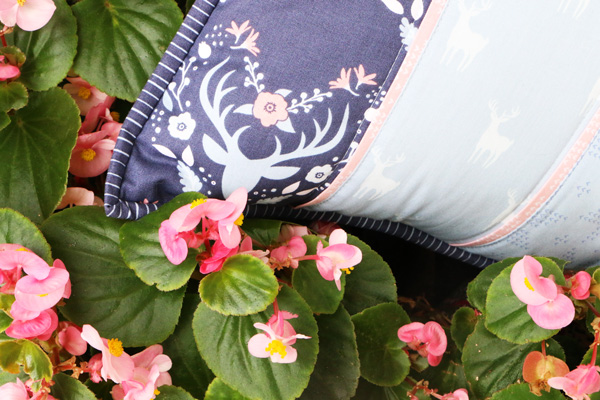
And there you have it! An easy-as-can-be stylish pillow to tote along on your next adventure! Be sure to share you project photos with us on social media! #meadowslumberpillow #bernina #institcheswithfatquartershop
9 comments
What size pillow insert did you use?
Information left out. Very cute but is it stuffed with batting or does it use a pillow form?
Love it, will be making some for my deck. Thank you for the tutorial
This uses a 16" x 12" pillow insert!
Thank you for the info FQS I appreciate it.
Sorry if you found the question irritating (!)but to be honest not all of us have the vast sewing experience that the staff at FQS has. Thank you again for the answer.
No problem at all! Let us know if you have any other questions at all!
I don't understand the flange part. It's folded, does that leave a raw edge when you sew it on? Then do you sew the folded edge to the middle rectangle, overlapping it and sewing it on top? This part is confusing to me.
Thank you FQS my daughter was talking about making some pillows. I love how easy you make it for all of us to learn how to make with our awesome tutorials.
What is the fabric summary of each fabric needed for this pillow? Where do I go to find it?