Fat Quarter Shop just released the Stronger Together Cross Stitch Pattern to bring the creative community together to support a worthy cause and to highlight the achievements and contributions of several African American women in the fiber arts. For Black History Month, we’ll host our first ever stitch and quilt along for Black History Month! You can read all the details over on our Announcement blog post.

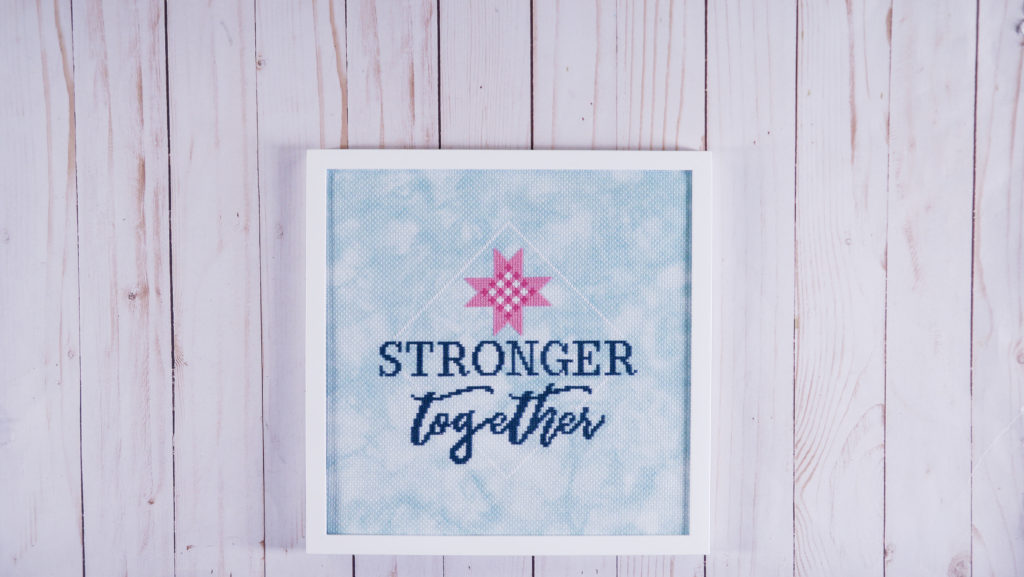
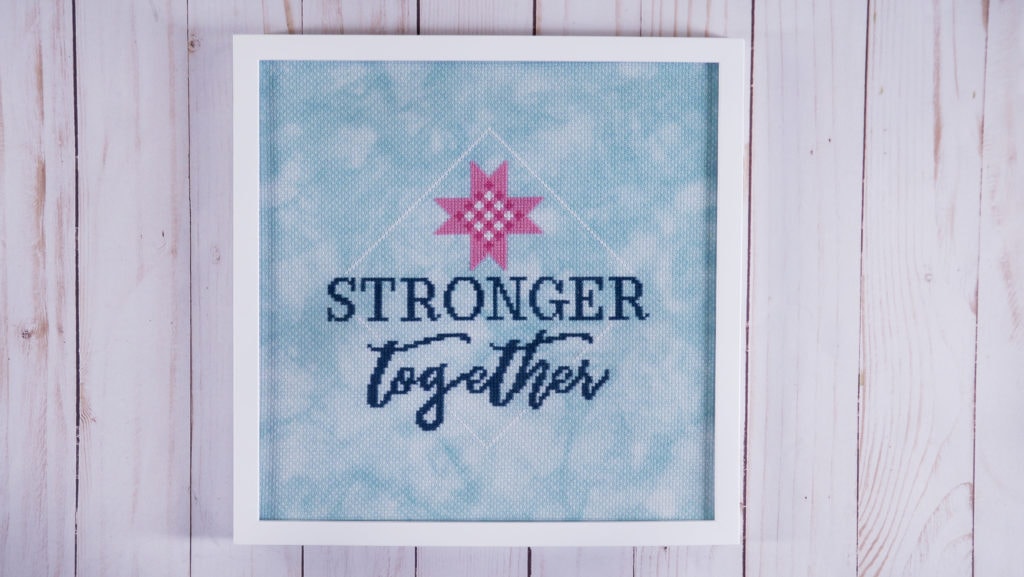
I stitched the main Stronger Together Cross Stitch using the Stronger Together DMC Thread Pack on Aqua Dyed Effect 14 Count Aida, and mounted it to this frame. Harriet Tubman and the North Star are the design inspiration for the quilt and cross stitch. You can learn more about the quilt colors and design in this video from the quilt designer, Jocelyn Ueng.
The Stronger Together Cross Stitch Pattern coordinates with the quilt, and also has a bonus cross stitch chart featuring the “Stronger Together” statement, so you can choose to stitch either chart.

I know this may be jumping ahead a little bit, but I’m going to show you how I finished the Bonus Chart today! You can use this tutorial for framing up your stitching, too!
Cross Stitch Finishing Supplies
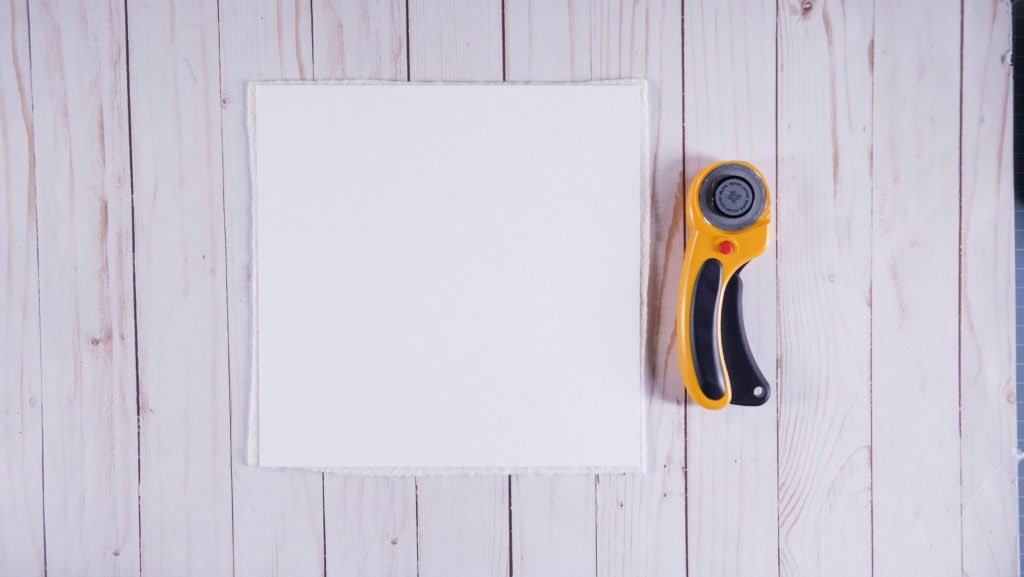
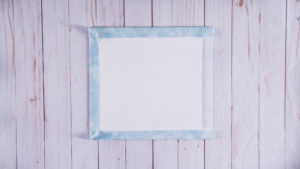
These are the supplies I used to frame my Stronger Together piece. I think it looks clean and classic.

- Your cross stitch piece.
- 10” x 10” Frame from Amazon
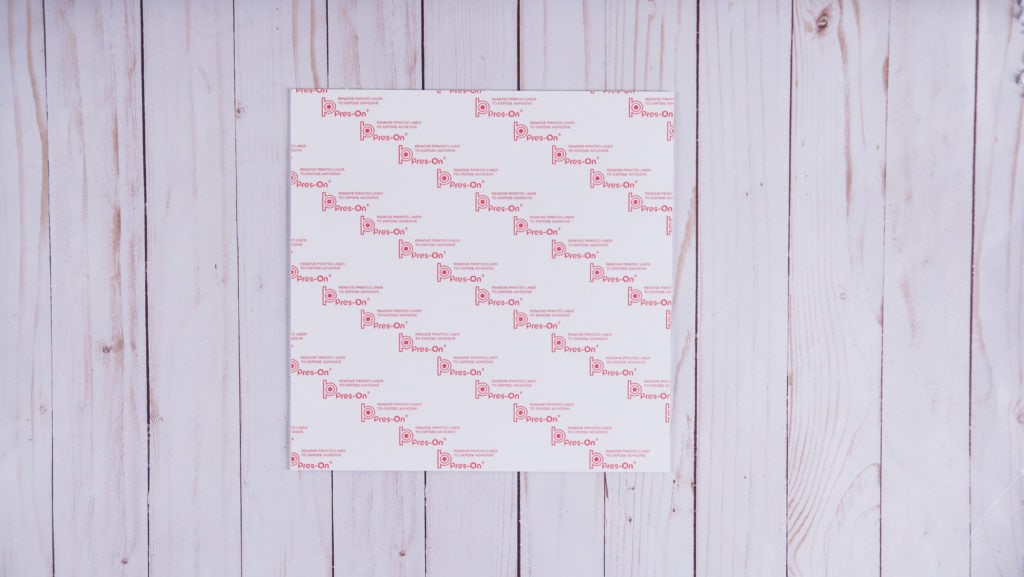
- 11” x 14” Pres-On Mounting Sticky Board
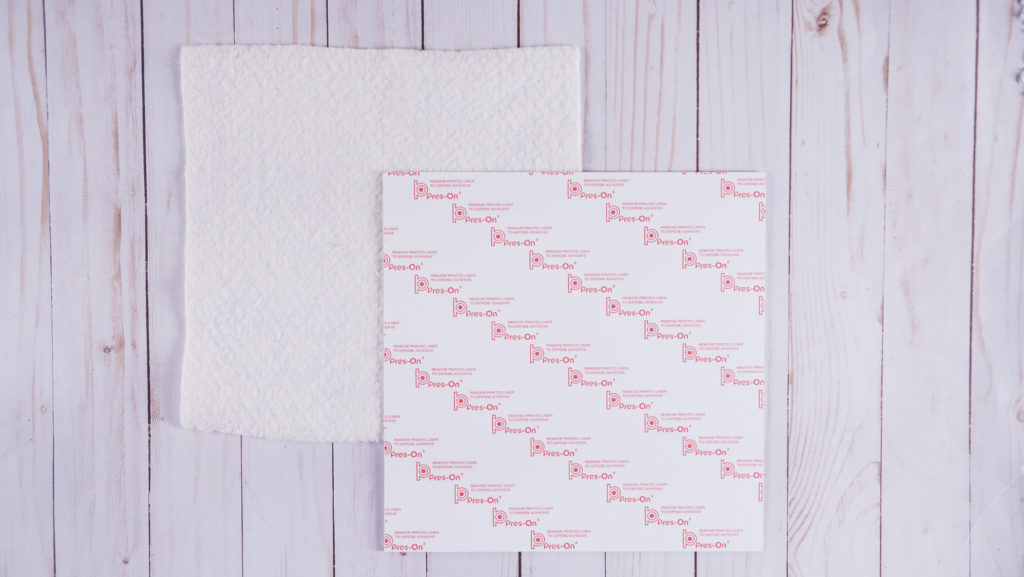
- A Scrap of 80/20 Happy Cloud Batting
- It’s Sew Emma Cross Stitch Finishing Tape
- Black Frixion Ball Erasable Gel Pen
- Olfa Deluxe 45mm Ergonomic Rotary Cutter
- Creative Grids 4.25” x 12.5” Quilting Ruler
How to Finish Your Cross Stitch in a Frame
1. I chose a 10” square frame, so you will cut down your sticky board to 10” x 10” to fit the frame. We stitched on Aqua Dyed Effect 14 Count Aida. Your finished size will vary by cloth count.

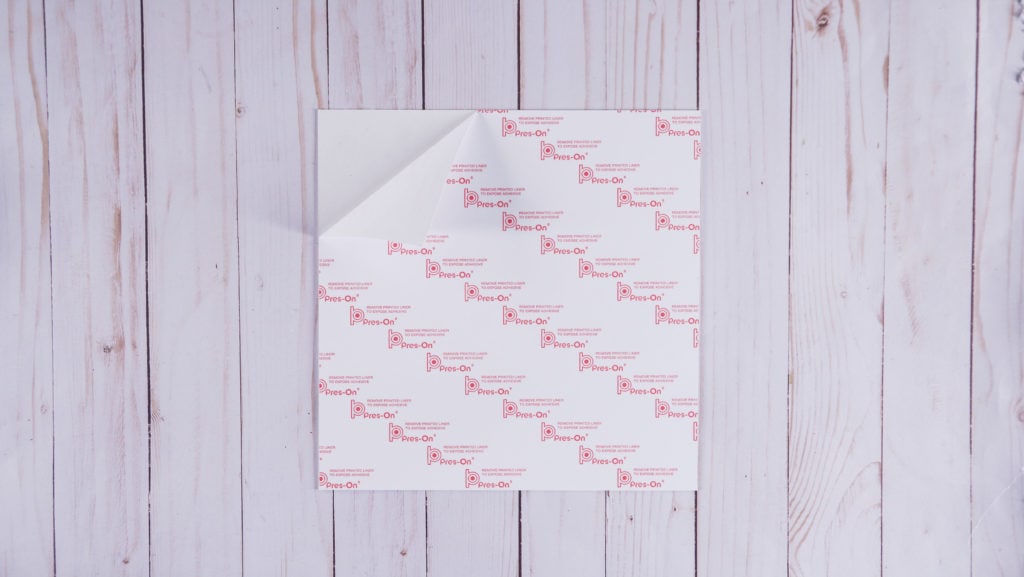
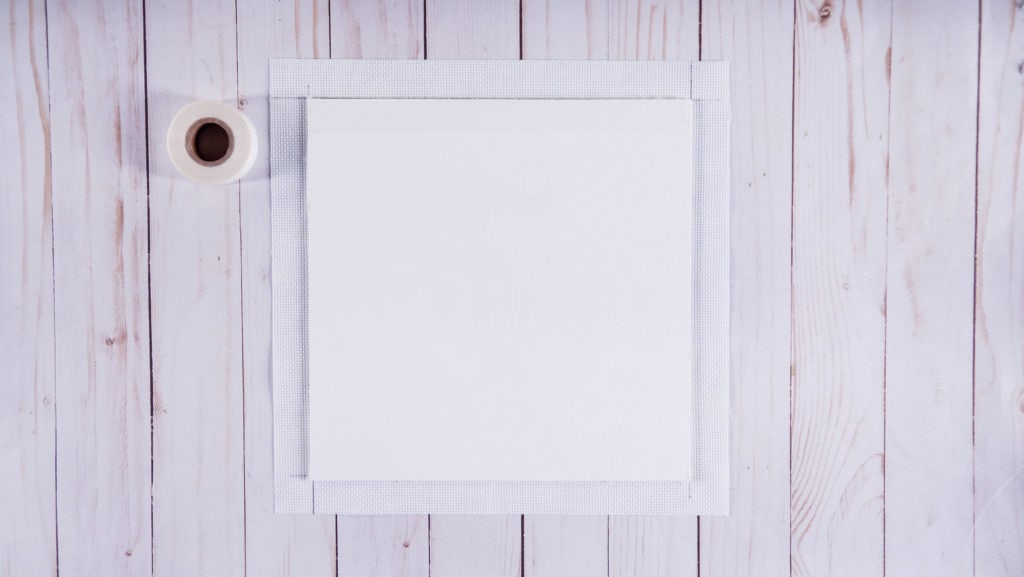
2. Now, peel off the liner on the sticky board and place the sticky side to the batting. Cut around the sticky board so that the batting is flush to the edges. Set this aside for now.
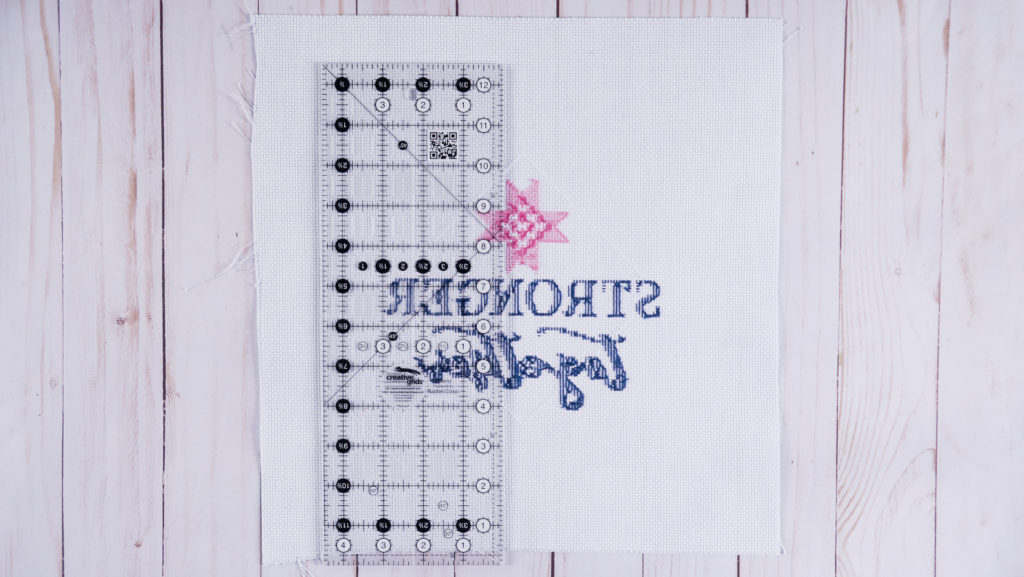
3. To center your stitch piece within this frame, take the width of your frame (10”) minus the width of your stitch piece (7”), divide by 2, and that will give you the margin on the left and right to draw your lines (1.5”). Repeat this step to find the margin on the top and bottom to draw your line.
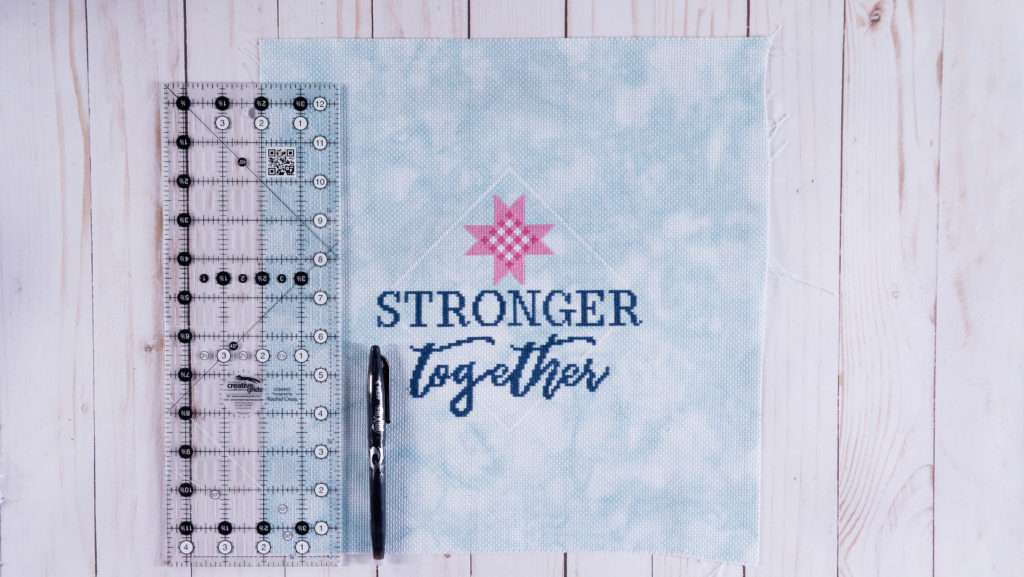
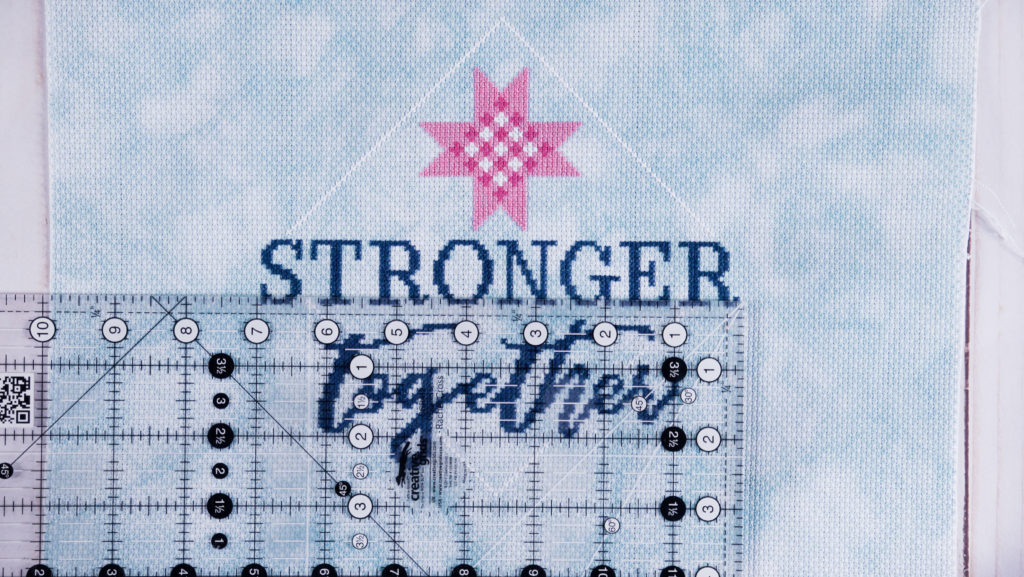
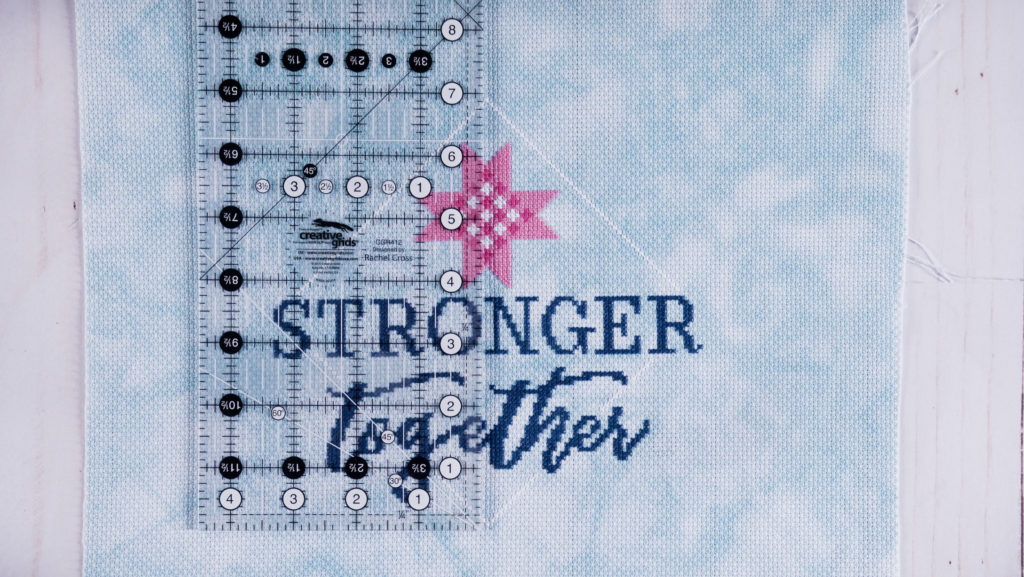
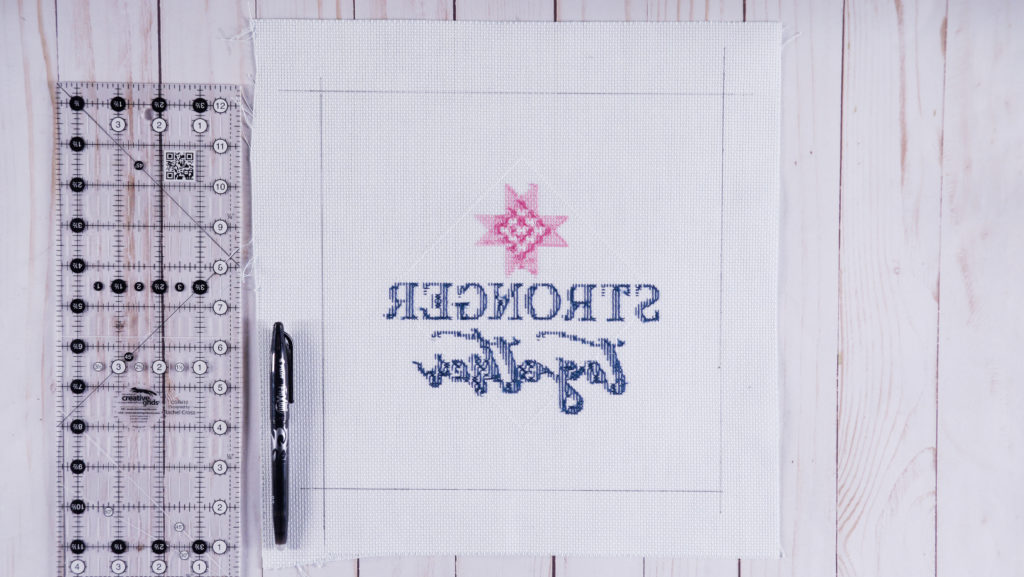
4. Lining up your ruler 1.5″ away from your last stitch, draw your lines on the backside of your stitch piece. Repeat on all four sides.
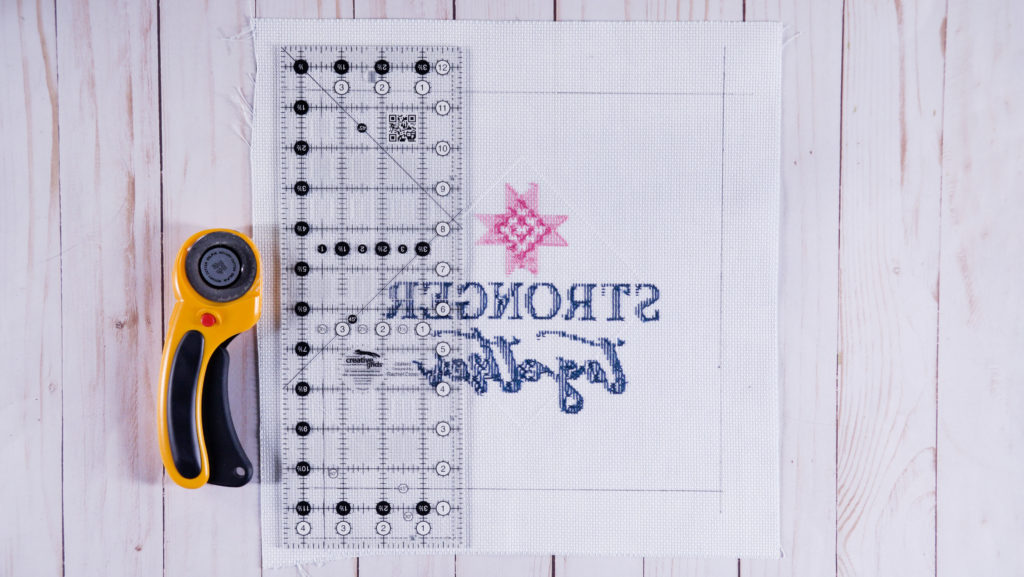
5. Trim 1″ from outside of the drawn line on the stitched piece, which is plenty of room to pull the fabric to the back of the sticky board.

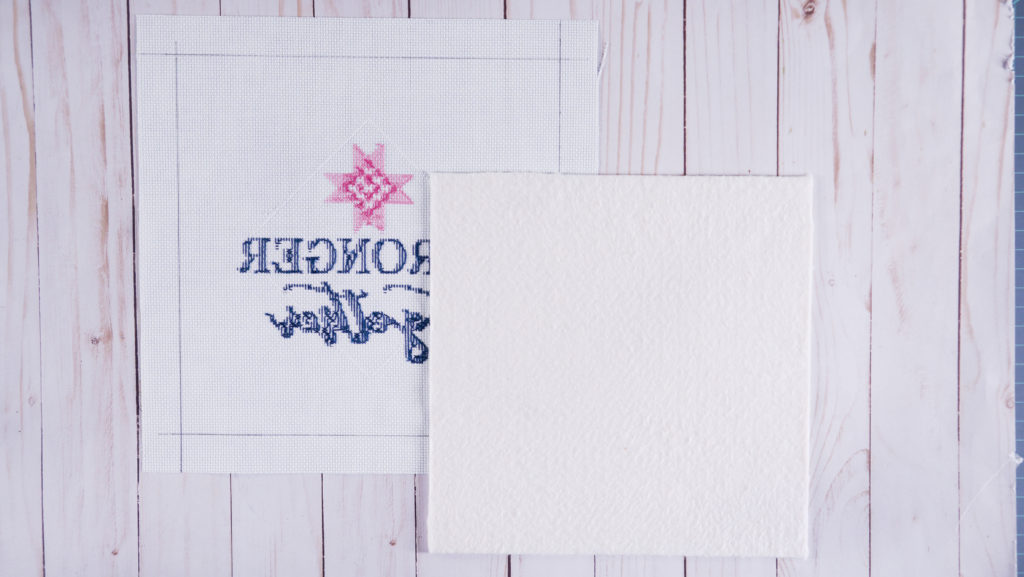
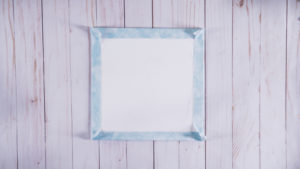
6. Now take the sticky board that has batting on it and place the batting right side down within the drawn lines on the backside of the stitched piece.
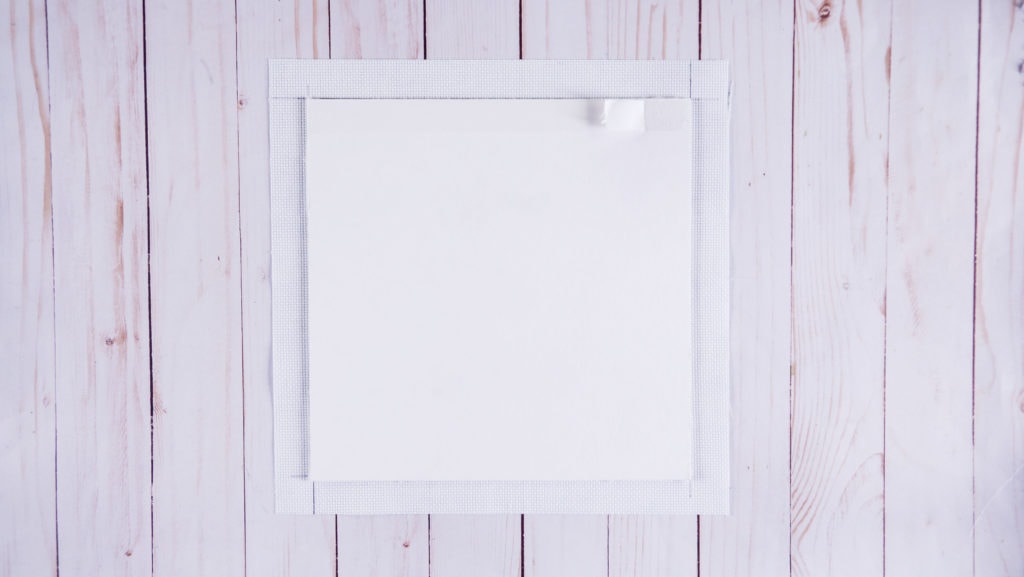
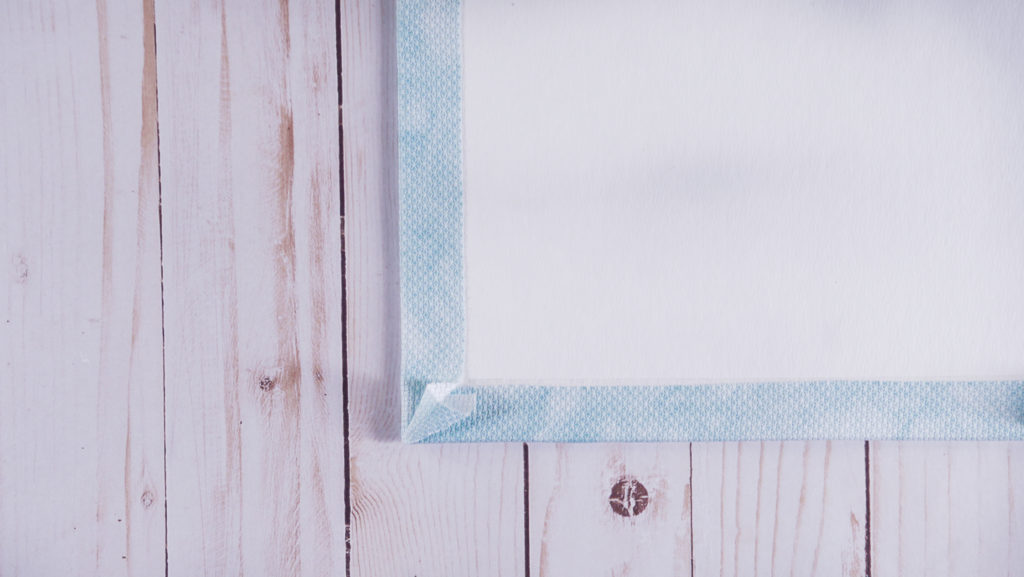
7. Starting on the top, apply the It’s Sew Emma Cross Stitch Finishing Tape on the edge of your sticky board and remove the liner. Then pull your fabric, finger pressing it down to your sticky tape. Repeat on the bottom as well.
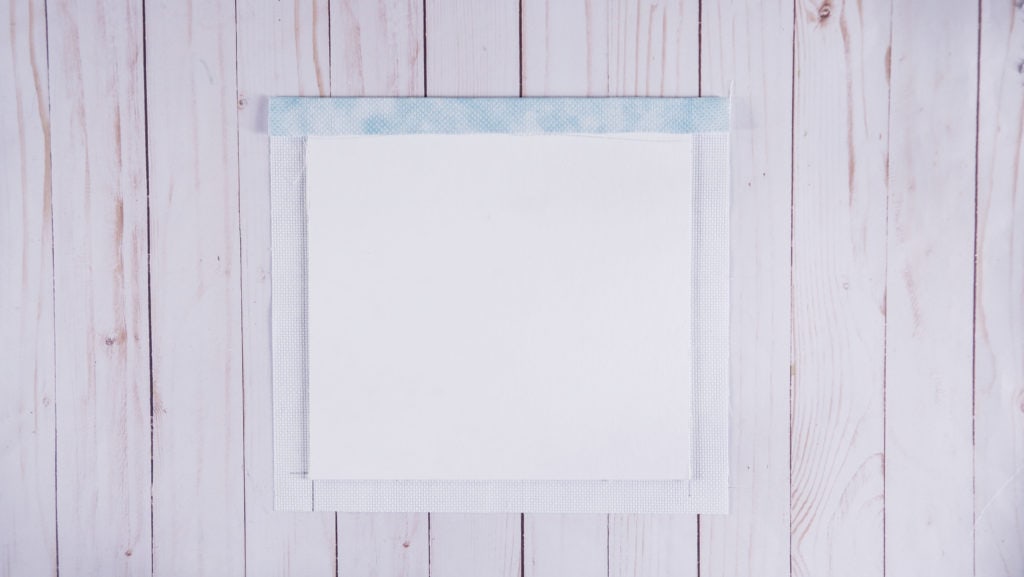
8. Starting on the left, apply It’s Sew Emma Cross Stitch Finishing Tape along the edge of your sticky board and remove the liner. Then pull your fabric, finger pressing it down to your sticky tape. Repeat on the right side leaving all corners open.
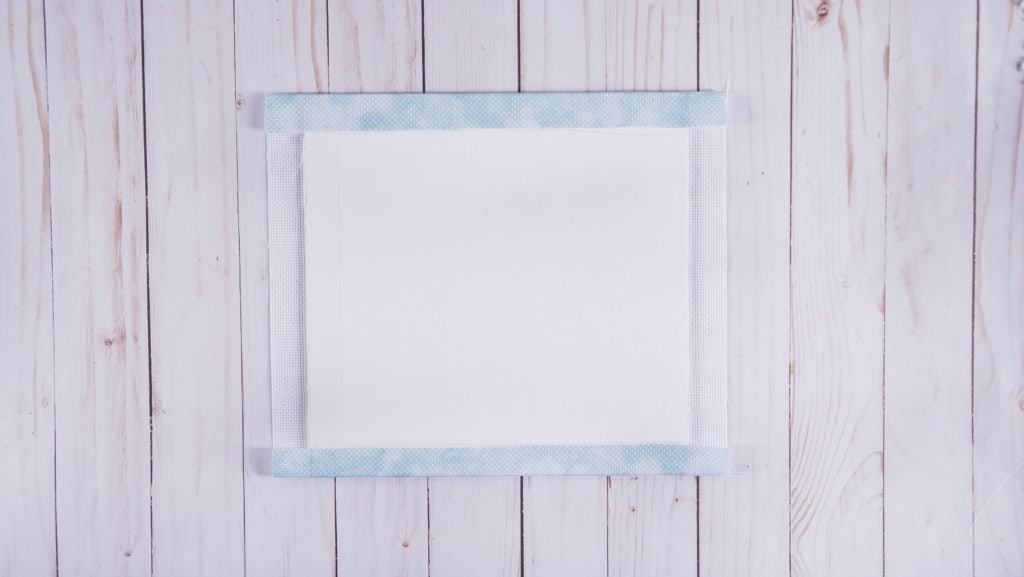
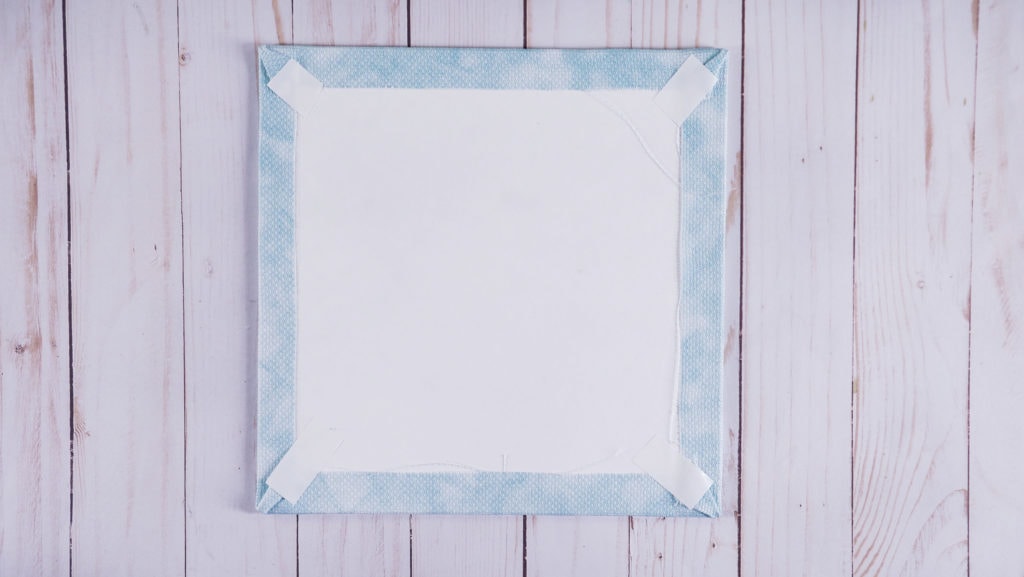
9. Gently open your corner and finger press down to make a mitered corner. Then, apply It’s Sew Emma Cross Stitch Finishing Tape, leaving on the back liner. Repeat this on all four corners.

10. Put your stitched piece into your frame, add the back of the frame, and you’re done! Leaving the glass in is optional, I chose to remove it!

I hope you enjoyed turning this WIP into a beautifully done FFO. I know I cannot wait for my next finish, and I would love to see yours.
Keep up with us on social
Show me your FFO’s on Facebook and Instagram. You can share with #fqscrossstitch #FQSStrongerTogether. Be sure to tag @fqsxstitch so we can see and share your work!
Stay connected to FQS!