
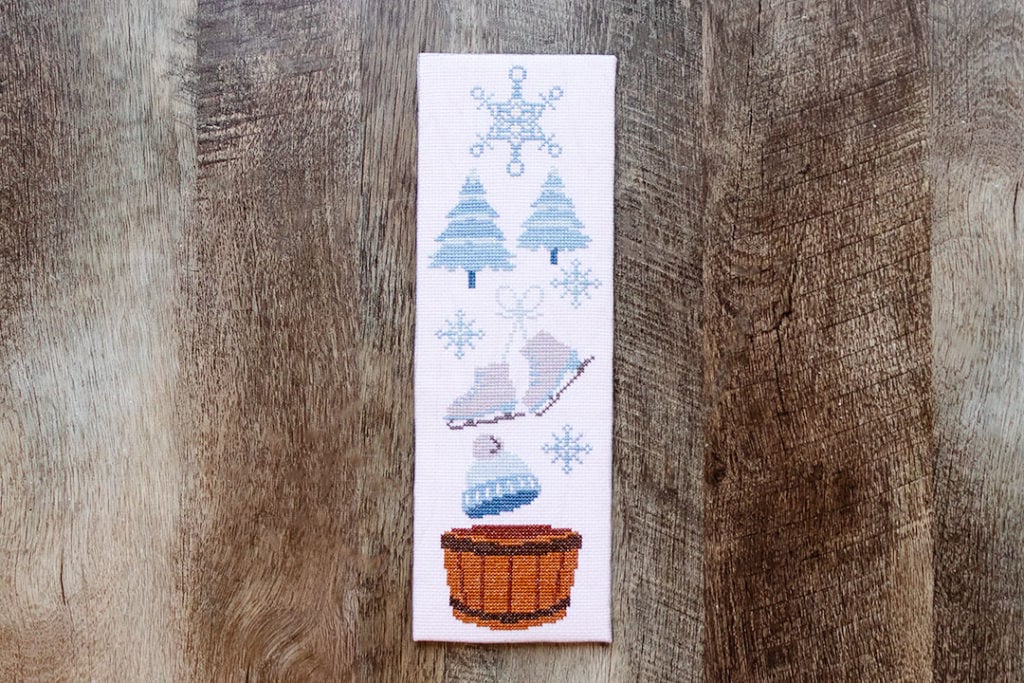
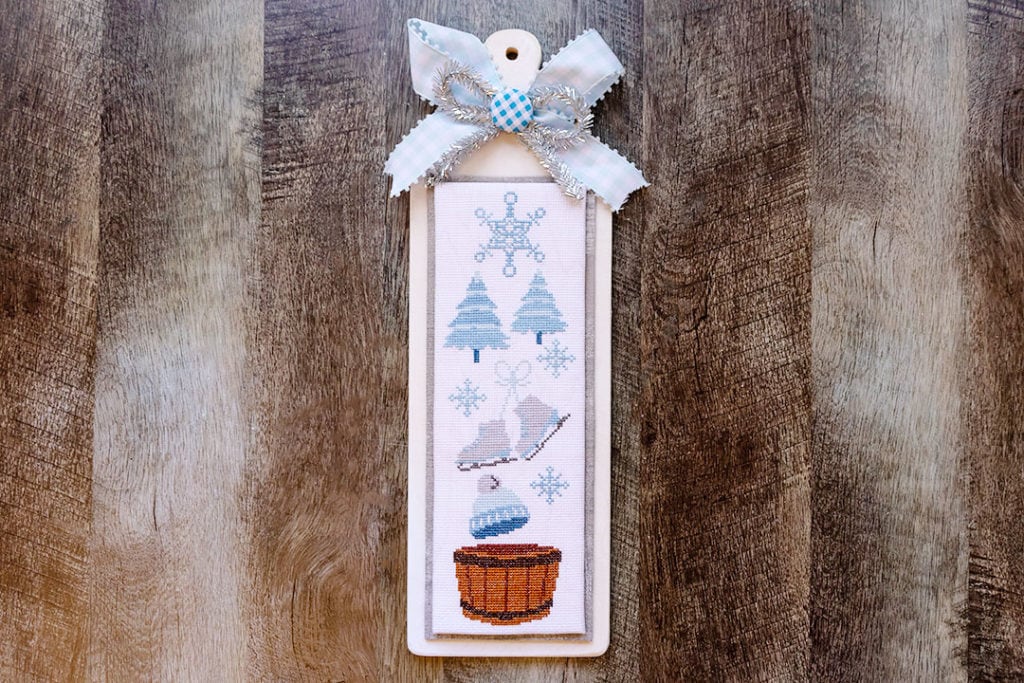
When we designed the Stackables Cross Stitch Pattern series, we knew exactly how we wanted to fully finish it! We released the Soft White Paddle Board to capture our vision, and we are bringing you a step-by-step finishing tutorial to allow you to fully finish it, just like us.
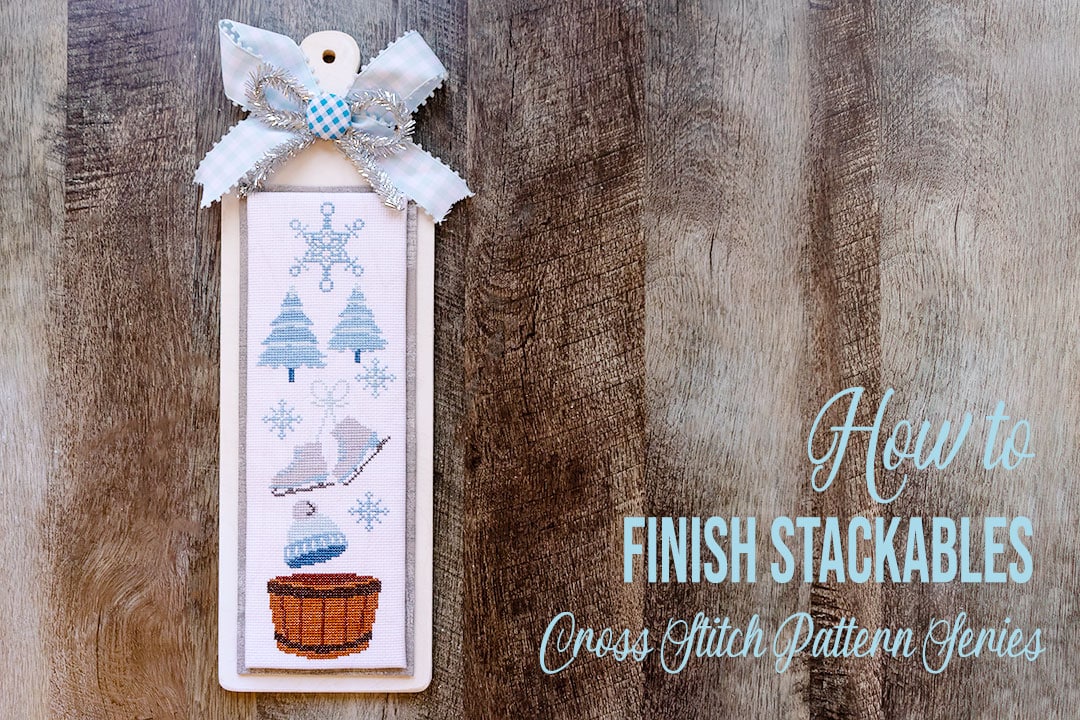
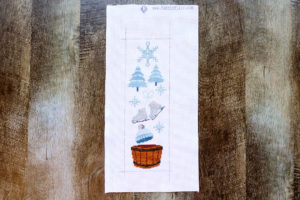
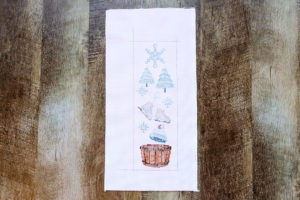
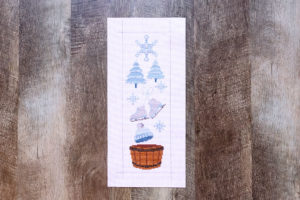
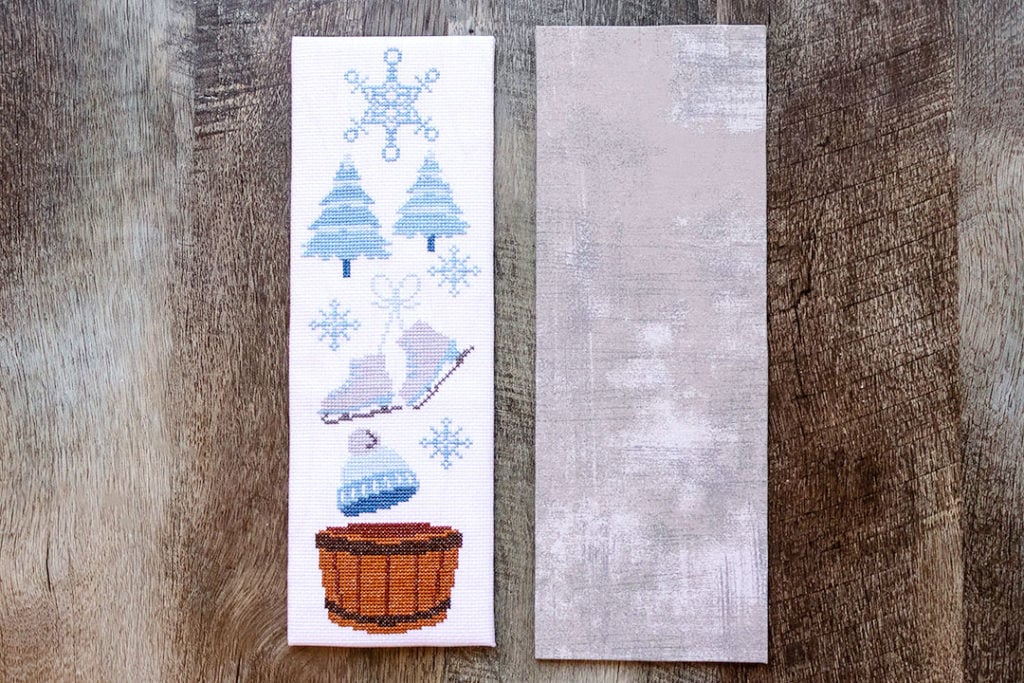
I stitched my piece using the called-for Classic Colorworks on Marbled White Pine Board 14 Count Aida by Fabric Flair.
Cross Stitch Finishing Supplies
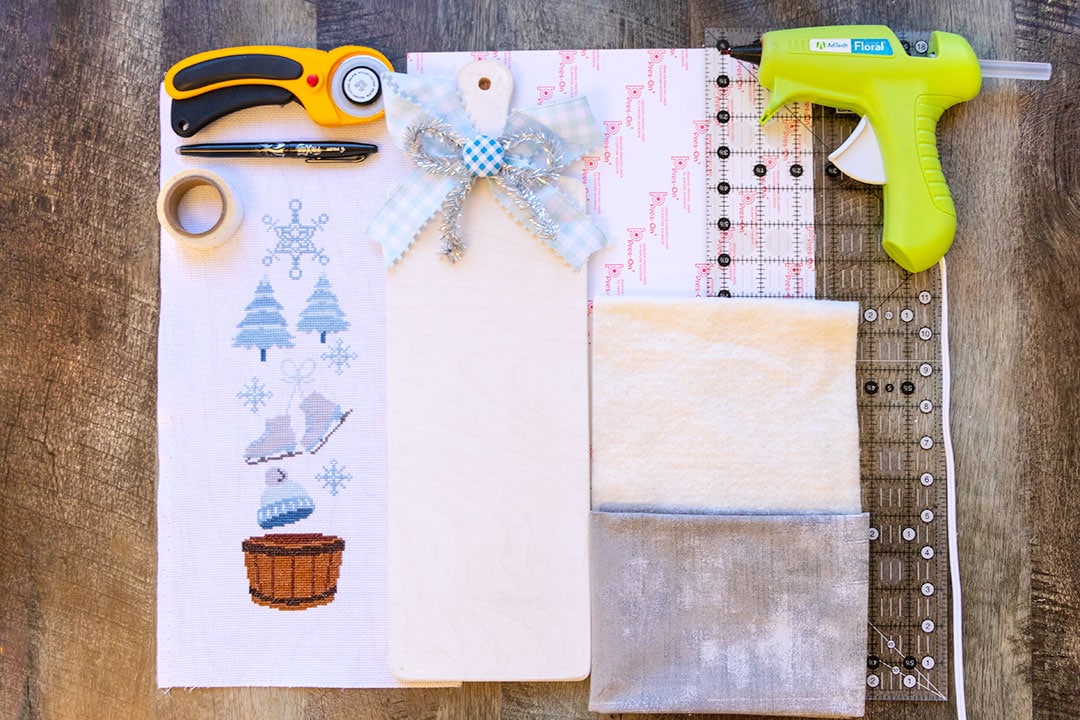
You will likely have many of these supplies in your crafting room already. I use these supplies for finishing my cross stitch all the time.
- Your Stackables Cross Stitch Pattern piece
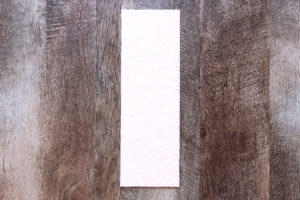
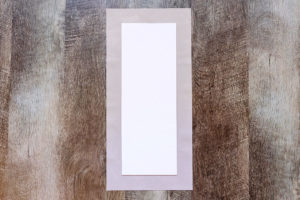
- Soft White Wooden Paddle Board
- Cross Stitch Finishing Tape by It’s Sew Emma
- 16” x 20” Pres-On Mounting Sticky Board
- Fat Quarter of Grunge Basics Silver by Moda Fabrics
- Scrap of Happy Cloud Batting
- Ribbon and fabric-covered button for embellishment
- Glue gun and glue sticks
- Black Frixion Ball Erasable Gel Pen
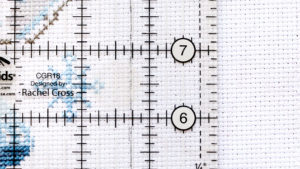
- Creative Grids 6.5″ x 18.5″ Quilting Ruler
- Rotary Cutter
How to Finish Your Cross Stitch
This step-by-step tutorial covers everything I did in detail, which you can see by clicking the photos below. Let’s get started!
Mounting the Cross Stitch Piece
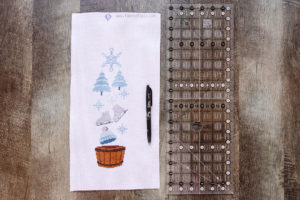
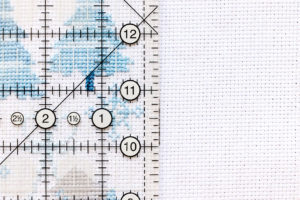
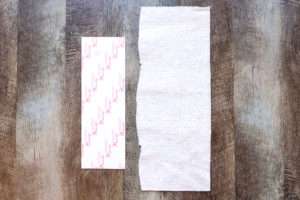
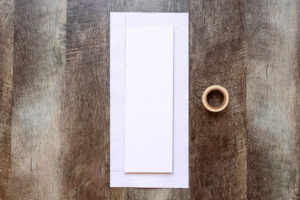
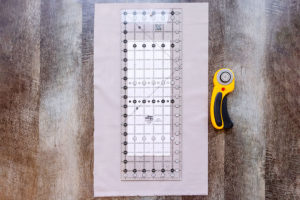
- Take your stitched piece, a Creative Grids ruler, and a Frixion pen to draw a line on the front and back of your piece a quarter-inch away from the furthest stitch on all four sides. Measure the drawn square and write it down on a sticky note. You will cut the sticky board down to this size.
- Peel off the liner on the sticky board and place the sticky side to the batting. Cut around the sticky board so the batting is flush with the edges.
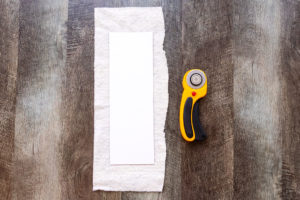
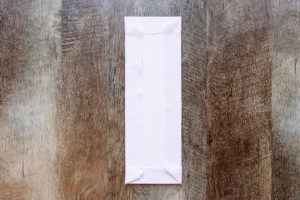
- Trim outside the drawn line about 1” to 1.5″ on the stitched piece, which is plenty of room to pull the fabric to the back of the sticky board.
- Take the sticky board with batting on it and place the batting right side down within the drawn lines on the backside of the stitched piece.
- Apply Cross Stitch Finishing Tape to the top and bottom of your sticky board and pull your fabric to the back, pressing it down. I recommend starting with the top and bottom and then repeating on the left and right sides.
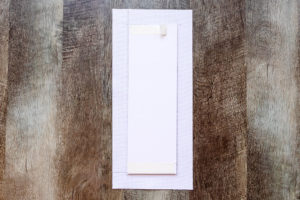
Now my piece is nice and straight! Use a hot iron without steam to remove the Frixion lines on the front of your piece. Up next is mounting the fabric piece, which I think is the easiest part.
Mounting the Fabric Piece
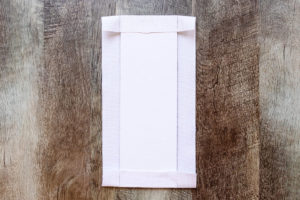
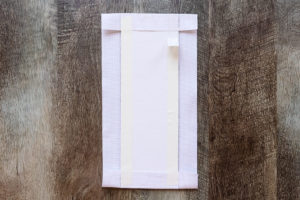
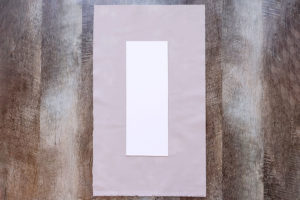
- We specifically designed the Soft White Paddle Board for the Stackable Series to leave 0.25” around all sides of the fabric piece to frame the stitch. To do this, take the measurement of the mounted stitch piece and add 0.25” on all sides. Write it down on a sticky note, and you will cut the sticky board down to this size.
- Peel off the liner on the sticky board and place the sticky side on the wrong side of the fabric. Cut about 1” to 1.5″ away from the sticky board.
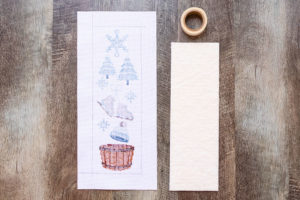
- Apply Cross Stitch Finishing Tape to the top and bottom of your sticky board and pull your fabric to the back, pressing it down. I recommend starting with the top and bottom and then repeating on the left and right sides. You should now have two pieces: one of your stitchy piece and one of your accent fabric.
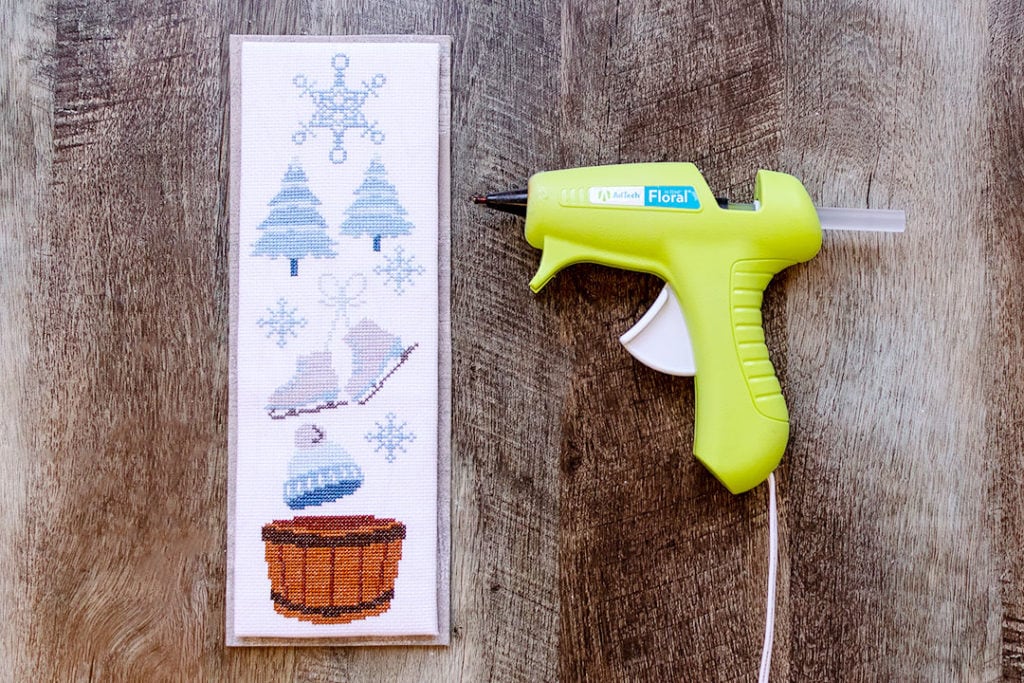
Putting It All Together
This is my favorite part! I finally get to see the finished look and I love how it turned out.
- Center the mounted stitched piece on the fabric piece and hot glue it down.
- Center your mounted stitched piece on the paddle and place your bow at the top of the handle. Hot glue it down.
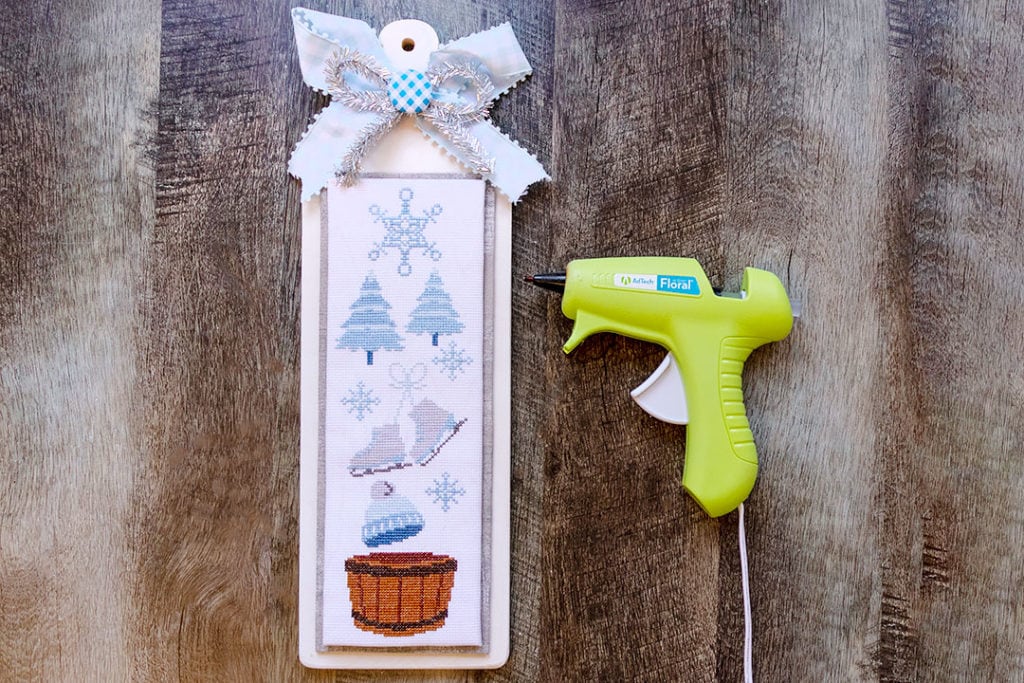
And just like that, I’m all done!
Optional Finishing
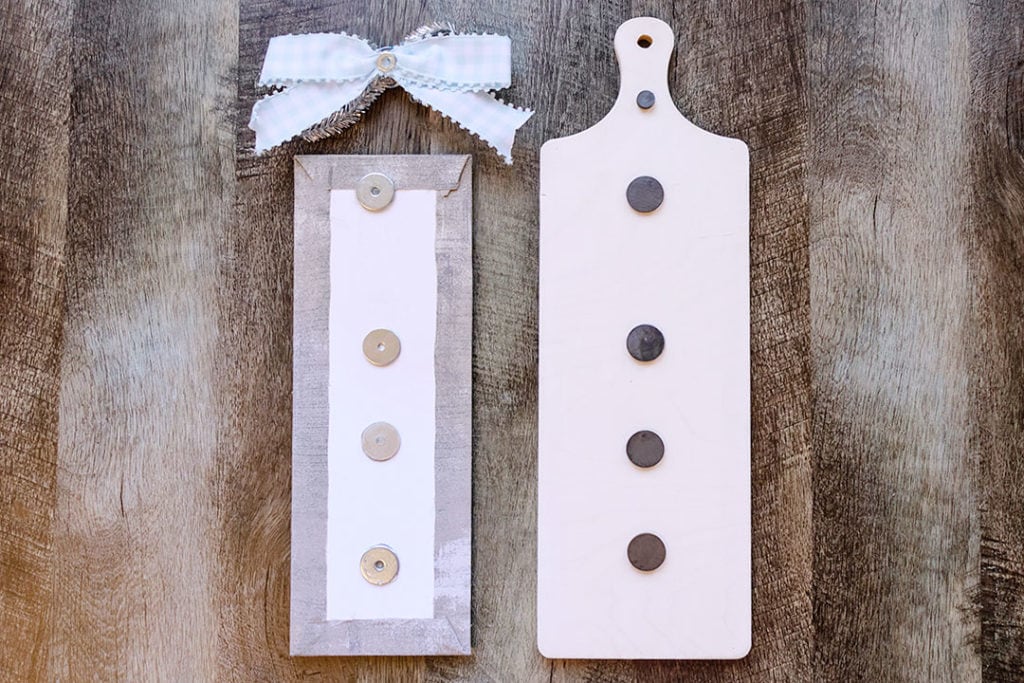
If you noticed, I glued my piece so that it was permanently attached to my paddle board. We followed Priscilla Blain from the Real Housewives of Cross Stitch to make it interchangeable. For an interchangeable option, glue down four 1″ magnets vertically on the paddle board with one .5″ magnet by the handle for your bow. Then glue down four 1″ flat washers on the back of your sticky board and one .5″ flat washer on the back of your bow.
I hope you enjoyed turning this WIP into a beautifully done Fully-Finished Object. I know I cannot wait for my next finish and I would love to see yours.
Keep up with us on social
Show me your FFO’s on Facebook and Instagram. You can share with #StackablesSAL. Be sure to tag @fqsxstitch so we can see and share your work! To find out how Priscilla Blain finishes using magnets and washers, follow her on her blog!
Stay connected to Fat Quarter Shop!


1 comment
Beautiful! This will be my first handmade finish so a bit intimidated. Do you sell the ribbon and button for the bow?