
We are springing into spring with a brand new block tutorial! Follow along with the step-by-step photos below to make your very own Easter Egg quilt block. This block is an eggs-celent choice to use in many different projects. We’re sharing a free diagram to make an Easter Egg Quilt and table runner.
Easter Egg Project Supplies
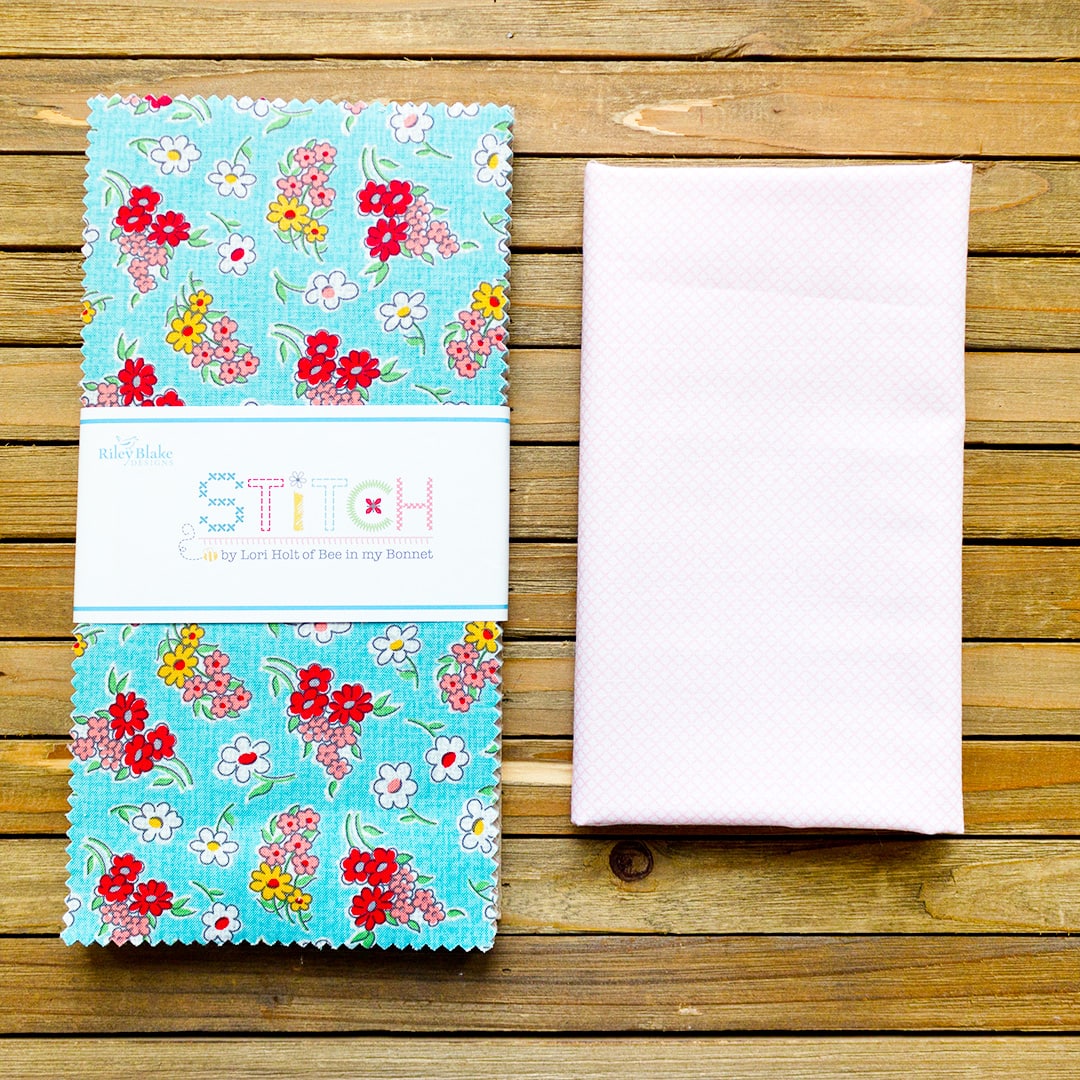
For our Easter Egg quilt block, runner, and quilt we are using Stitch by Lori Holt of Bee in my Bonnet for Riley Blake Designs. The florals and spring colors in this collection are perfect for Easter! In addition, for our backgrounds we are using the Stitch Frosting X’s.
Steps to Make a Easter Egg Block
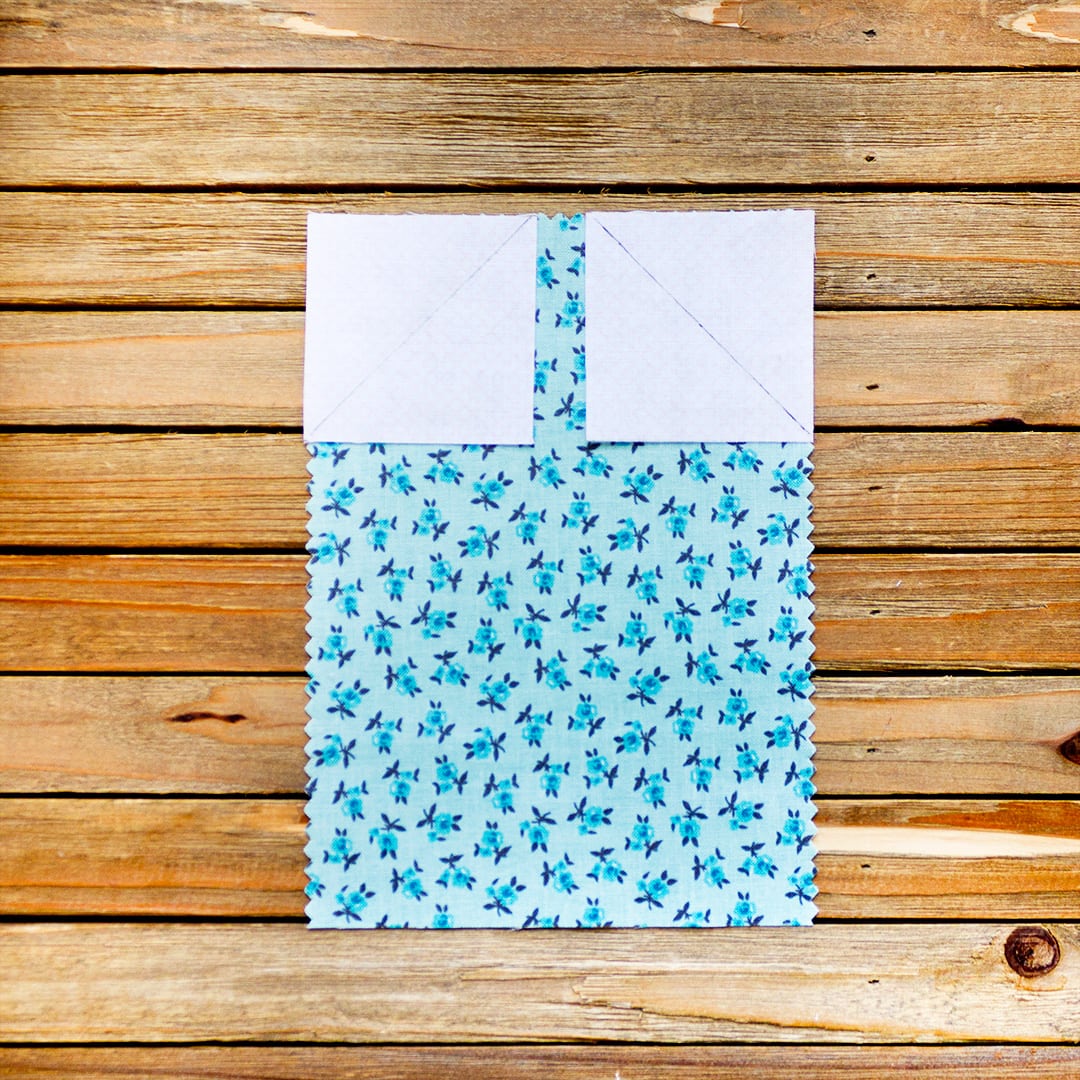
1. For each Easter Egg quilt block you will cut one 5″ x 7″ Jolly Bar (print), two 2.25″ squares (background), and two 1.5″ squares (background).

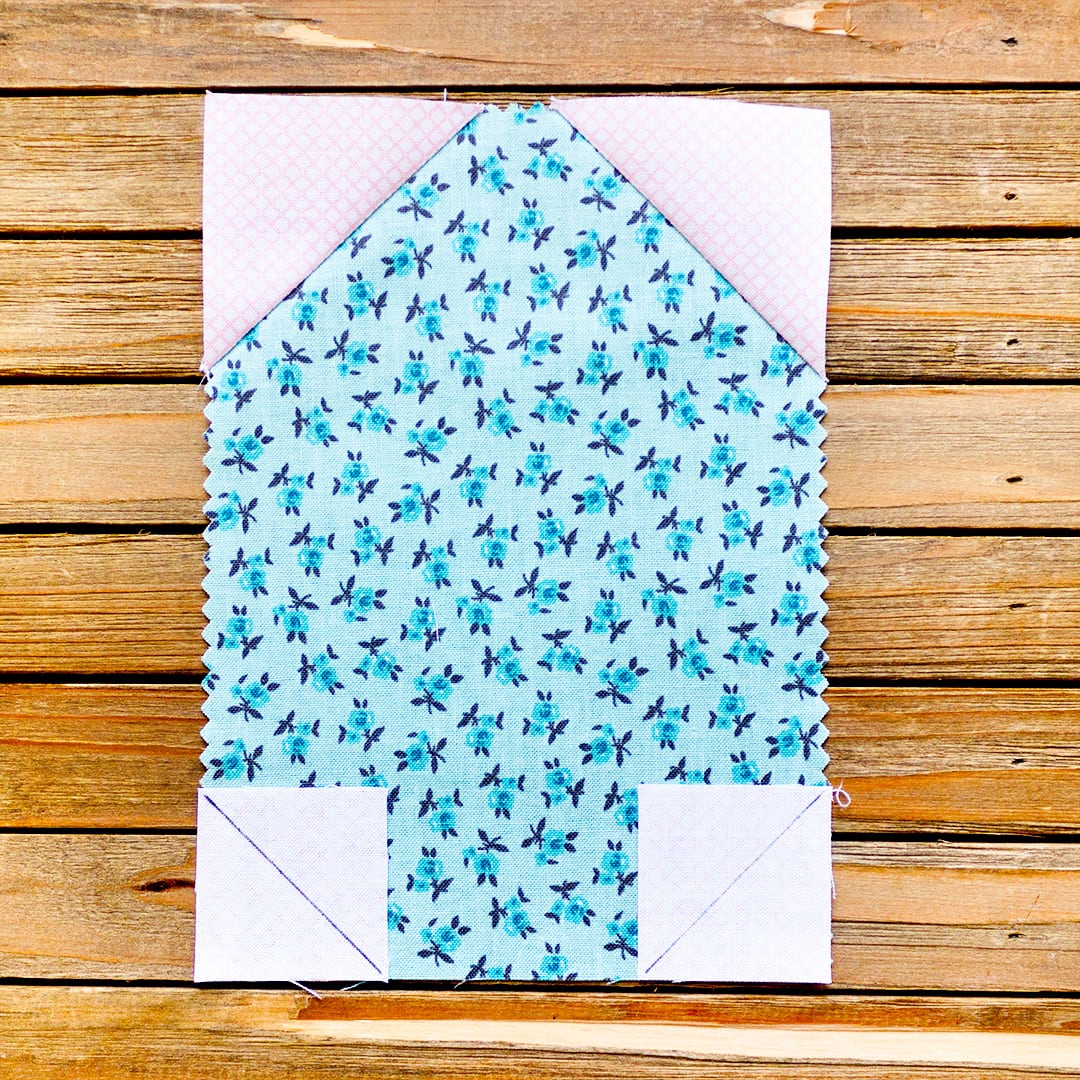
2. With a Frixion pen or fabric-safe marking tool, draw a diagonal line from corner to corner on the wrong side of each 2.25” square. Next, place the 2.25″ squares in opposite corners along the top edge of the 5″ x 7” piece of fabric. Sew along each drawn line.
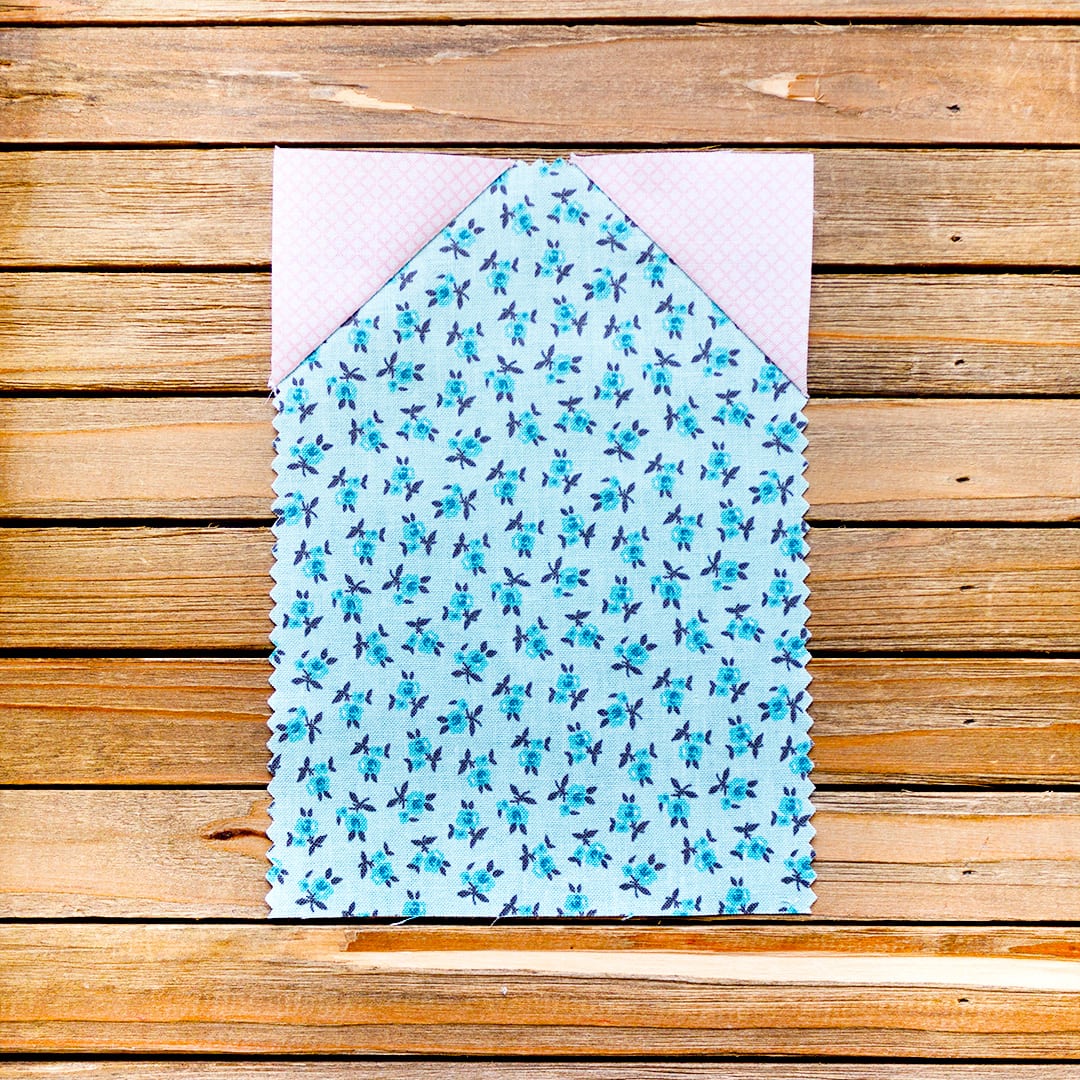
3. Flip the new triangle corners and press with your iron. Check that the corners of the squares are lined up with the edge, then trim leaving a quarter-inch seam allowance.
4. Now take the two 1.5″ squares and do the same steps along the bottom edge of the rectangle.
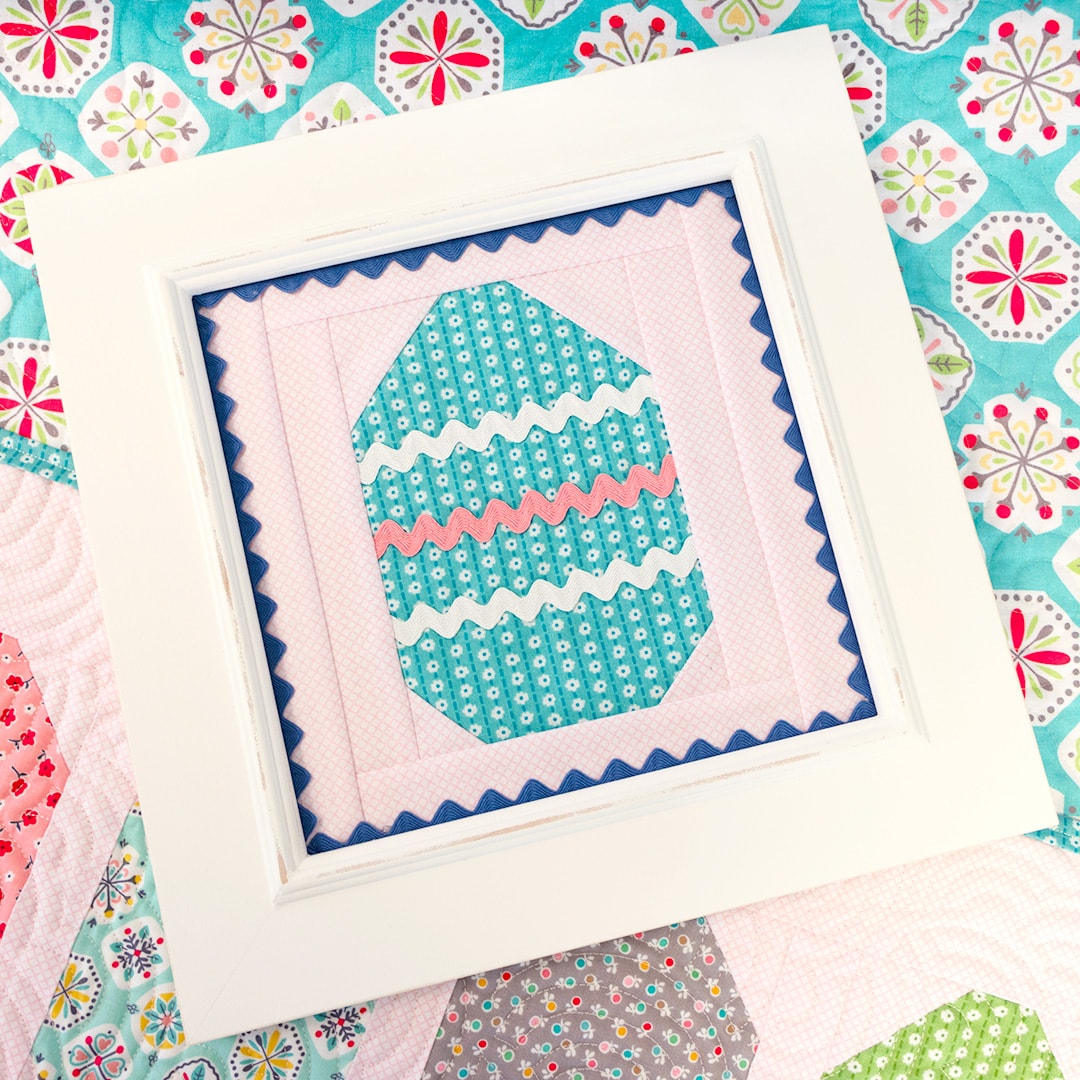
That’s it! Now you have a festive Easter Egg block to use in all your seasonal projects.

See all the ways we finished this block and details on how you can do the same below!
Easter Egg Quilt Projects
Quilt Supplies
- FREE Easter Egg Quilt Layout PDF
- One Jolly Bar (we used Stitch by Lori Holt of Bee in my Bonnet for Riley Blake Designs)
- 1.5 yards fabric for background, sashing, and borders (we used Stitch Frosting X’s)
- 0.5 yard binding (we used Stitch Cottage Daisy Chain by Lori Holt for Riley Blake Designs)
- 1.33 yards backing (we used Stitch Cottage 108″ Wide by Lori Holt for Riley Blake Designs)
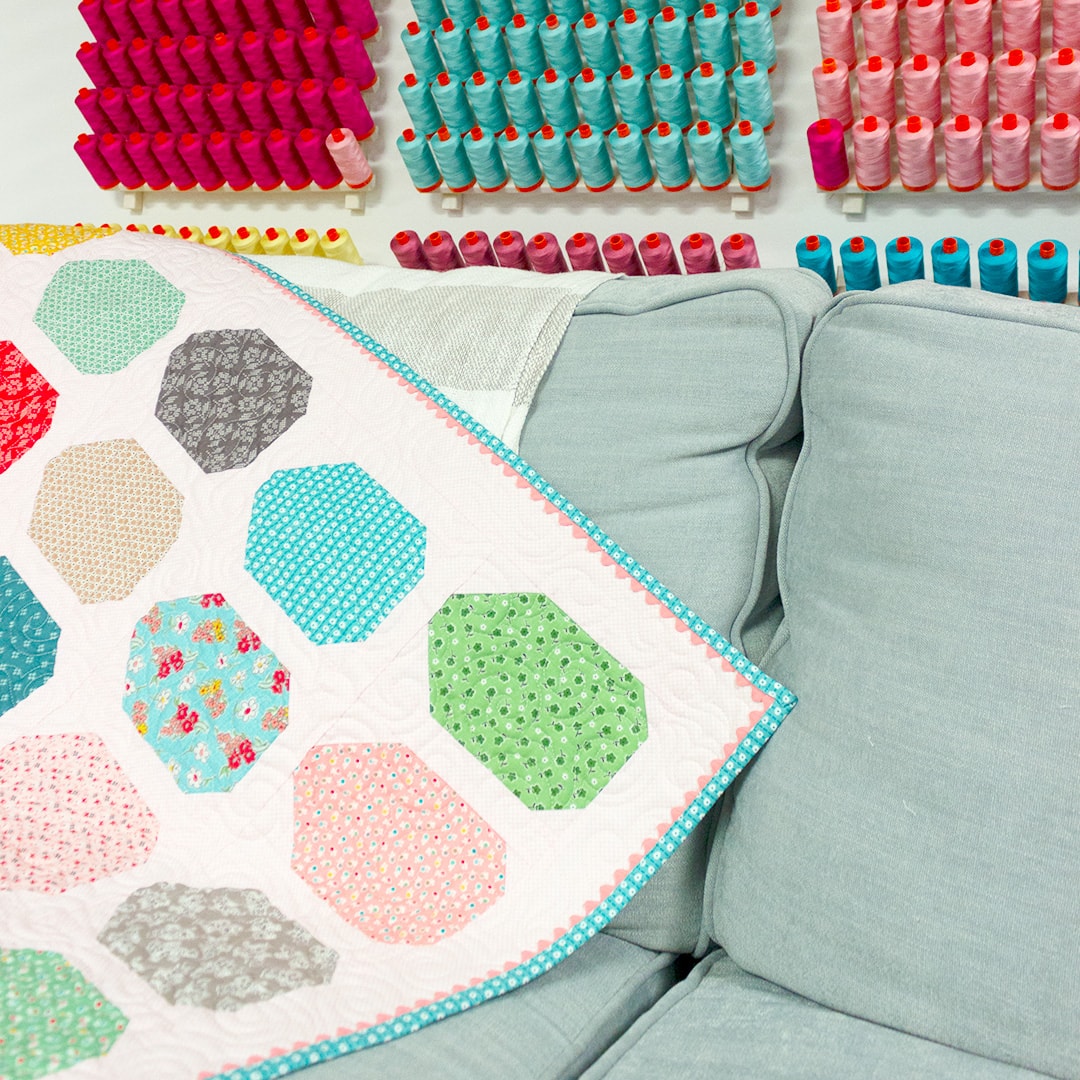
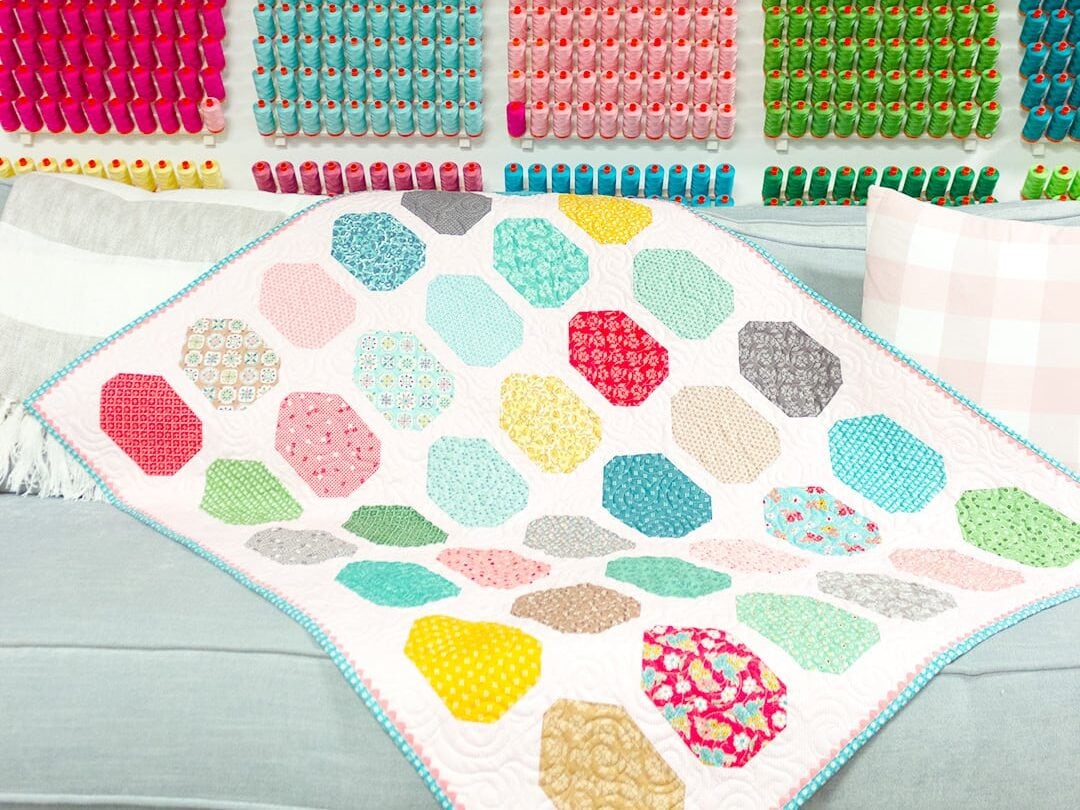
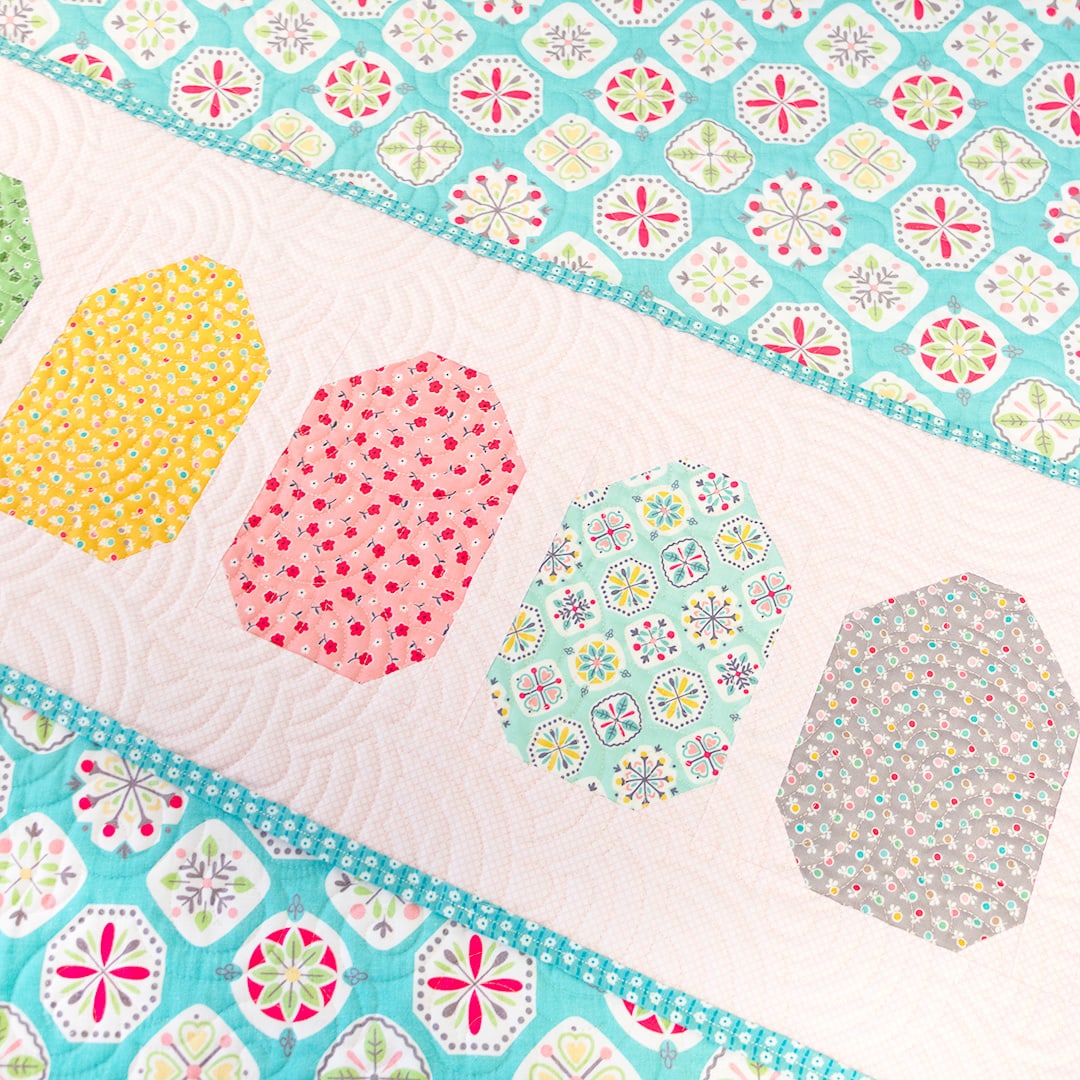
The Easter Egg Quilt is 37.5″ x 48.5″ finished and the cutting instructions are included in the Easter Egg Quilt Layout PDF. If you’re looking for more ways to get into the spirit of the season check out The Farm Girl Chicken Quilt and our pastel fabrics!

Share with FQS!
We hope you decide to make your own Easter Egg blocks, and if you do, be sure to share them with us on Facebook and Instagram using #FQSEggBlock and tagging @fatquartershop so we can see and share your work!
Happy Spring!
Stay connected to Fat Quarter Shop!


2 comments
Is there a miss print? Says to cut 2-2.25 inch, in directions says 2-2.5 inch. Which is correct?
Hi Janice!
They layout PDF is correct that it is 2 – 2.25 inch squares. I will fix the typo above. Thank you for bringing that to our attention. I apologize for the confusion.