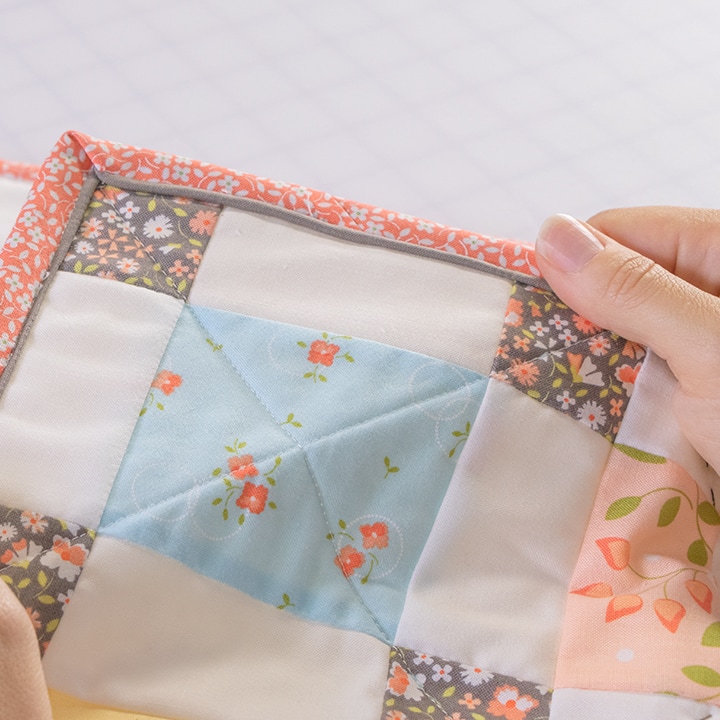
Corey Yoder of Coriander Quilts visited the Fat Quarter Shop Studio to show us how to add faux piping detail to quilt binding. Piping adds an extra touch of color to your quilt binding and helps to hide stitches when applying quilt binding entirely by machine. We have some tips and a video tutorial prepared to show you how to do it, and with Corey’s help, your binding will be nothing less than be-dazzling!

Corey sewed her tabletopper in Sugarcreek Prints by Corey Yoder for Moda Fabrics.

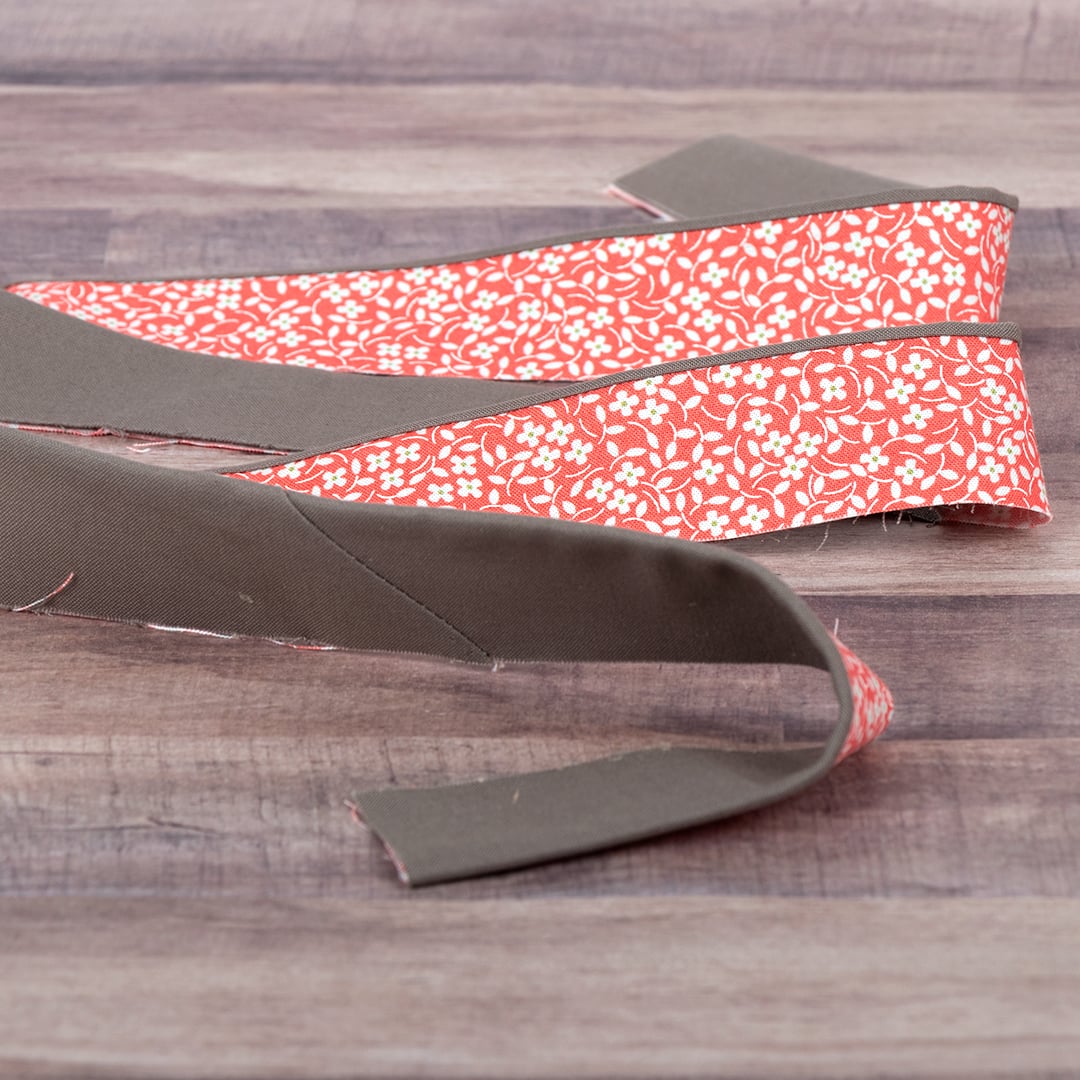
Why is it faux piping? There’s no piping at all! The ingenious way the binding strip is constructed allows for one edge to peek out, giving it the look of piping.
Materials
You will need two contrasting fabrics to construct this look. If they look too similar, the faux piping effect will be lost. Also consider how the “piping” fabric looks against your quilt top since they will be touching/adjacent.
Cutting
First, determine the length of binding required for your quilt or project (circumference plus 10-12” extra). Cut the number of strips needed for your binding in both fabrics:
- 1.5″ wide strips (binding fabric)
- 1.75” wide strips (piping fabric)
How to sew faux piping
In this tutorial, Corey sews her strips together, shows how to press the seams correctly and add binding to the tabletopper. If you are reading via email, please click here to watch the video tutorial.
In this tutorial, Corey combines hand quilting with machine quilting before moving on to finish her tabletopper. The combination of the two quilting techniques is another sweet way to add unique details to a quilt. If you are reading via email, please click here to watch the video tutorial.
For more help on figuring out how many binding strips you need and how to cut binding strips, you can check out our very first binding tutorial.
Share your projects with us!
Finish your quilt with a special touch by adding faux piping! Be sure to tag @fatquartershop and @corianderquilts and use the #fauxpiping hashtag so we can see and share your work! And all of these images can be repinned on Pinterest so you can share this project with your friends or save it for later!
Happy Quilting!


6 comments
Well, that explains it! I’ve always wondered how it is done, so thank you – I look forward to giving it a go!
Why would you not set the machine for a longer stitch?
Live this technique. Will try on my next quilt. Thank you.
Corey is an excellent teacher! She was precise in explaining each step and now has encouraged me not only to make this binding but also mix in some hand quilting. Thanks for making the videos with her. I hope to see more Corey in future tutorials.
This makes a great binding. Our guild had one of our members teach this technique to us this past year. Everyone has raved about it.
great tutorial: I love the idea of machine binding, but was never happy with the look. This looks like it will deliver a better looking result. Thx!