

Hi, there! I’m Katie and I am a brand-new quilter learning all the basics here at Fat Quarter Shop. I’m sewing my first quilt with the help of my fellow Fat Quarter Shop staffers and I’d like to share my journey with you.
If you are new to quilting too, I hope we can share our struggles and triumphs together while you get through your first quilt. If you’re a more seasoned quilter, please feel free to share advice in the comments.
Last week, I began the process of sewing my first quilt. I chose a pattern, fabrics and gathered my supplies. I even began cutting my precuts which set me up for success this week when I cut the rest of my quilt and began sewing the pieces together.
I’m making the Color in the Lines Quilt from Melissa Corry’s Charming Baby Quilts book for It’s Sew Emma.
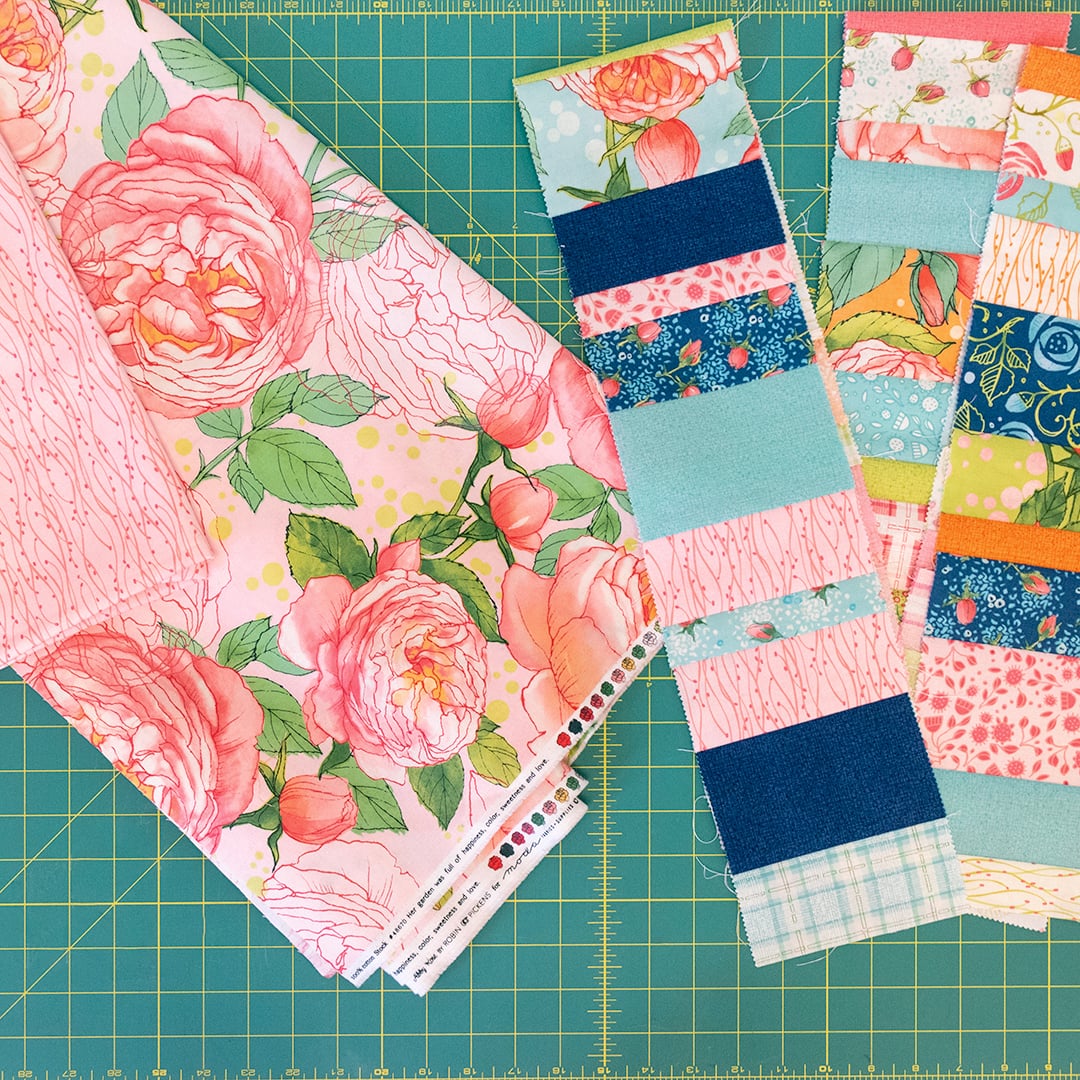
Here is a look at my fabric pieces all sewn together this week. I think I will be using this pretty rose print from Abby Rose by Robin Pickens for my backing. What do you think?
Cutting my fabrics
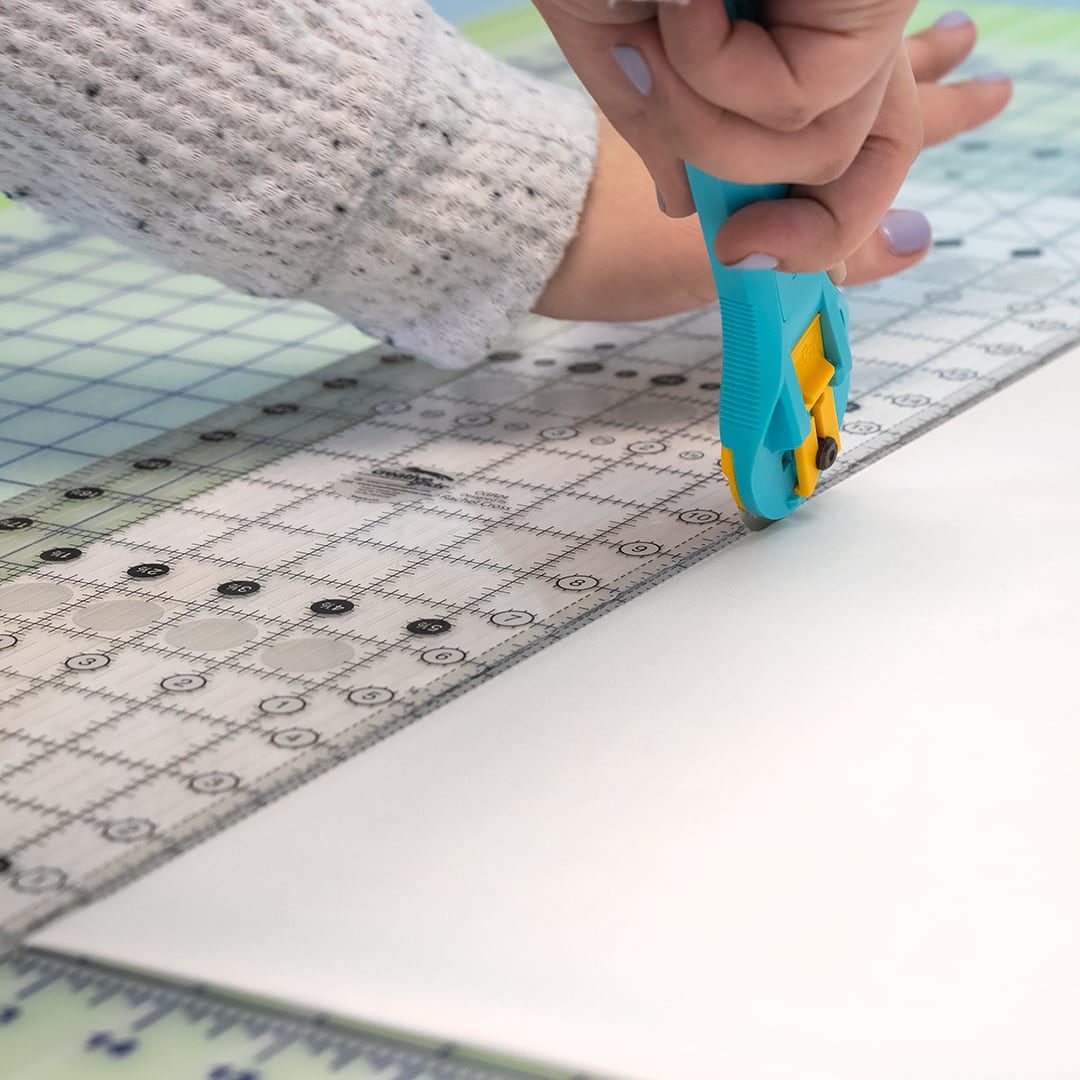
This week I learned the importance of accurate cutting and piecing. The art of quilting is upheld by tradition and creativity. I’m inspired by the love and skill that is put into quilting, but it can be intimidating. One piece cut too small can waste fabric or affect the quilt’s size. This was the week of trial, error and acceptance.
I cut my 5″ charm squares very easily last week. I only had to make one pass of my rotary blade each time, and that was satisfying! The real trouble came when I needed to make sashing. I had to learn some vocabulary here and if you are new, so should you. My pattern called for “WOF” several times and that threw me for a loop. I decided to phone-a-friend and now I know that is Width of Fabric, which is from one selvage edge to the other. That will generally result in a piece that is 40-44” wide. I’m glad I learned this early!
Another key piece of information I learned is that all yardage comes with selvage. Selvage is the fabric strip that runs along the edge of the fabric and denotes its manufacturer. I came across this when cutting yardage for my sashing and border, and I had to figure out what to do with it. You just cut it off! It seems basic enough but it did cross my mind to sew this in. It shouldn’t be considered when measuring. It’s just got to go! I hear quilters will make other projects out of their selvage collection. What do you do?
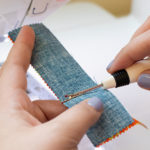
Tip: Always keep your hand flat on your ruler when cutting and your blade closed when you are not cutting. A quilter commented last week advising I keep my blade closed always. Thank you for the safety tip. My fingers appreciate you.
Fixing my mistakes and accepting some flaws
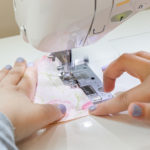
Once I mastered cutting I was excited to put all my pieces together. I couldn’t wait! However, be warned… excitement and speed do not always equal accuracy. I learned a valuable lesson this week: slow and steady wins the race. I am sewing on a Juki HZL-F600 and it is a lovely machine, but it won’t do everything for me.
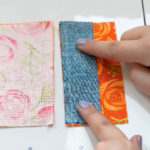
I sewed a few pieces together into strips and learned my own method for getting a solid quarter inch seam. I figured out early on getting this right makes a big difference! A quarter-inch presser foot helps with this this part, but there is still room for error. If I didn’t sew slowly and hold my pieces while guiding them through, my seams would be all over the place resulting in some pretty wonky looking blocks.
Tip: Always aim for even and straight seams. Sew at your own pace and allow your hand to safely guide your fabric through the machine.
Next steps
This week was tougher than last week, but I definitely reaped the rewards of my hard work. Cutting and sewing my pieces together took several hours but left me feeling very accomplished! Next week, I’ll be ironing my blocks, sewing them together with my sashing and hopefully finishing my quilt. At this time, I have four sets of strips with all of my pieces and several strips of my sashing just waiting to be pressed and pieced.
Tip: Organize your sewing area with labels. As a new quilter, I’ve been forgetful! To help me remember which fabrics go where I keep them out and labeled.
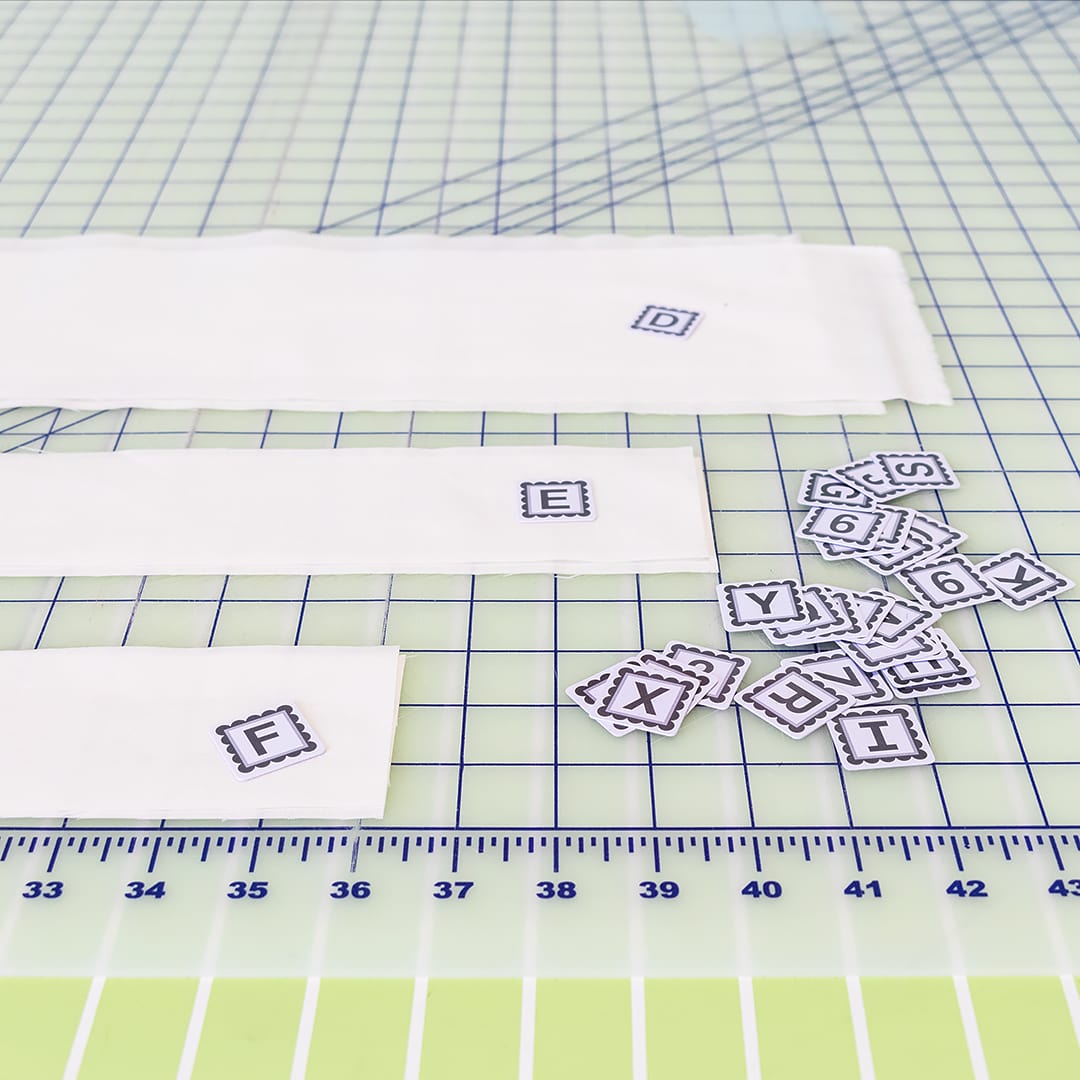
My Alphabities by It’s Sew Emma keep me organized and are definitely my favorite tool to use. It doesn’t hurt that they are super cute too! What is your favorite notion?
Thank you for joining me again this week! I’m sew excited to report back in part three with how pressing, sewing and finishing this cute baby quilt is going for me! I loved your feedback on my last post and it really helped! Please let me know again in the comments what tips you have for cutting and piecing.
If you are also a beginner quilter and are wondering where to get started, follow along with me here as I document my first quilt step-by-step.
Happy Quilting!
Stay connected to FQS!


8 comments
Hey, Katie – Welcome to the wonderful world of quilting. One bit of advice (and I wish that I had received this when I was starting out): you don’t “iron” your blocks, you “press” them. And there is a big difference. When pressing, you pick up and put down your iron very deliberately (unlike ironing where you are moving the iron across the fabric). Why does it matter you ask? Because ironing will distort your block, especially if you have any bias in it (think a square made up of two triangles, AKA a half square triangle (HST) unit). I use a wool mat to press my blocks on and I use steam or starch to get them crisp and lay flat. If you find that your blocks are slightly wonky even with a perfect 1/4″ seam, double check your pressing. Happy quilting.
Thank you! I will keep that in mind. I’m finding that it is hard to break the “ironing” habit as that is what I do with clothes! I’ll be careful with my fabrics and remember to press.
Hi, and welcome. You will love quilting. And I am looking forward to your progress.
Judi Kaye
Thank you! I’m
Hoping to have my quilt finished next week and can’t wait to show you all!
I still consider myself a beginning quilt and I enjoy reading about your journey. The cutting part really scares me because I don’t want to ruin fabric. Therefore, I have tended to stay with precut fabric for my quilts. I am still working on mastering straight stitching especially on sashing and borders. I love quilting
I feel the same way! I enjoy the ease of the precut fabric.
Good to know that works too! I learn so much from you as well! Keep it up great post.