
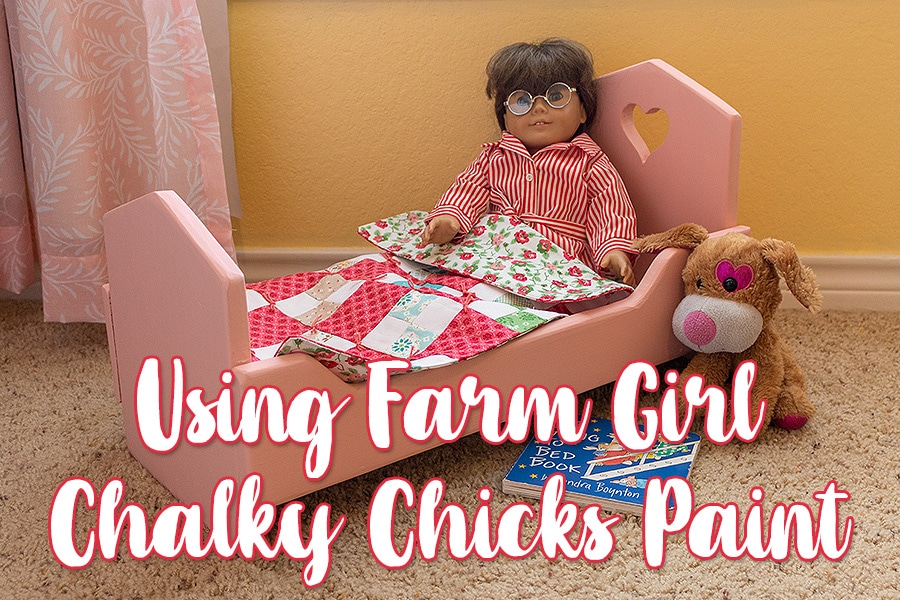
 We are having sew much fun using Lori Holt’s new Farm Girl Chalky Chicks Paint! Have you been drooling over all of Lori’s projects with her paint, and a little nervous about using it?? We’ve got you covered!! After going to Lori’s house for the Farm Girl Vintage 2 photoshoot, Sarah, one of our quilty staffers, knew she needed to make one of those adorable doll beds and mini quilts for her daughter. She is here, to help walk us through using Lori’s paint.
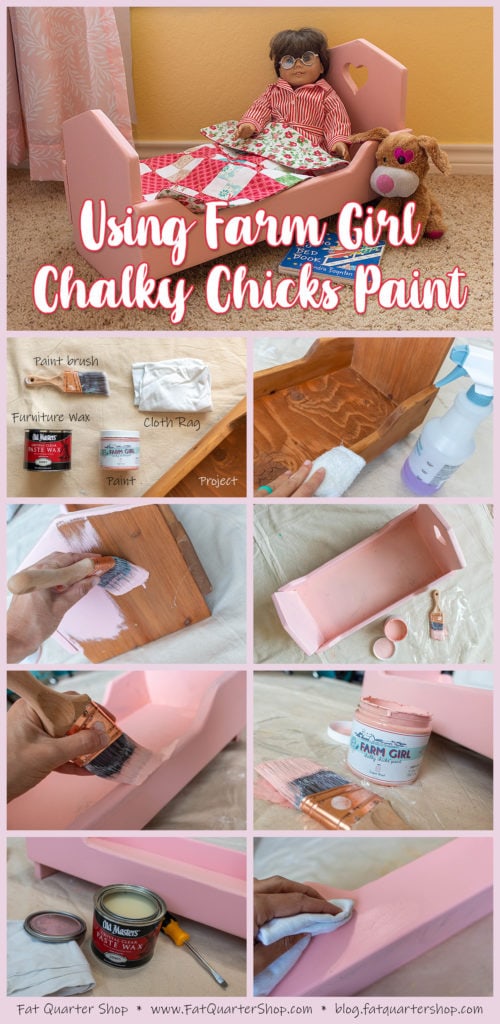
To give you an idea of what we are working with, here’s a before picture of the doll bed. My dad made this for me when I was a kid, and I am passing it down to my daughter. She is almost three, and just now into playing with dolls!
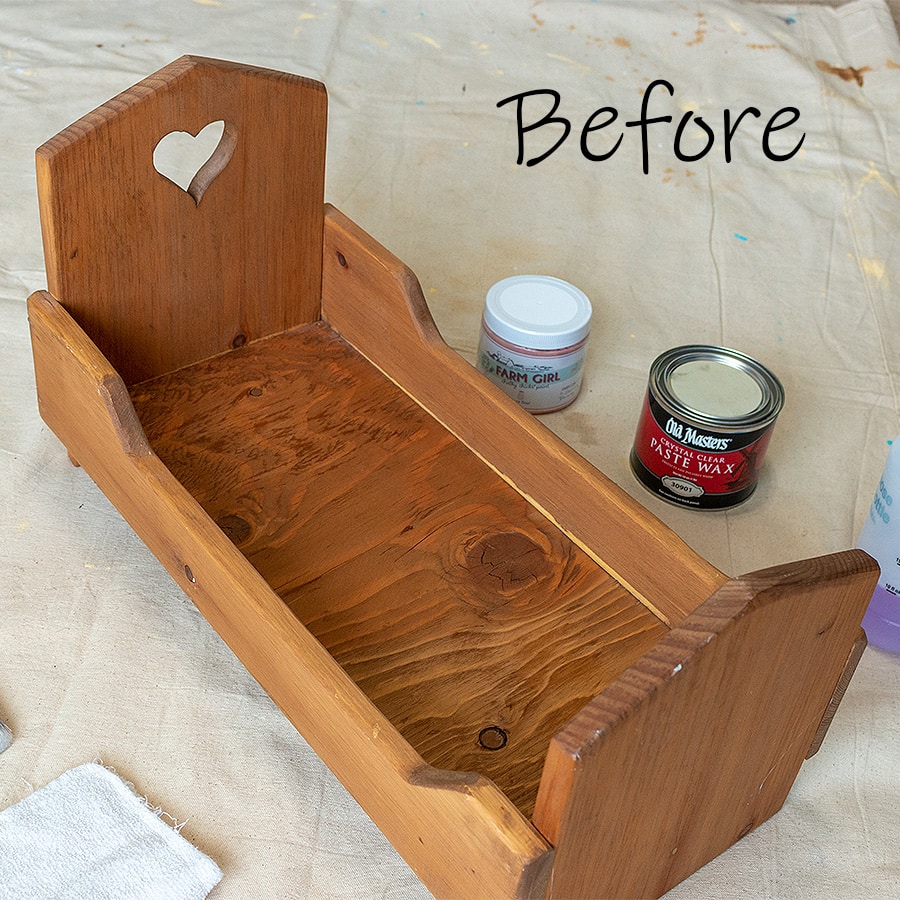
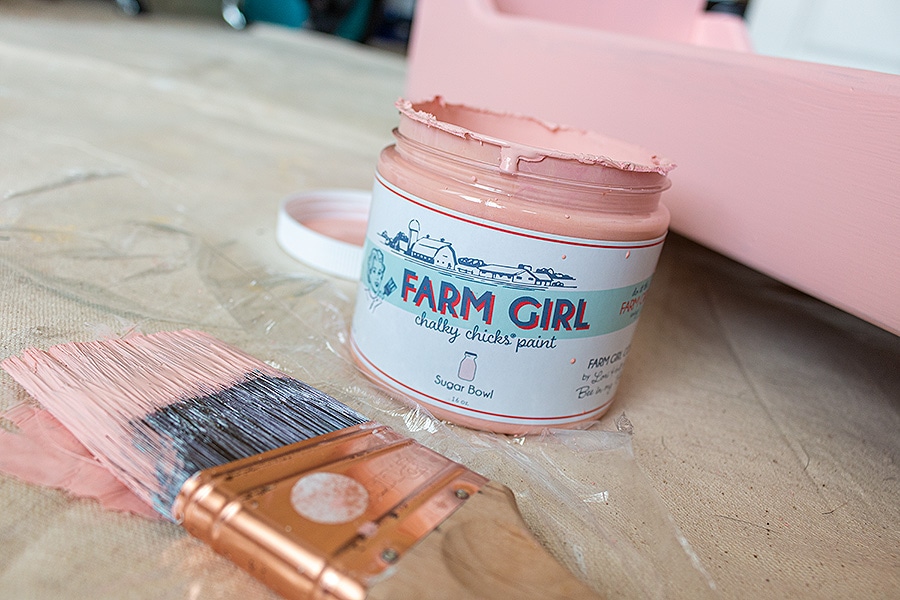
Let’s get started with supplies. What makes Farm Girl Chalky Chicks Paint different than your “typical” acrylic paint is that you do NOT need to sand the piece you are painting first, which really appealed to me since I am a big fan of quick, fun painting projects. Let’s all agree, sanding is our least favorite part 🙂 After the project has been painted you will need to seal it with a furniture wax of some kind, but this is way easier than sanding!
Basic Supplies –
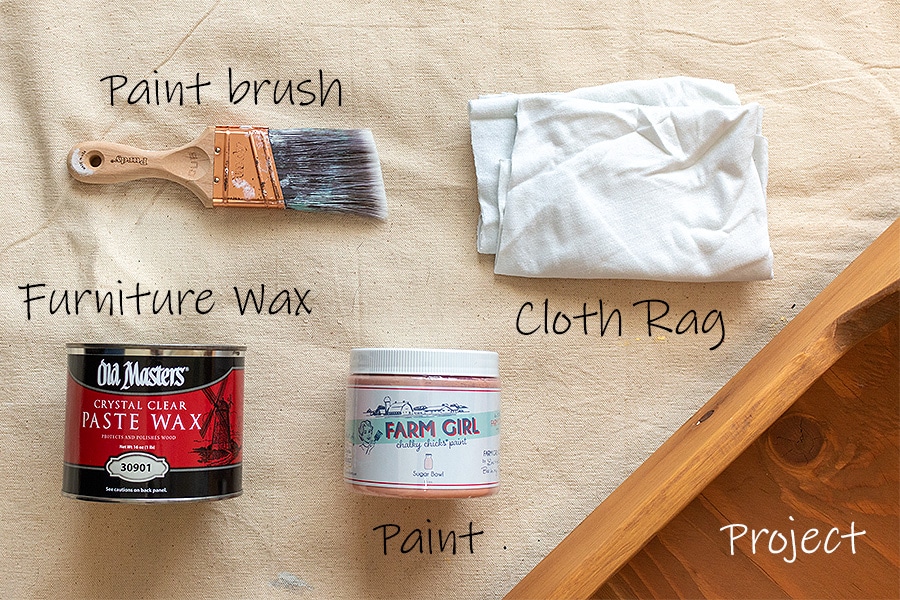
- Farm Girl Chalky Chicks Paint (I used the pink Sugar Bowl color)
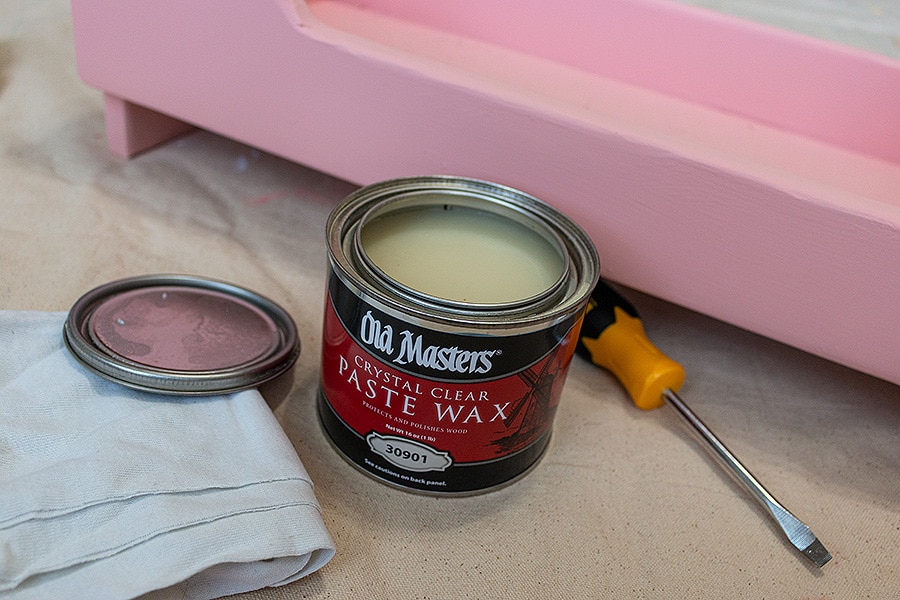
- Furniture wax (I used the Old Masters Crystal Clear Paste Wax)
- Paint brush
- Clean soft cloth rag to apply the wax
- Drop cloth to paint on
- And of course the piece that you are painting 🙂
Let’s get started!
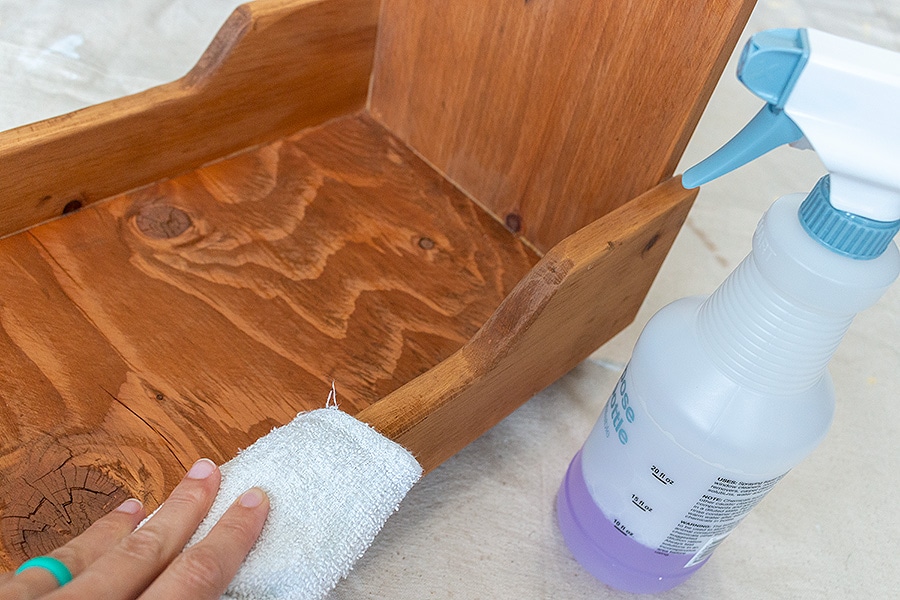
To begin, you need to clean the piece you are working with.
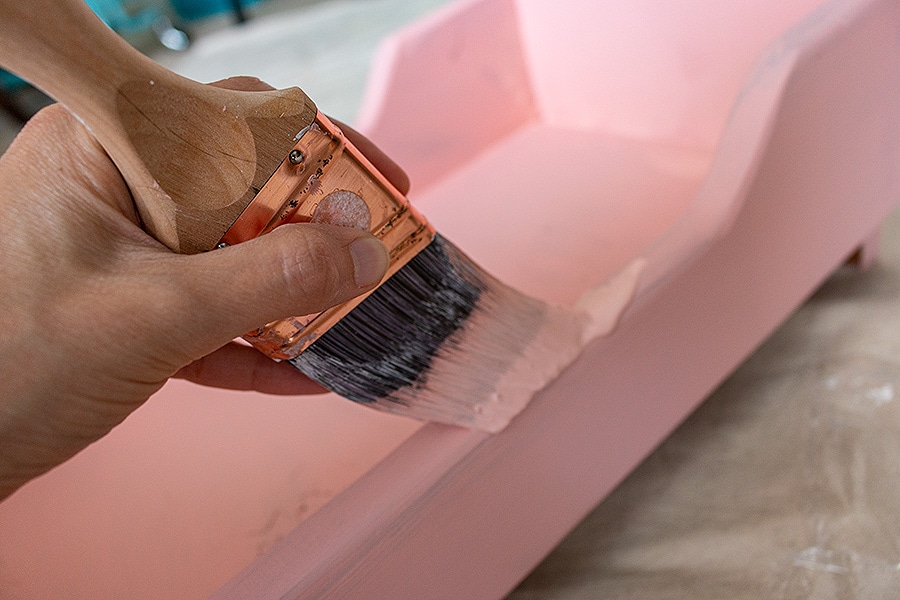
After your piece is clean, it’s on to the fun part – painting! The paint goes on similar to acrylic paint, you want to paint with the grain with long brush strokes. The first coat of paint won’t look great, but don’t fret just let it dry and apply another coat.
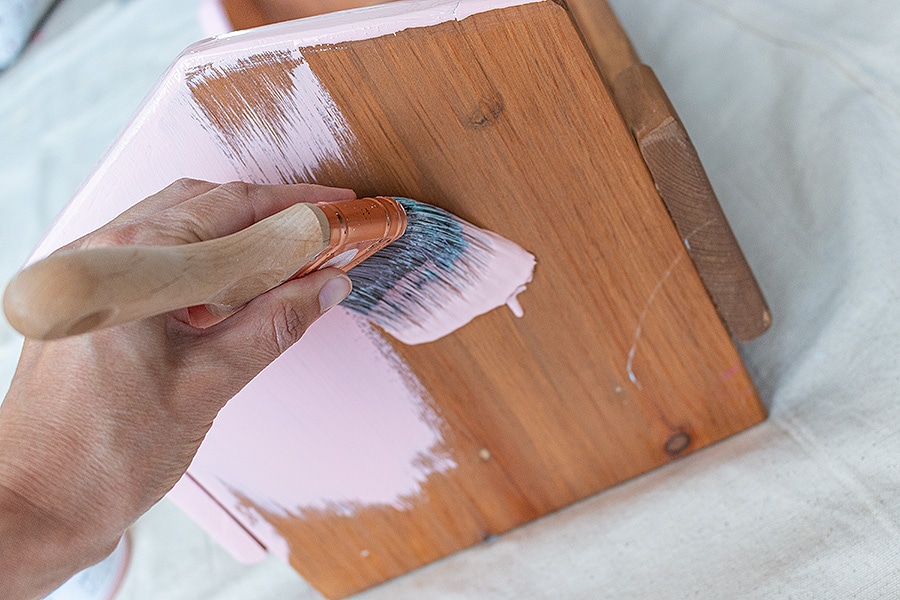
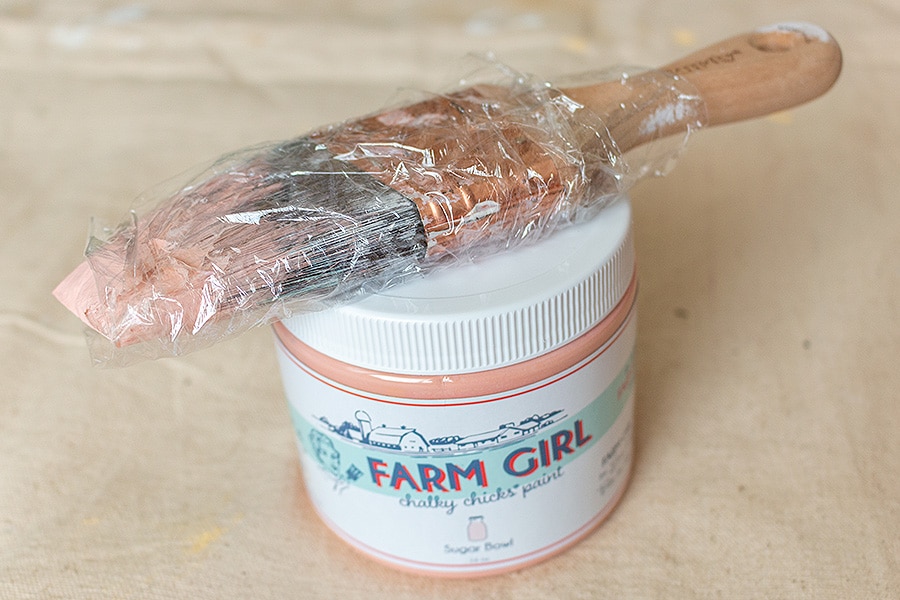
Instead of washing my brush between coats, since the paint dries so fast I wrapped up my brush in cellophane and put it in the fridge.
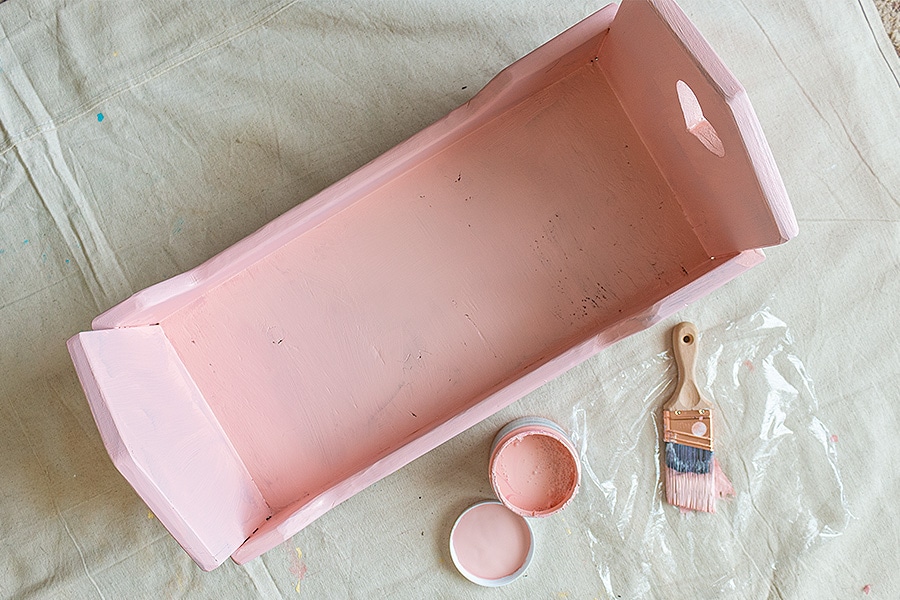
After your piece is nice and dry you are ready for a second coat. The coverage on this paint is pretty nice, I found I only needed two coats and it looked great!
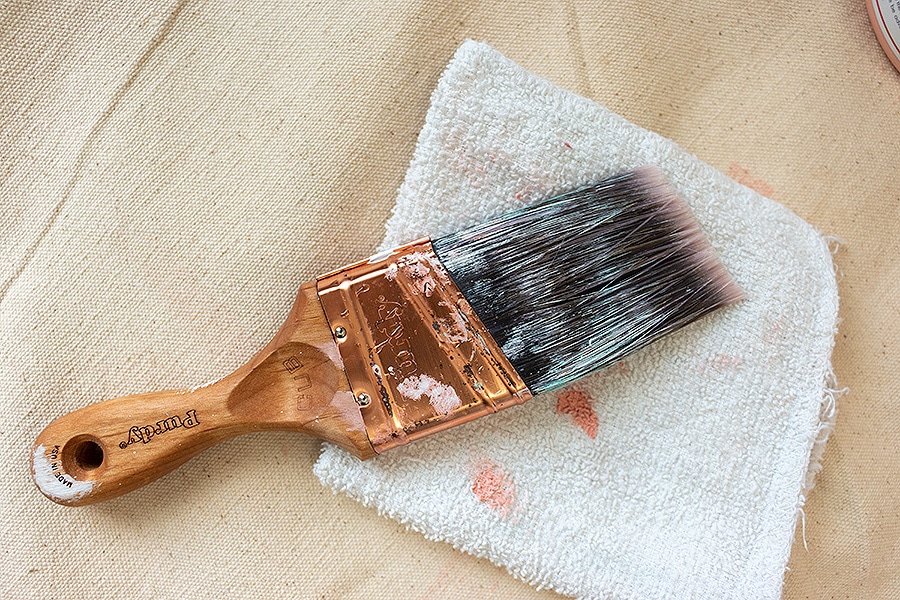
Once you are done with the paint, it’s time to clean the brush. Just wash with water, and let dry and you are done.
At this point is when you could distress the wood to add a vintage flair. I did not, because I liked the clean look for this project. But if that’s what you are looking for, go for it!!
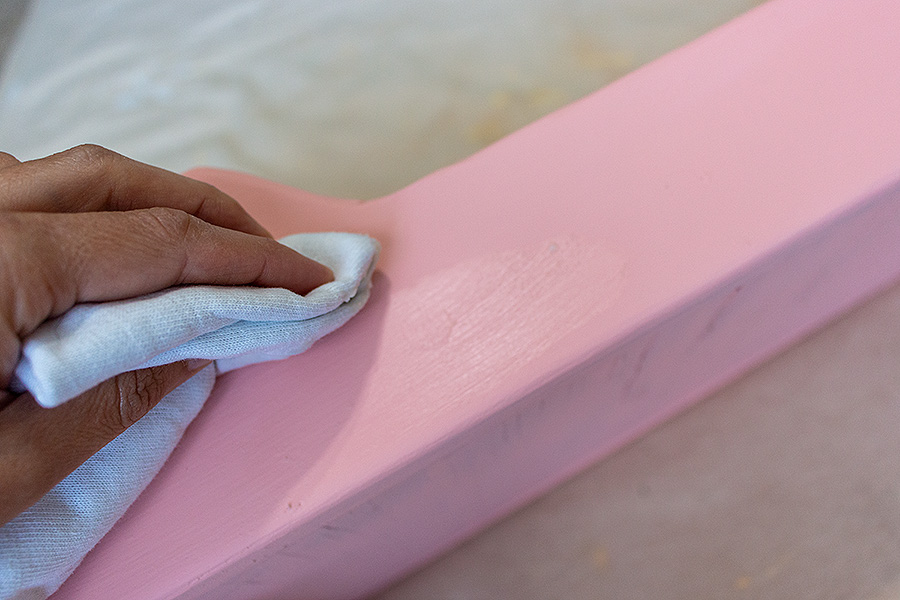
I let the doll bed dry overnight and applied the wax the next morning. You can use a brush to apply the wax, but I used a clean cloth rag and it worked great. Just like with the paint I applied the wax with the grain of the wood. It is a little difficult to tell where the wax has been applied, so I would work through it methodically. Let the wax dry and you’re ready to go! Project done!
Share with #chalkychicksfurniturepaint
We would love to see your next project – be sure to share using #chalkychicksfurniturepaint hashtag and tag us (@fatquartershop) so we can see and share your work!
Sew Pin-able!
6 comments
Looks great. But what type of finish does the paste wax give? Do you use it just as protection? Thank you.
The wax I used gave the doll bed a matte/flat finish, it is mainly used to protect the piece and smooth out the paint a little. You can get wax with a stain in it, that would add a little extra color to the piece. I loved the pink just the way it was for the doll bed, so I used a clear polish.
Do you not buff the wax? Thank you….
I liked how it looked when I was done so I didn’t buff it, but I believe you can.
Adorable bed for a little girl
Does the wax make it water proof? Does chalk paint scuff?
This color looks perfect. Well done
Thanks! The wax I used has more of a matte finish. I think if you didn’t finish the piece with a furniture wax at the end to protect it, the paint would scuff a little.