
Today we’re finishing up our quilt tops for The Ultimate Beginner Quilt. Woo hoo! If you’ve been sewing along, the finish line is just on the horizon. In today’s tutorials, Kimberly Jolly will walk you through the steps to add sashing and borders to your quilt top and show you how to put together your quilt backing.
The Ultimate Beginner Quilt is a free quilt pattern series with video tutorials designed just for beginners. Even if you have zero sewing experience, this is the free quilt class for you! If you’re joining us for the first time, catch up on the previous blocks and then come back to join us in finishing!

Download the FREE Finishing Pattern
Add Sashing and Borders
To finish up your quilt top, you’ll add thin sashing strips between the blocks to create a lovely frame. Learn the best way to ease in excess fabric with the sewing tips in the tutorial. We made this video long so that you can see every step in detail. We’ve heard from many beginners just how helpful it is to see each part of the process. However, if you’d like to jump ahead, check out the timestamps in the video description box.
If reading this in email, click this link to watch the video.
To cut long strips on a cutting mat that’s smaller than your fabric, you’ll want to fold the fabric in half with selvage ends together. Then fold it one additional time so that the cut ends are together. You’ll have four layers of fabric, and this is your starting point for cutting strips for sashing and the inner border.
Piece your Backing Together
In this tutorial, you’ll learn how to assemble the quilt back, along with the proper measurements so that it’s ready to send to a longarm quilter. These measurements also work if you’re going to quilt this at home! Stay tuned for next week’s videos to learn more about quilting on your home machine.
If reading this in email, click this link to watch the video.
To work with a long length of yardage, leave your fabric in one long piece to start with. If it’s come straight from the bolt, it will be folded down the center with selvage ends touching.
With selvage ends touching, lay your fabric out and fold one additional time so that the cut ends are together. You’ll have four layers of fabric, and this is your starting point for cutting.

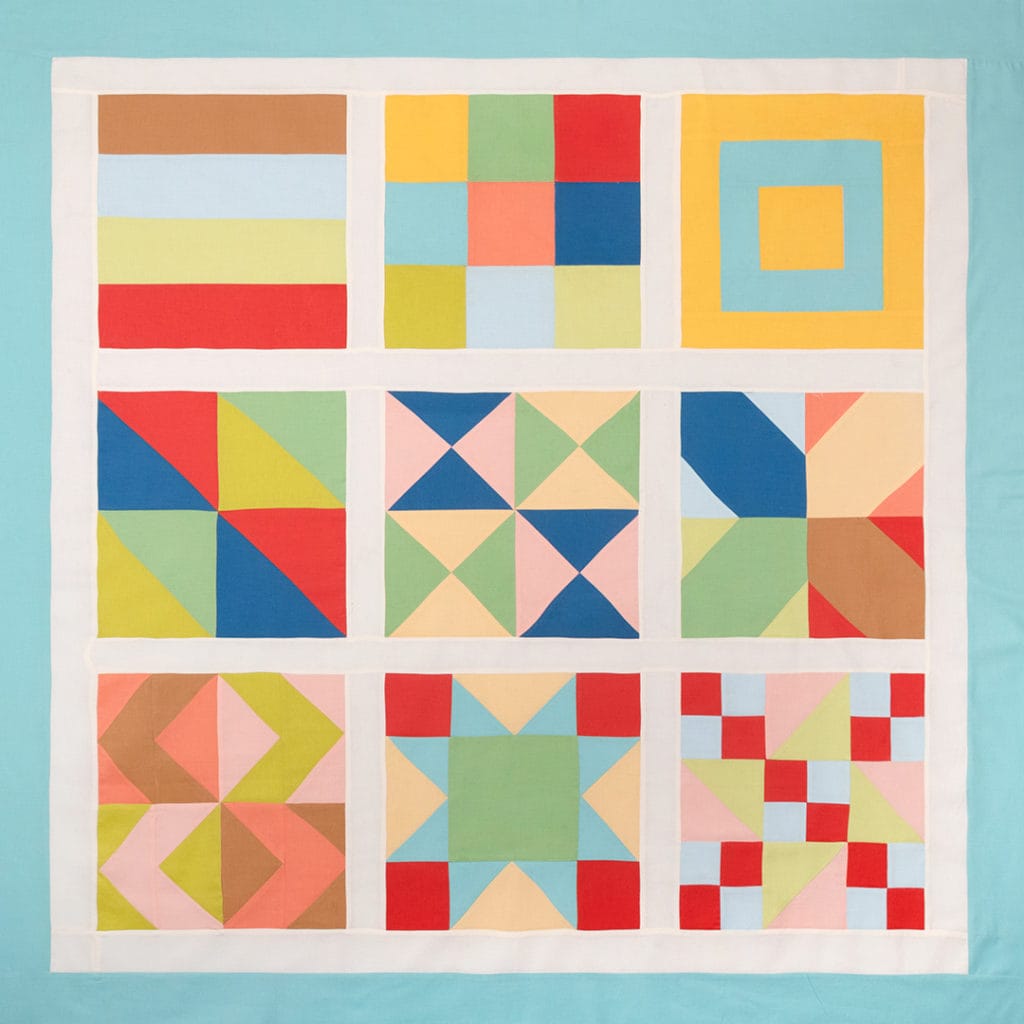
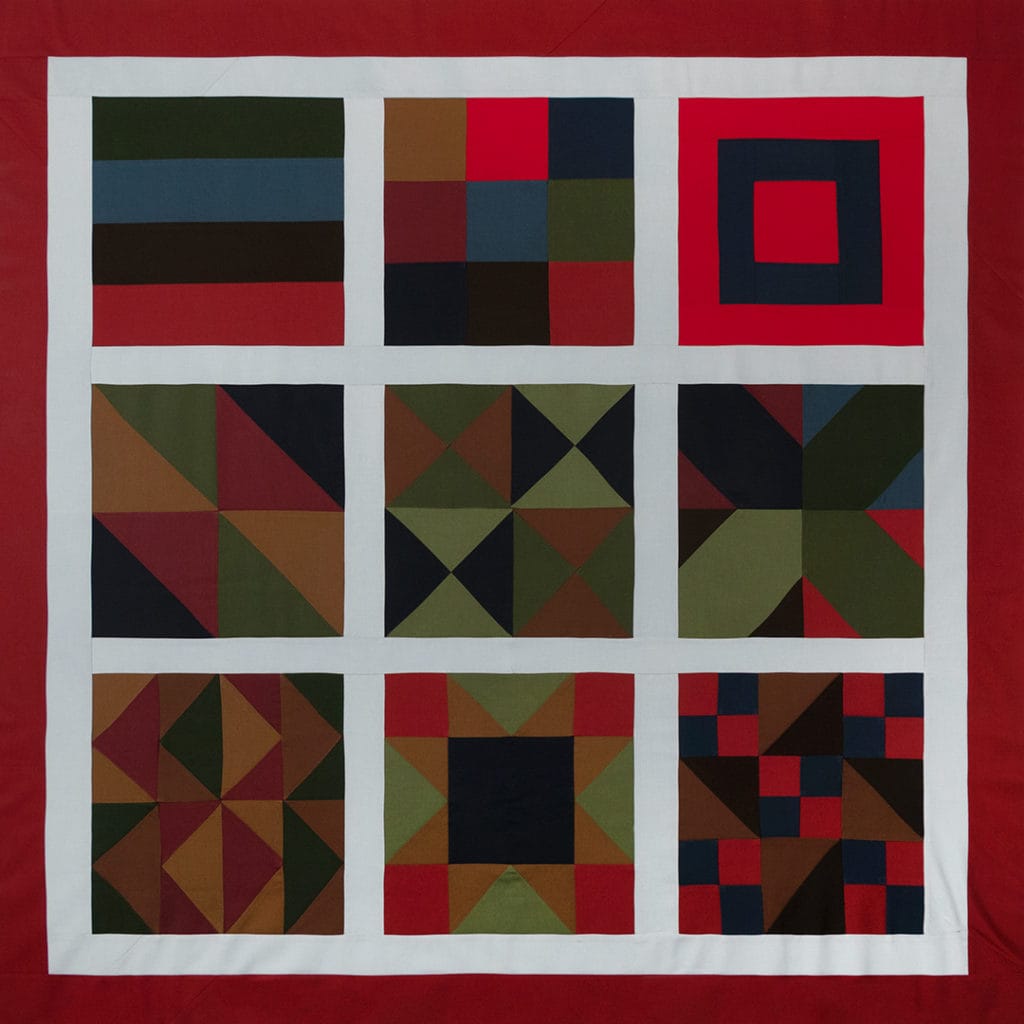
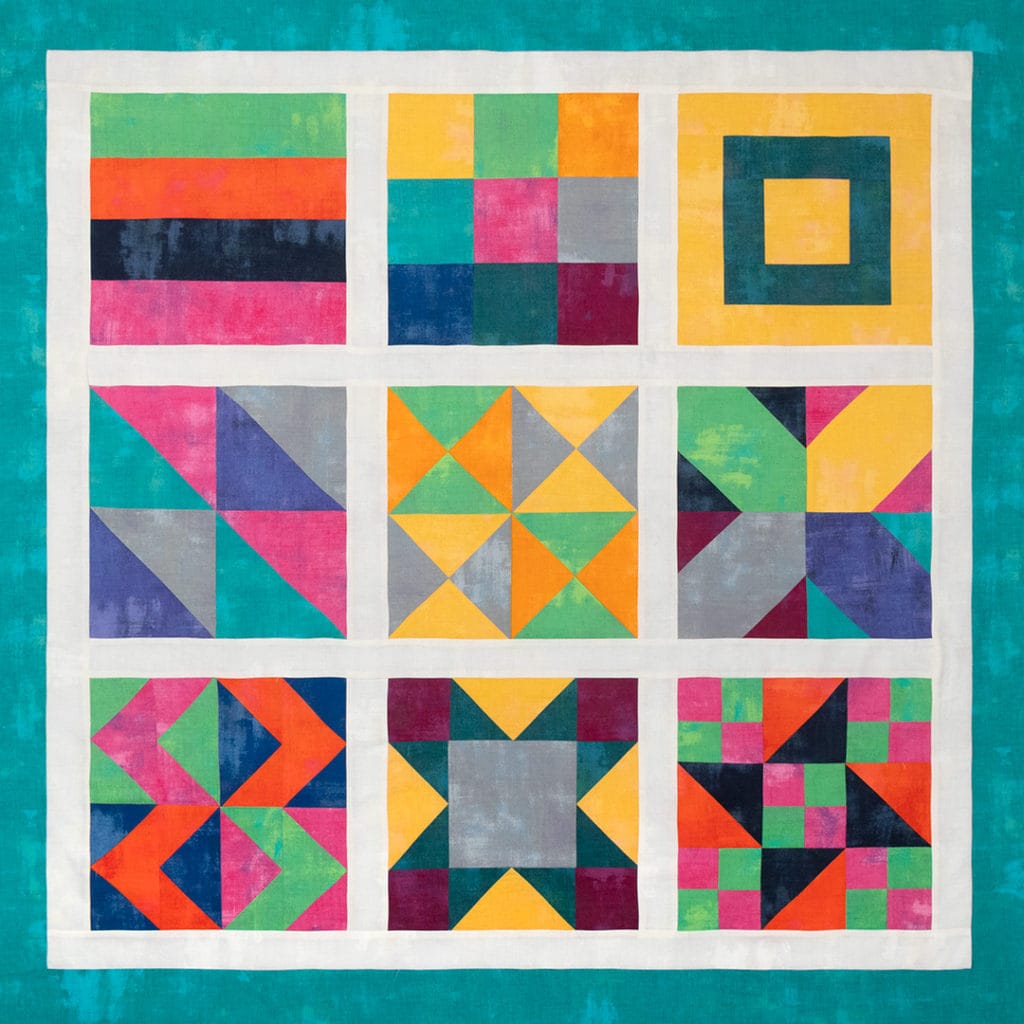
Let’s see what our wonderful FQS staffers made this week. They’ve all come a long way with their piecing skills and it shows! Click on the photos below to enlarge the images.

We have some awesome quilty friends quilting with us!
Check out their blogs and follow them on social media for inspiration and tips.
| Pat Sloan | Mister Domestic | Brittany Clark |
| Gina of Thread Graffiti | Tracie of Riceford Streams | The Real Housewives of Cross Stitch Priscilla & Chelsea |
| Karin of Blue Pip Designs | Linden of vinelines | Rebecca of OneWeeBird |
| Ange of A Little Patchwork |

![]()
![]()
Keep up with The Ultimate Beginner Quilt Sew Along!
Be sure to follow along with The Ultimate Beginner Quilt Sew Along on Facebook, and Instagram, and share your progress on Instagram or Facebook with #ultimatebeginnerquilt and #myfirstquilt, or comment on our blog or video with your quilting questions.
Subscribe to our Beginner Quilt Newsletter for occasional updates and special offers created for the beginner quilter, and subscribe to our YouTube channel so you don’t miss a video.

Stay tuned for next week’s blog and video! On Thursday, October 17, learn how to quilt the quilt on your home machine.
Happy Quilting!
Stay connected to FQS!


2 comments