
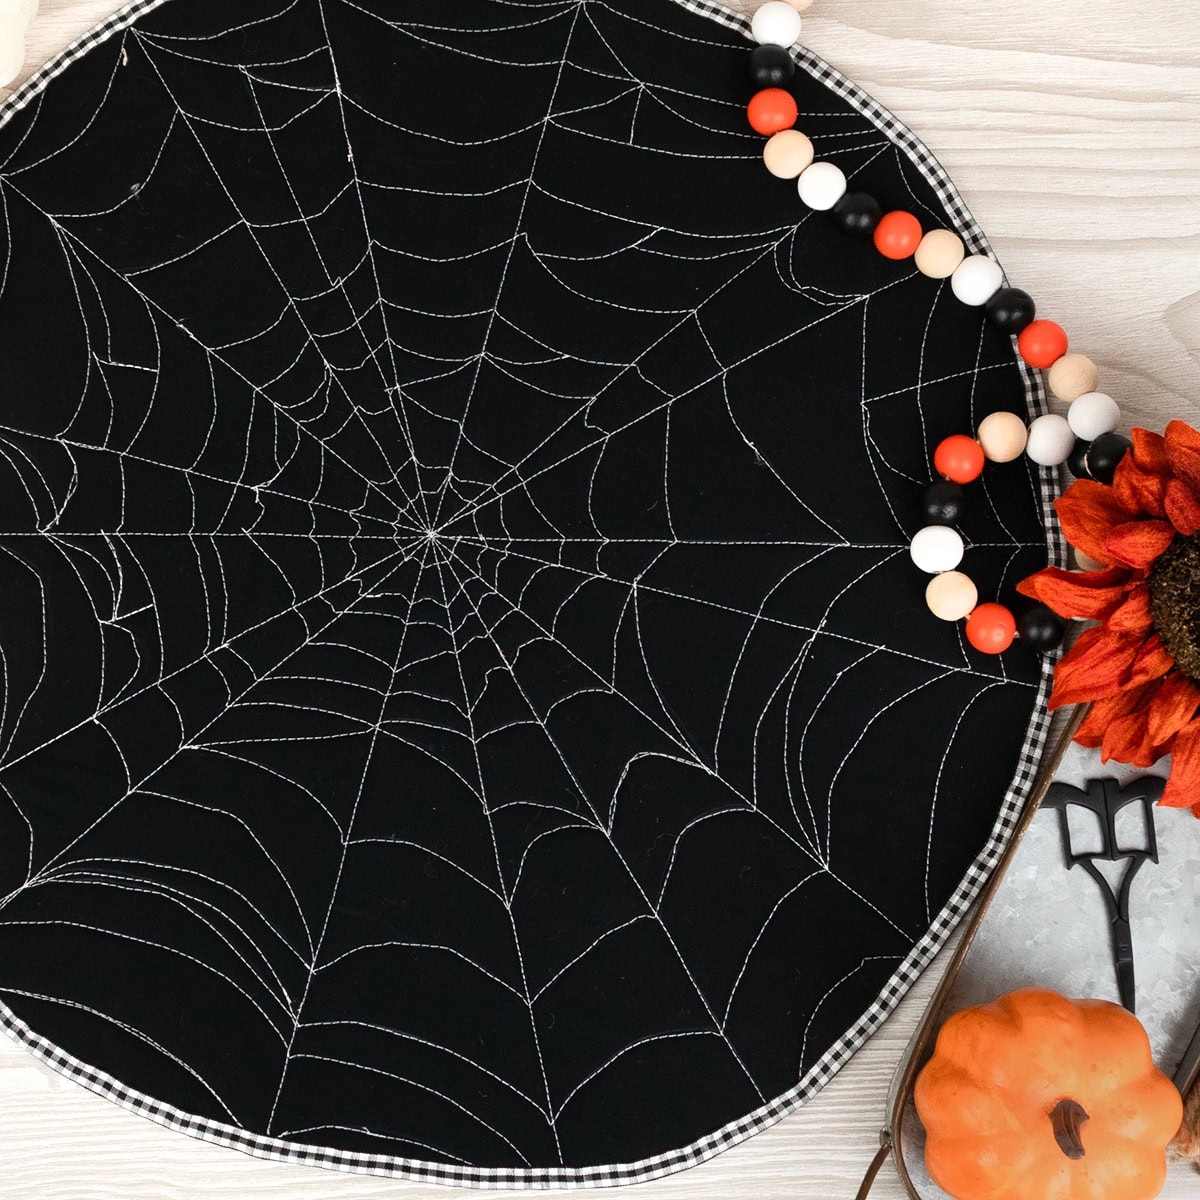
In last year’s Scrappy Witch’s Hat Tutorial blog, one of the hats featured some spiderweb quilting, and we got quite a few requests for a tutorial. So, for all our last-minute quilters and costume makers, here is a quick photo tutorial of our process. Now you can add a creepy crawly touch to anything you’re making this Halloween!
Supplies Needed
Contrasting thread is the star of the show in this project! Typically, quilting is meant to blend in, but this captivating design deserves all the attention it can get.
- 50wt Thread
- Stock your thread stash with Halloween-themed threads with these thrifty three-packs
- Happy Cloud Batting by Fat Quarter Shop
- Cotton Fabric
- Sewline White Butterfly Mechanical Fabric Pencil & Lead Pack
- Walking foot
Read to the end of the blog for a colorful surprise using the Orange Gutermann Thread!
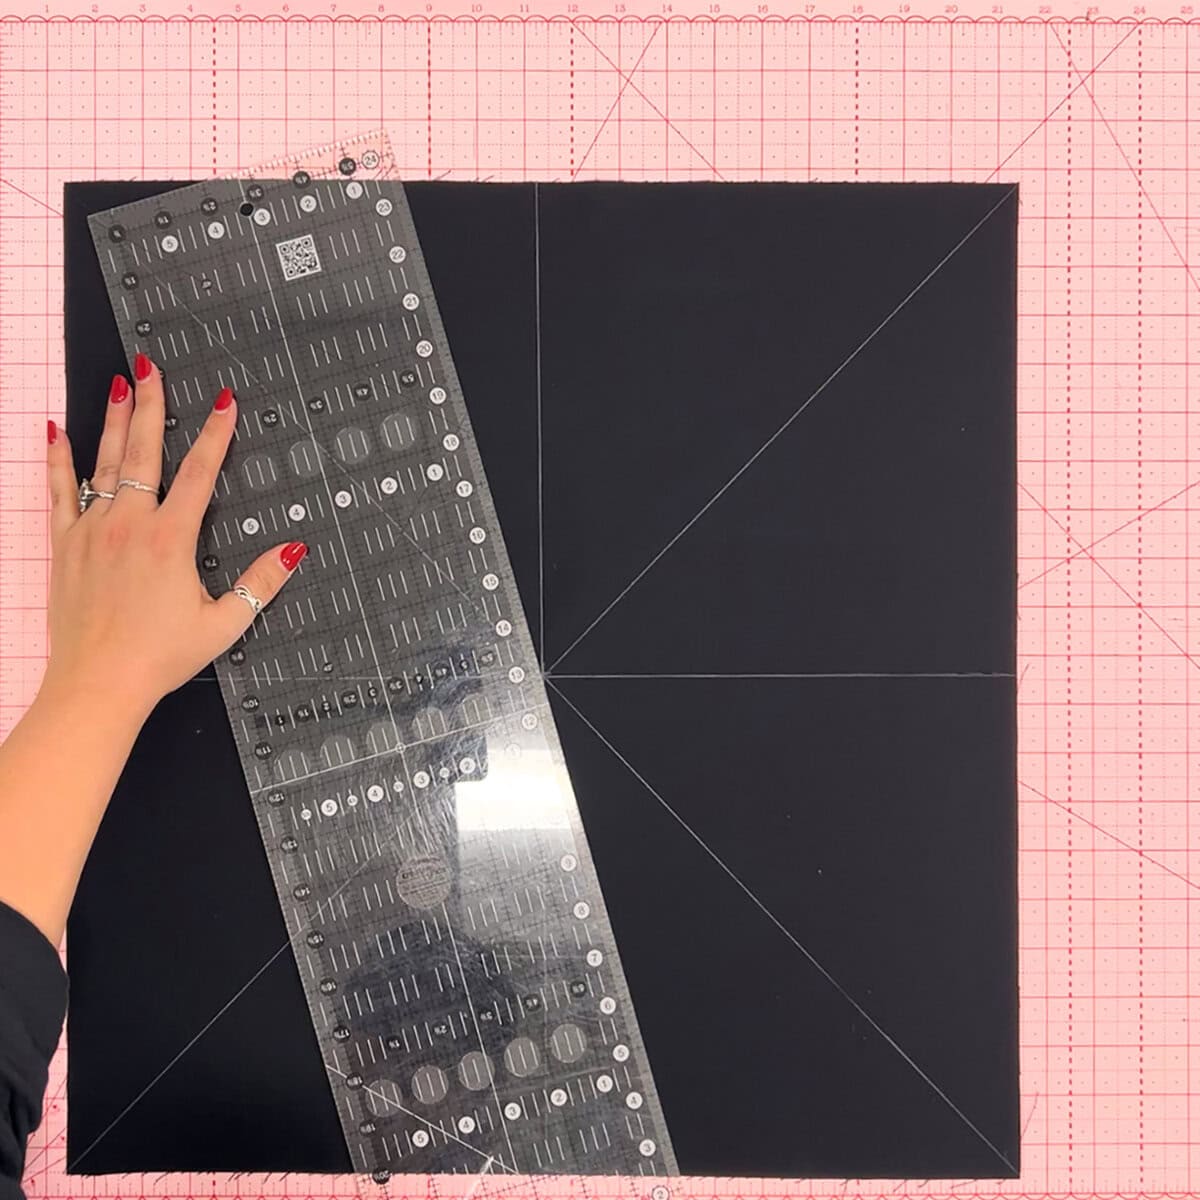
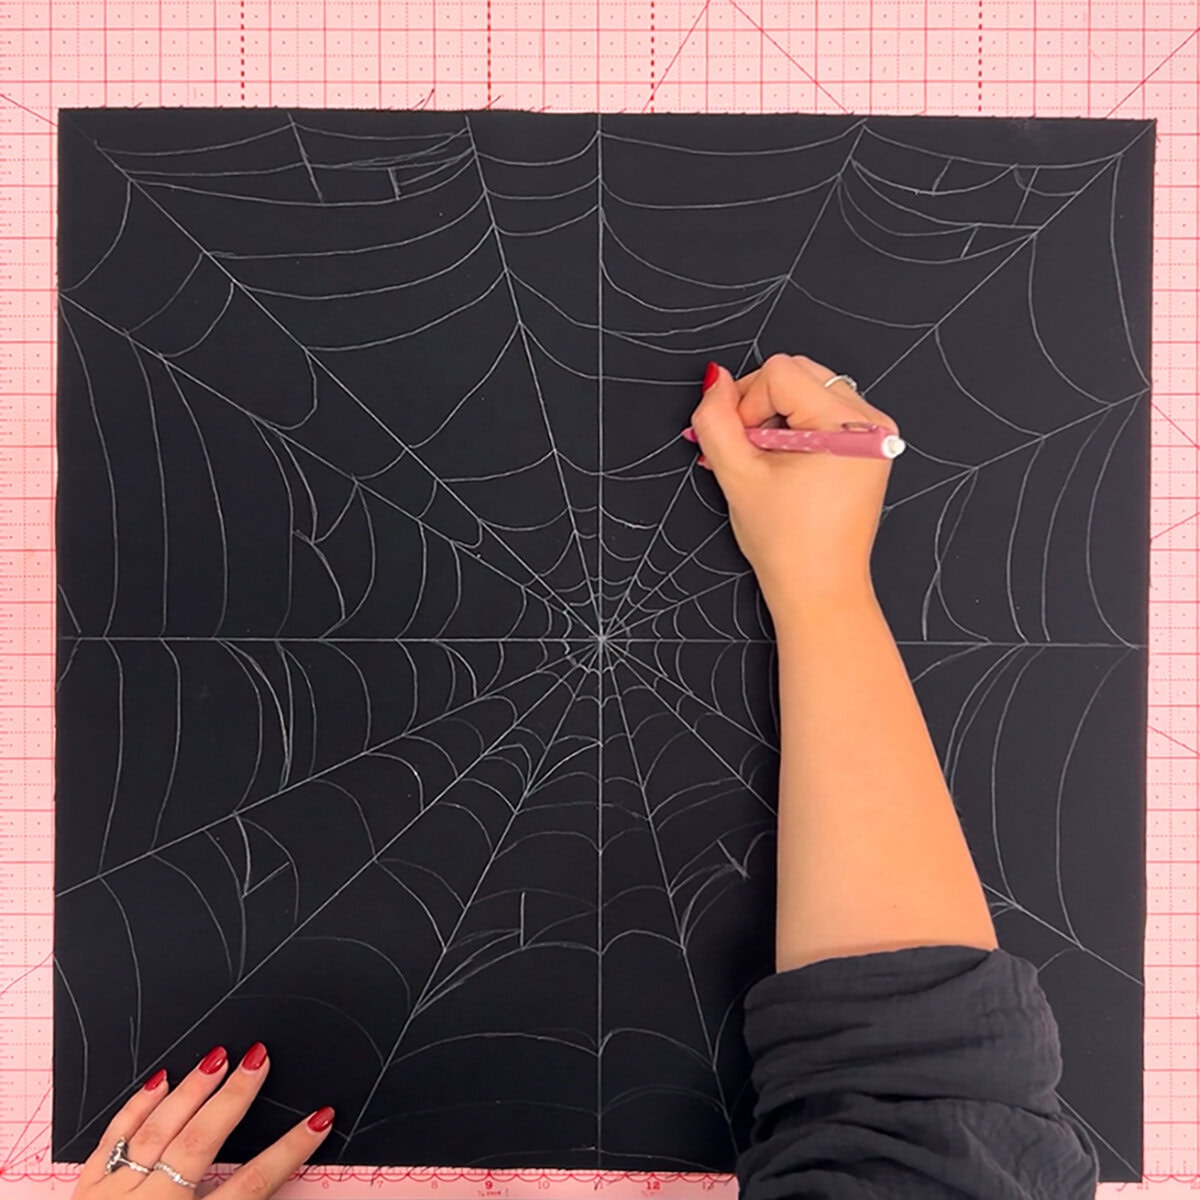
1. Draw the Spokes of the Web
Begin by drawing in the spokes of your web, starting with diagonal lines from corner to corner and horizontal and vertical lines at the center of your piece. To take it from looking like perfectly placed cuts on a pumpkin pie to something our eight-legged friends might make, add one more line in each of these eight segments.
The key to making a web that every garden spider will envy is irregularity! When you add the final eight spokes, make sure they’re not so evenly spaced, but perfectly imperfect. In the Scrappy Witch’s Hat Tutorial, we even drew the spokes wavy for an extra organic feel.
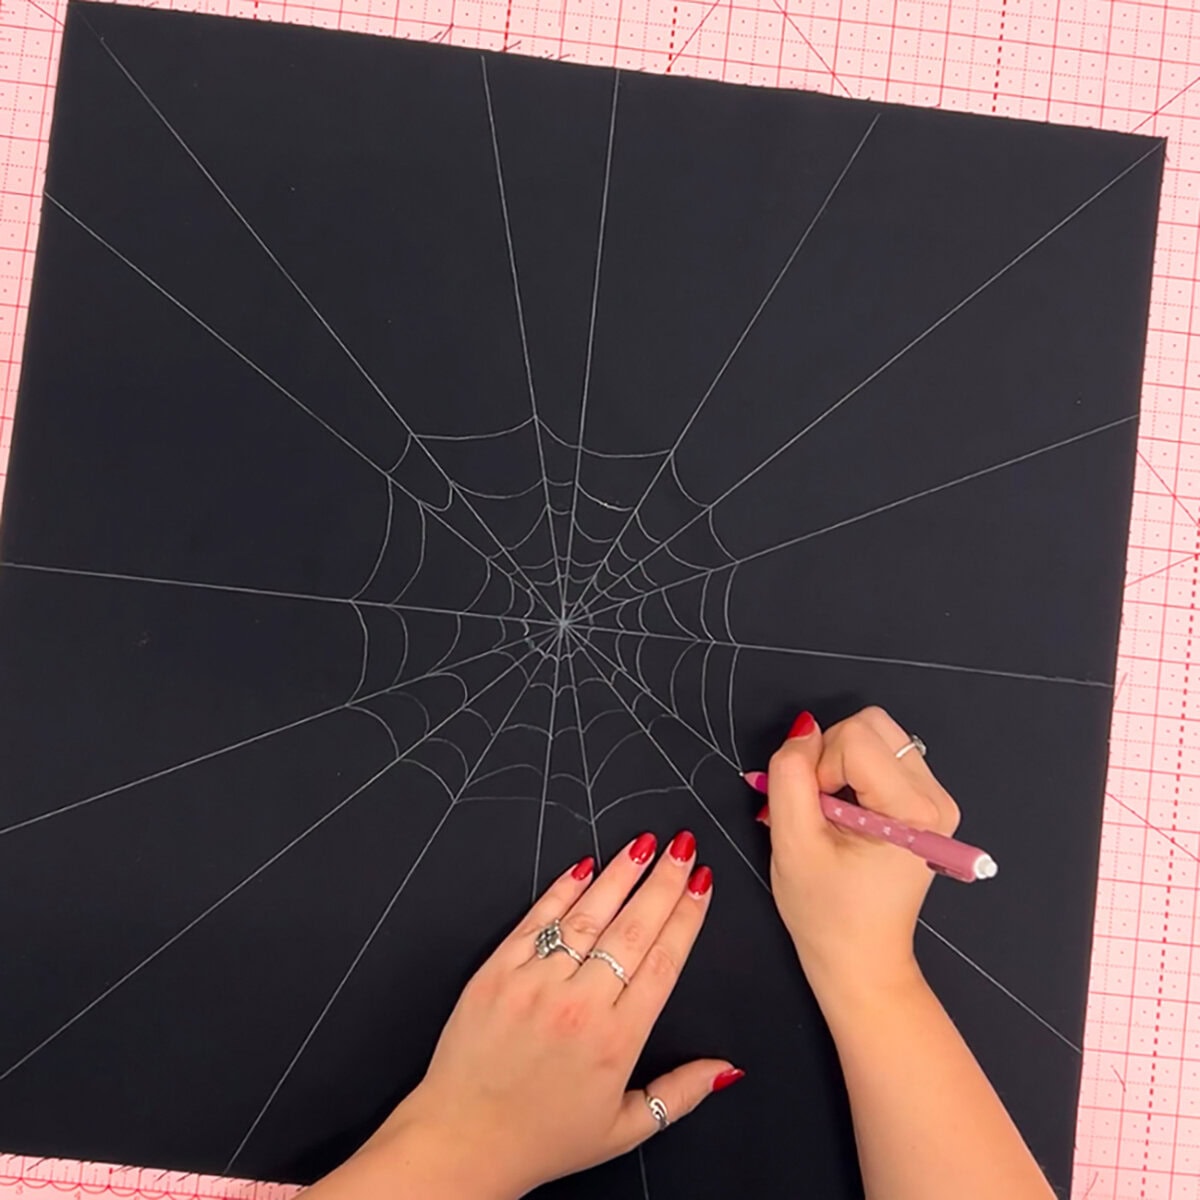
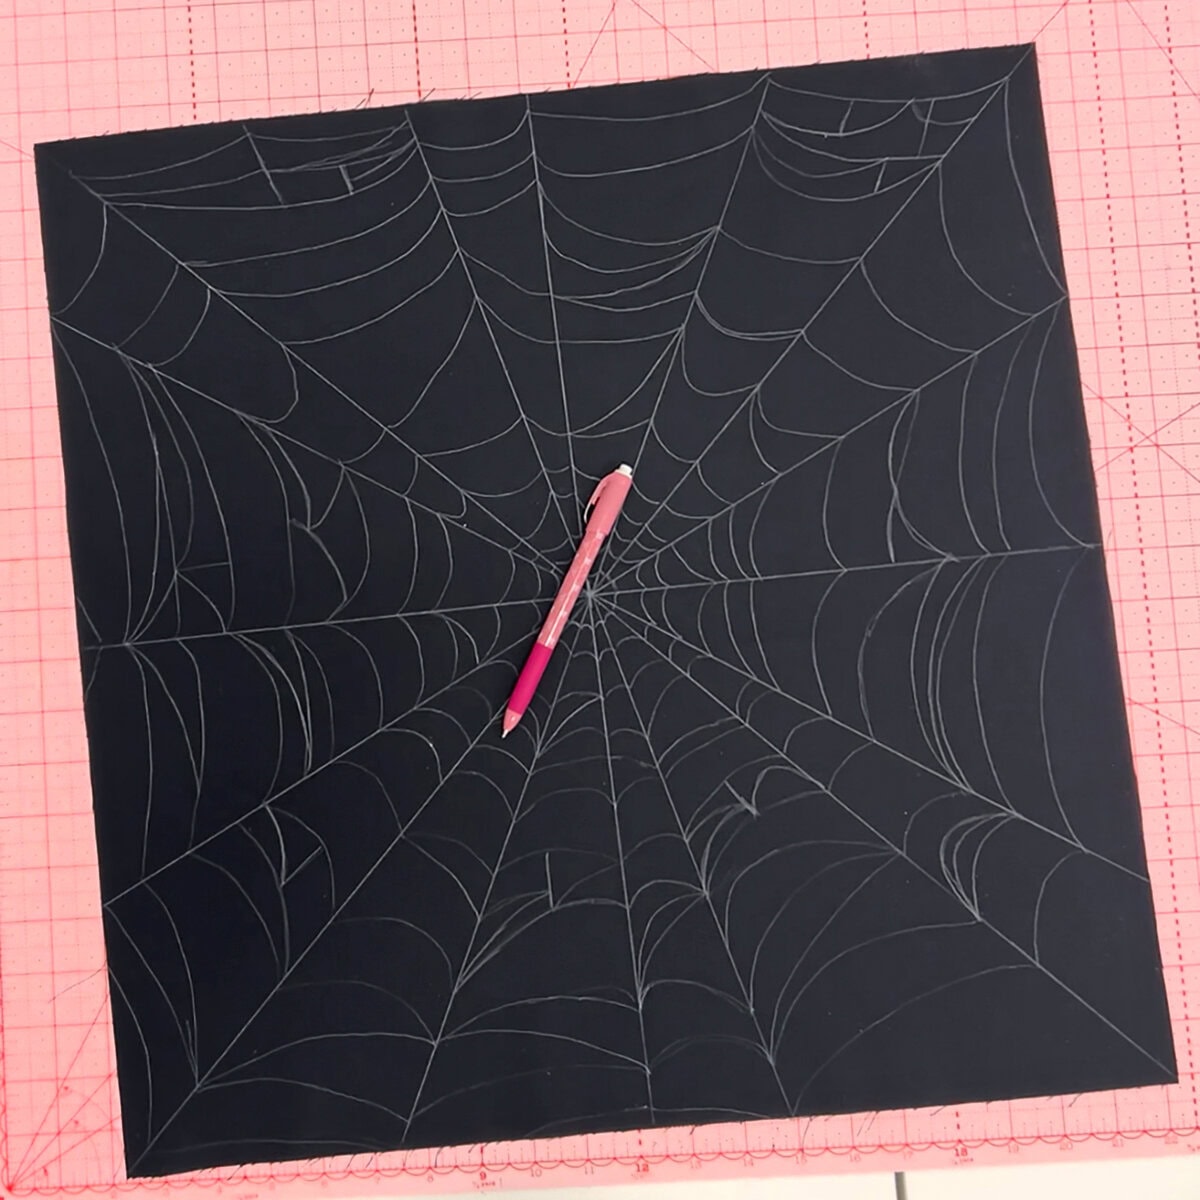
2. Sketch In The Web
Starting in the center of your web, about 1/2″ from where all the spokes meet, draw swooping lines connecting the spokes, working radially outwards.
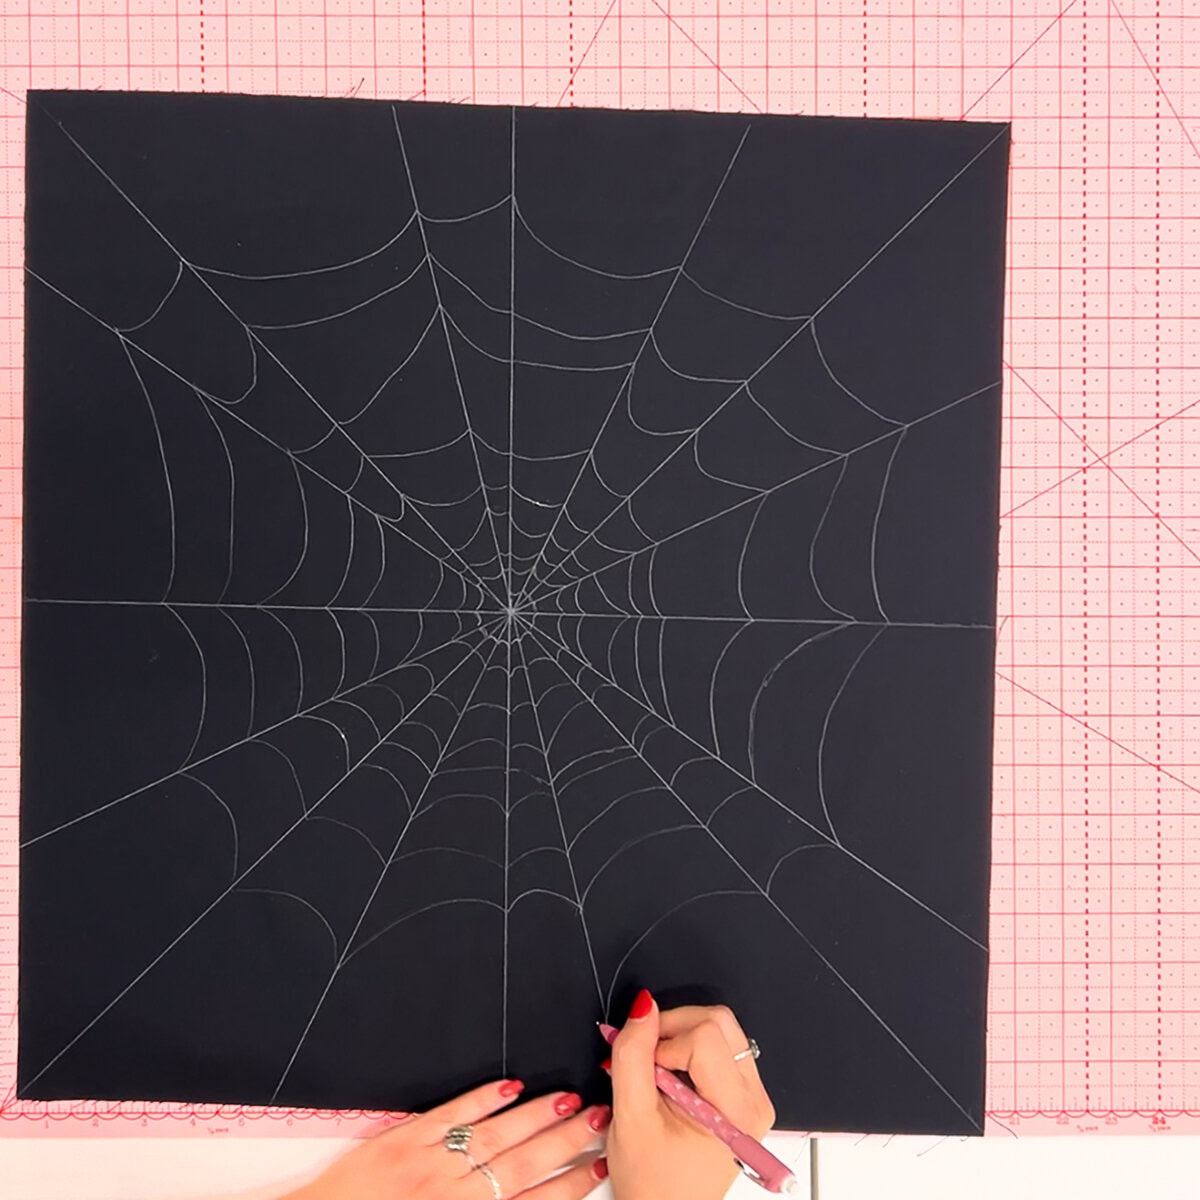
To achieve this look, we varied the spacing between each row, the swoopiness of the lines, and threw in some extra swoops of spider silk to add dimension and fill in larger gaps. Have fun with this step and let yourself get entangled in the process!
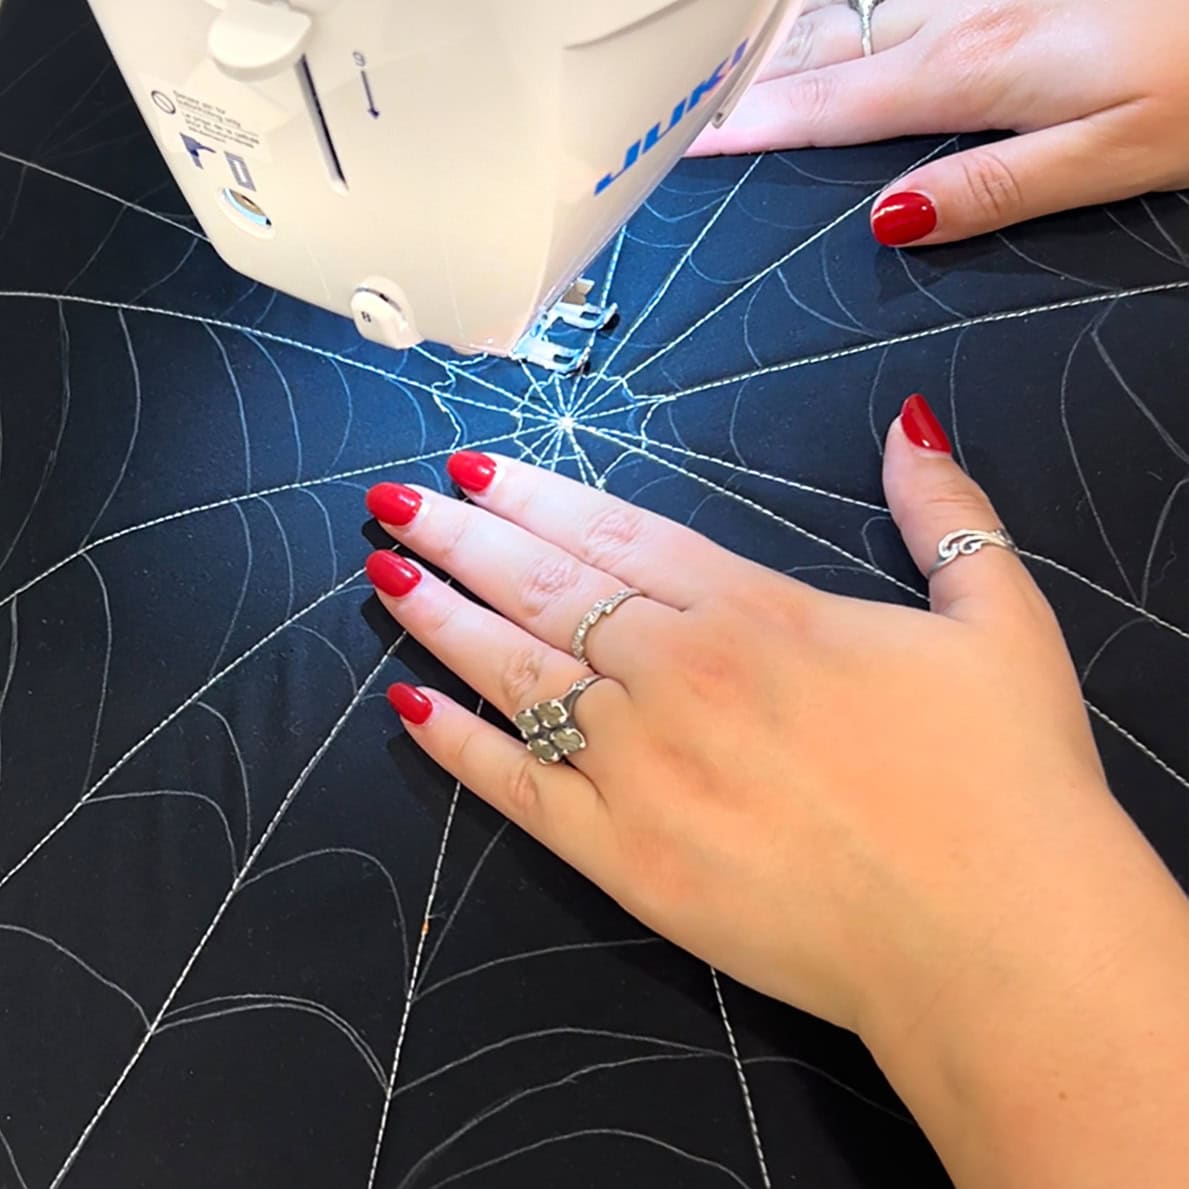
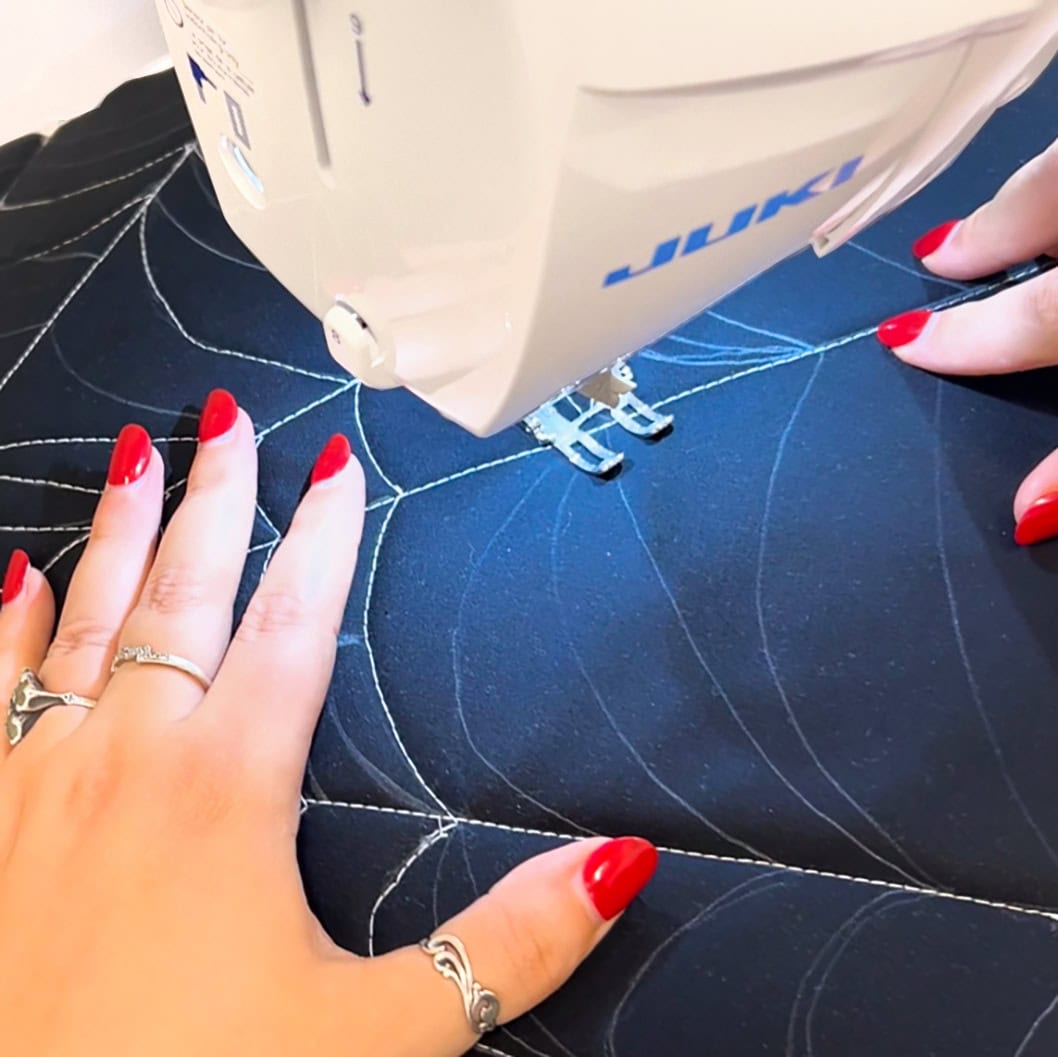
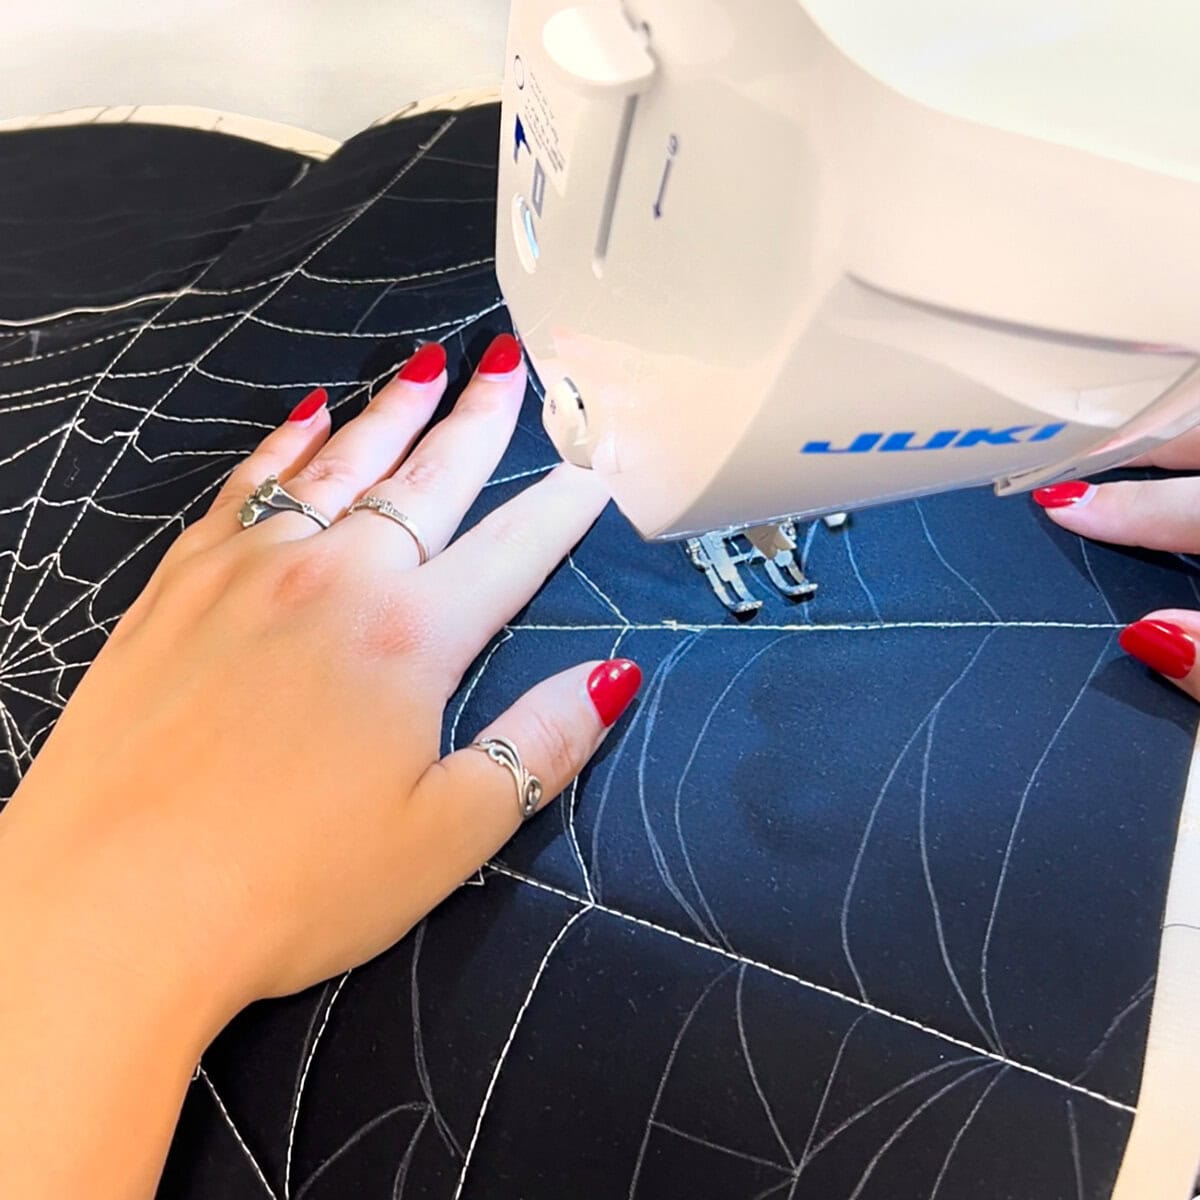
3. Quilt Over the Drawn Lines
Now it’s time to put together your quilt sandwich and quilt over the drawn lines in the order you drew them: starting with the spokes, then the radial swoops, and finally the added details.

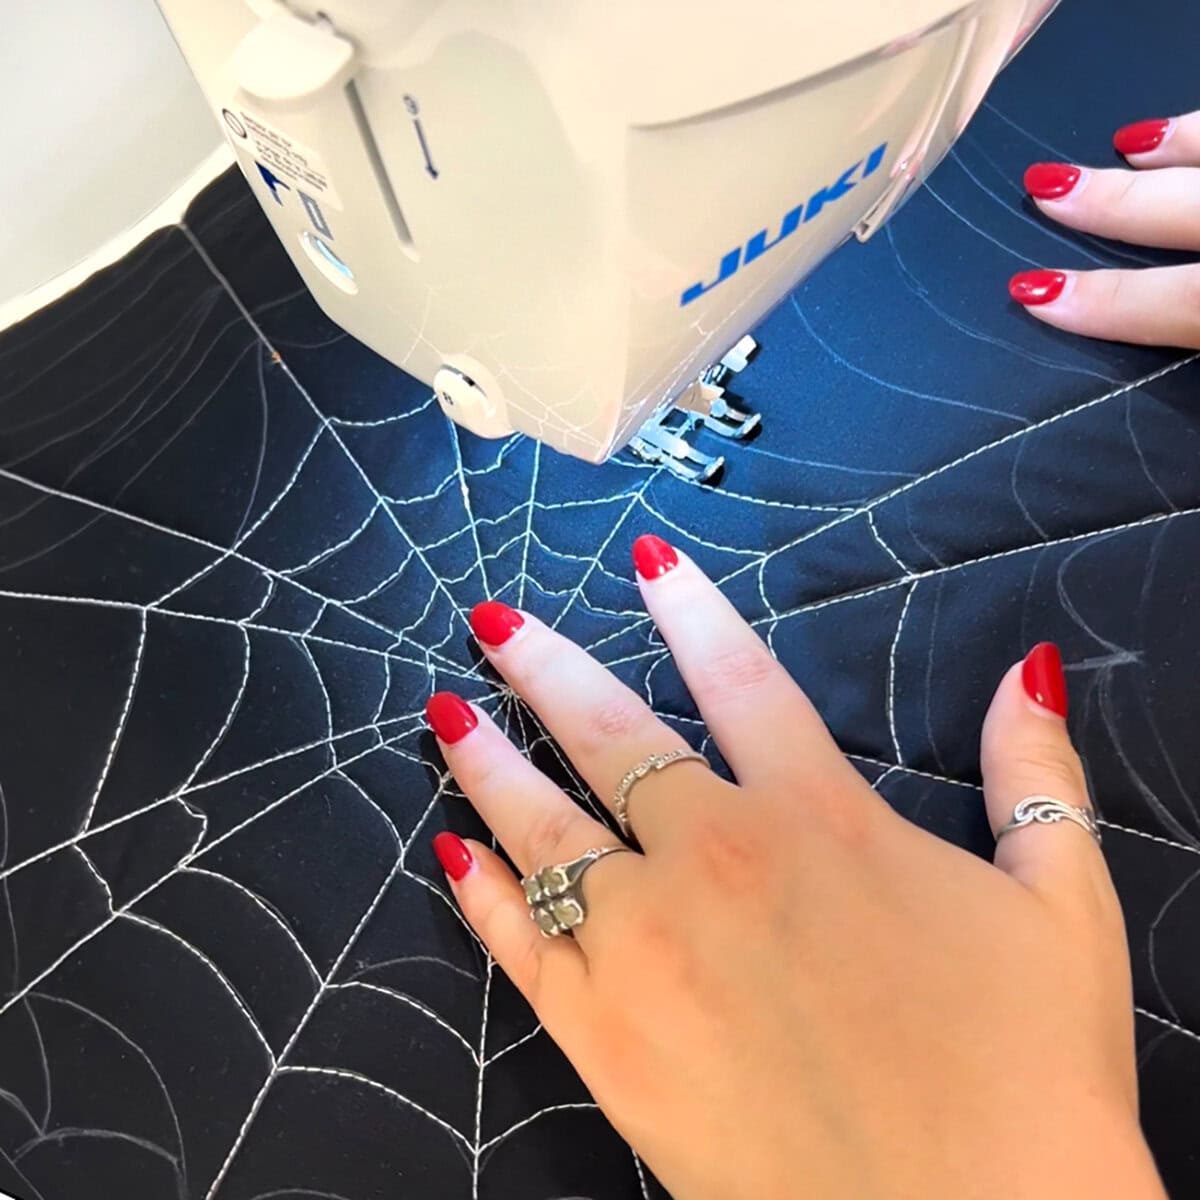
Suprise! It’s Reversible!
If your project is reversible, try loading your bobbin with a different-colored thread, like we did here! This will look great on the brim of a Scrappy Witch’s Hat and will add versatility to trick-or-treat bags. As you can see in the Scrappy Witch’s Hat Tutorial, we used white thread for the scrappy side and pink for the plain side!

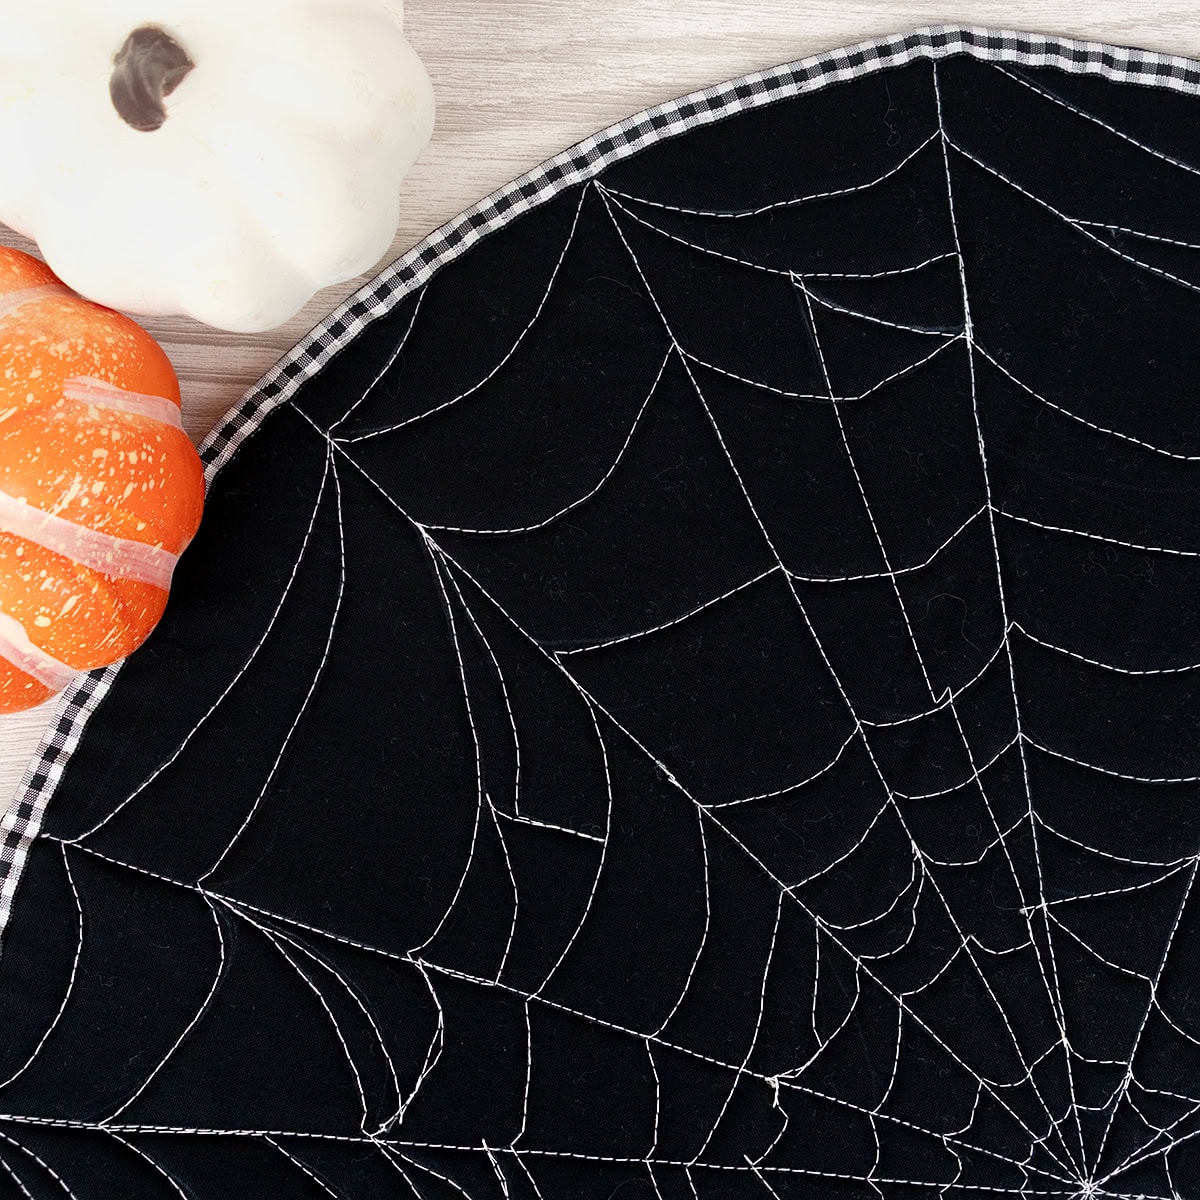
What Will You Add Spiderweb Quilting To?
We can’t wait to see what you do with your new spooky sewing skills, so be sure to tag us in all of your makes so we don’t miss a single, sticky thread of it.
If you want to make your own Scrappy Witch’s Hat, pop over to the tutorial blog we did last Halloween season for the complete tutorial, from drafting your own pattern to adding the finishing details!
Happy Halloween Sewing!
Stay connected to Fat Quarter Shop!


