
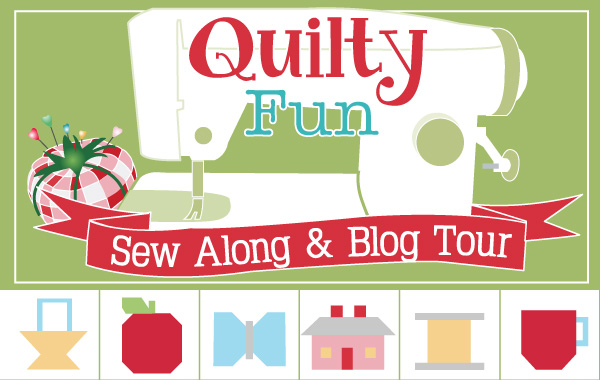
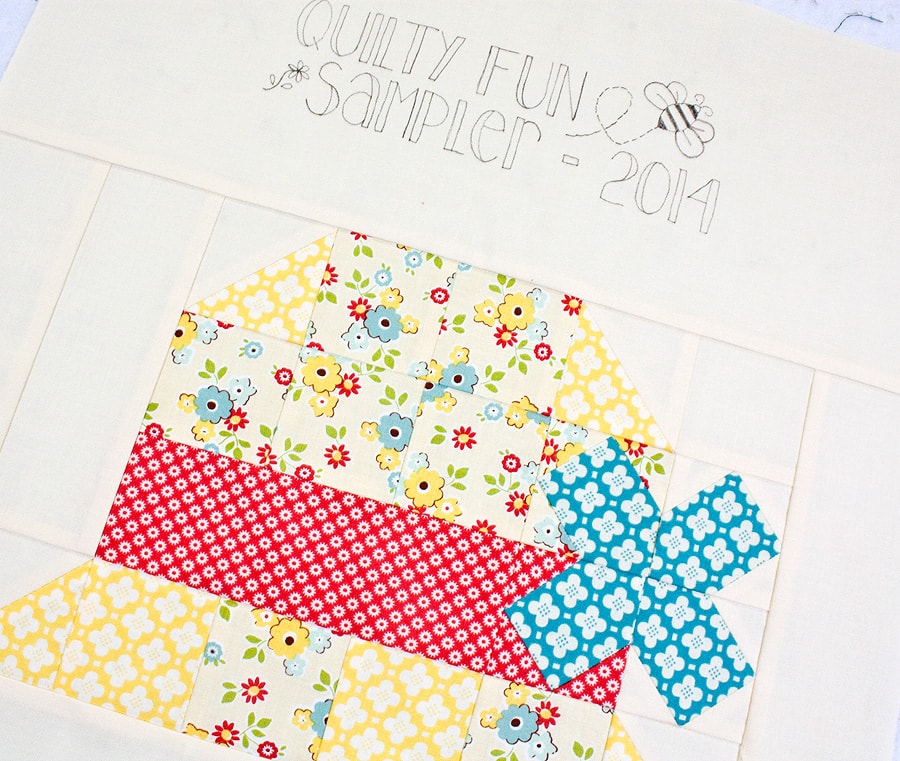
Welcome to the very last stop in Lori Holt’s Quilty Fun Sew Along and Blog Tour! We hope you have enjoyed sewing all of the Quilty Fun blocks, and now it is time to put them all together! We also have a cute quilt label to add to your quilt. Get ready for some serious Bee in my Bonnet sewing! Download the Quilty Fun Sampler Finishing PDF and Quilt Label PDF then hop over to the Bee in my Bonnet blog to see Lori’s finished sampler quilt too!


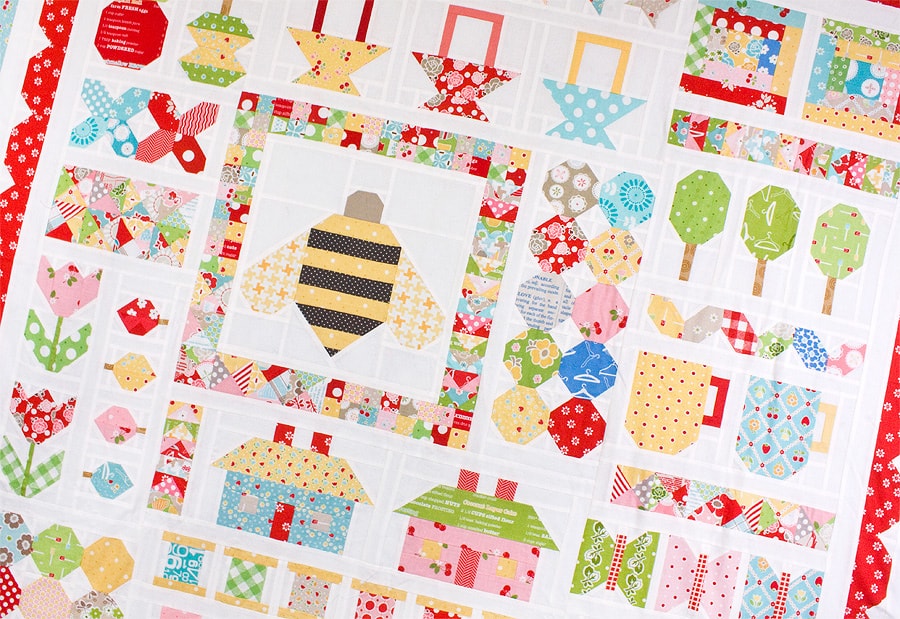
Kim sewed her Quilty Fun Sampler Quilt with a mix of Lori Holt fabric from various collections for Riley Blake Designs.
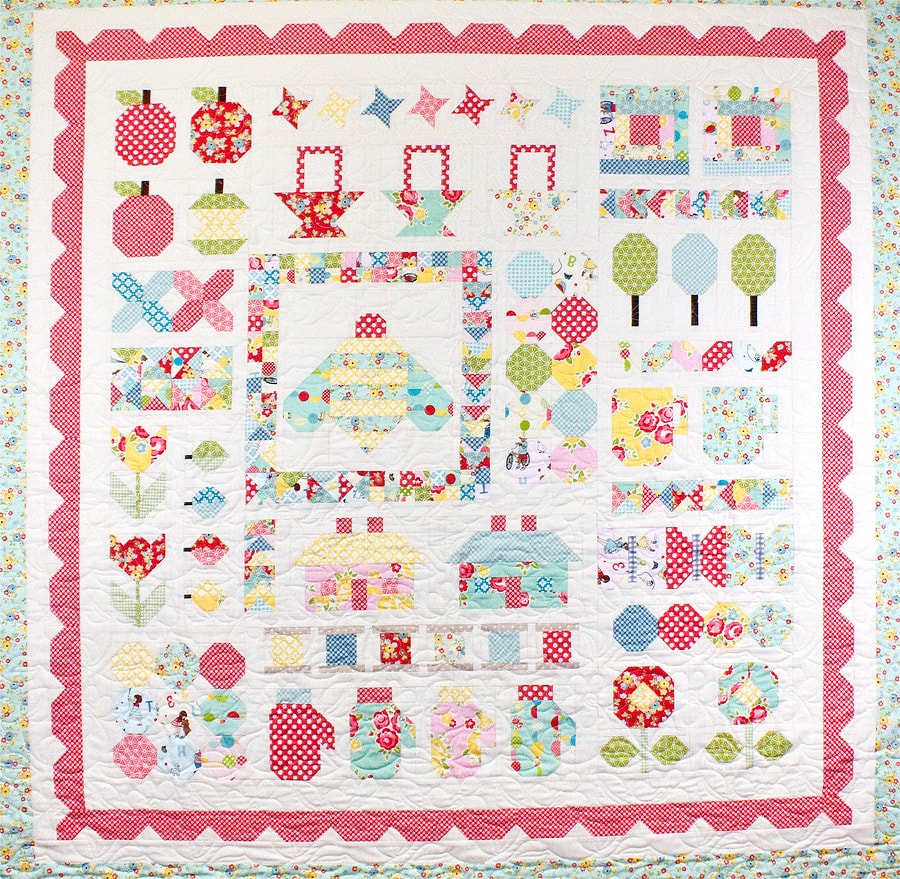
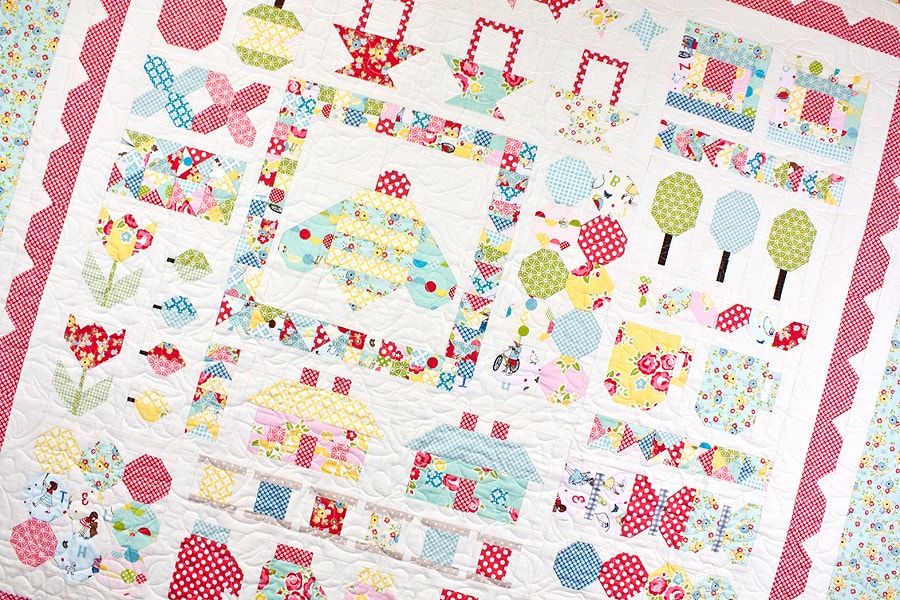
Debbie sewed her Quilty Fun Sampler Quilt using the Sidewalks collection by October Afternoon for Riley Blake Designs.
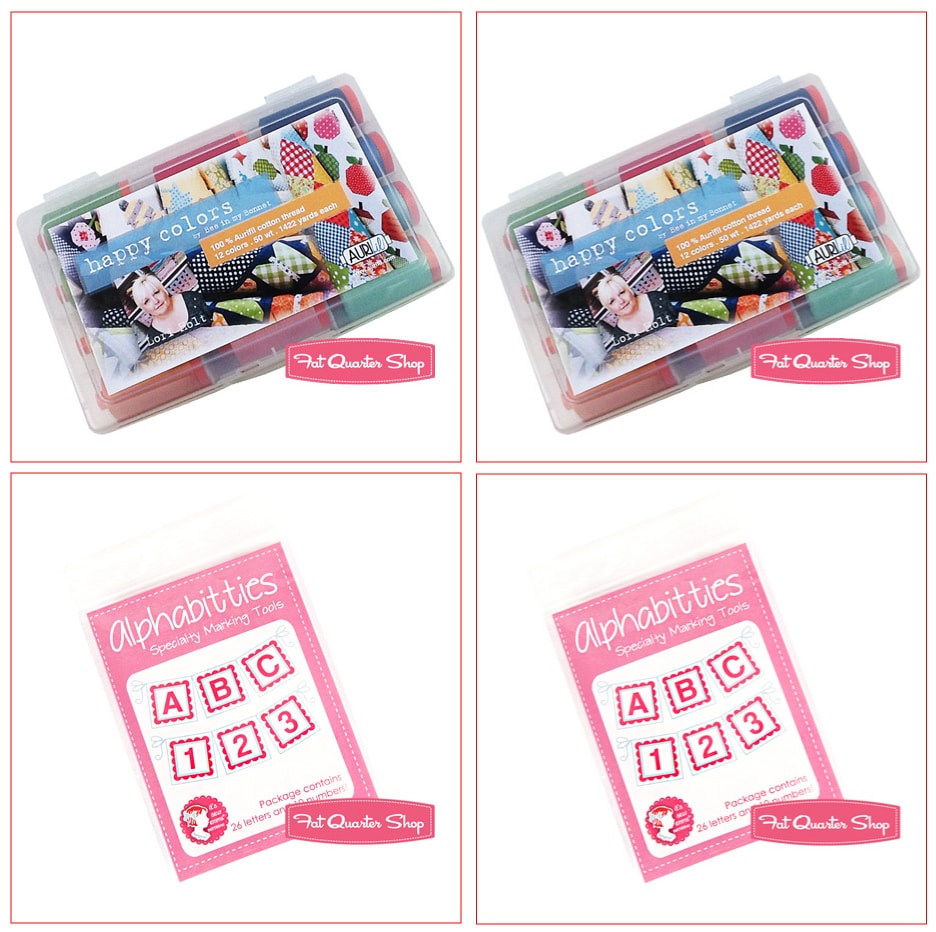
Once you have your quilt assembled OR your label block sewn, post a photo or two to the Quilty Fun Blog Tour & Sew Along Flickr Group for a chance to win some Quilty Fun prizes. This week we will be offering up two Large Aurifil Happy Colors Thread Boxes and two packets of Alphabitties!
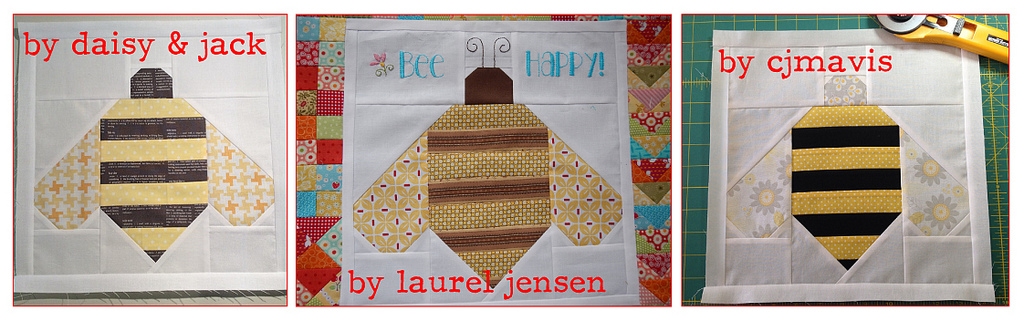
The winners of last week’s giveaway are daisy & jack, cjmavis, and Laurel Jensen!
Thank you so much for sewing the Quilty Fun Sampler with us! If you are new, be sure to get a copy of Quilty Fun, download all of the Cutting PDFs, and sew this quilt with your scrappy stash! And stay tuned for more Bee in my Bonnet fun, we are planning a Great Granny Squared Sew Along too!
6 comments
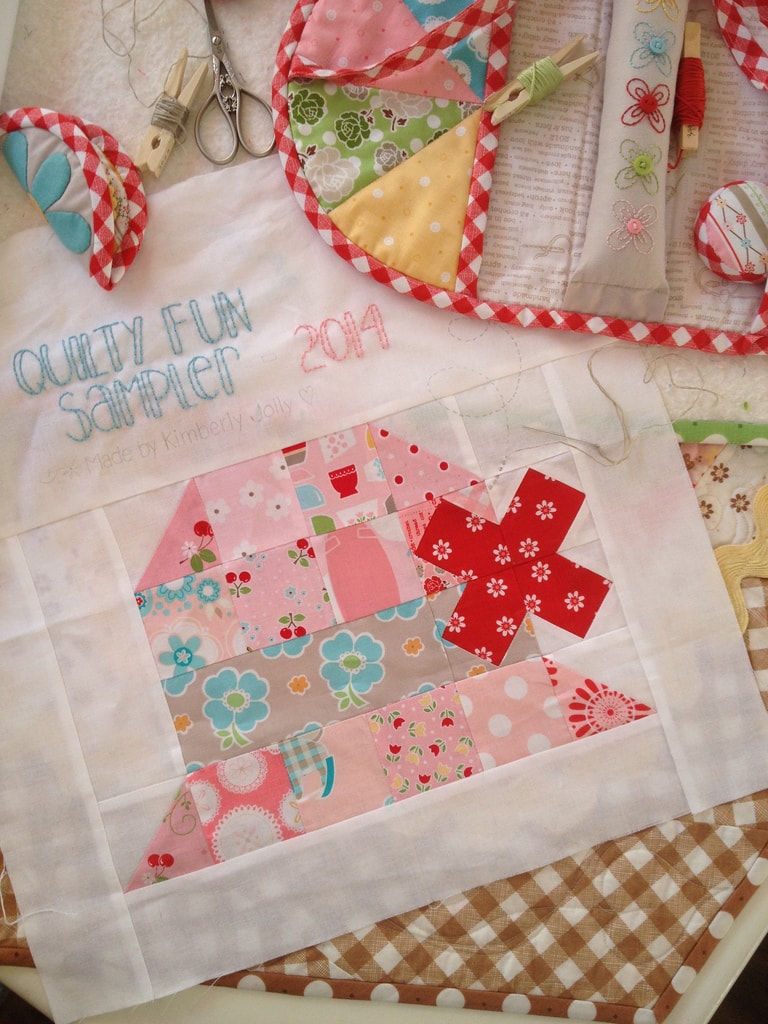
I can't wait to finish mine! How did you trace the stitching pattern to your block to embroider?
I have enjoyed each and every week of the Quilty Fun Week(s). I can't wait to finish this Quilt and am sooooo happy that a next one is 'just around the corner'! Yay!!
Melanie, I use a sheet of Transfer-Eze. It goes in your printer. Print the pattern onto the sheet, then stick it to your fabric. Embroider, then the sheet dissolves in cold water when you are done.
Hi,
I am working on my border and cut the 200 1 1/2 in squares but I am only using 104. Am I missing something? I have lots of little squares leftover.
Thanks!
My quilt is finished. I wish I knew how to post a picture. Lori's instructions are fabulous. I love that it shows which way to press the seams. I also like that Lori tells us how long to cut the border pieces. Many people tell us "about" how long so we can measure through the center of the quilt. I am glad that Lori has the confidence in us to know that we will have accurate seam allowances and end up at the right dimension. I was so excited to get the last assembly instructions, but as it went together so quickly I was sad that it was over. I am super happy to see that there will be another quilt along with the granny squared. I had a few things that I am not sure about with the final instructions for cutting the background for Quilty fun. I only needed 5 more 1 1/2 x 13 1/2 strips. I had cut three during the block making phase. I only needed 104 1 1/2 inch squares for the postage stamp border and I needed 4 more 2 inch strips for the borders for a total of 10.
I loved that I didn't have to buy any fabric for this quilt. I may have to buy something for the backing, maybe not…