
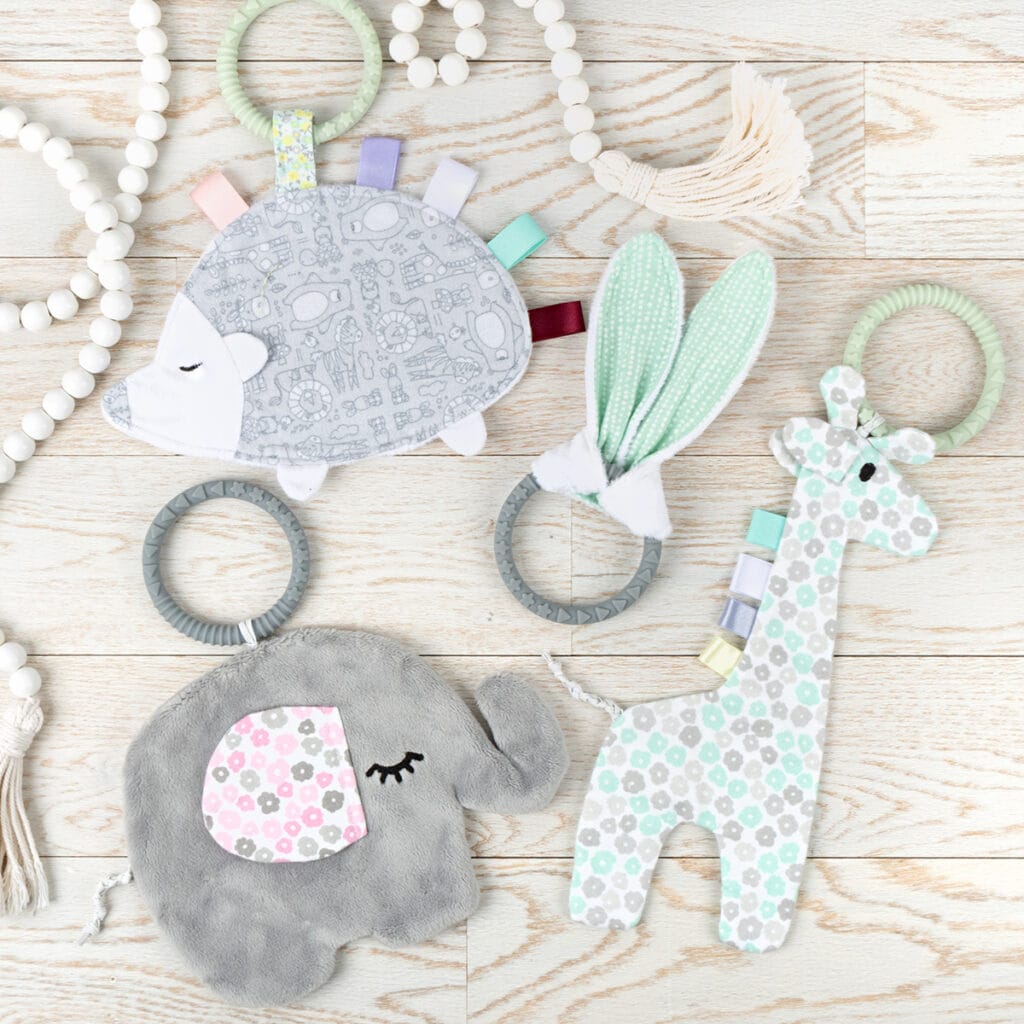
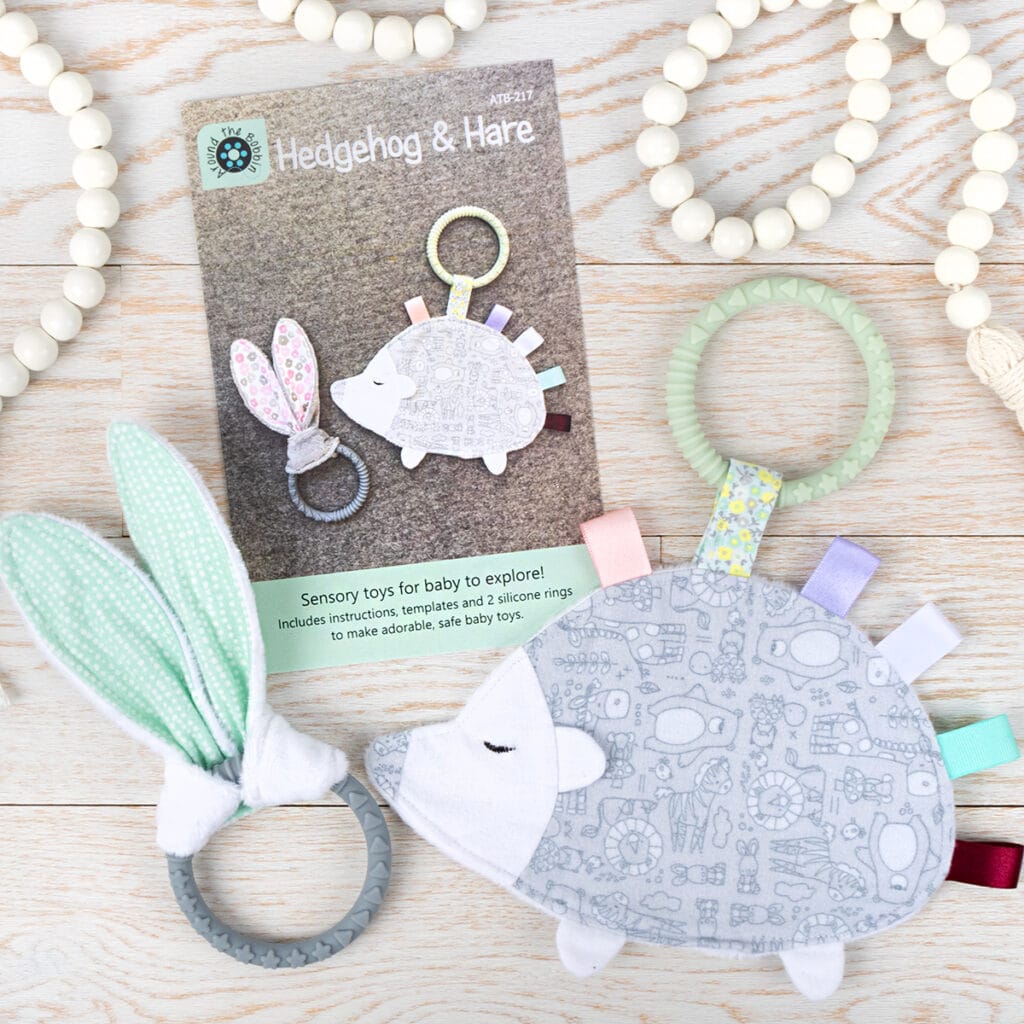
Encouraging sensory play in the first year of life and beyond offers tons of benefits as babies grow and develop. Not to mention, it’s just plain fun for them! We love Around the Bobbin’s Sensory Toys for more than just cuteness, they contain all sorts of fun sensory surprises for little ones in a safe way.
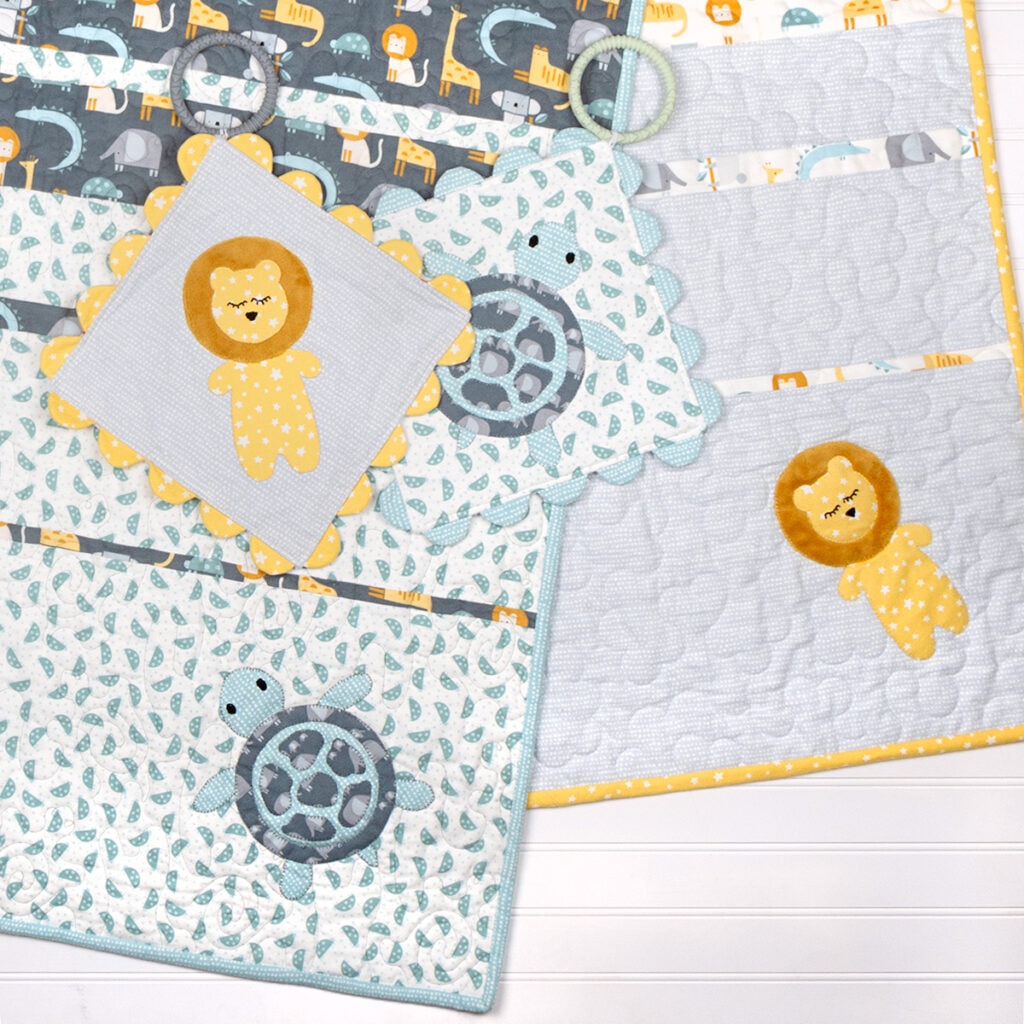
You can make gift-worthy sensory baby toys, loveys and baby quilts from several Around the Bobbins patterns. Each pattern comes with detailed instructions for completing the projects with flannel or Cuddle fabrics that you select.
Ellie & George Sensory Toys
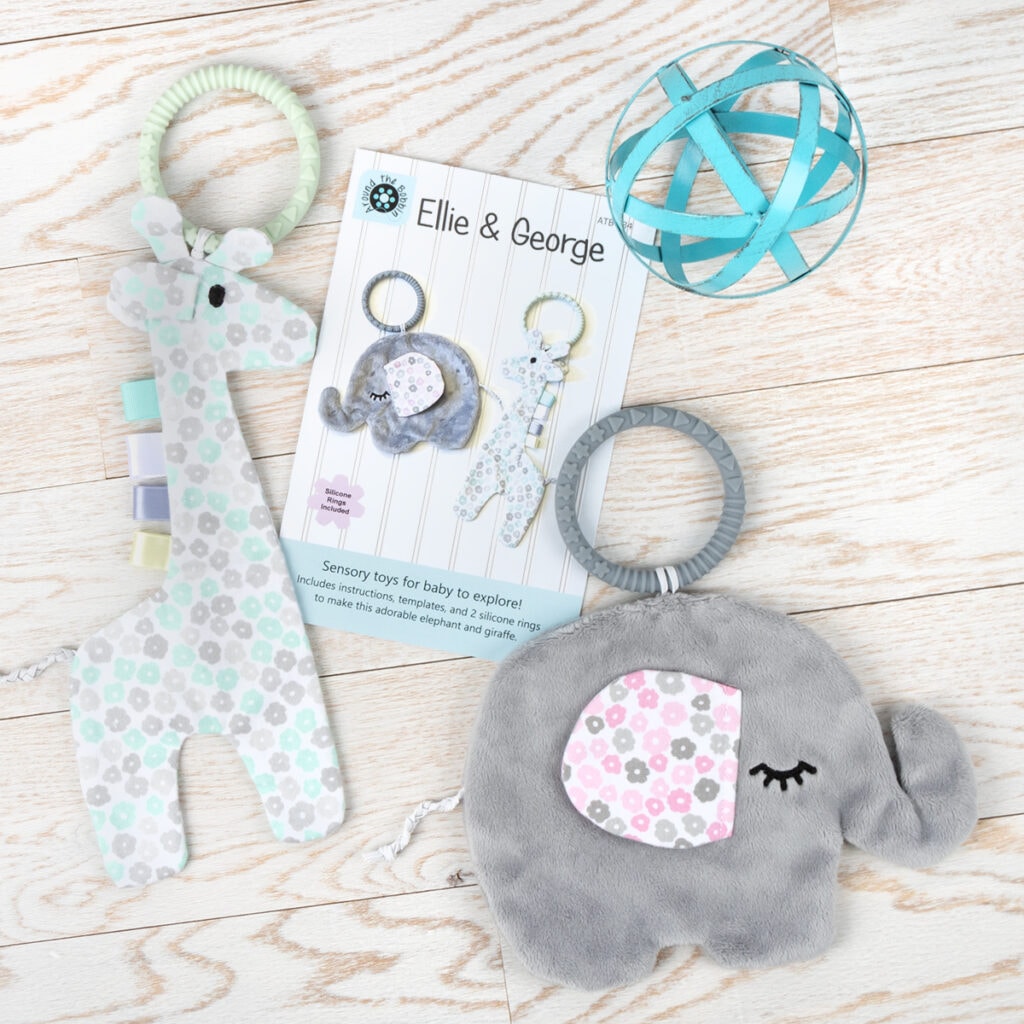
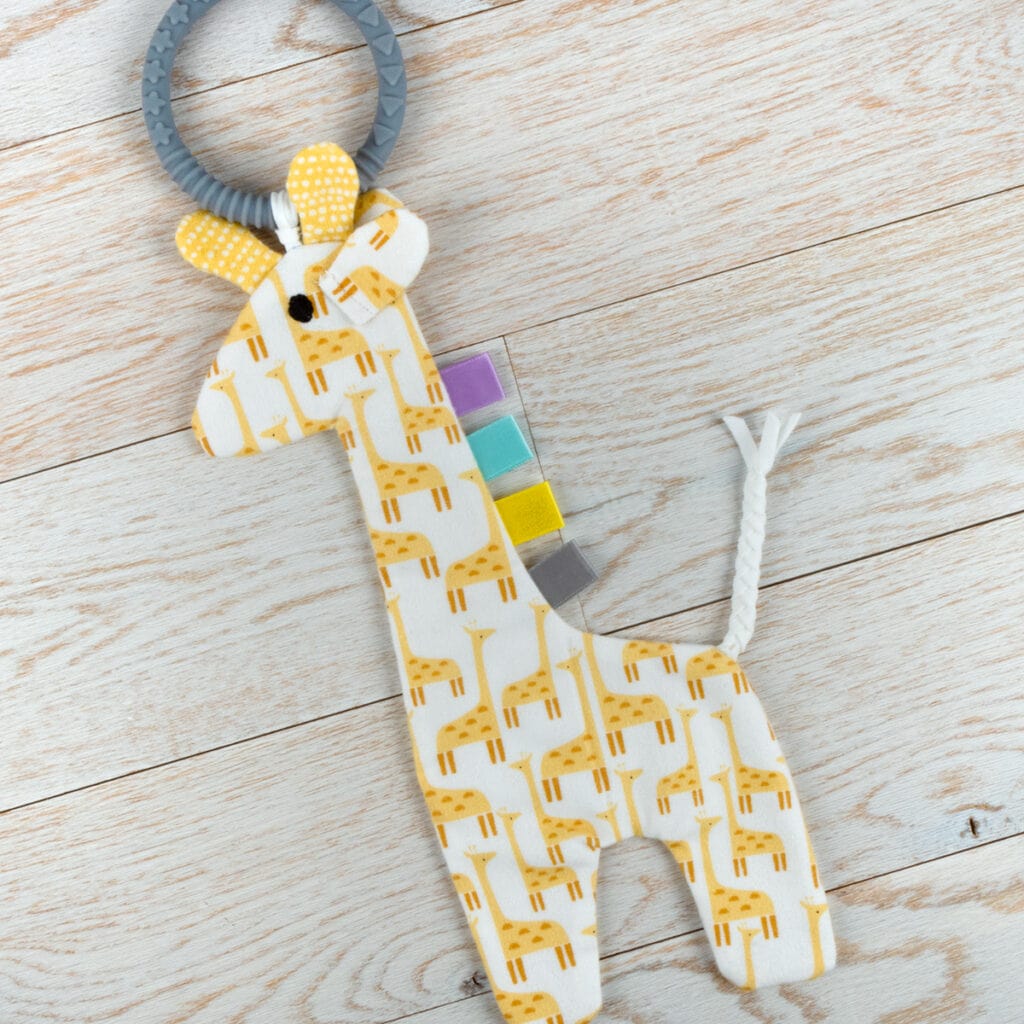
When I saw these I wanted to give it a try, so I decided to make George the Giraffe. The Ellie & George Pattern has the full pattern with step-by-step instructions and two silicone rings. It’s nice to know the silicone rings are made of 100% food grade silicone, safe for babies.
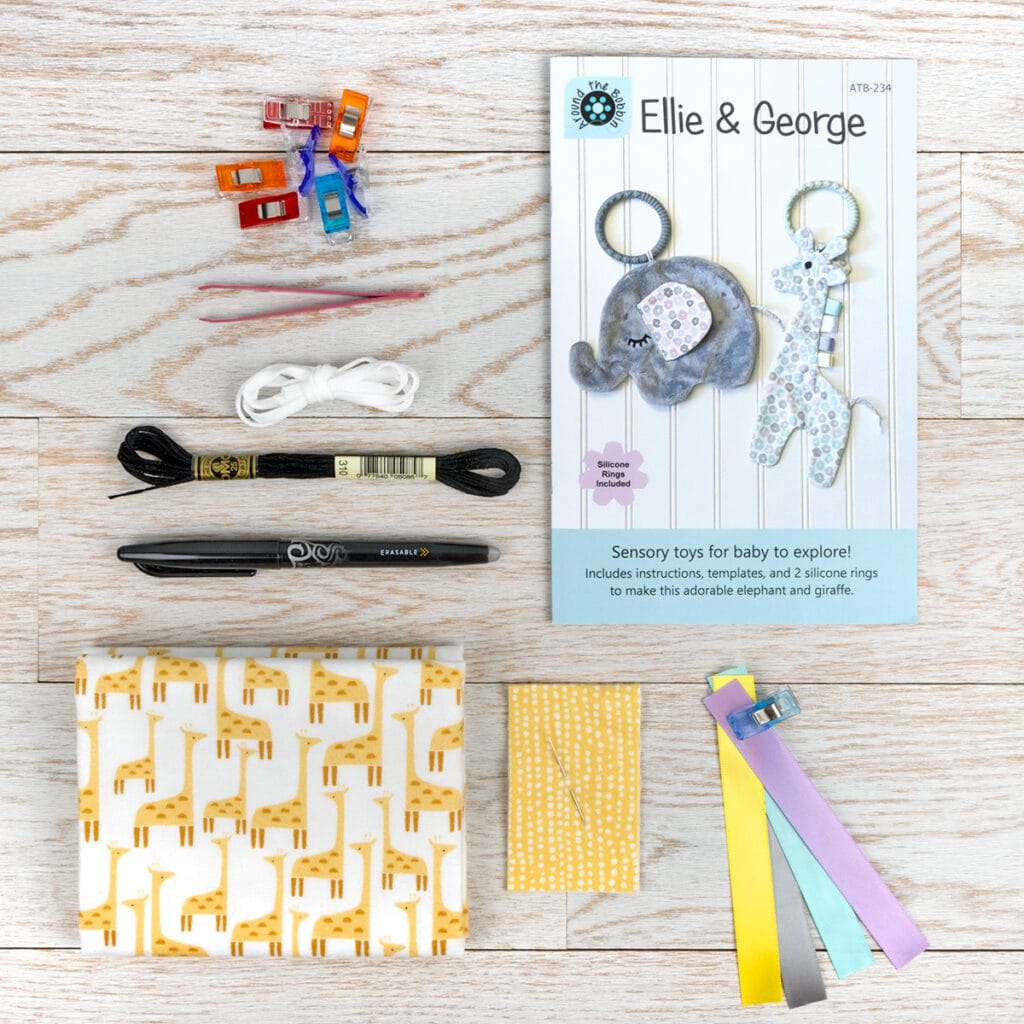
To make George the Giraffe, you’ll need:
- Ellie & George Sewing Pattern
- 1 fat quarter of fabric (I used SKU# F2687-WHITE from Wild One Flannel by Dear Stella Design,)
- Black embroidery thread for the eyes
- 3/4 yard of thin elastic for the tail
- four small pieces of ribbon
- a hand sewing needle
- Clover Wonder Clips
- tweezers
- an erasable marking pen
Even though I don’t have much experience making toys or animals, the instructions were easy to follow. But one big tip I would give is to backstitch! Backstitching at the beginning and ending of every seam is important to give the toy extra durability.
Here are a few points of the assembly that I think are helpful to show.
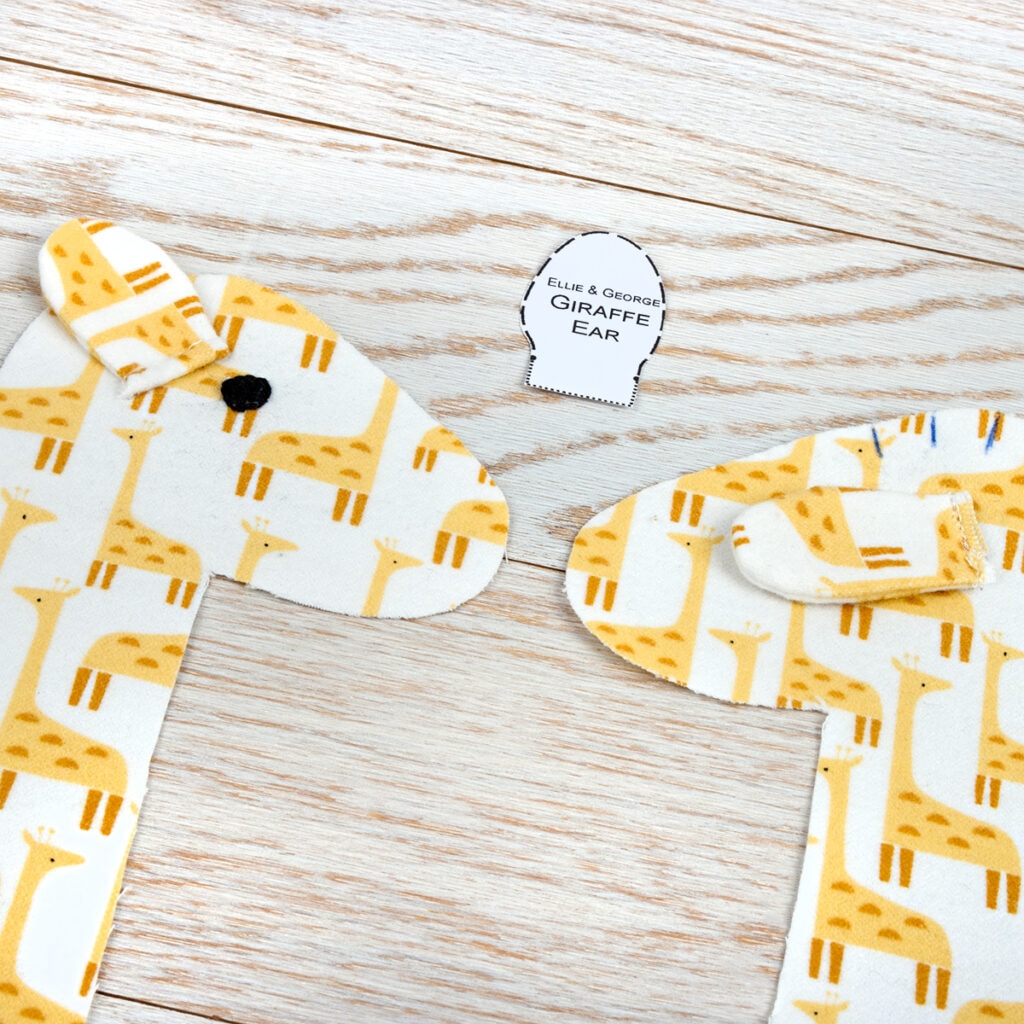
The ears go on in an interesting way. First, you sew the ear down with a narrow seam allowance (see the Right side of the photo). Then, you fold the ear back and add a second seam (see the Left side of the photo).

Have you ever made a stuffed animal before? If so, you know that the ears, arms, legs and tail should all point inward before you sew the top to the bottom and turn it right-sides-out.
But if you’re not used to making stuffed animals, make sure that horns, ribbon, ears, and all those sticky-outie items are facing inward on the right side of one giraffe body (see the Left side of the photo). Next, you place the giraffe front and back pieces right sides facing, and sew around the edge, leaving a small gap to allow you to turn the giraffe inside-out.

When I sewed the giraffe front to the back, there was a lot of bulk in the head area, so I used a zipper presser foot that allowed me to get at the seam.
Next time you’re looking for that perfect baby gift to whip up in an afternoon, check out the adorable baby gifts from Around the Bobbin! They’re sure to be a hit with babies and moms alike.
Share with #AroundTheBobbin
The sensations of soft fabrics, paired with colored ribbons, stretchy tails, crinkly-sounding insides, and a firm teething ring make these sensory toys perfect for curious babies. Do you plan to make one of these gifts? Be sure to share your projects using #AroundTheBobbin and tag us (@fatquartershop) so we can see and share your work!
Stay connected to FQS!
Stay connected to Fat Quarter Shop!


2 comments
I love this ! My first grandbaby will be here Friday, 3/15, and I am already so in love. Thanks for always bringing fresh projects to us.
What a clever baby gift! The details like the crinkle in the ear from a bit of cereal wrapper are awesome! I’m going to try this. Great use of cuddle scraps too. Love your tips like the back stitching everywhere. I would suggest using a wider sturdier ribbon to hold the teething ring too. Thanks!!