
Turn some of your smallest quilt blocks into cute, quilted ornaments for your tree. We’re sewing some of our 3″ blocks from the Sewcialites Quilt Along into ornaments to hang on our sewing room tree and we’ll show you how you can do the same in 10 easy steps!
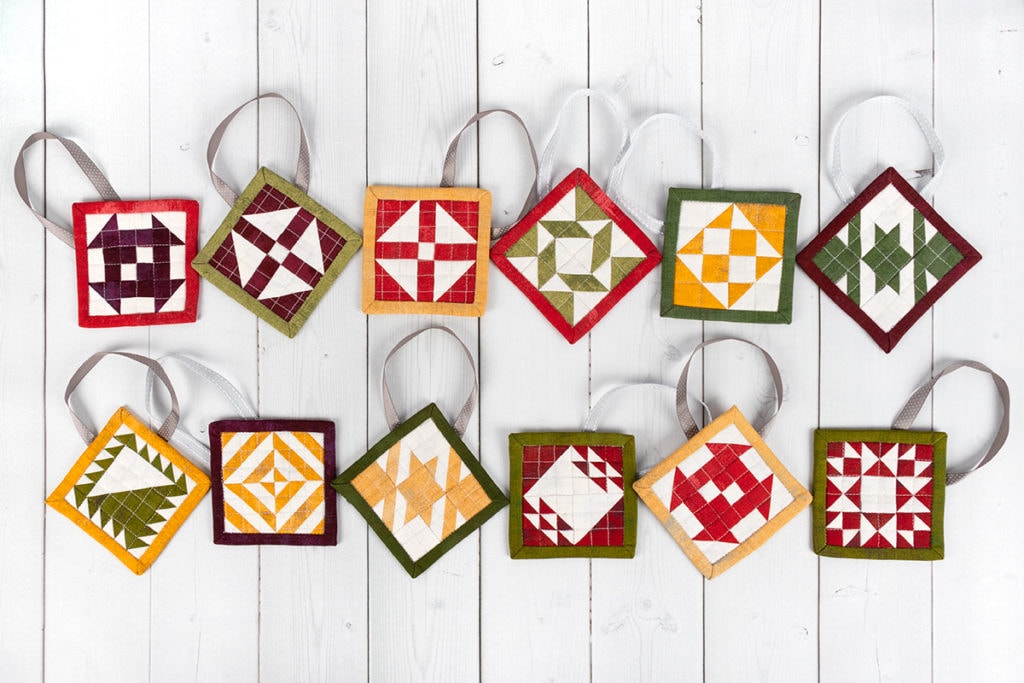
Supplies You’ll Need
You can adorn your tree in handmade one-of-a-kind ornaments with some fabrics and a few supplies you’ll have in your sewing room already.
- One Jelly Roll for blocks and binding (We used Yuletide Grunge Basics Junior Jelly Roll)
- 0.25 yard of Grunge Basics White Paper by BasicGrey for Moda Fabrics for background
- 0.25 yard or scraps of any Grunge Basics Jelly Roll by BasicGrey for Moda Fabrics for binding and backing
- Scraps of batting (We used 4.5” square cuts of 80/20 Happy Cloud Batting for each ornament)
- Kimberbellishments Black & Grey Ribbon Set by Kimberbell
Assemble in 10 Easy Steps
Once you’ve sewn up your desired blocks, you can transform them into tree ornaments in 10 steps!
1. Make your favorite Sewcialites Block in the 3” finished size.
2. Cut 4.5″ squares of batting and backing.
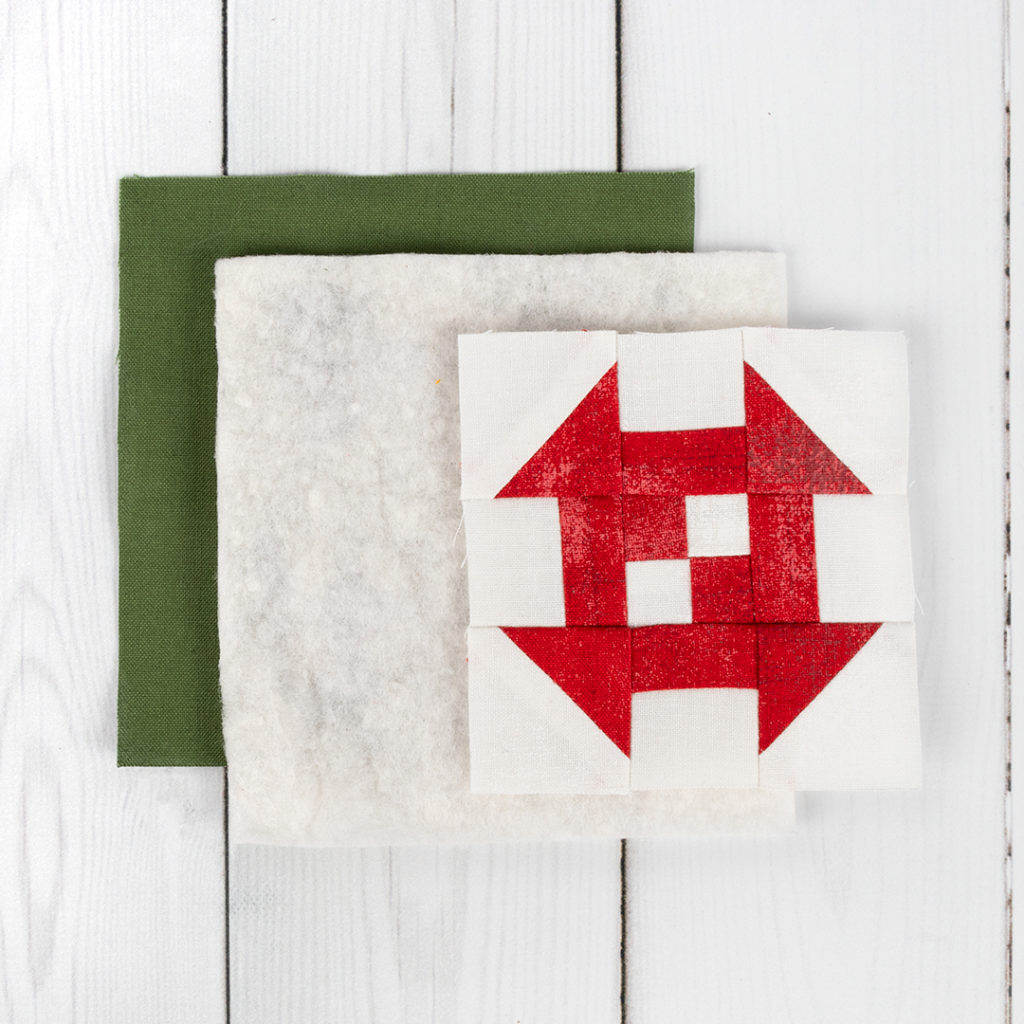
3. Make a quilt sandwich with the backing, batting and your Sewcialites Block. Quilt as desired.
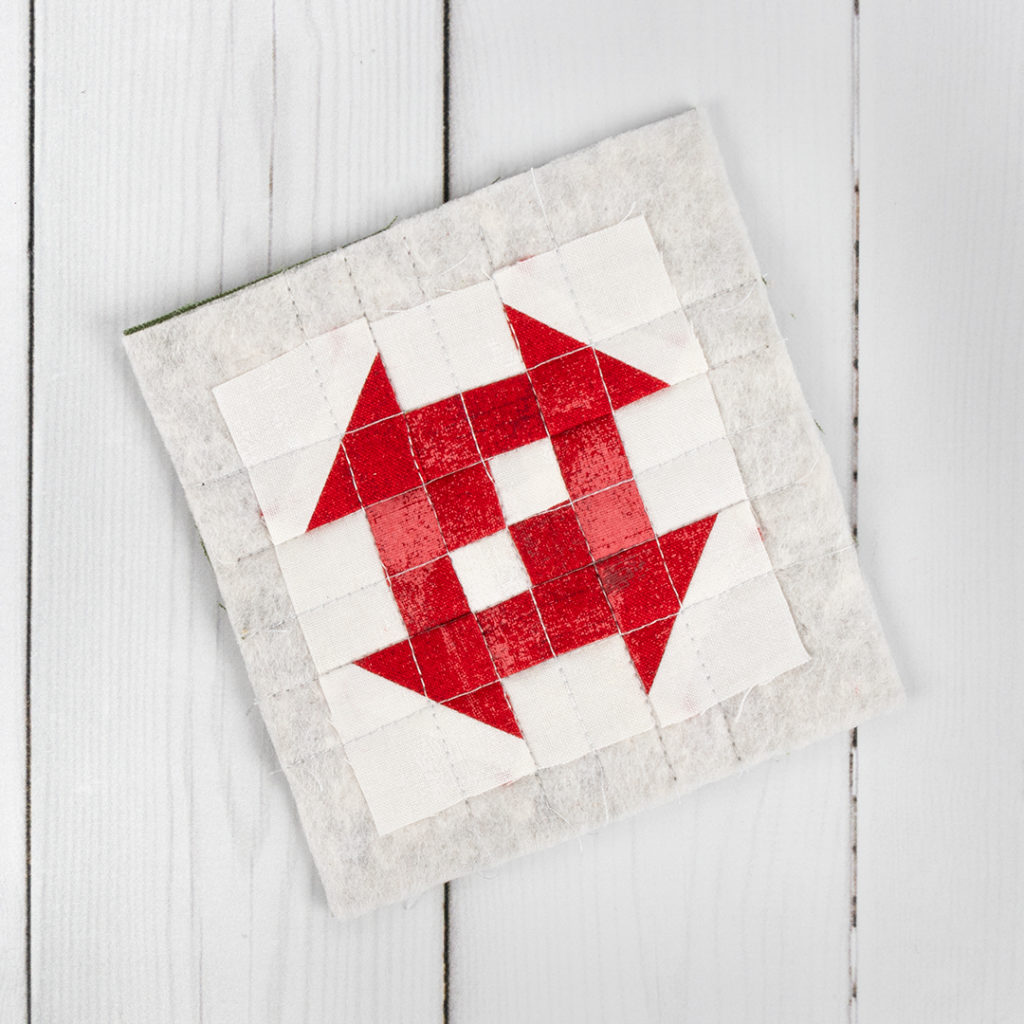
4. Trim backing and batting even with the edge of the block.
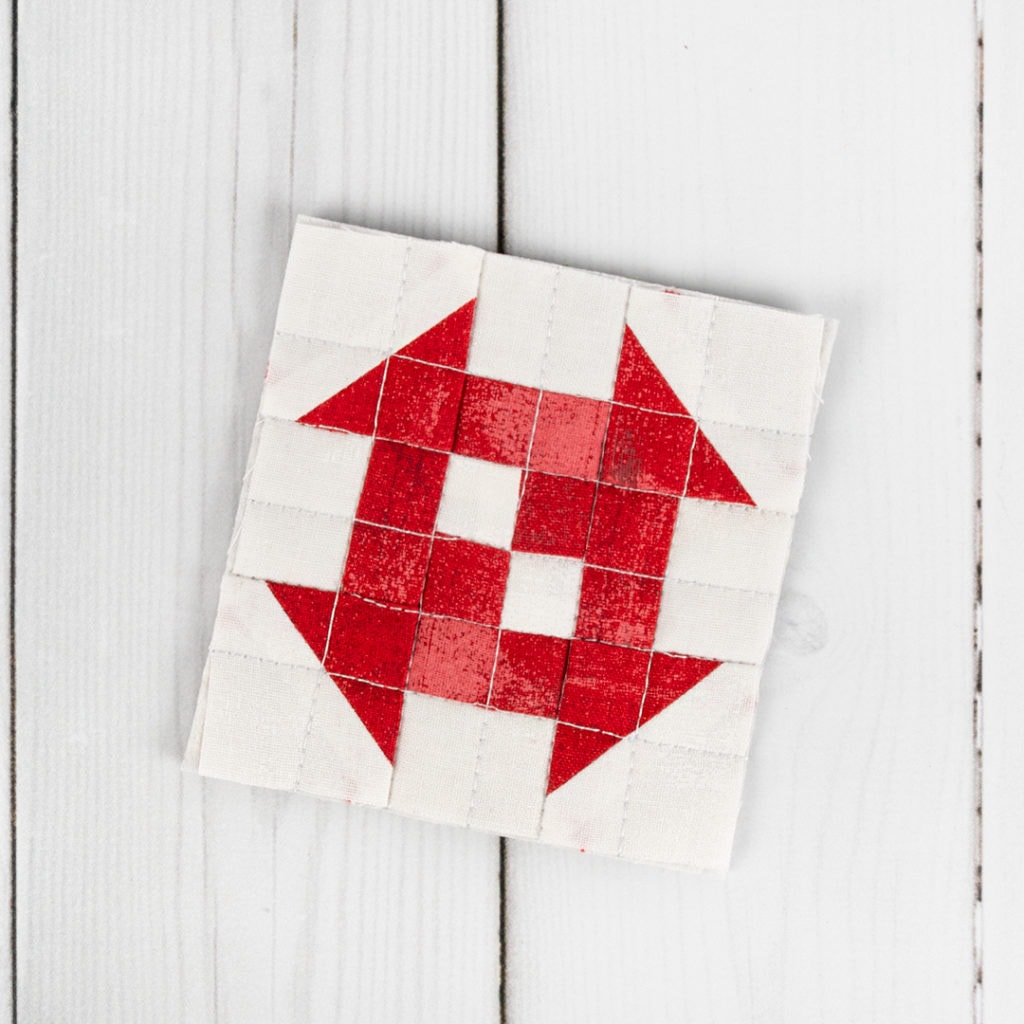
5. Cut a 2.125” x 14.5” strip for binding. Our block measures 3.5” square but sometimes a block may measure a little smaller. If so, you will need a shorter binding strip. To calculate the length of the strip multiply the size of your block by 4 and then add 0.5″.
6. Stitch the ends of the binding strip together using a quarter-inch seam and press the seam open. Fold and press the binding strip in half, matching raw edges.
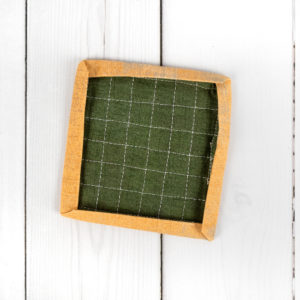
7. Attach the binding strip to the front of the ornament and then fold over to the back and press.
8. Cut a 9” piece of ribbon and pin the ends between the binding and ornament back approximately 1” to the left and the right of a corner.
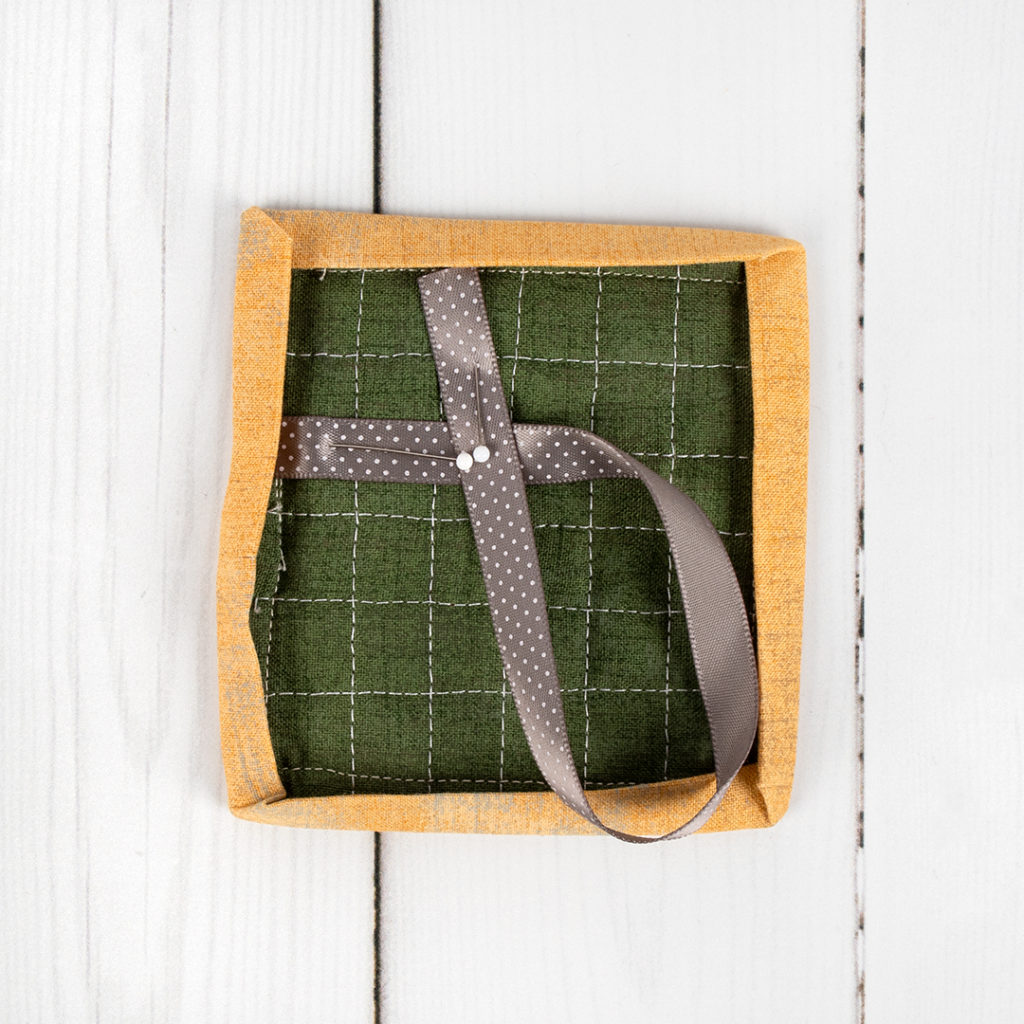
9. Stitch binding down to the back of the ornament.
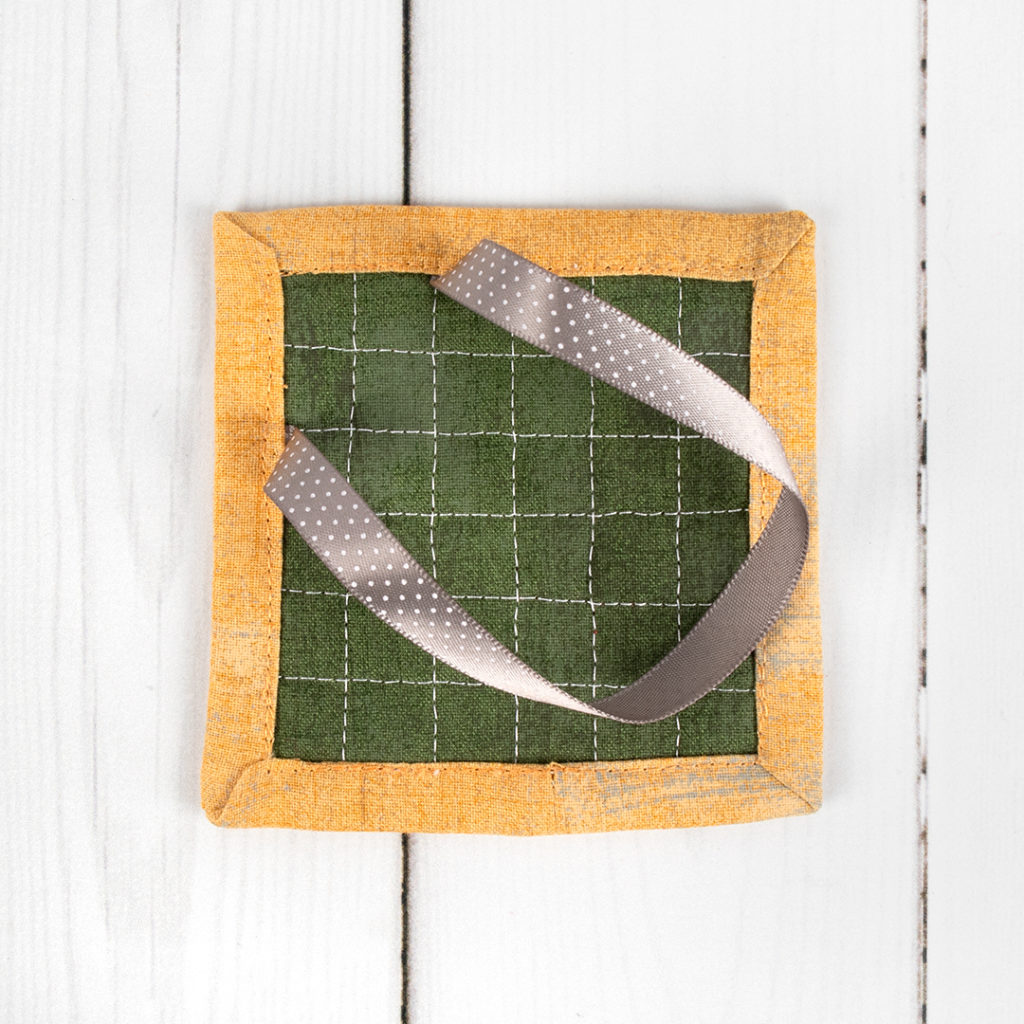
10. Hang your Sewcialites Ornament on the tree!
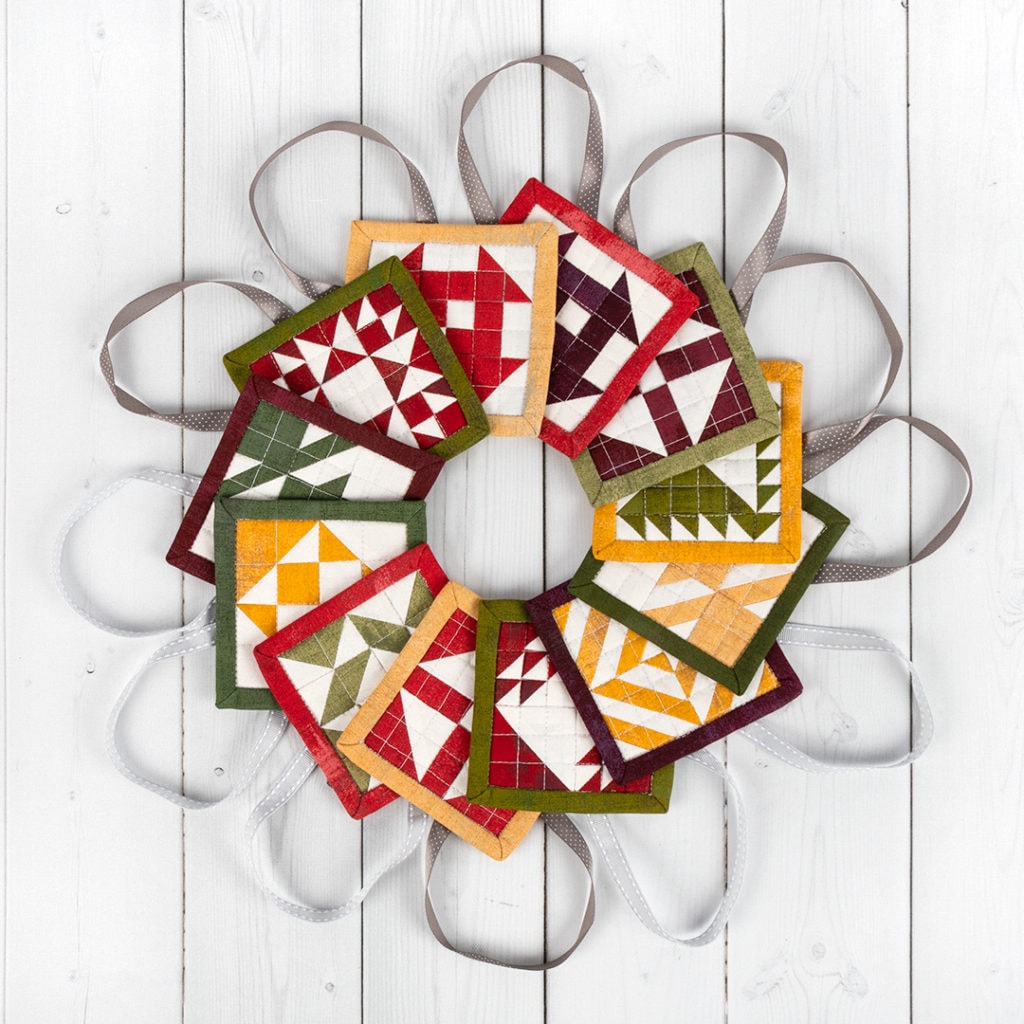
You can find more DIY gift inspiration on Fat Quarter Shop’s DIY Holiday Projects Pinterest Board. Our Fat Quarter Shop Pinterest page is full of tips, tricks and video tutorials for all kinds of projects that you’ll enjoy making, giving, and receiving!
Share with #FQSJollyHoliday
We hope you decide to make your own DIY Quilted Ornaments, and if you do, be sure to share it with us on Facebook and Instagram using #fqsjollyholiday so we can see and share your work!
Happy Quilting!
Stay connected to FQS!



9 comments
OMGOSH I have been wanting to do this. Thank you so much for the tutorial! Merry Christmas!
These ornaments are so adorable. I am going to make a few
Thank you for for much FQS
All of you are so generous.
Merry Christmas
These are great! This will be my 2020 ornament. Sewcialites really helped me mentally get thru these last months. Thank you!
Adorable! Can even be hung in other areas of the home, doorknobs, cabinets, drawers, etc. Thank you all at Fat Quarter Shop for all that you do! Merry Christmas and have a wonderful New Year!!
Use a second block for backing.
This is wonderful!! A great little gift for my kids’ teachers! Thank you FQS.
Such a great idea for small gifts to friends. Merry Christmas. 🎁🎄
Thank you for the inspiration and great how to. Can’t wait to start creating some keepsakes for my family.
These ornaments are so adorable. I will try to make a few to give to all of the people I love. Okay, I could be sewing for days.
These are little treasures. Thankyou so much for the instructions and inspiration. Love you FQS ❤️