
We are simply falling for this easy and fun DIY project that is perfect for Valentine’s Day! Read on for a photo tutorial on making your own DIY Heart Banner. The best part of this project is you can create as many hearts as your heart desires!
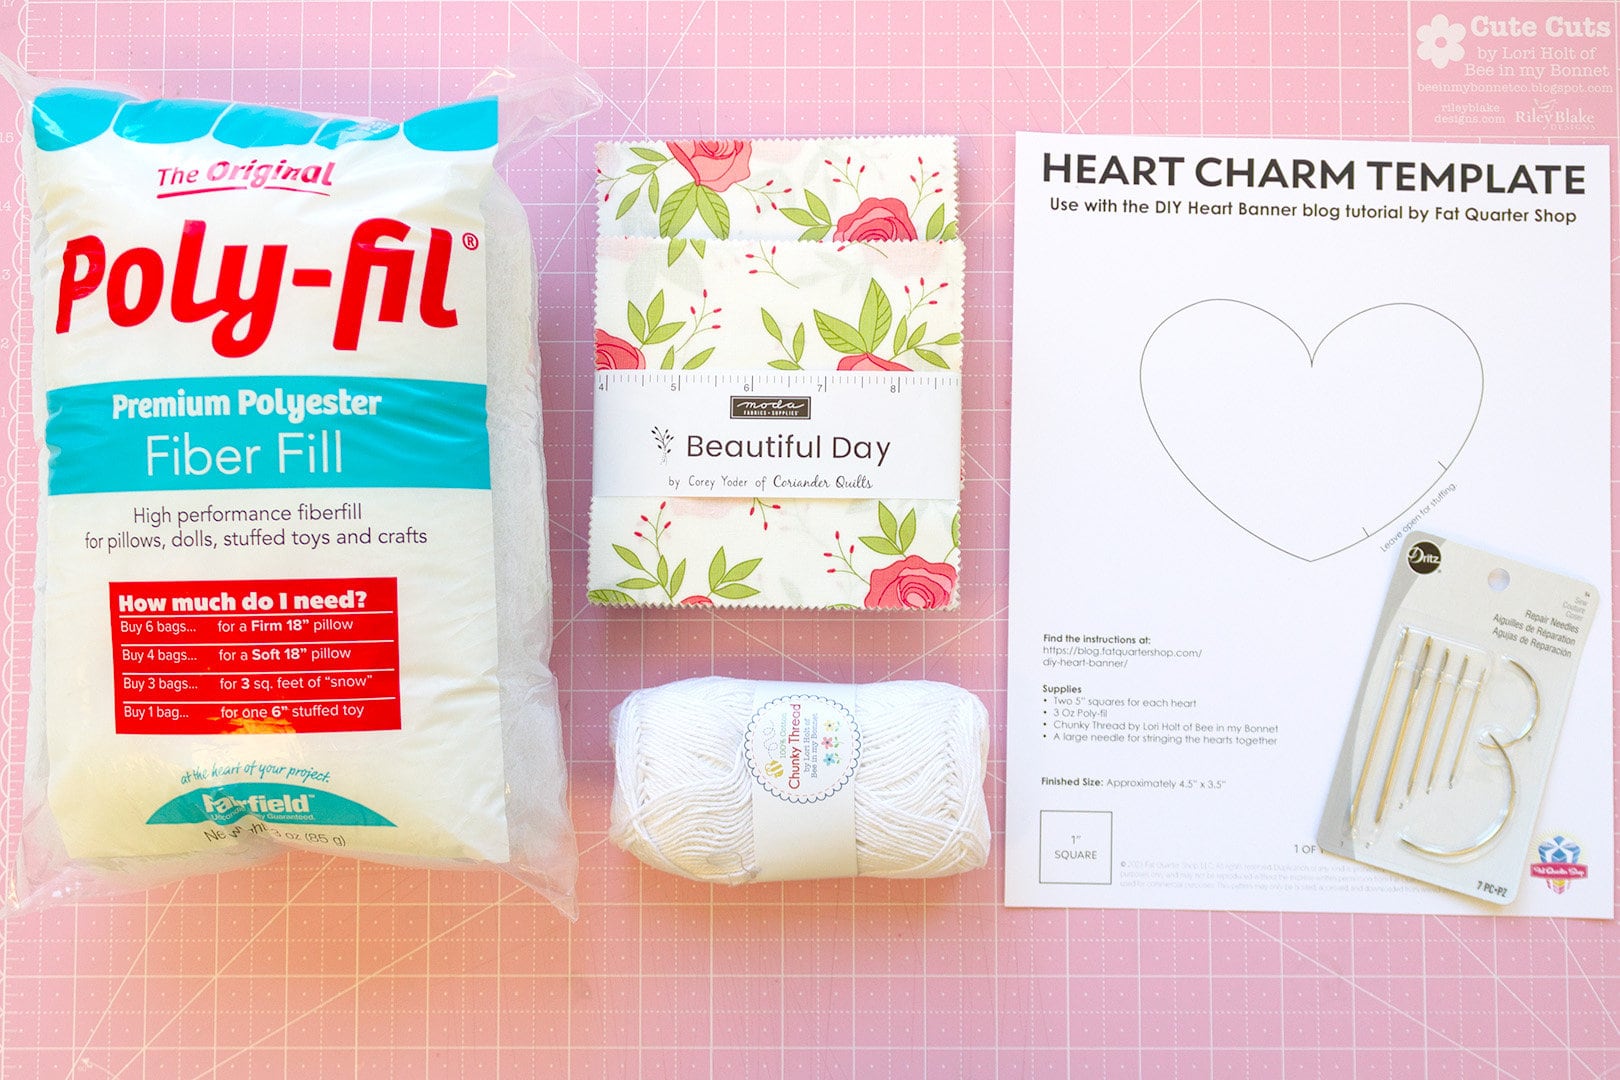
DIY Heart Banner Supplies
- Two 5″ squares per heart. (We used two Charm Packs from Beautiful Day by Corey Yoder Charm for a matched look.)
- 3 Oz Poly-fil (this is enough to fill about 15 hearts)
- Cloud Chunky Crochet Thread By Lori Holt of Bee in my Bonnet
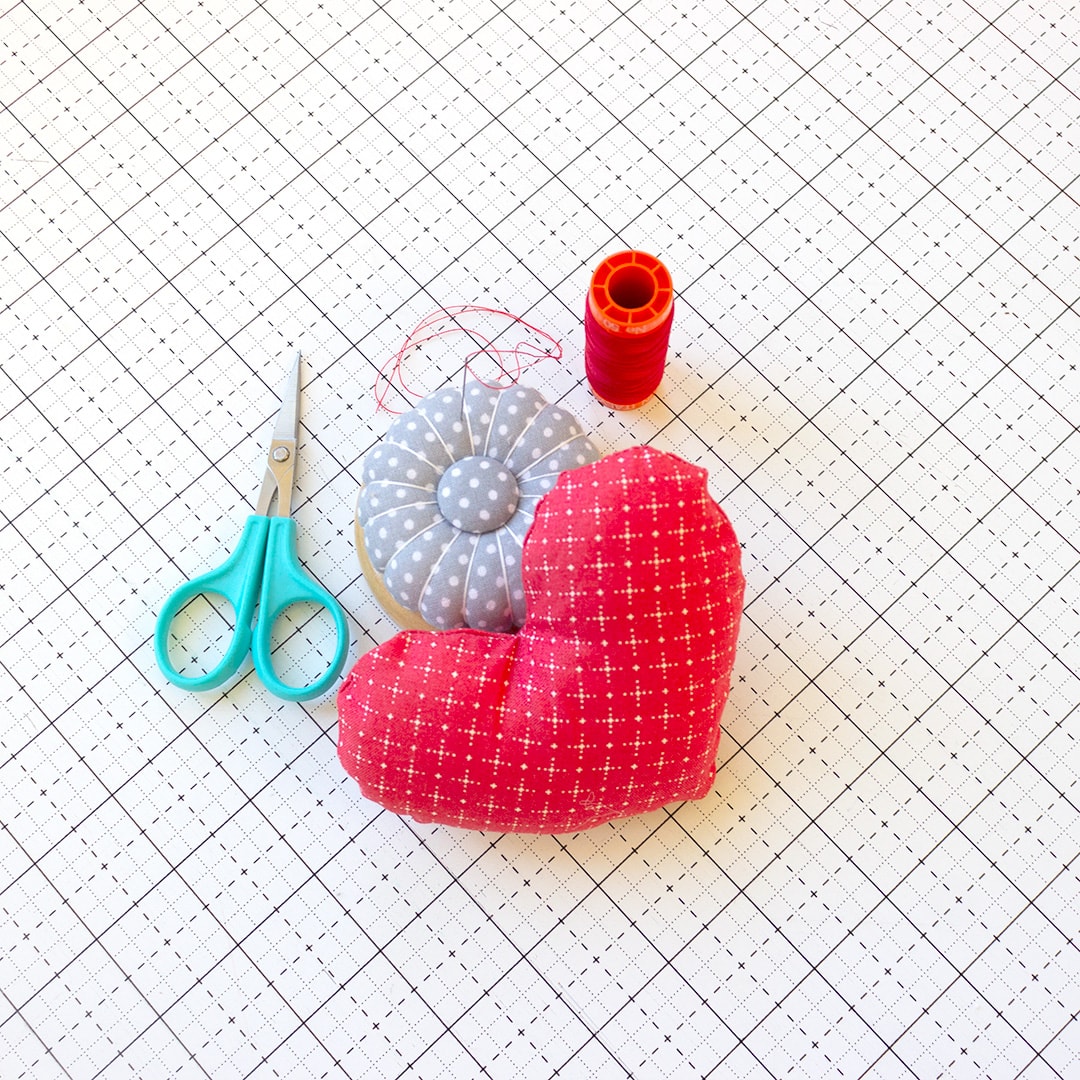
- A large needle to string the hearts together. (We used needle number three from the Dritz Repair Needles Set.)
- The Heart Charm Template by Fat Quarter Shop
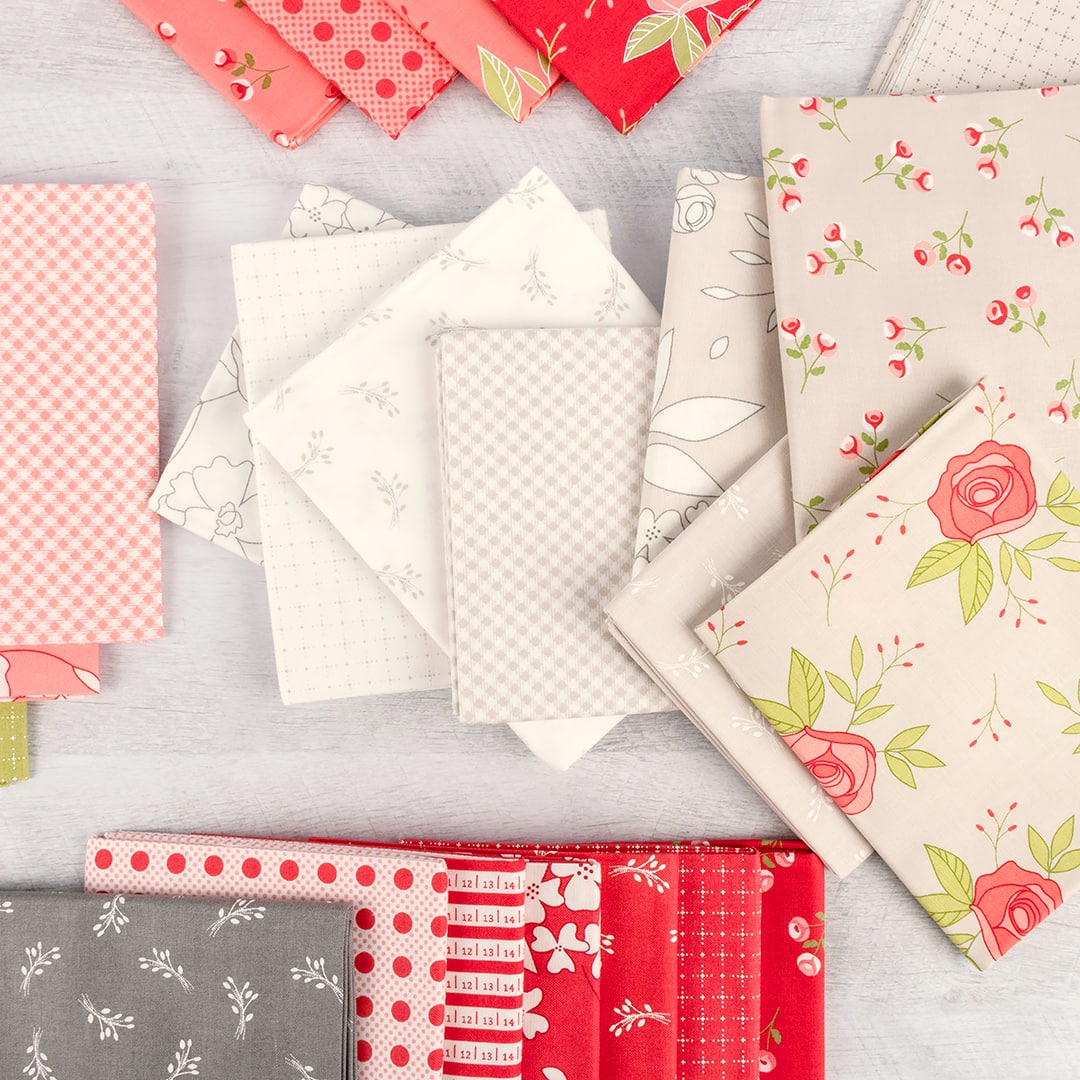
We’re using selections from the collection Beautiful Day by Corey Yoder for Moda Fabrics. The reds and pinks in this collection are perfect for Valentine’s Day, and we love how the flowers look!
Steps to Make a Heart Banner
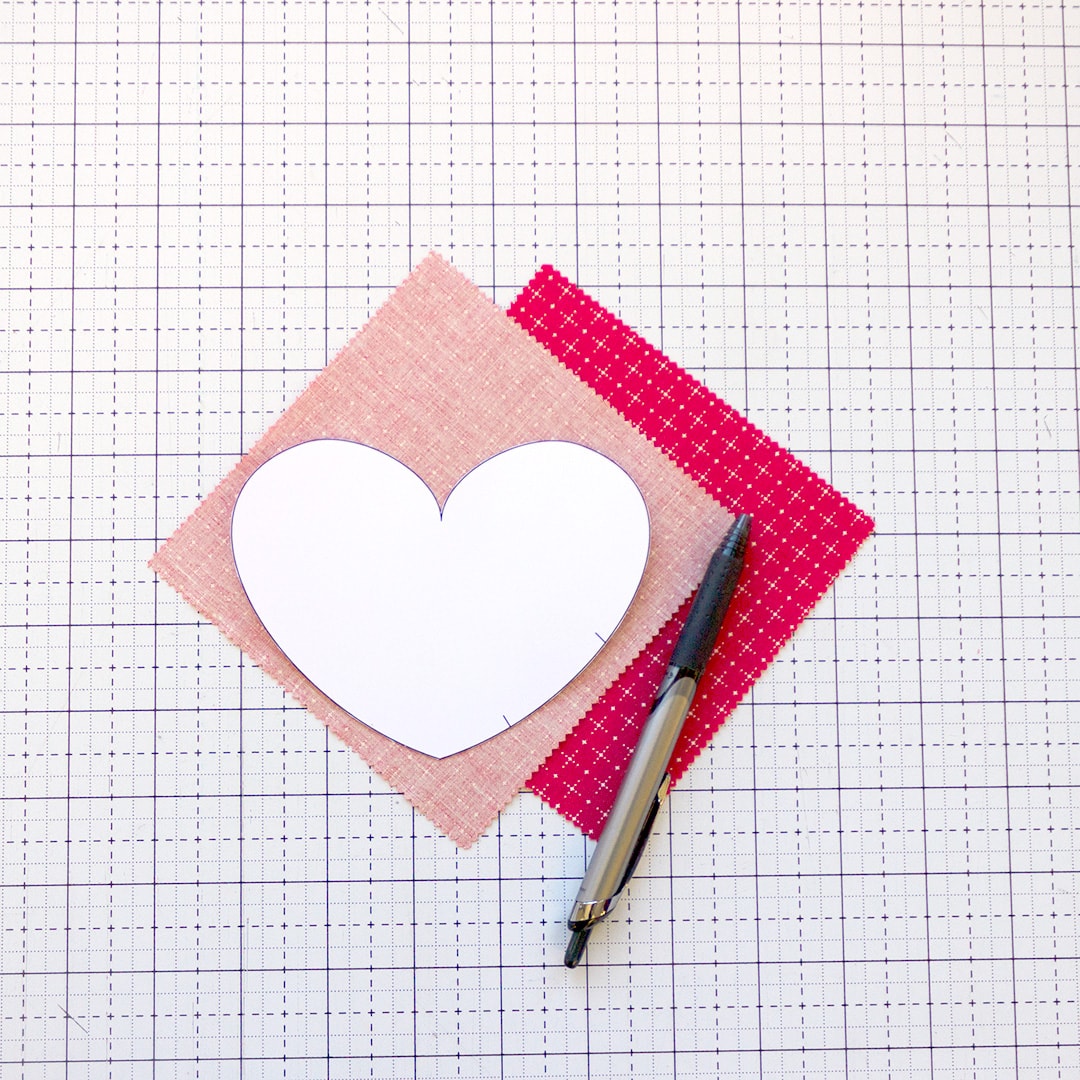
First, download, print, and cut out the Heart Charm Template by Fat Quarter Shop.
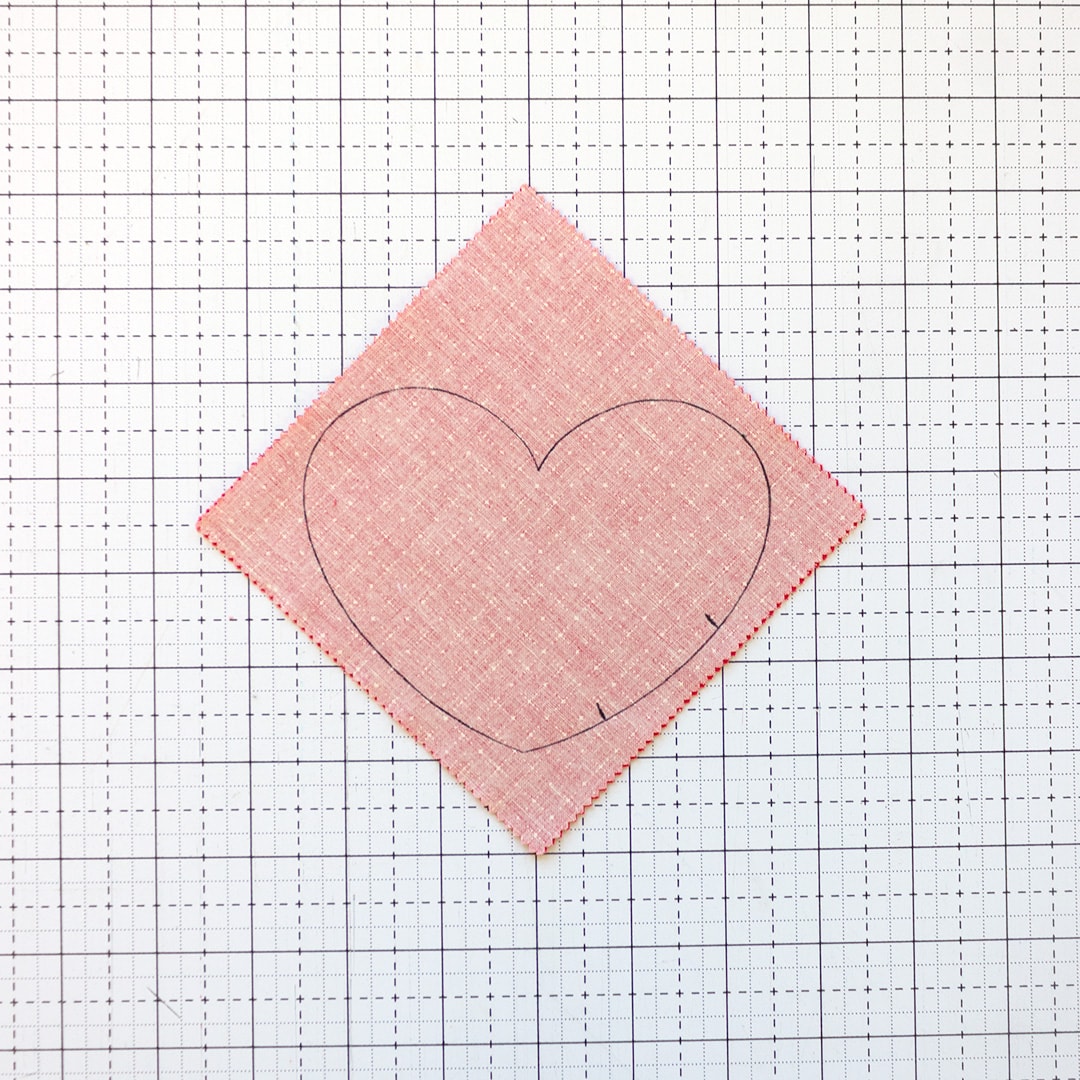
Next, place two charm (5″) squares right sides together. Place the Heart Charm Template on top (it should be on the wrong side of the fabric), approximately half an inch from the edges. Trace the outline with a pen and transfer the marks from the template to the fabric.
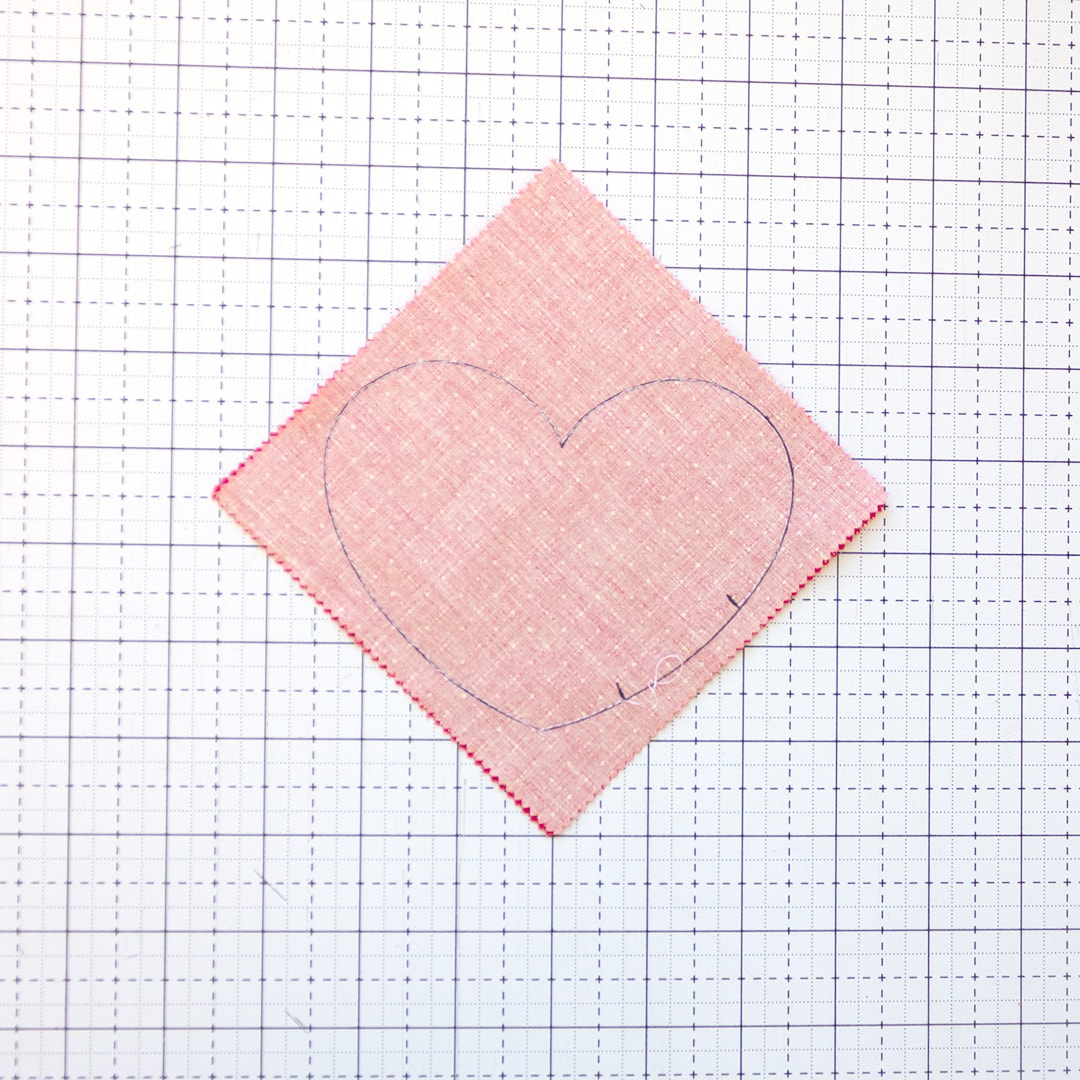
Sew using a 2.0 stitch length following the heart outline. Start and stop at the marks, back stitching to secure your threads around the opening so you can add the stuffing. To turn your piece while sewing the curved lines, you can use a walking foot to help guide the fabric through easier and/or a knee lever sewing machine attachment to lift the presser foot periodically through the turns.
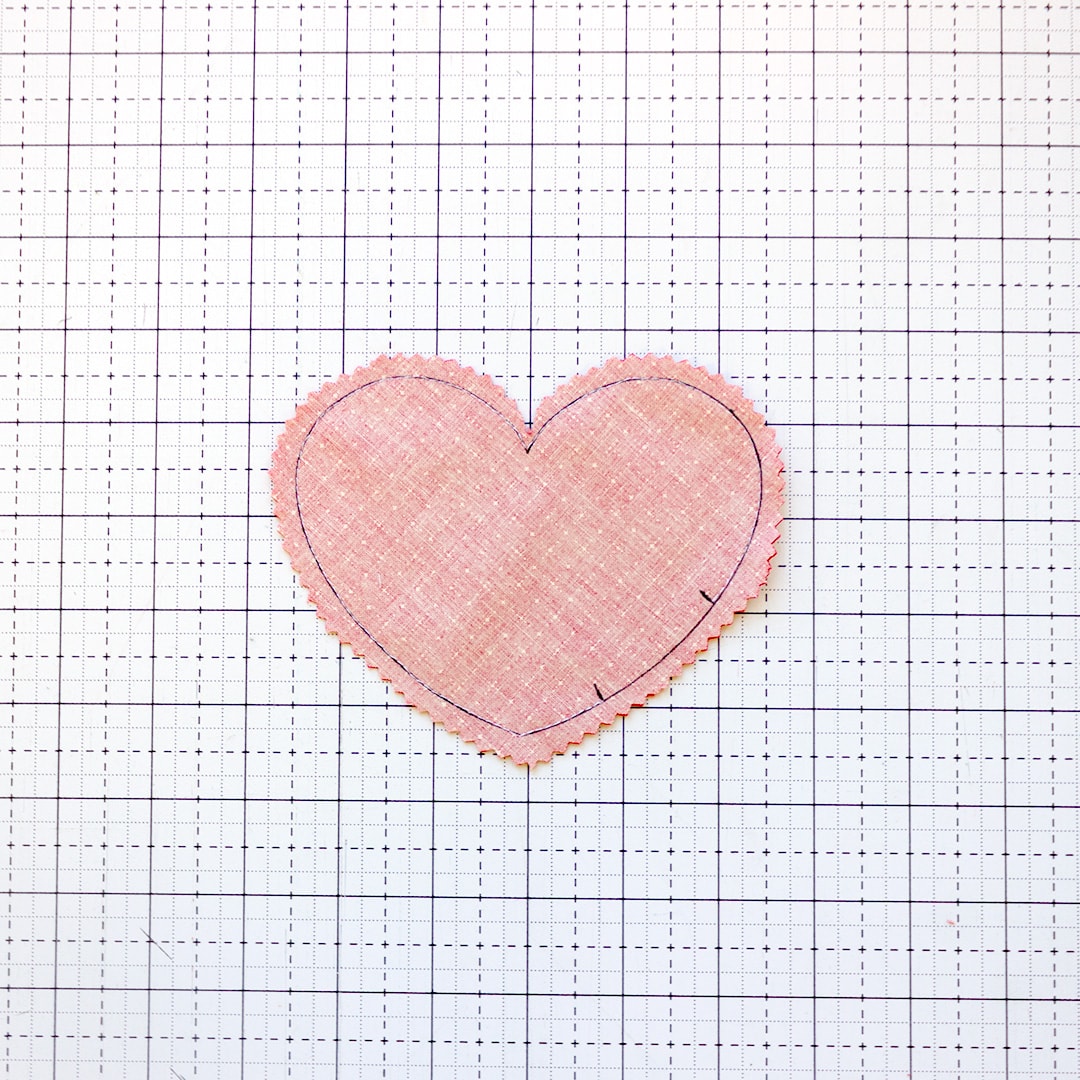
Trim around the outline about a quarter-inch from the sewn line. We used pinking shears, but regular scissors work fine. Snip out a small sliver of fabric from the seam allowance at the top center of the heart to remove some excess fabric bulk, being careful not to cut your seam.
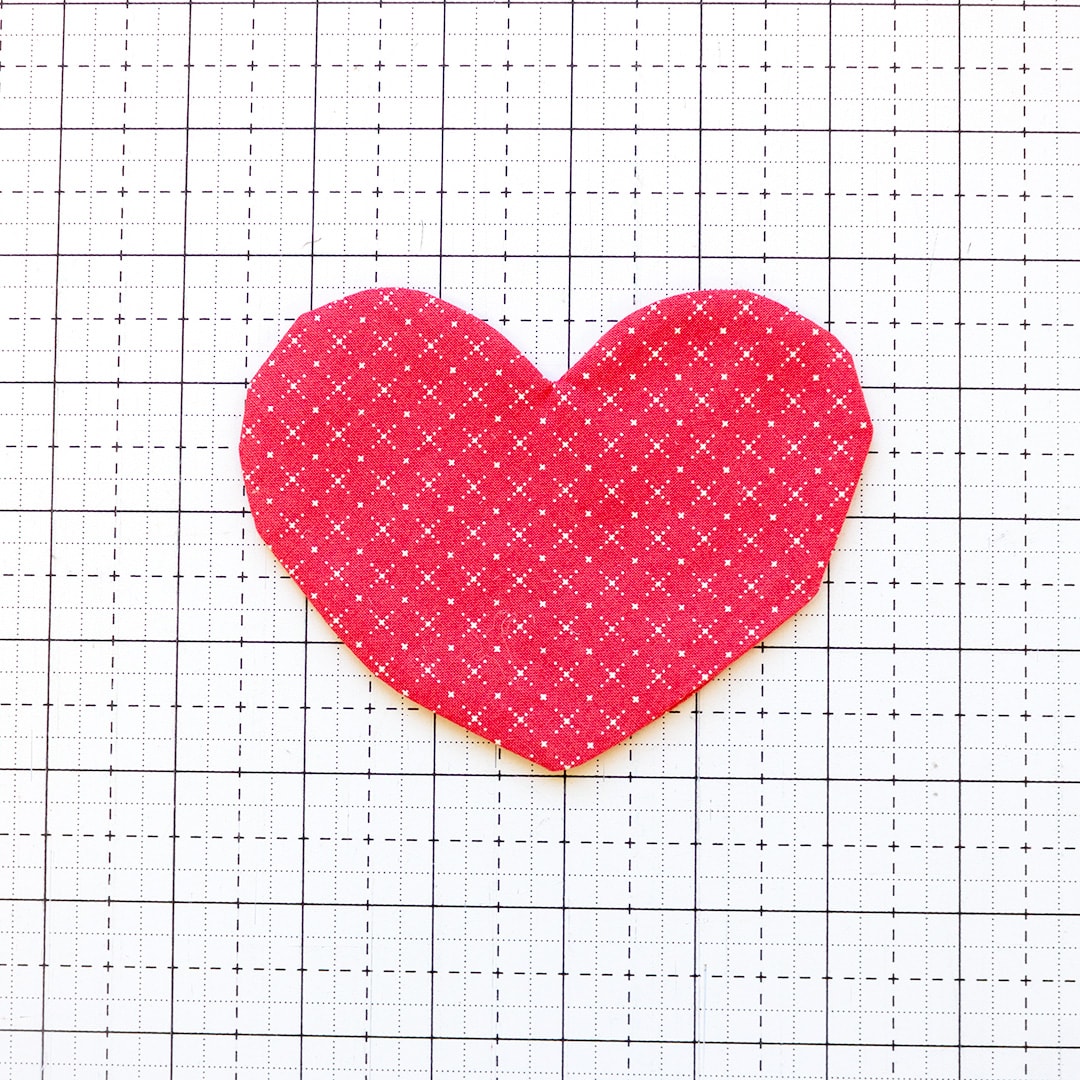
Flip the heart inside out. Press out the seams from the inside with a pointy tool. Then press flat with an iron, turning the raw edges of the opening under to shape them.
Stuff your heart with Poly-fil and hand stitch the opening to close it.
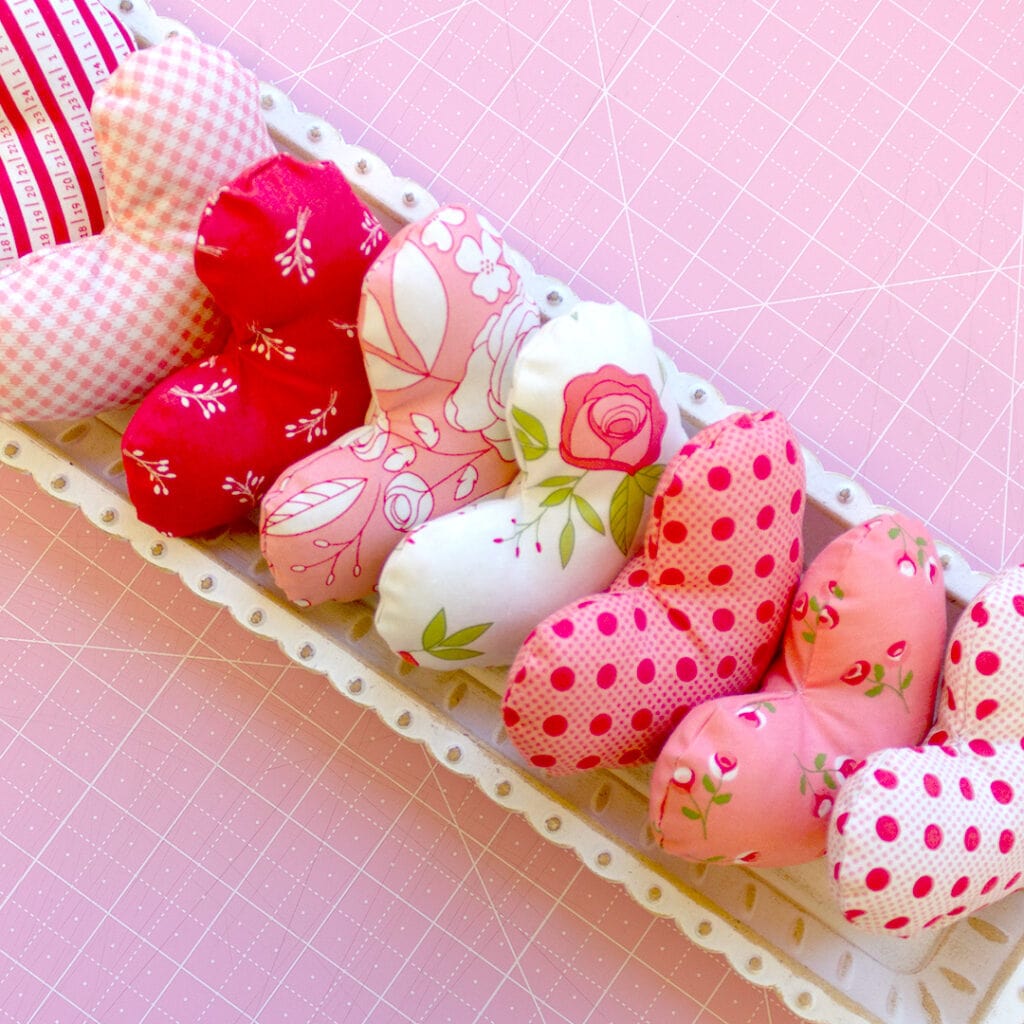
Repeat the above steps to make as many hearts as you like.
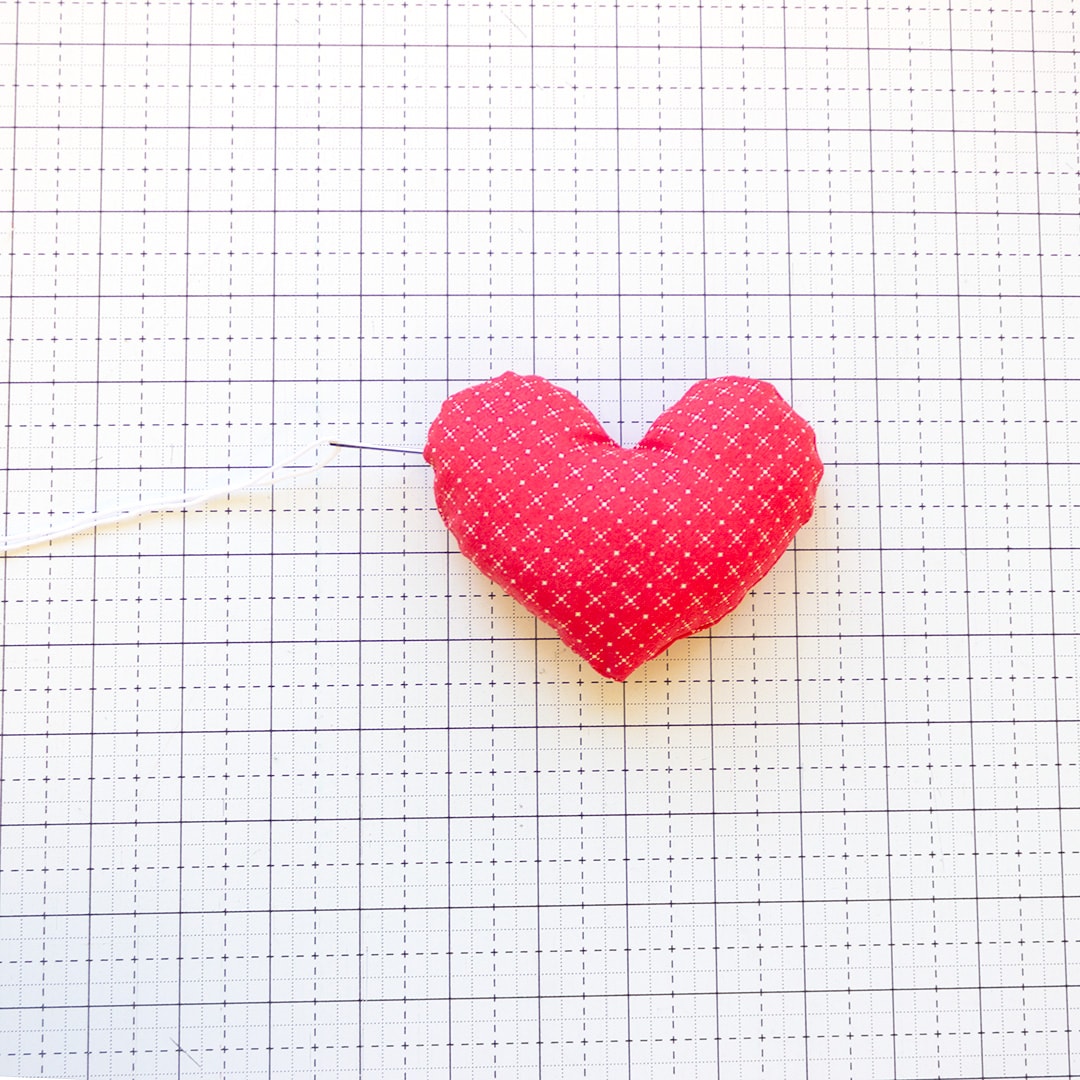
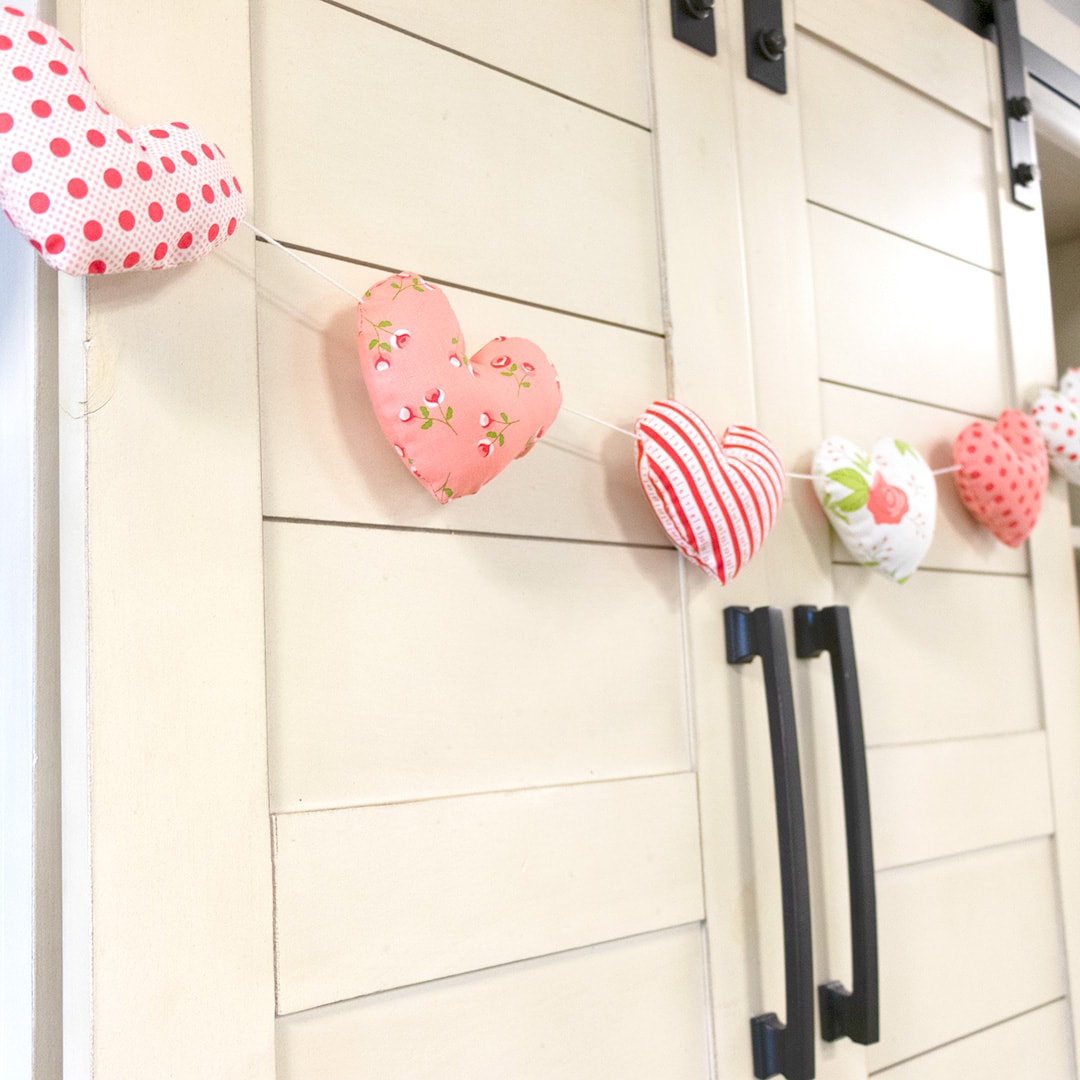
The final step to turning your hearts into a DIY Heart Banner is to thread them together! We did this by running a needle through about one inch from the top of the hearts from end to end (see the photo below).
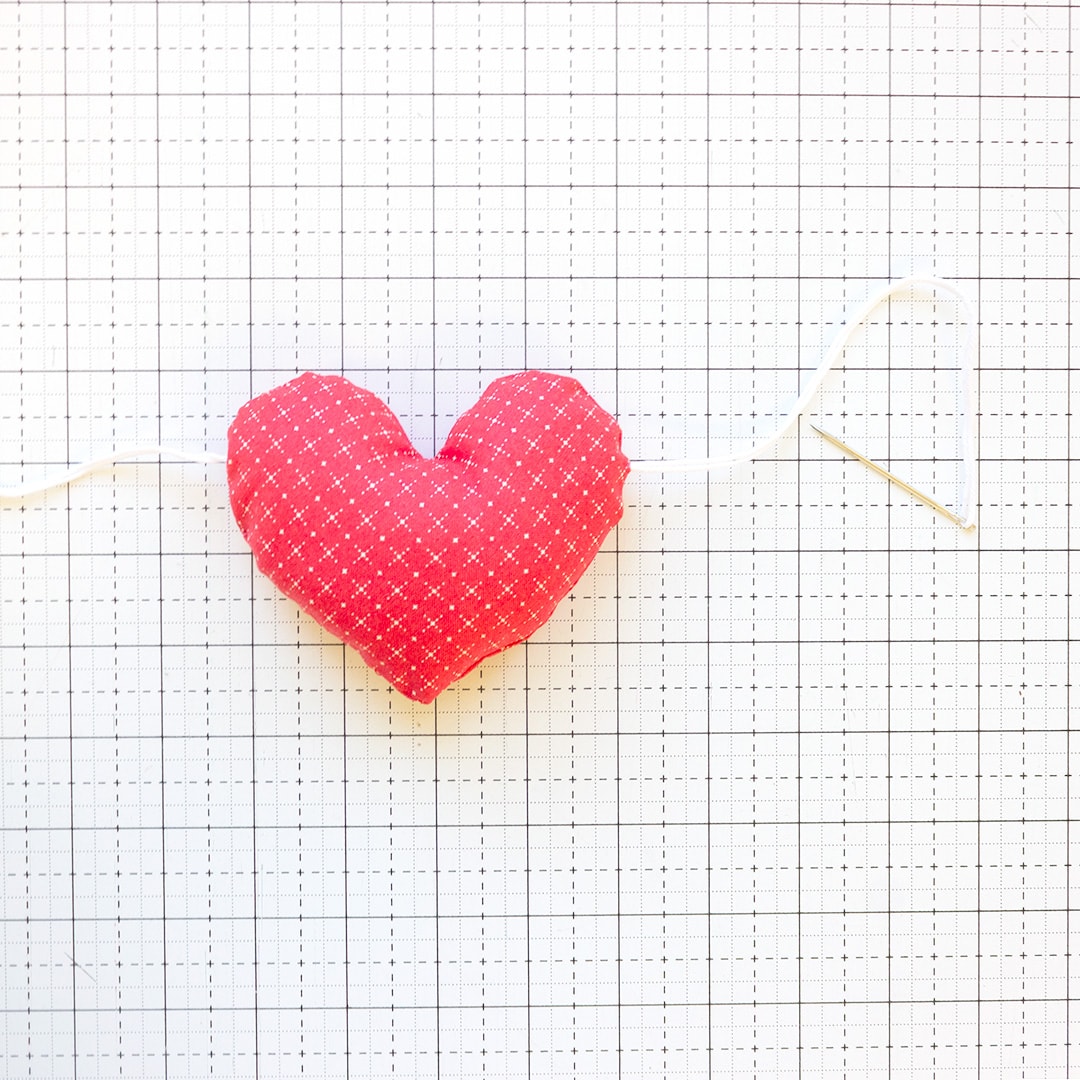
Leave about 2″ of space between hearts and 20″ of yarn on either end of the hearts to allow for hanging.
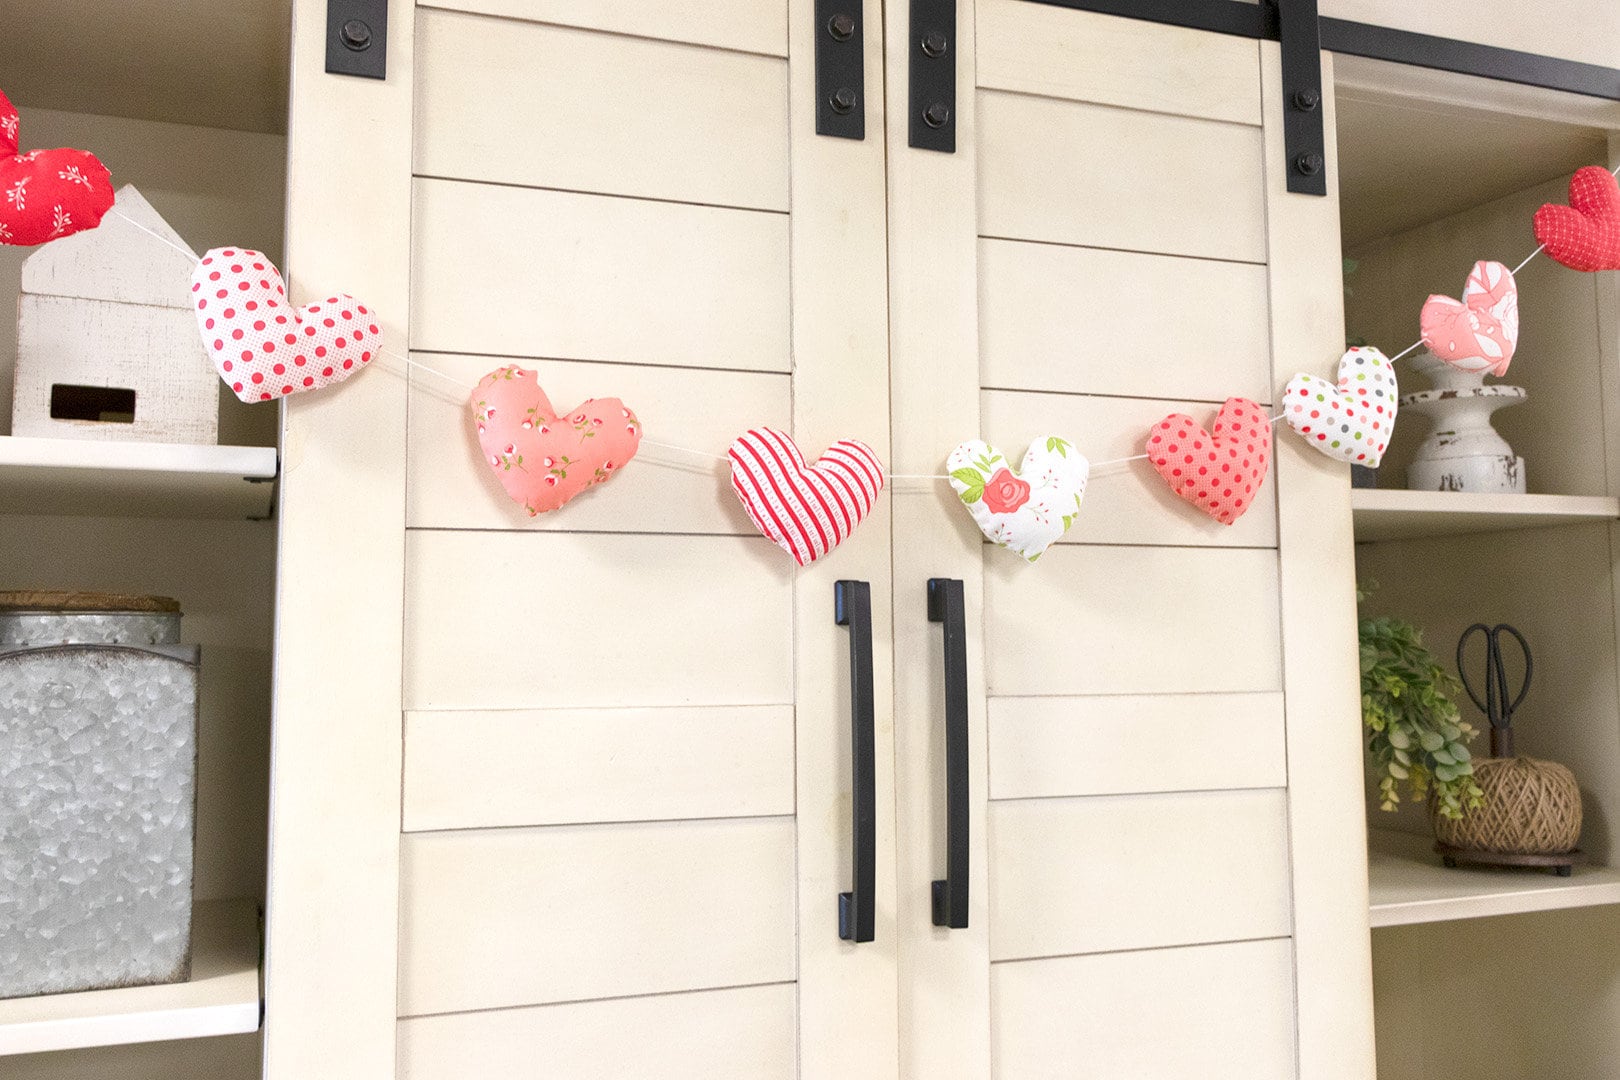
Our finished DIY Heart Banner is about five feet long, and each heart is approximately 4.5″ x 3.5″ in size.
When you’re done, hang it up and show off your beautiful new heart banner! You can find more heartfelt Valentine’s Day projects on the Fat Quarter Shop Pinterest board!
Share with FQS
We hope you decide to make your own heart banners, and if you do, be sure to share them with us on Facebook and Instagram using #DIYHeartBanner and tagging @fatquartershop so we can see and share your work!
Happy sewing!
Stay connected to Fat Quarter Shop!


7 comments
Adorable ideas!
Cute! I can do this. Thank you FQS for another great tutorial!
Make a few for my cats with catnip in them.
Thank you for a really cute template and decorating idea. I can see using cute beads between the hearts in order to keep them stationery.
Thanks so much for this project! I have several Valentine themed 5″ squares left from another project…perfect! XOXO
Thank you! I love this! This is a great festive and easy project!