
Today I’m sharing some of the best tips I can think of for new quilters. As a newbie to the quilting community, I had the joy of making my first ever quilt and documenting it here on the Jolly Jabber. I’ve learned a lot, and I’ve gotten a lot of advice from those with more experience. If you keep reading, you can learn about the top five things that I think new quilters should know before making their first quilt, according to someone who just made theirs!
Together we can tackle the challenges that beginners often face and confidently get started.
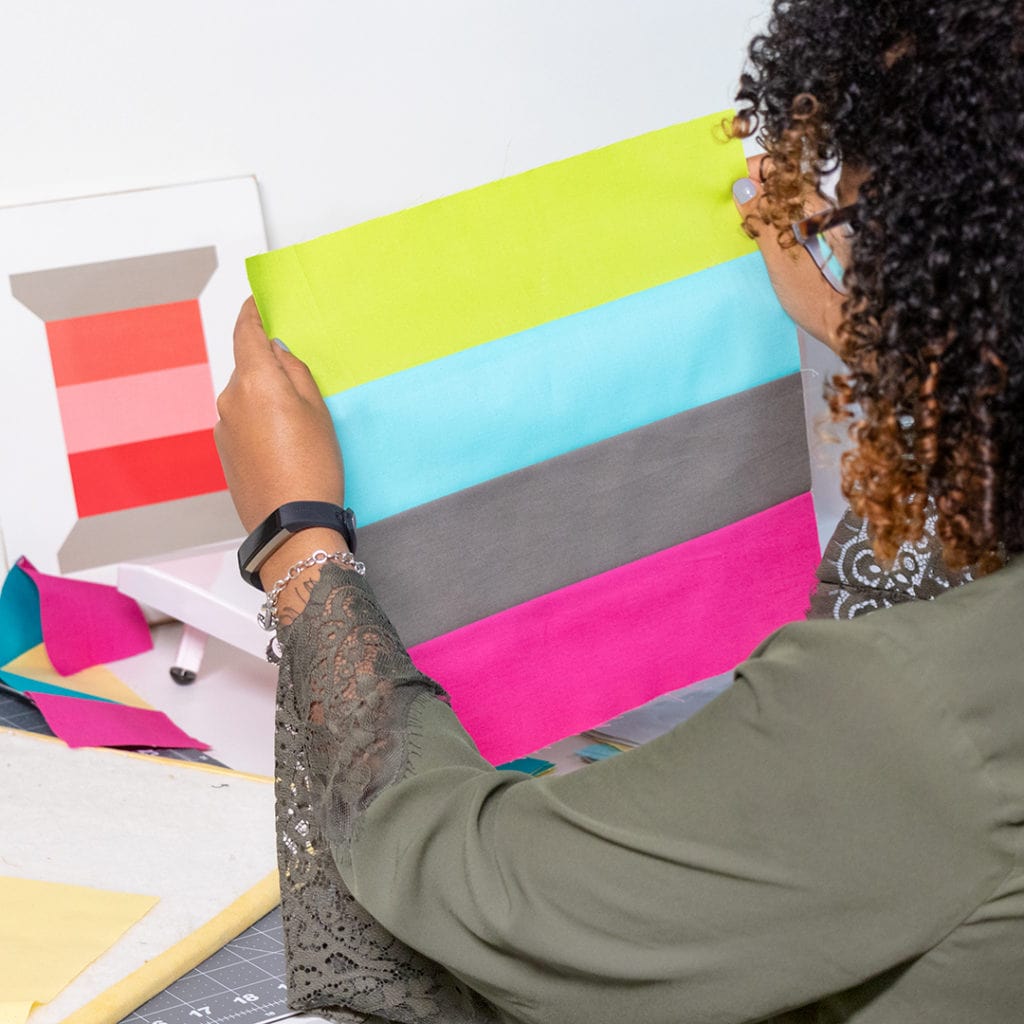
Start with Precuts
Starting with precuts makes life easy. Precuts are fabric bundles, usually coordinating groups of fabrics by a fabric designer, that come in specific shapes and sizes to be used most commonly in quilts.

There are several types of precuts:
- Mini Charm Pack – 2.5″ squares
- Charm Pack – 5″ squares
- Honey Buns – 1.5″ strips
- Jelly Rolls – 2.5″ strips
- Jolly Bars – 5″ x 10″ rectangles (a Fat Quarter Shop exclusive)
- Layer Cakes – 10″ squares
- Fat Eighths – 9″ x 21″ rectangles
- Fat Quarters – 18″ x 21″ rectangles
- Half Yards – 18″ x 44″ rectangles
I’ve found that there are many tutorials, patterns, and books created with specific precuts in mind, and following them helps take some guesswork out of starting your first quilt. I used a Fat Quarter Bundle when making my first quilt and a pattern designed for those precuts from the Fat Quarter Style Quilt Book. For tips on selecting the right pattern for you, visit our blog on easy beginner quilt patterns.

Know your Sewing Machine
My second tip for you is to get to know your sewing machine by reading the manual, looking for online tutorials, and testing it with scraps or extra fabrics.
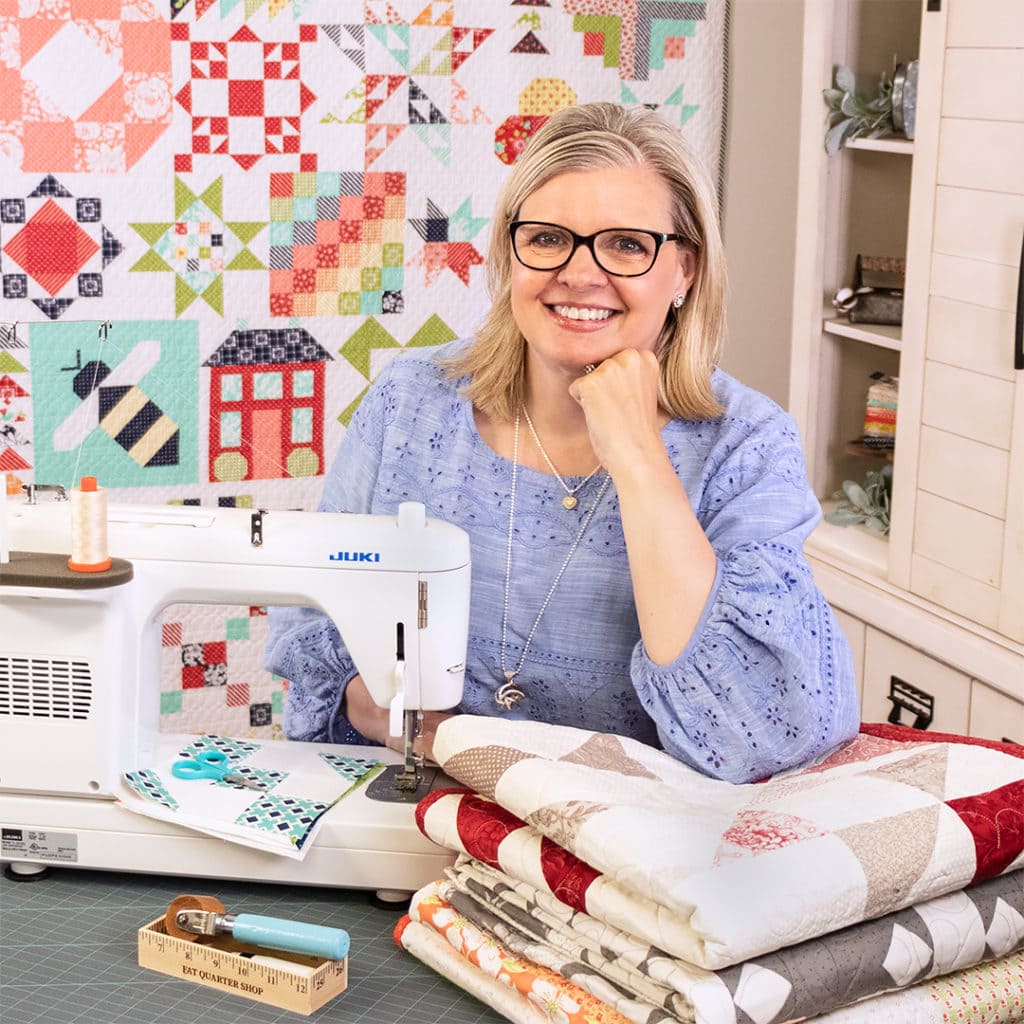
If you purchase your machine from a local sewing machine dealer, they will teach you how to use your new machine, and can always be relied on for machine service and advice. Whatever machine you’re using, it’s essential to learn the details of it inside and out to have a smooth quilting experience.
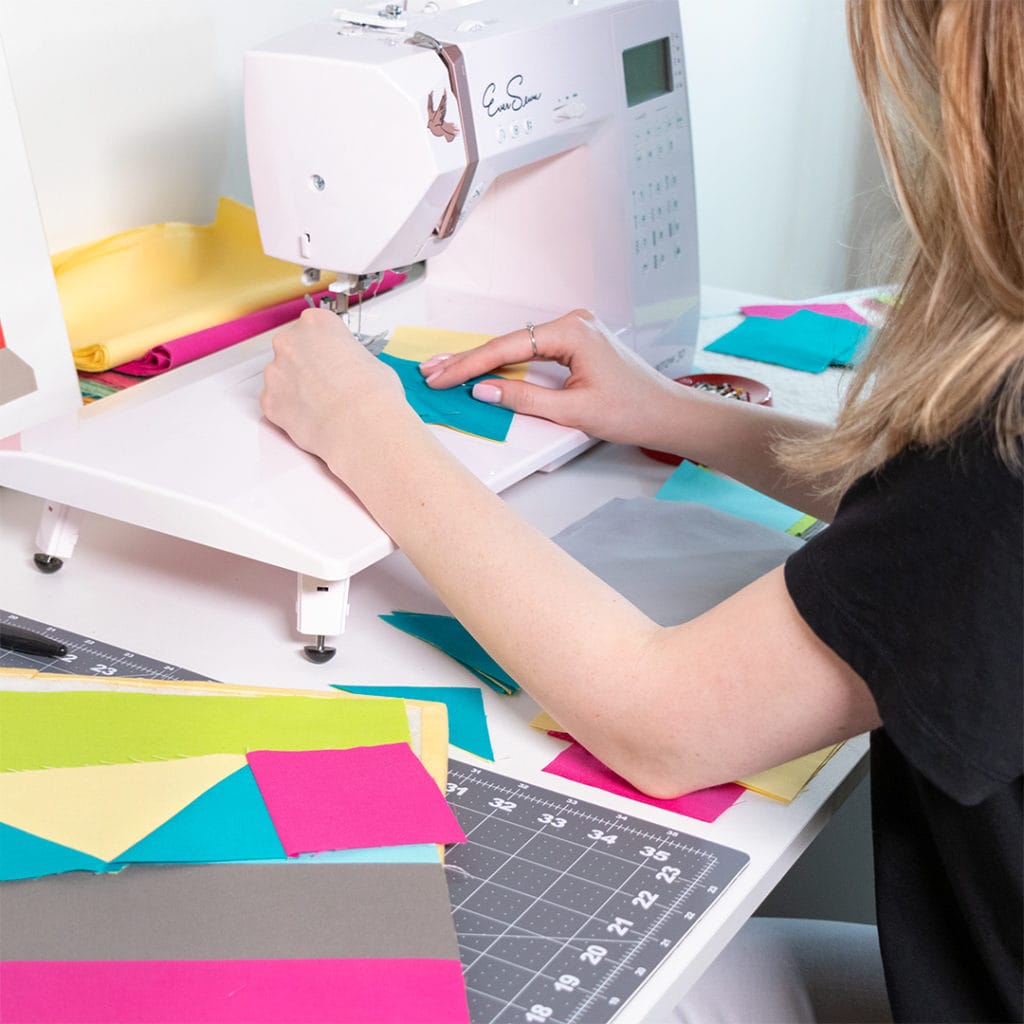
Bobbin compartments, thread take-up, dials, presser feet, and more can differ from machine to machine. I also found understanding them helpful in setting up to start sewing, so take some time and introduce yourself to the sewing machine you’ll be using!
Use a Quarter-Inch Presser Foot
My third tip for you saved me as a new quilter. I suggest using a quarter-inch presser foot for piecing your quilt blocks together.
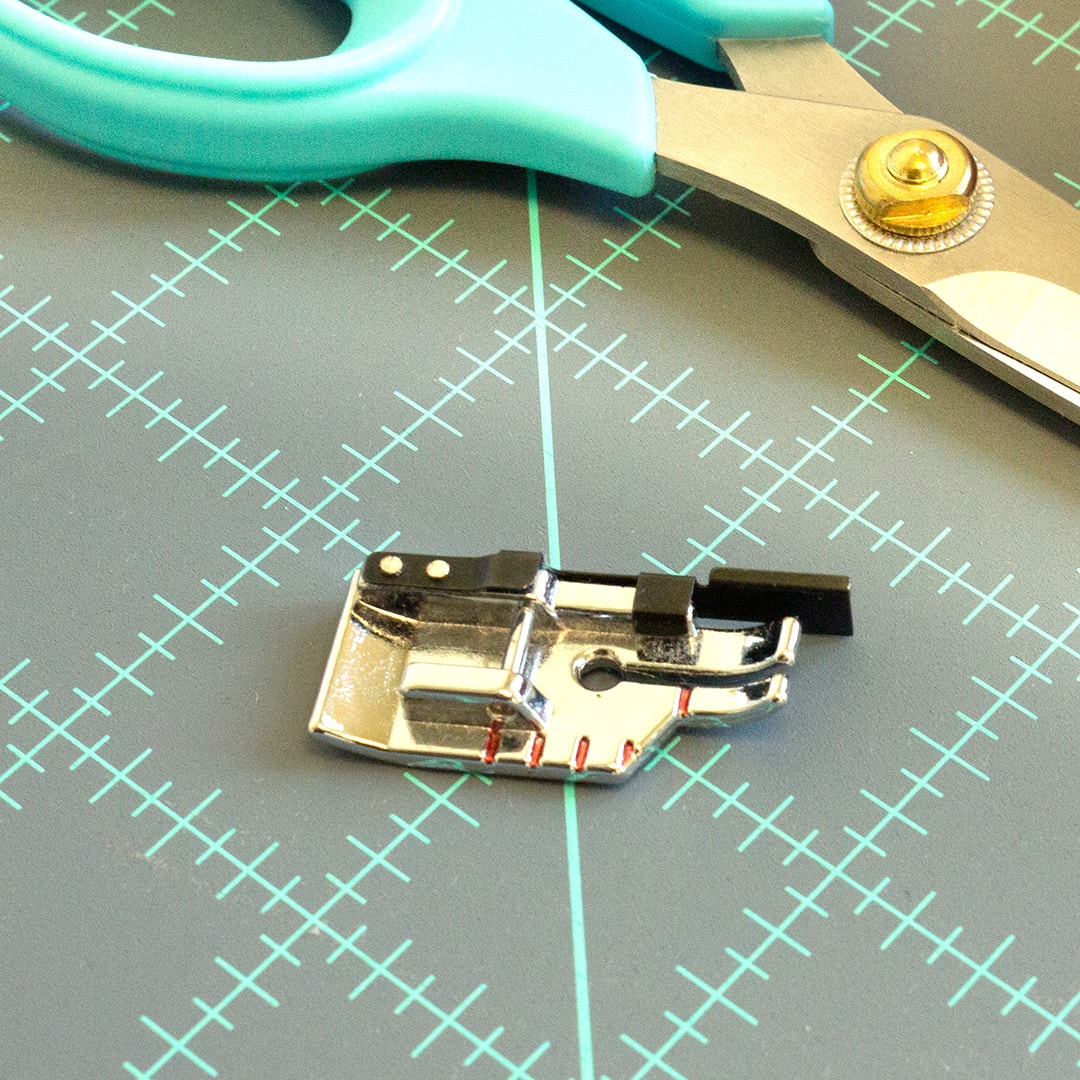
A quarter-inch foot works as a guide, which I found especially useful as a beginner, to create the standard quarter-inch seams that quilting patterns most often require. These feet usually come with a guide a quarter-inch from the needle that you can run your fabric along it as you sew, and you’ll have a straight quarter-inch seam.
Use the Right Rulers
If you don’t already know, quilting rulers come in just about every size and shape you can imagine, which I found overwhelming as a new quilter. For my fourth tip, I want to share the importance of choosing the proper ruler or rulers for your quilt.
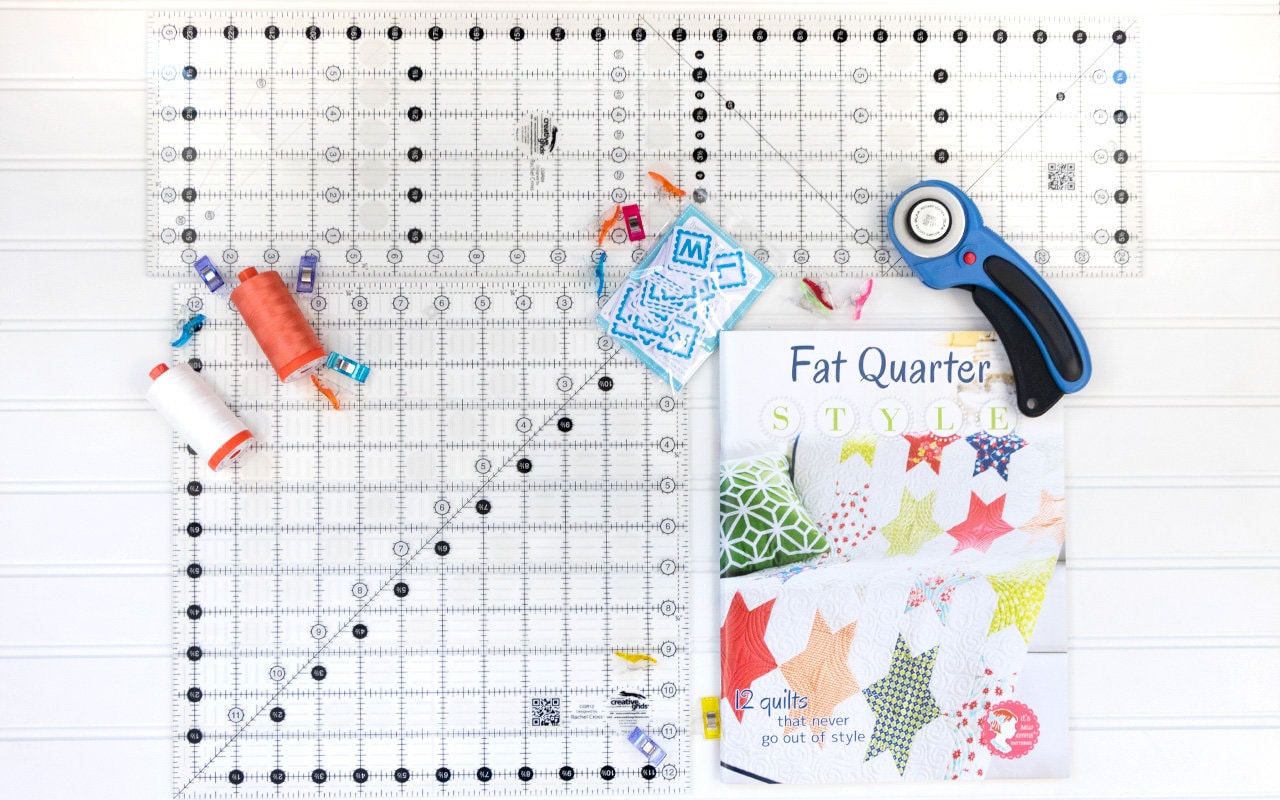
Be sure that your ruler has numbers and line markers that are clear and easy to read. Also, look for ones with grips or texture on the bottom to avoid it sliding on your fabric as you cut.
The Creative Grids Rulers check both these boxes, and the most helpful sizes I started with were the 16″ x 24.5″ and the 12.5″ Square rulers. I’m sure I’ll find reasons to collect other ruler sizes as I make more quilts, but having the basics is enough for now.
Chain Piece to Save Time
My last tip for you is to chain piece to save time. As Kimberly demonstrates in this video, chain piecing saves time and thread.

Chain piecing is a hack to turn your single quilter sewing experience into something as efficient as an assembly line. It’s where you sew multiple units, one after another, without cutting your thread between each set.
The result leaves you with a chain of blocks or parts of blocks attached by a thread. You can then use Sweet Snips or a Chain Piece Thread Cutter to cut between each piece before you move on to your next step. It saved me loads of time piecing my blocks together!
Start Sewing and Share with FQS
If you follow these tips, you’ll be an expert quilter in no time. If you use them, be sure to share with us on Facebook and Instagram by tagging @fatquartershop so we can see your makes and cheer you on!
Happy quilting!
Stay connected to Fat Quarter Shop!


2 comments
On the CG rulers, there is the thickness of the line. When cutting, do you position the fabric to the “inside” or the “outside” of the actual line? This is something that has always stumped me as I wasn’t sure which is correct. Any tips would be much appreciated. Thanks for another great blog post!
Great question @Joanna. I am new to quilting and of course I didn’t do any of the above when I started my first quilt. (I started in May 2022) I would also like to know the answer to the ruler question. I tend to go to the outside when using the line, just to play it safe and not short my block. Like Kimberly tends to mention, you can always cut down.