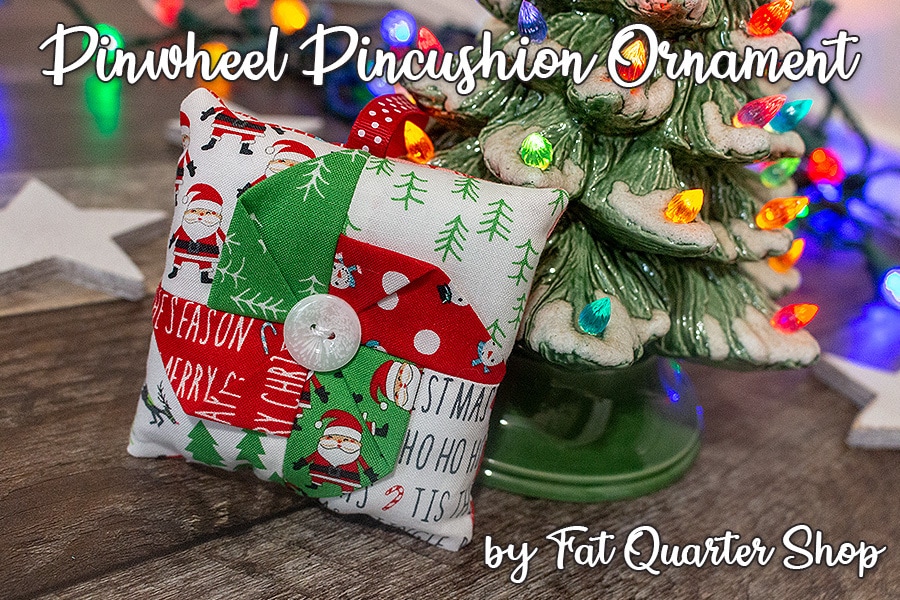
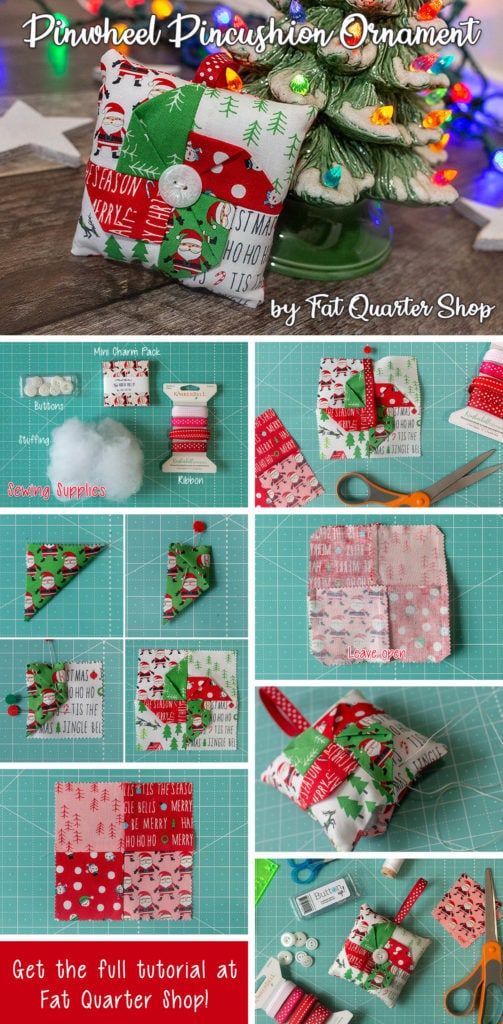
To get everyone in the Christmas spirit we have come out with the Pinwheel Pincushion Ornament! This adorable Christmas ornament is based on Pinwheel Pincushion YouTube video we made with the girls of Just Another Button Company. Check out the original video here …
We also have a YouTube video that gives you some pro tips on attaching buttons to projects! Check it out ..
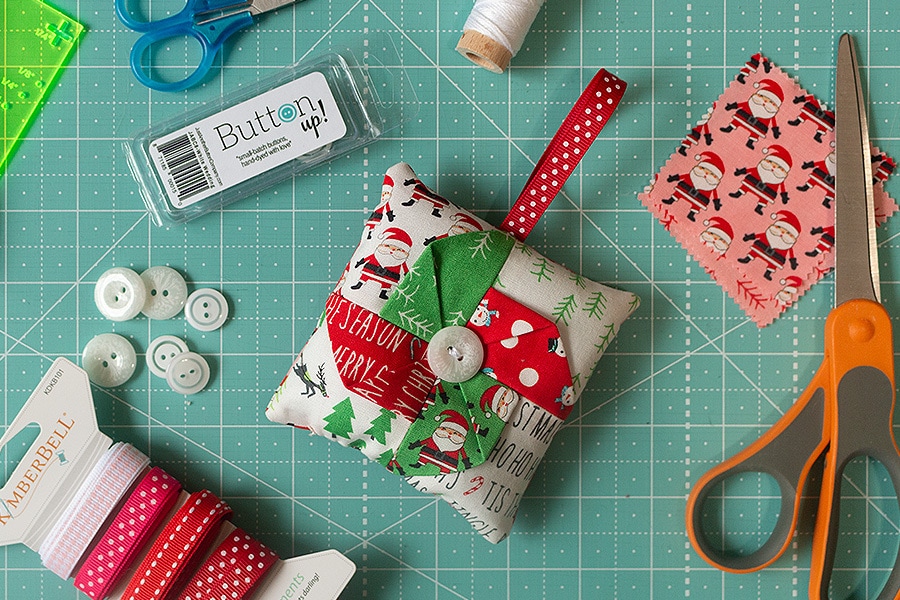
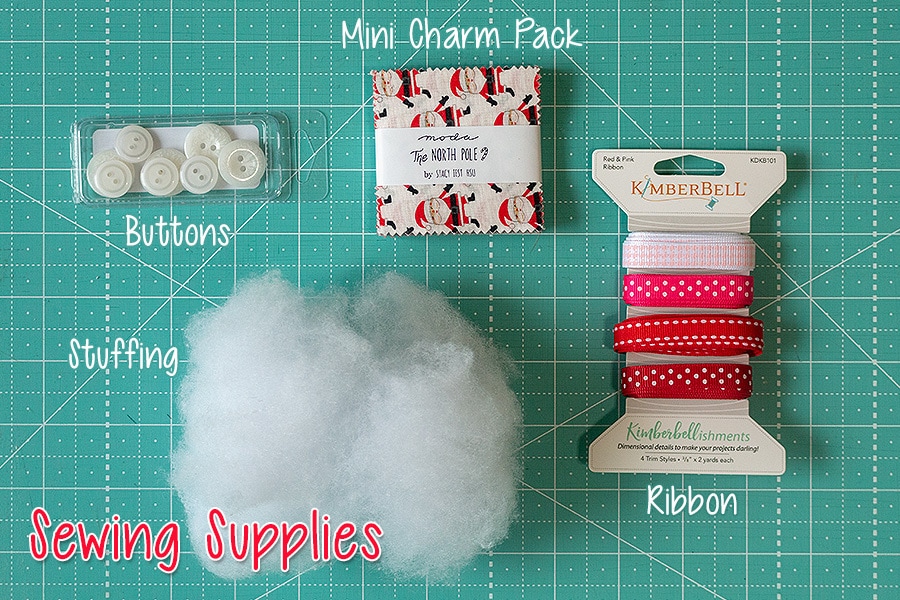 What you need to make an ornament:
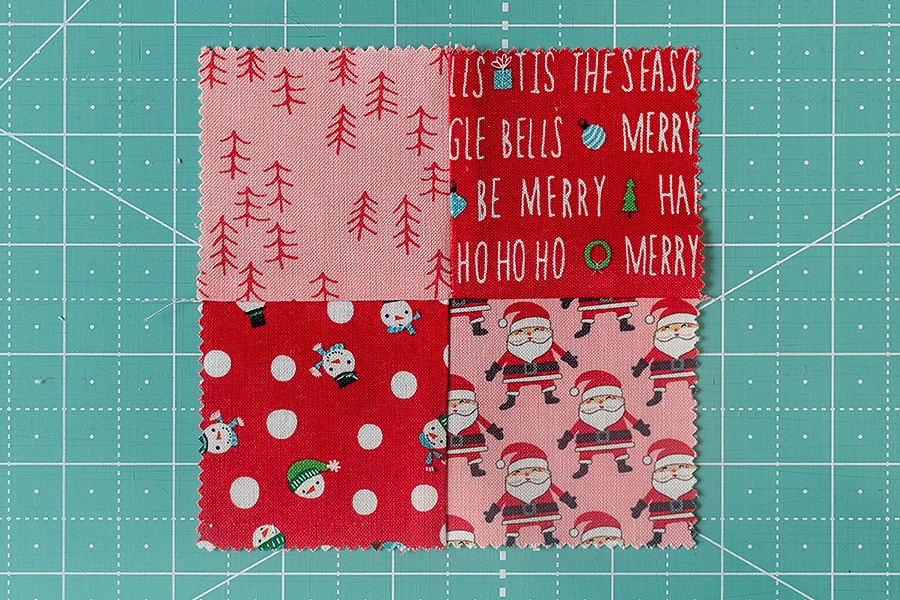
- One Mini Charm Pack or 12 – 2 1/2” squares (The North Pole Charm Pack by Moda Fabrics)
- Buttons (White Wedding Button Snack Pack by Just Another Button Company – SKU# JABC8-WhiteWedding)
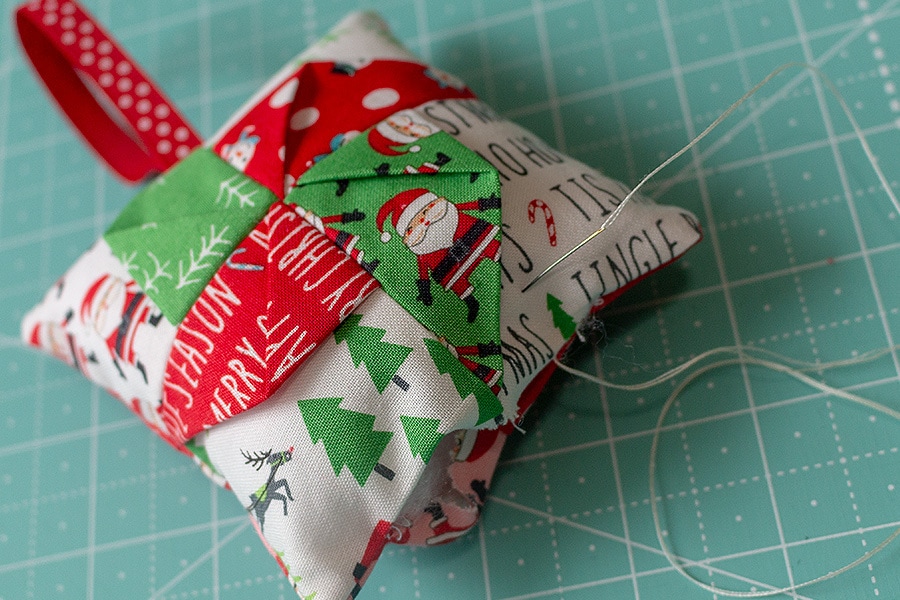
- Stuffing (Hobbs Simply Stuffing – SKU# SSP12)
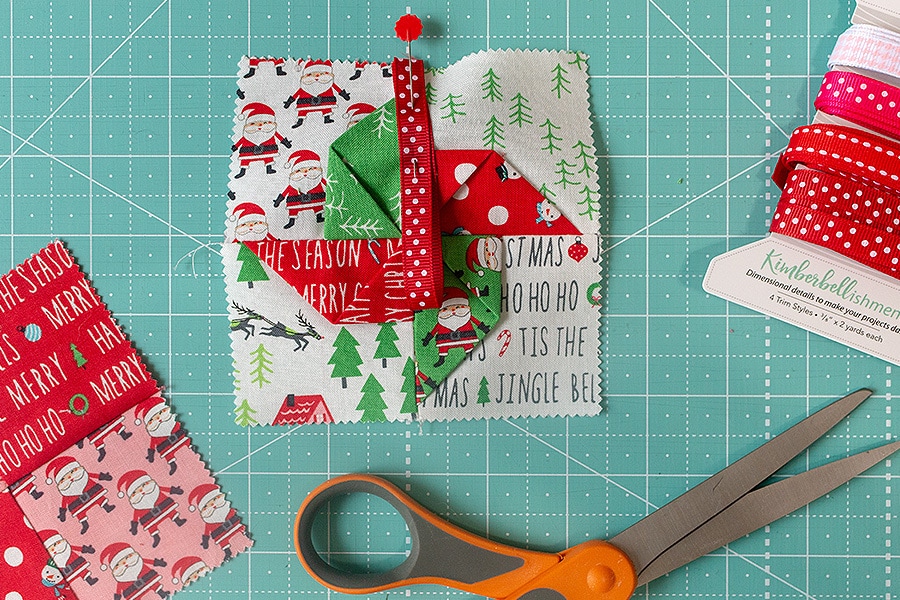
- Ribbon (Kimberbellishments Red & Pink Ribbon Set – SKU# KDKB101)
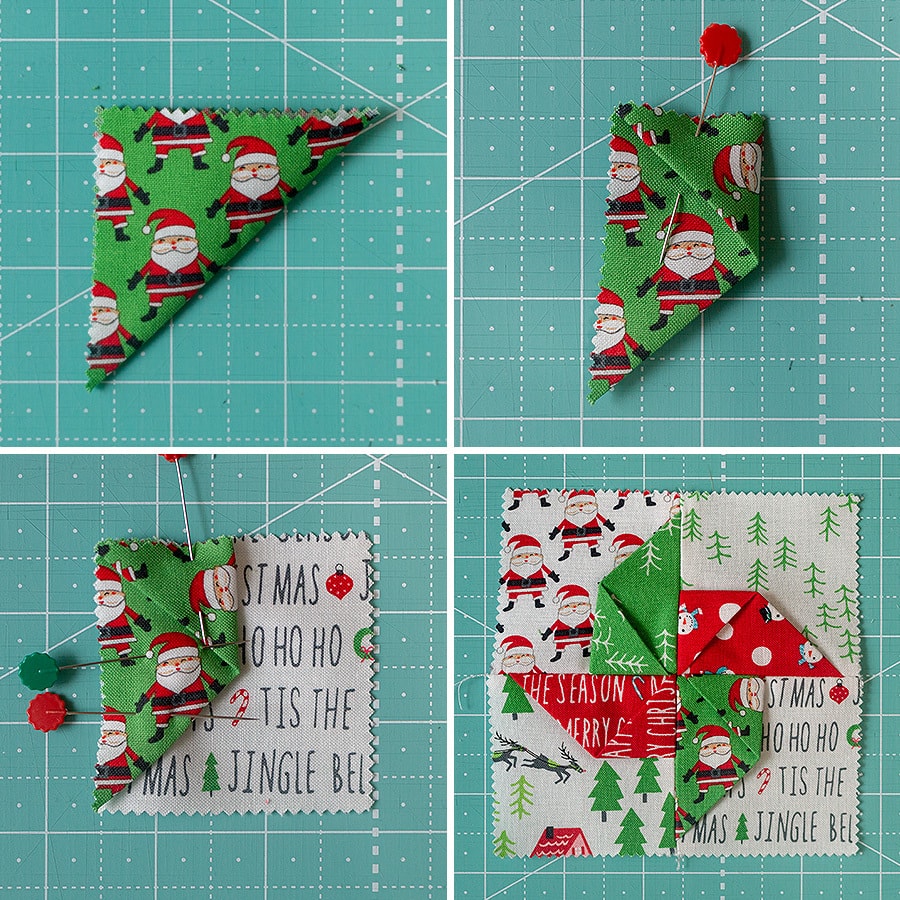
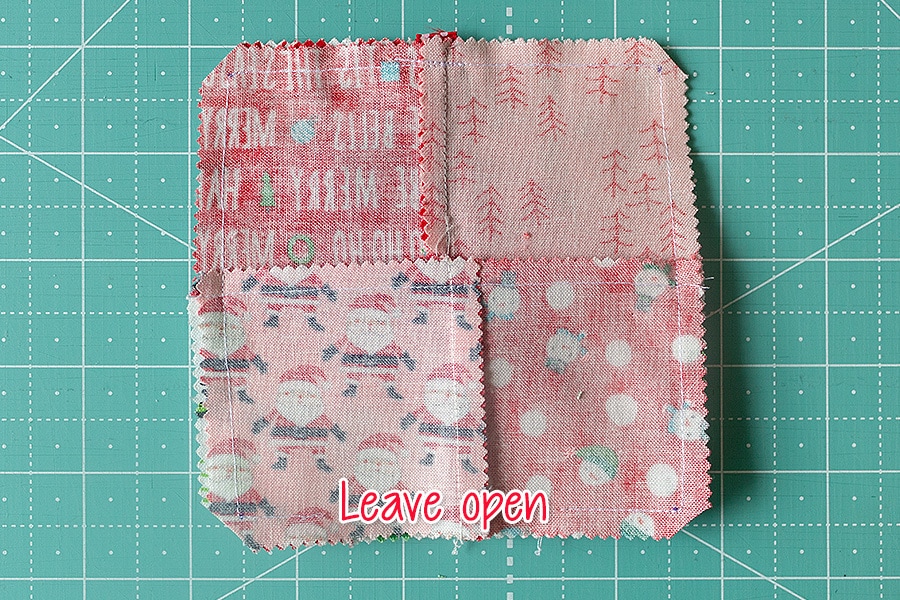
Okay, let’s get started!
Share with #PinwheelPincushion
Be sure to share your projects using #PinwheelPincushion and tag us (@fatquartershop) so we can see and share your work!
Sew Pin-able!
7 comments
I was wondering if there is a hint for this month’s sampler. Frankly, if it is Christmas, I will pass on this one.
Well, we don’t want to spoil the surprise on the Jolly Box for those who haven’t received them yet. If you’re wondering what’s coming in the November Sew Sampler, check out this post: https://blog.fatquartershop.com/sew-sampler-box-november-2018-sneak-peek/
These are really cute! Thank you for the pattern. Maybe not this year, but next year, I’ll make some. If you left out the batting and made them flatter, they’d be nice ornaments.
That’s true!
These are so cute!
Thanks!
I love this so much. Thank you so much FQS for sharing this adorable pattern and ornament idea. ❤️