Welcome to a brand new series here on the blog: Sewing the Trends! Throughout this series, we’ll be making one quilt together while exploring a different quilting trend in each post. First up? Calming neutrals! With the Pantone Color of the Year being Cloud Dancer (an airy white), it’s no surprise that soft, soothing neutrals are taking center stage, and it’s the perfect excuse to let Background Bundles step into the spotlight for your next quilt. Plus, we’re giving those leftover Fat Quarters a second, trendy life in your sewing space by revisiting our favorite sewing room DIY invented by the amazing Lori Holt, Design Boards!
The Trend: Calming Neutrals
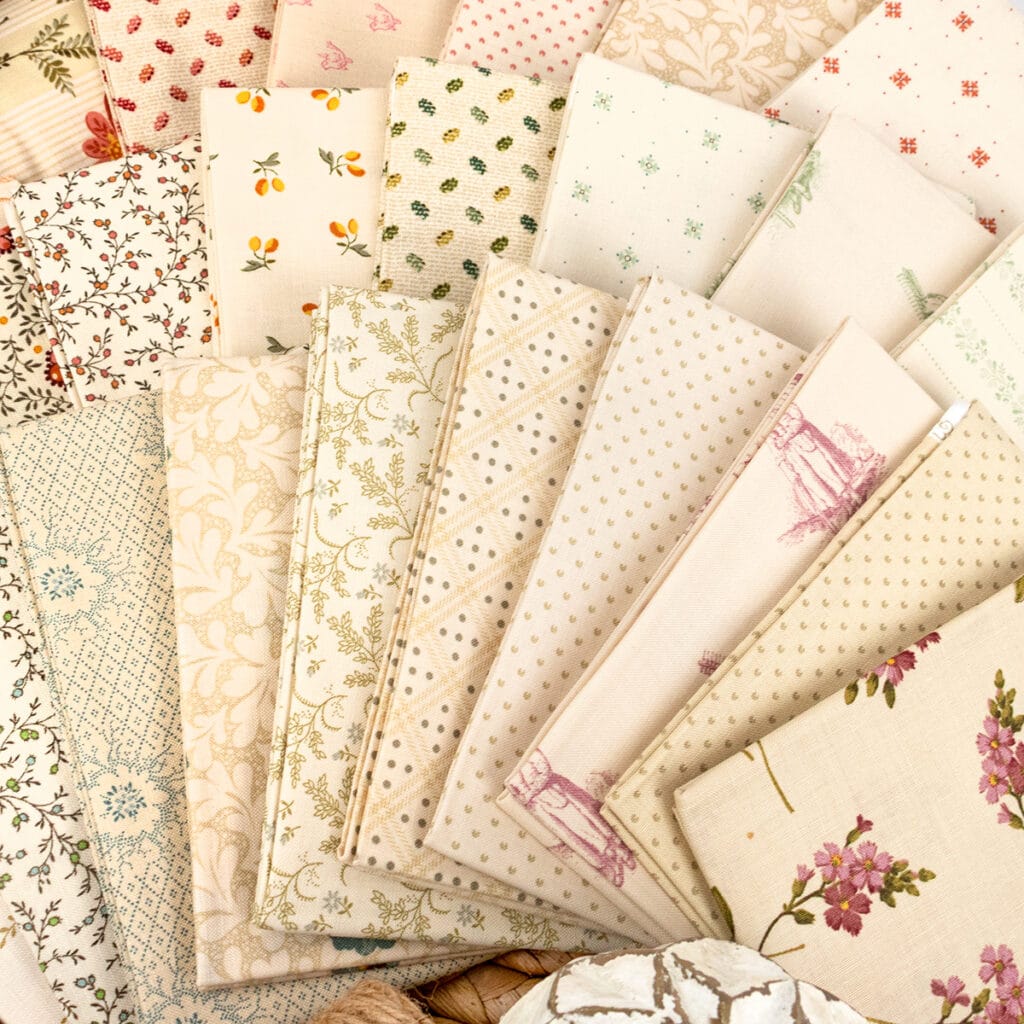
The Pantone Color of the Year is always a good reference for the broader trends we see in fashion and decor. From the elevated basics of celebrity street style to the minimalist yet inviting interior designs that are rising in popularity, Cloud Dancer shows just how striking neutrals can be when they take center stage. As quilters, an easy way to play with this trend is to simply swap your background fabric for a color and make your main fabrics the neutrals!
Why Background Bundles?
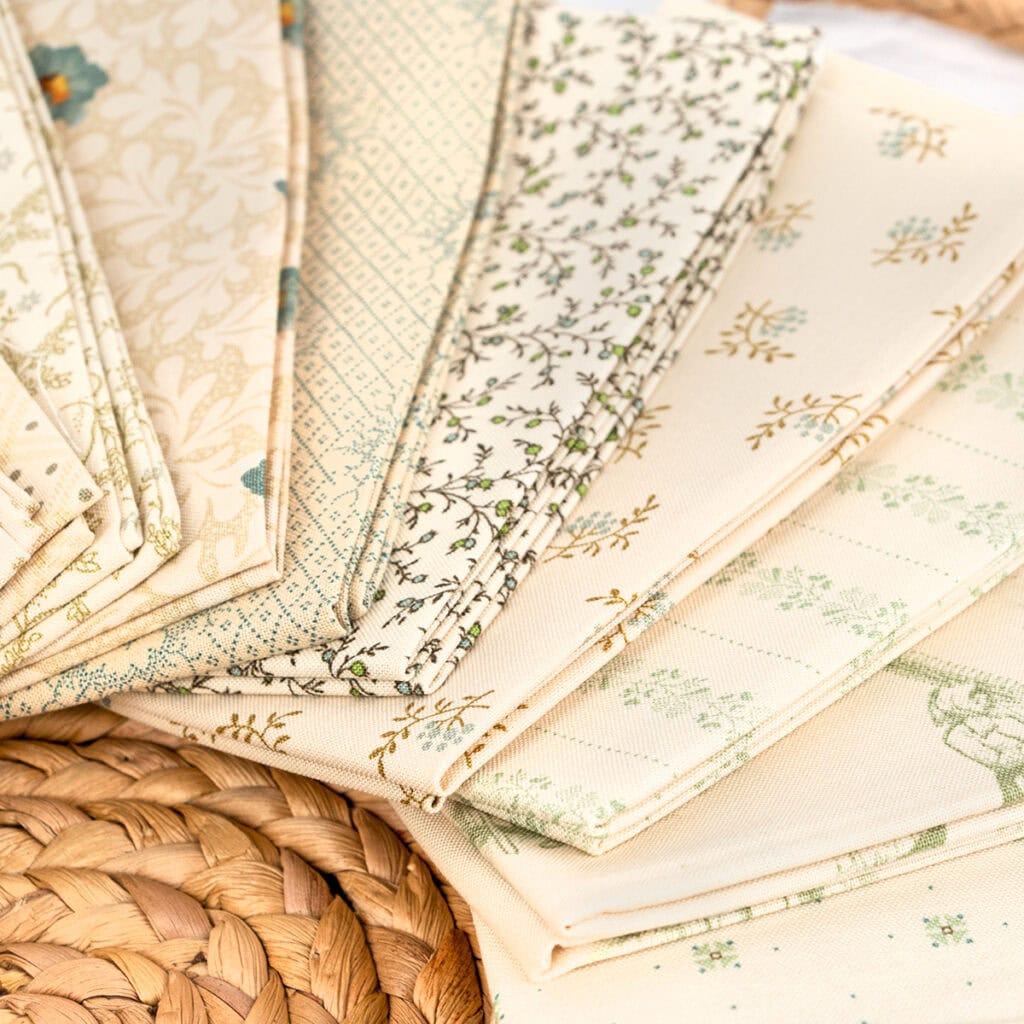
Usually, backgrounds and blenders play the supporting role to the eye-catching prints of our favorite collections. Other precuts, such as Layer Cakes and Jelly Rolls, tend to feature the colorful fabrics, but with Fat Quarter Bundles, Background Bundles are often available to shop as well! However, without a scrappy project planned or a stash re-stock in mind, these bundles of cozy cuteness can often be overlooked.
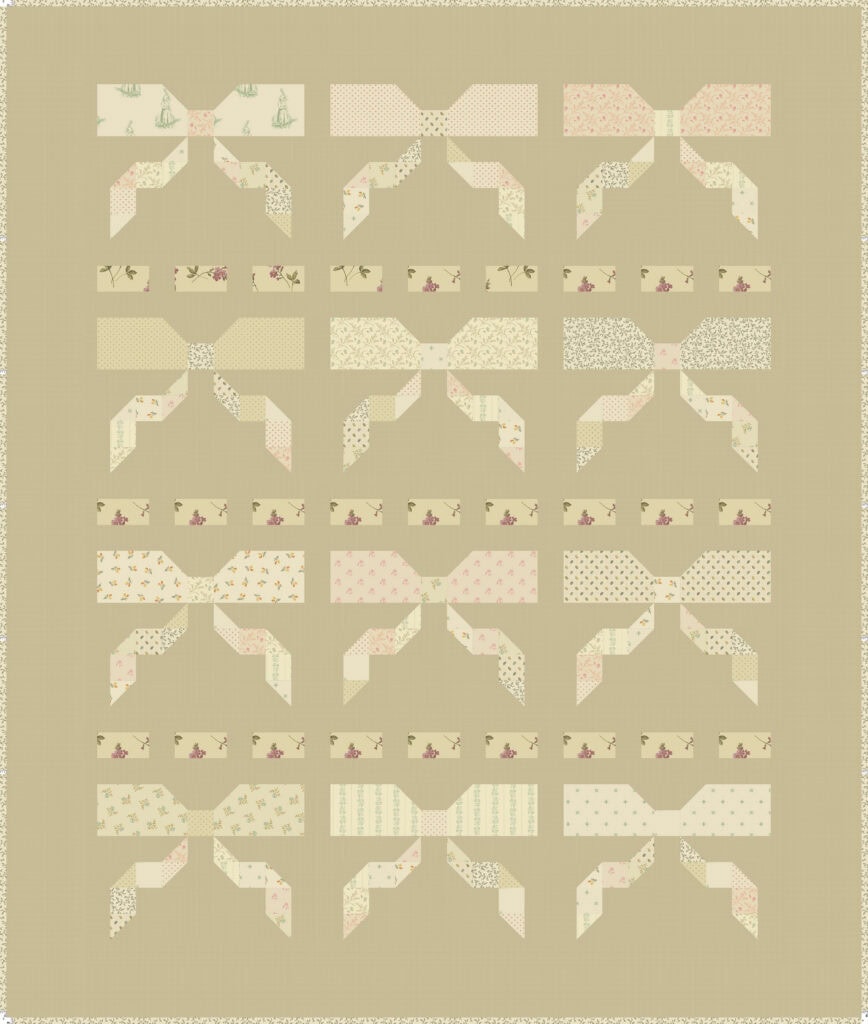
The Rows of Bows Quilt by Kassidy Grace
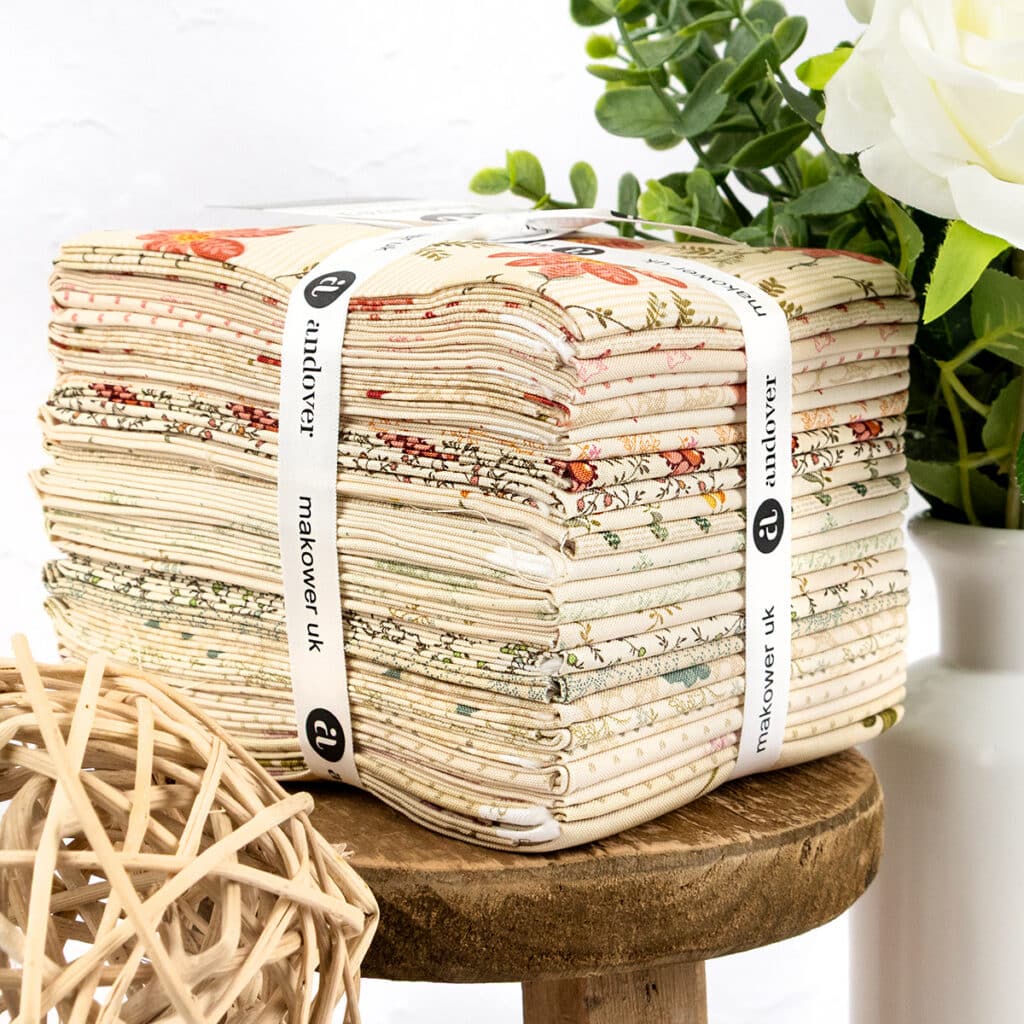
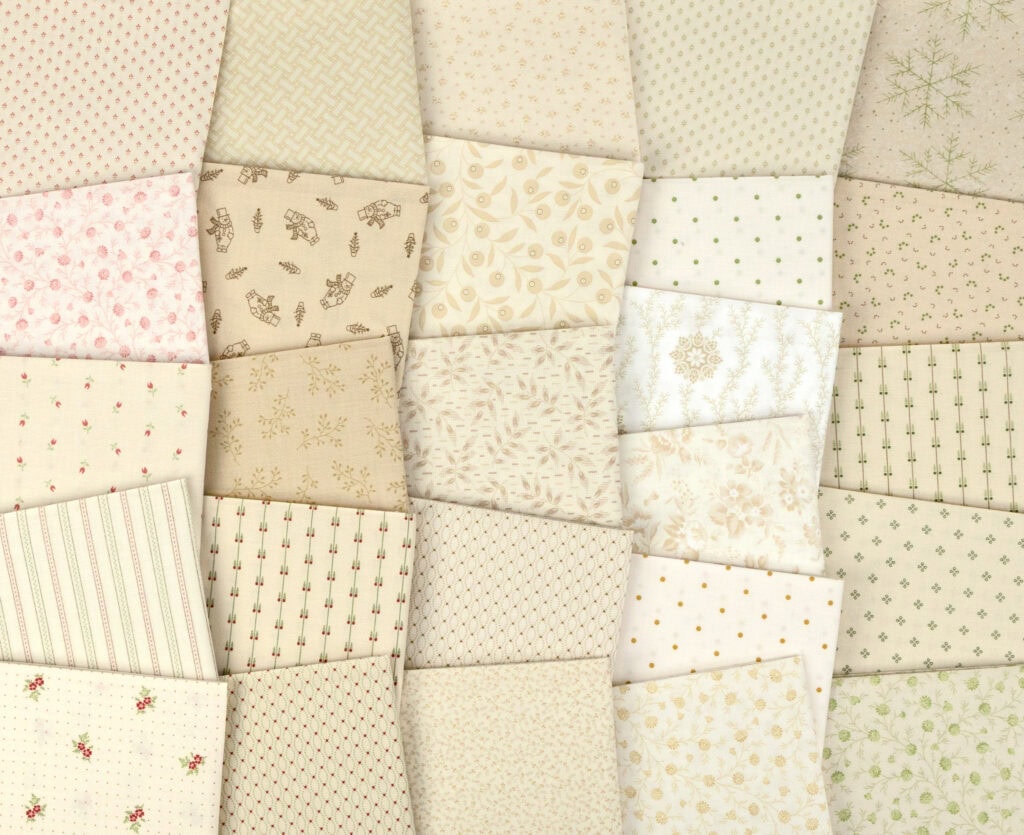
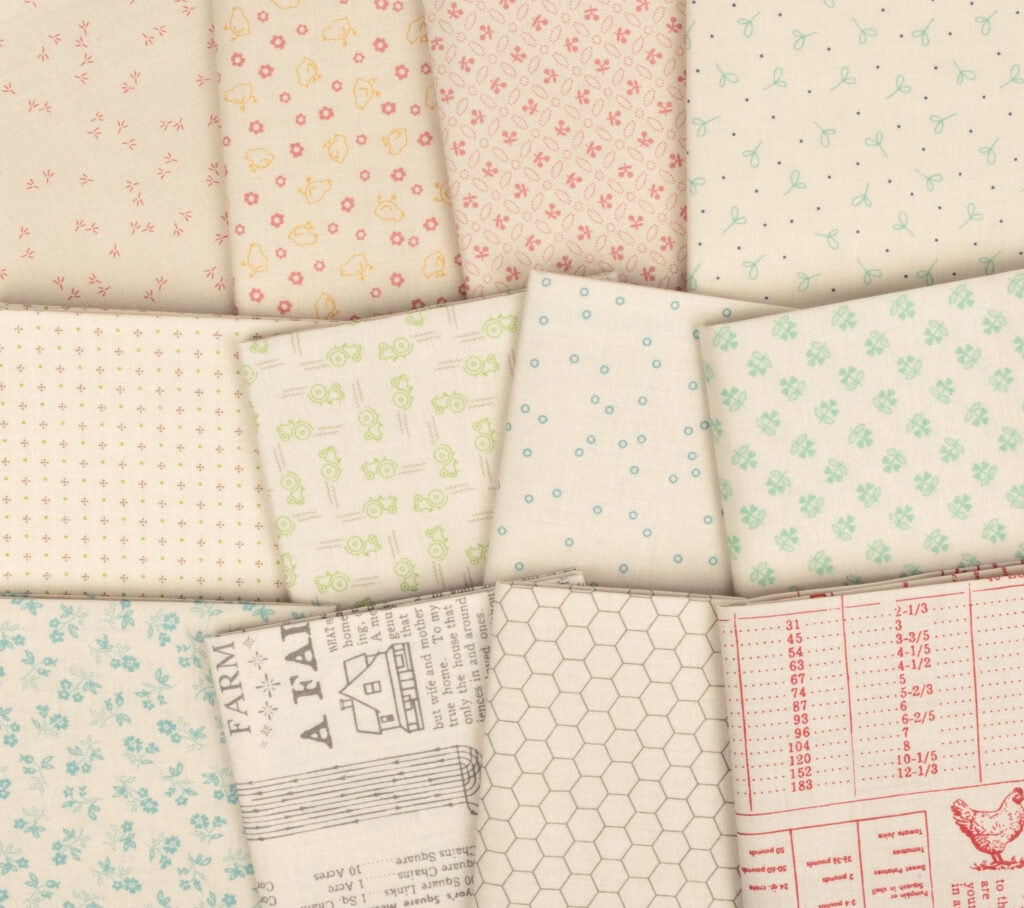
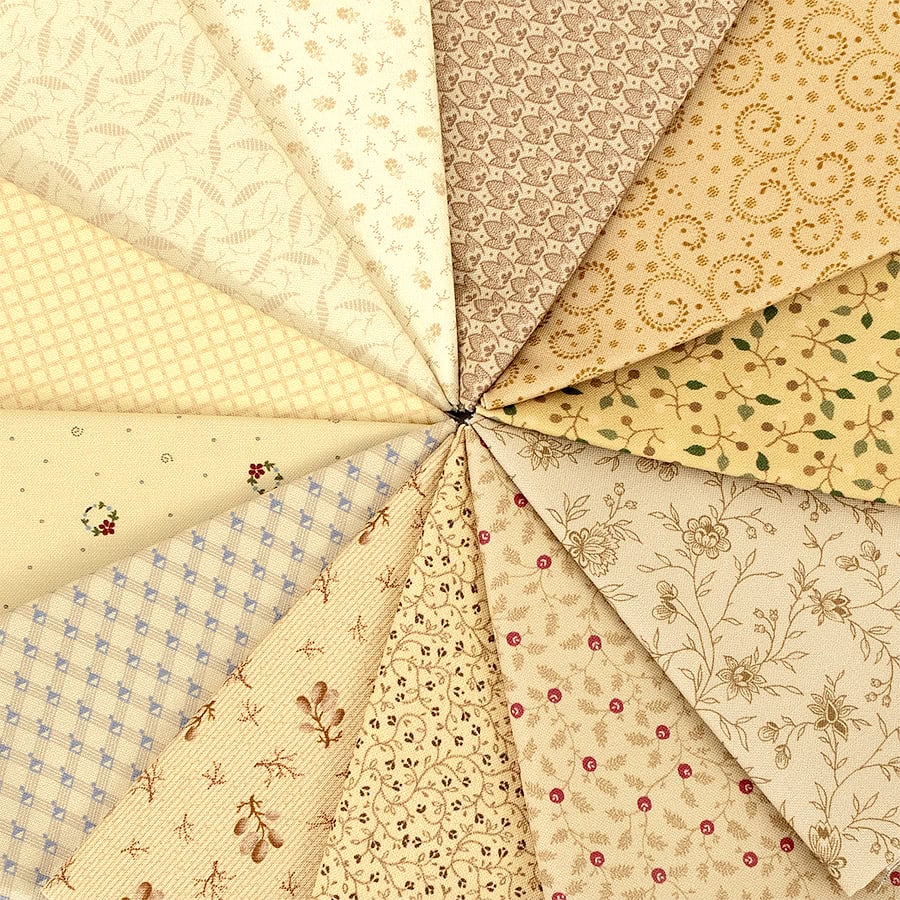
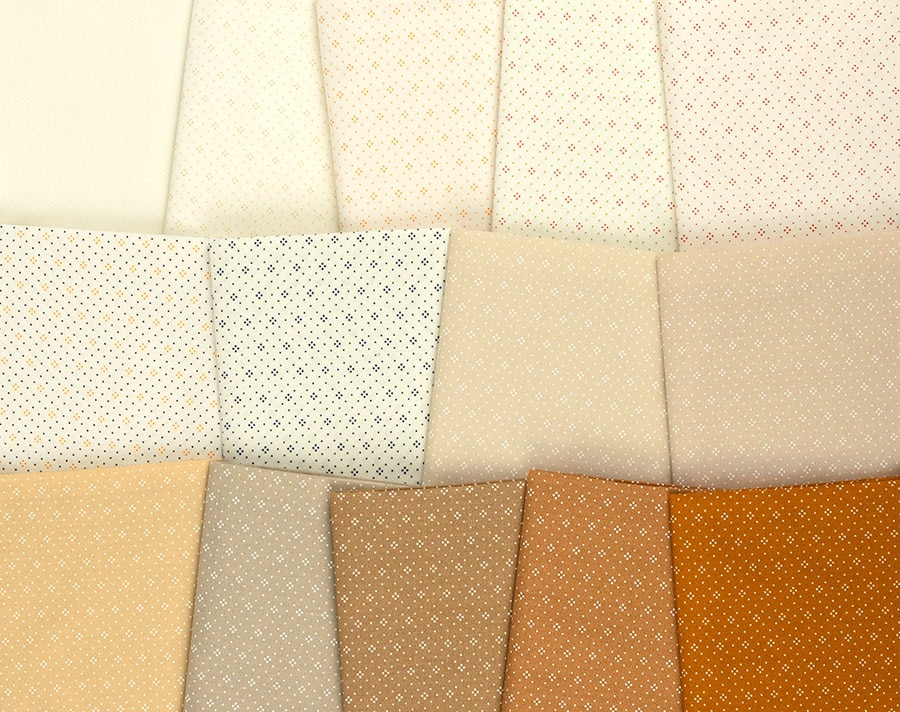
For the featured quilt in this series, we’re making the Rows of Bows Quilt by Kassidy Grace using the Laundry Line Fat Quarter Bundle by Laundry Basket Quilts for Andover Fabrics. The subtle touches of color bring life to the cream backgrounds, and the vintage prints add a timeless charm to this trending color palette.
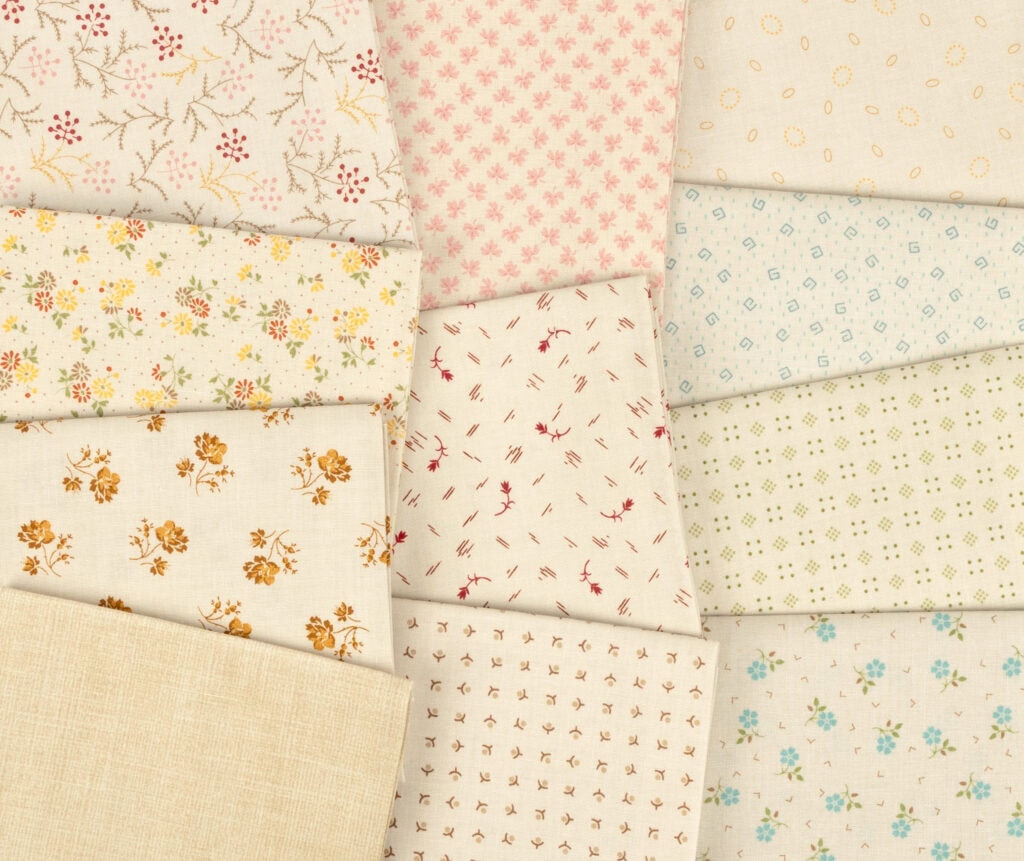
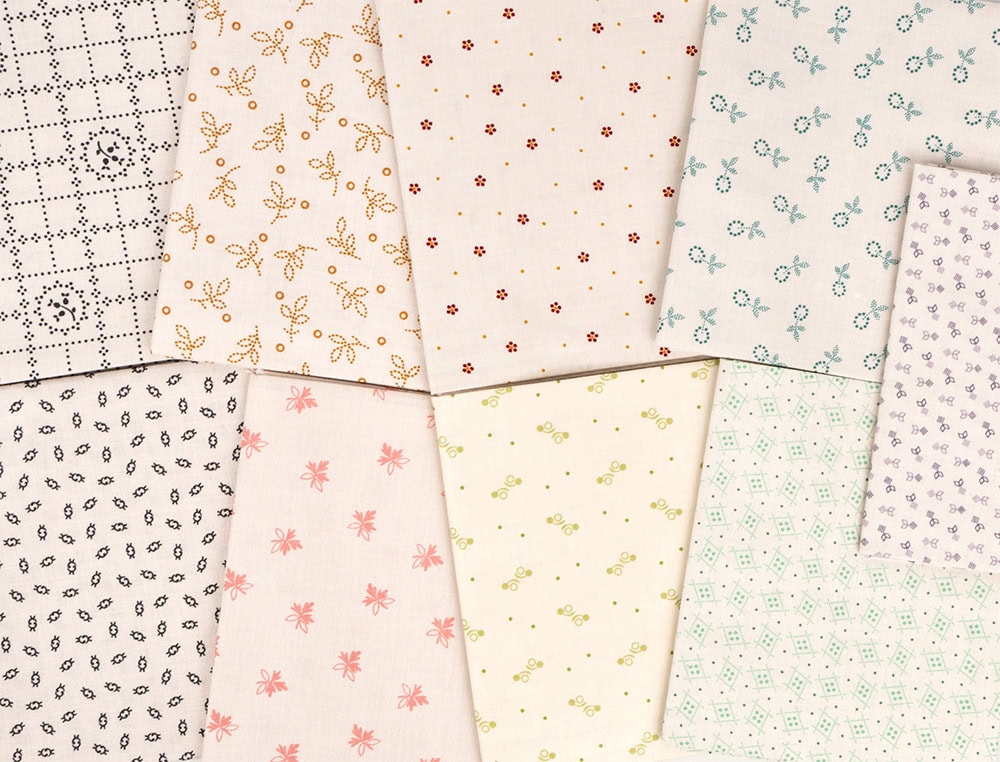
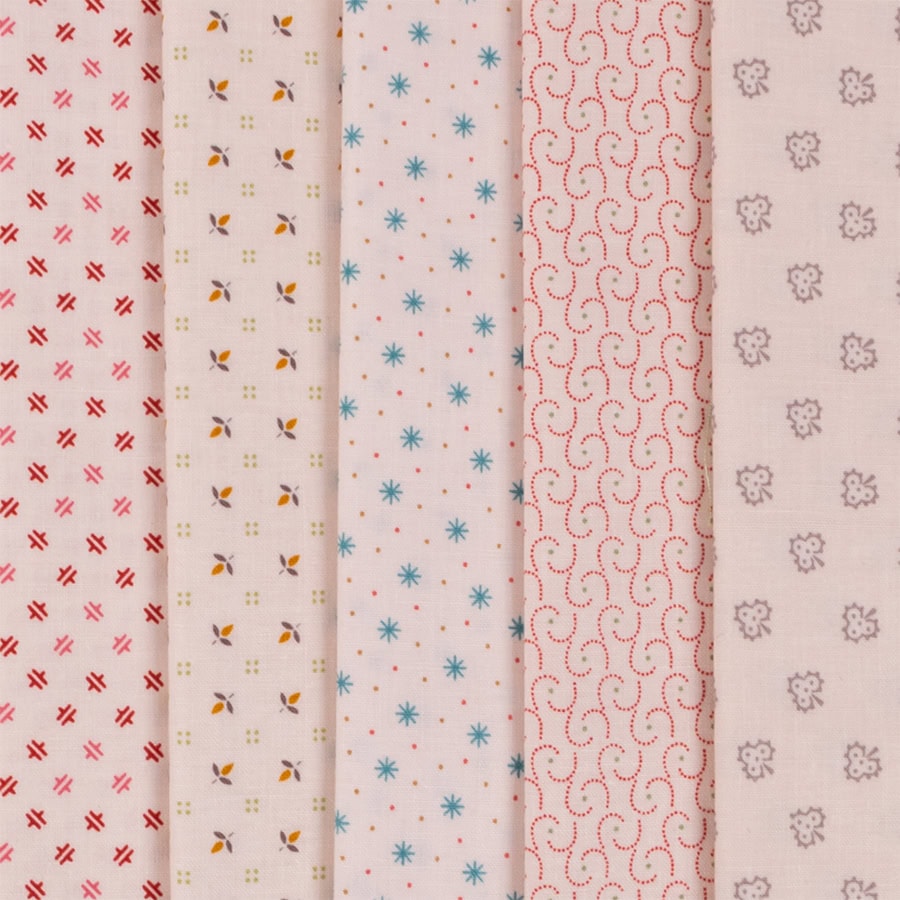
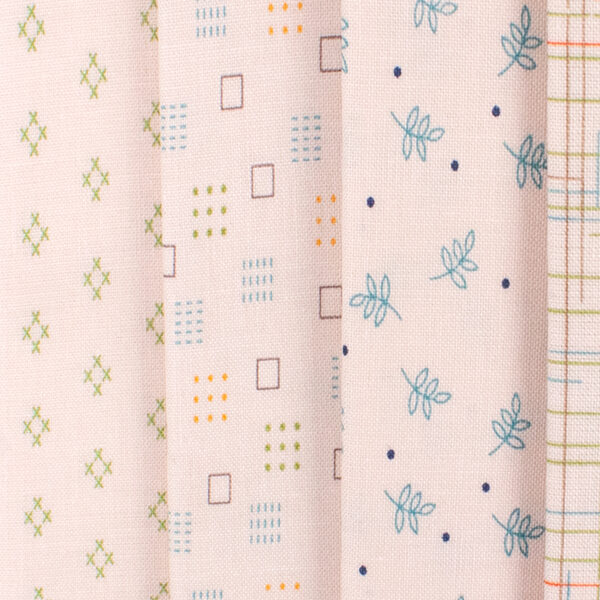
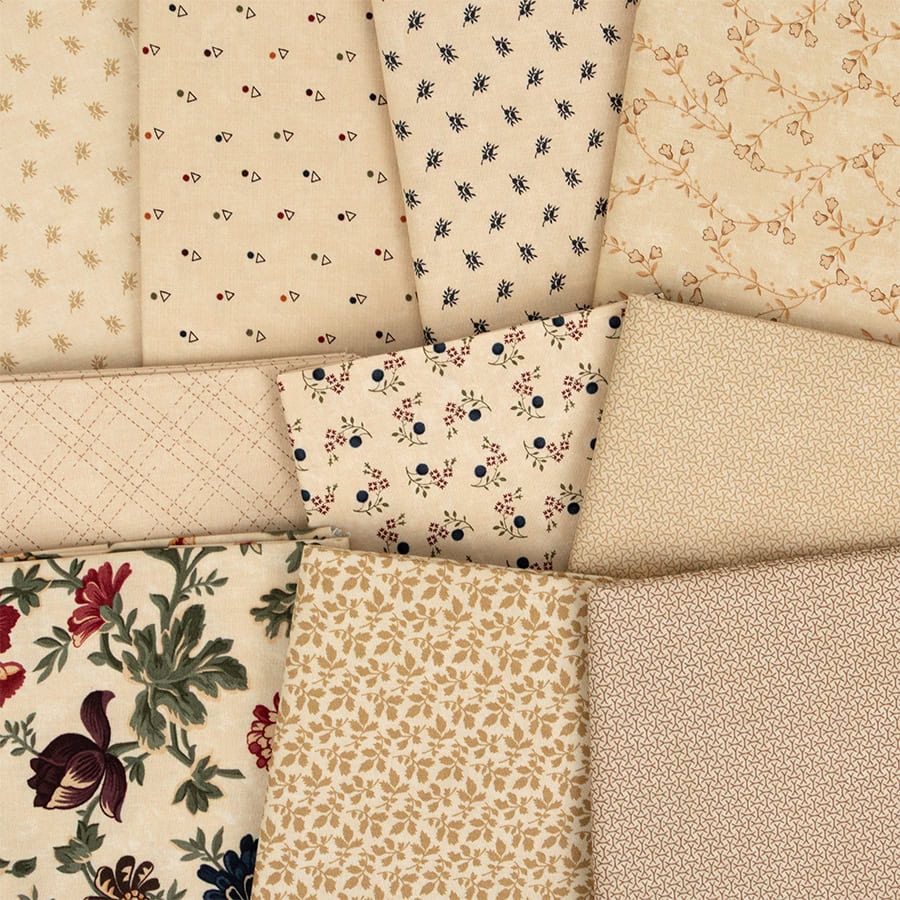
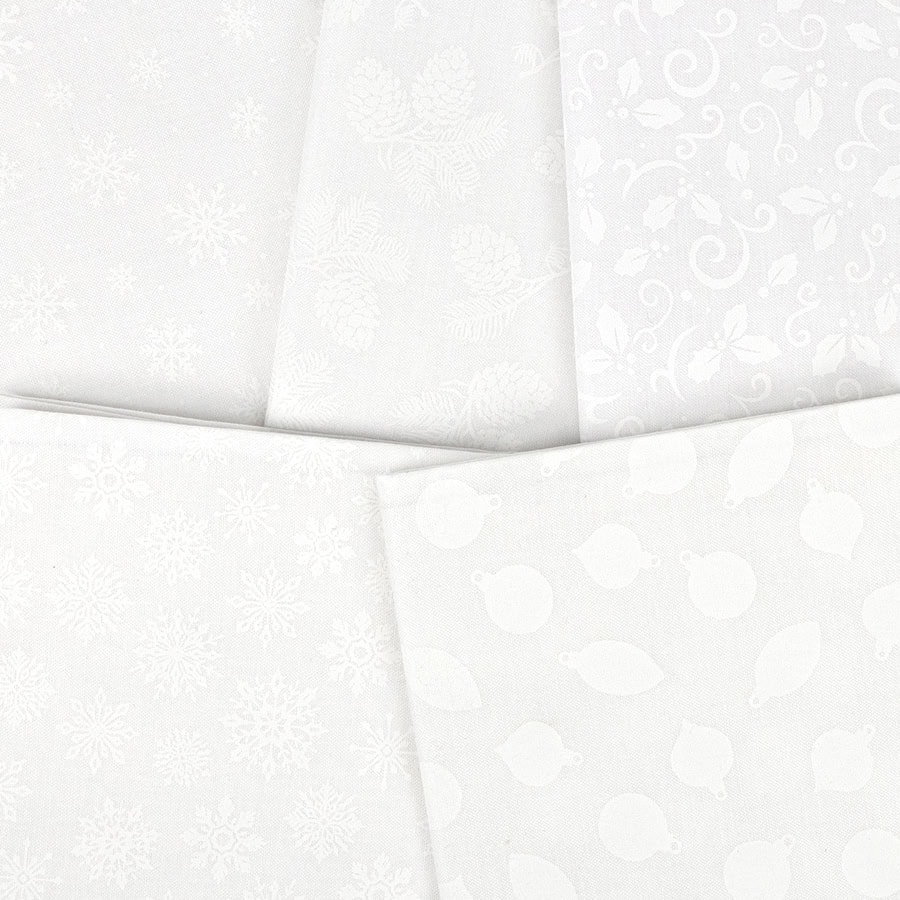
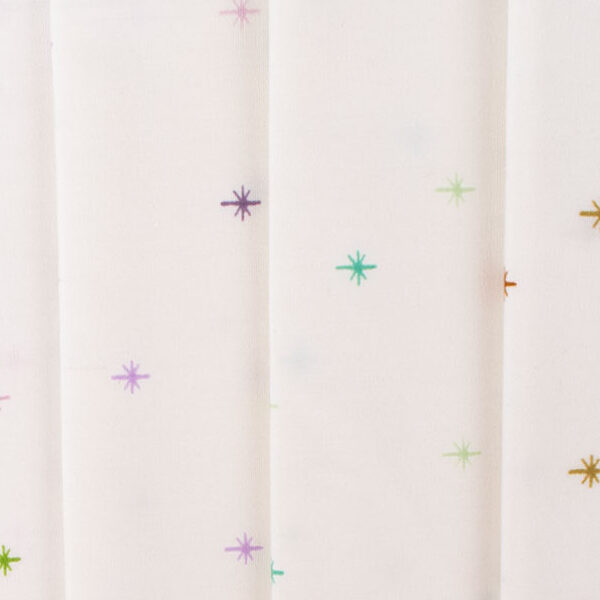
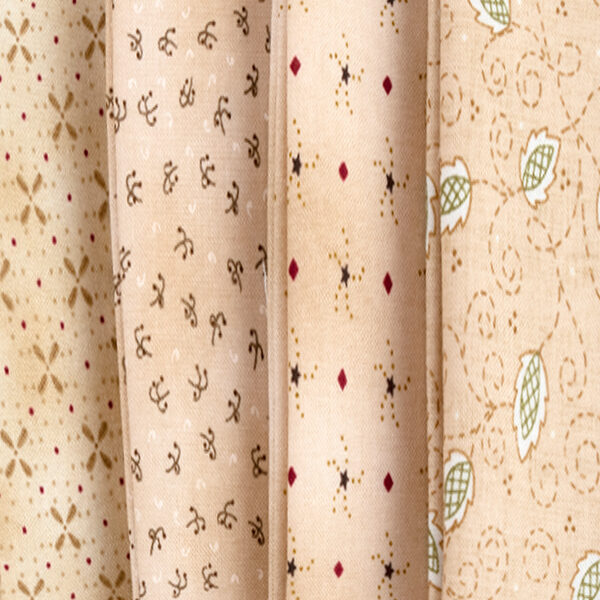
Some other Background Bundles we are loving:

Lori Holt’s DIY Design Boards
We love having a stack of Lori Holt’s Design Boards at the ready in our sewing room, and whether you shop her pre-made Design Boards or decide to make your own, they are a must-have notion that’s as cute as it is handy! For an in-depth video tutorial from the creator herself, watch the tutorial on Lori Holt’s channel, or the one she filmed with us. Then, keep reading to see our quick and easy overview of this scrap-friendly DIY.
Step 1: Gather Your Supplies
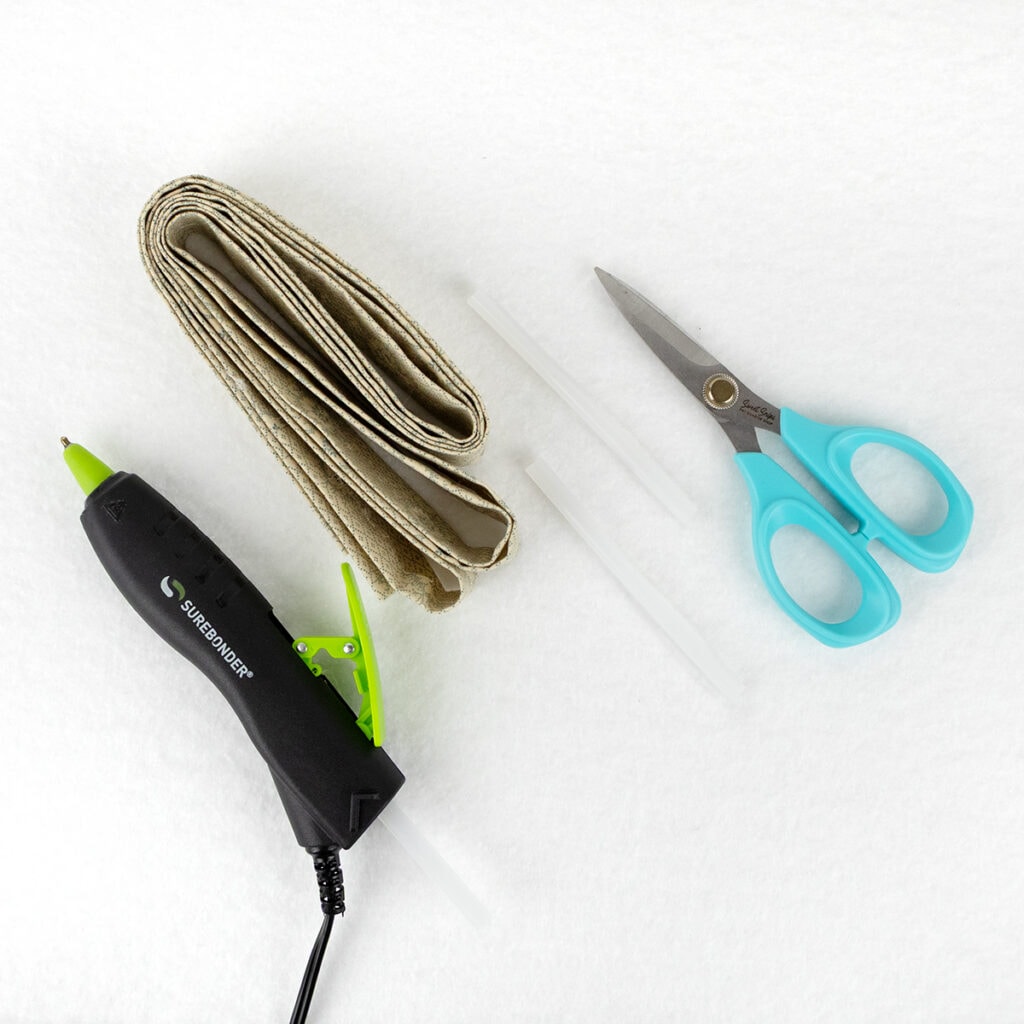
The Rows of Bows pattern calls for 12 Fat Quarters, and the Laundry Line Fat Quarter Bundle has 24! That means we have plenty of extra Fat Quarters to play with once we’ve picked which 12 go in the quilt. Here is the complete list of supplies you need for this quick DIY:
- Leftover Fat Quarters
- Foam Core Board (cut to your desired size)
- Batting
- Rotary Cutter
- Scissors
- Creative Grids Ruler
- Hot Glue Gun and Glue Sticks
- We love the Mini 10 Watt Glue Pen by SureBonder
- Aurifil Thread
Step 2: Create the Binding
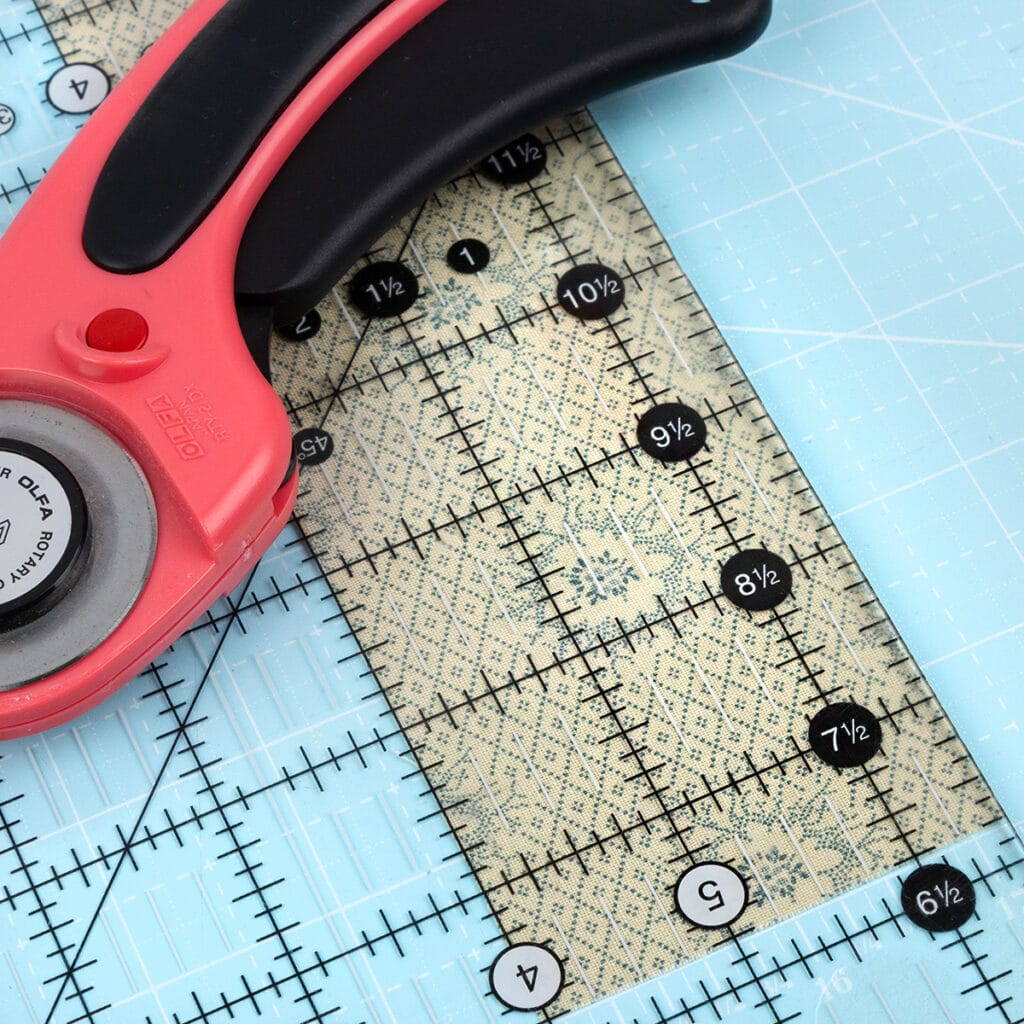
Cut your Fat Quarter into 2.5 x WOF strips and piece them end to end. First, press open the seam allowances and press the strip in half to mark the center of your binding. Then, fold each side in to the middle and press.
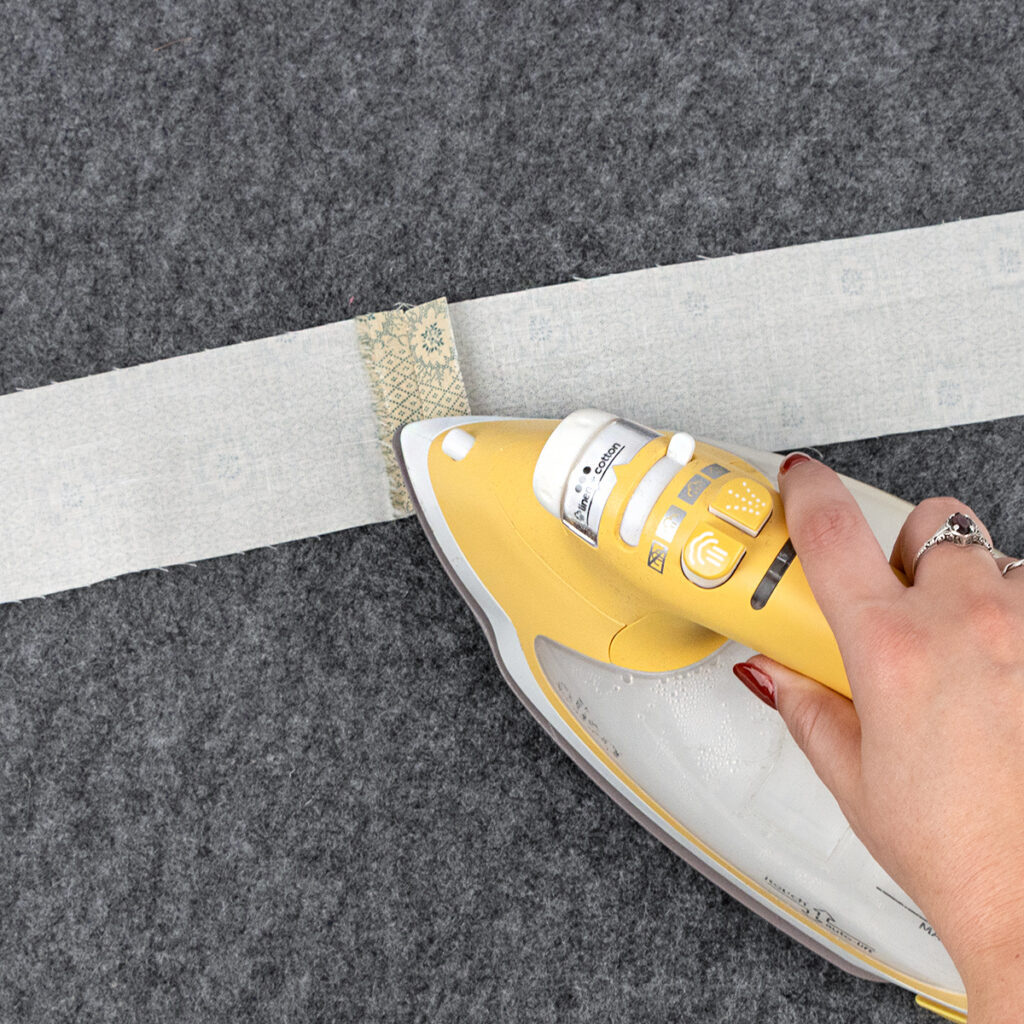
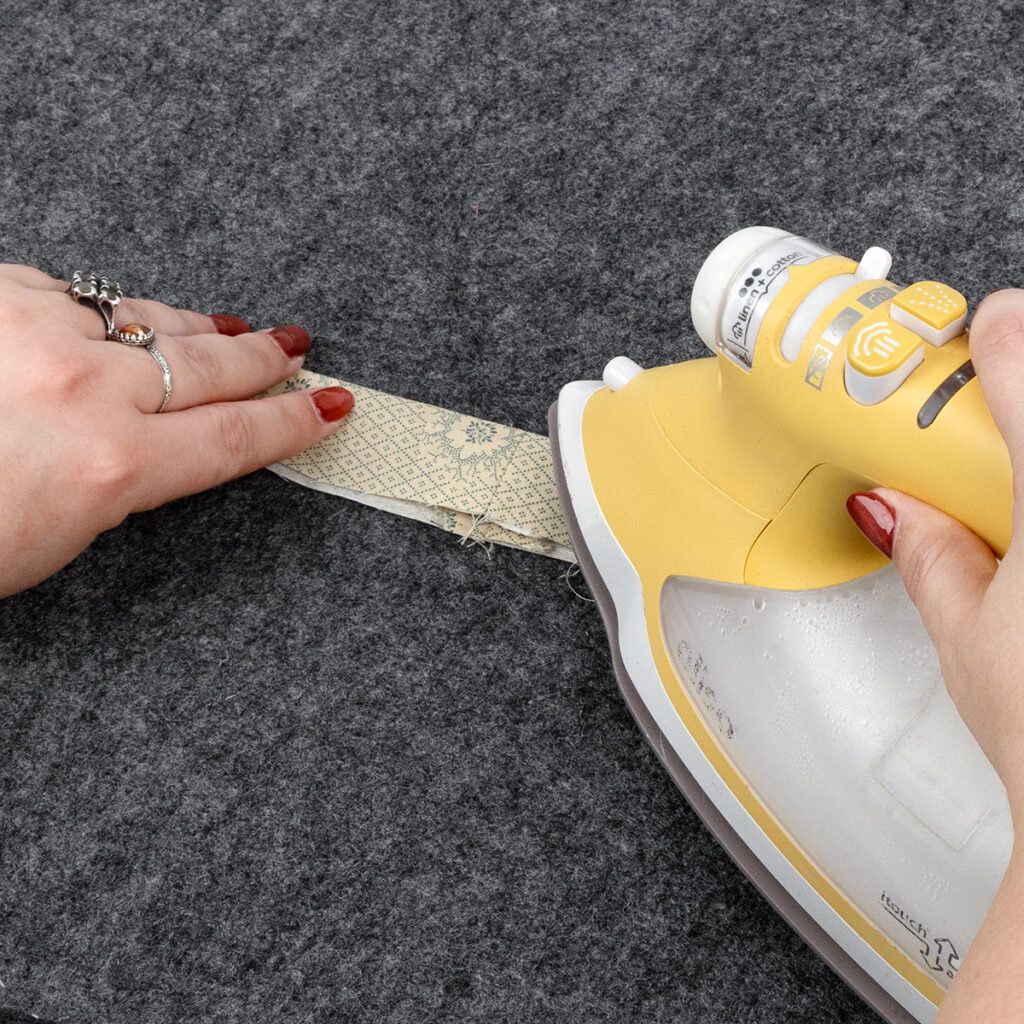
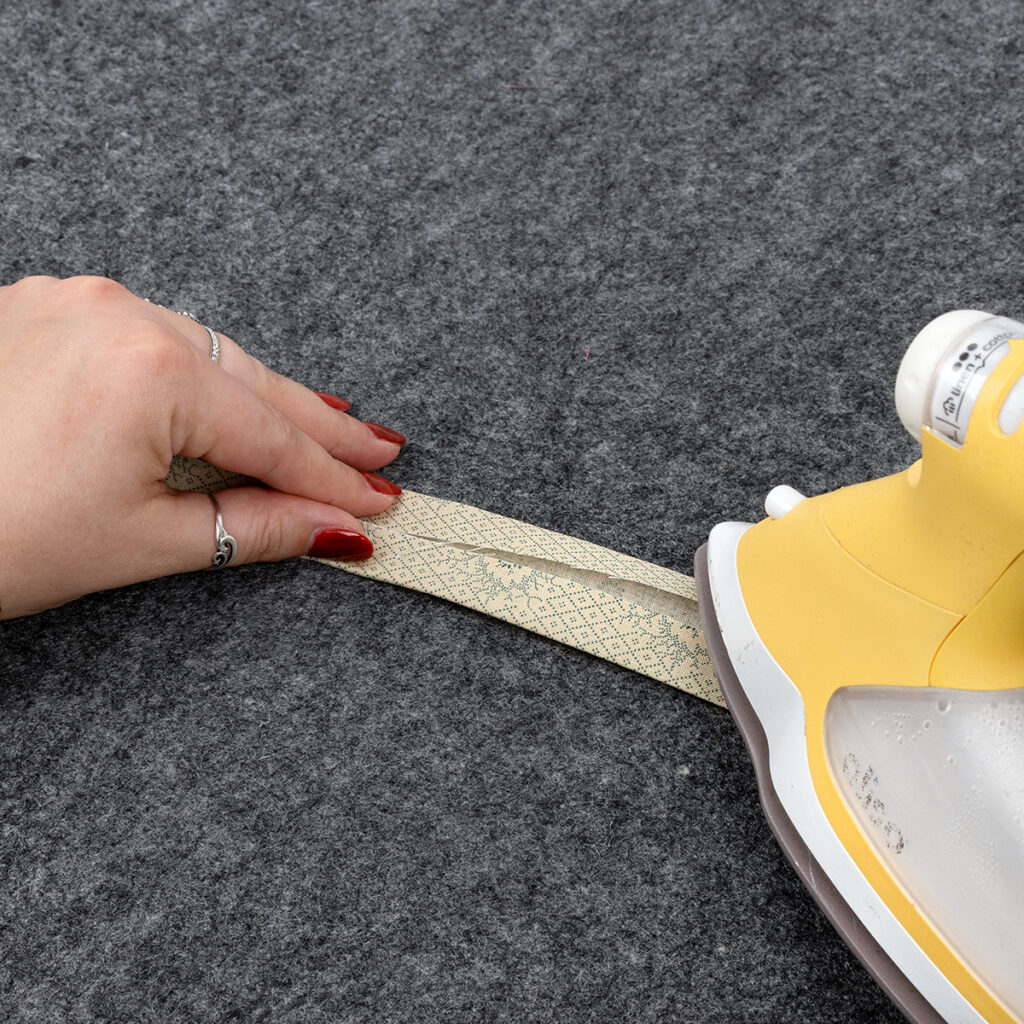
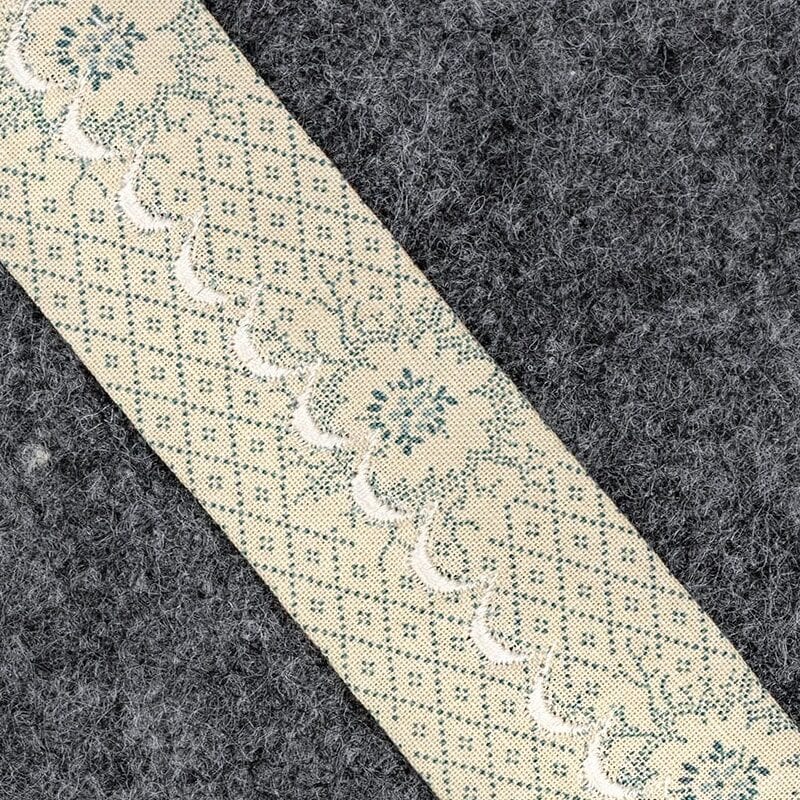
Using a zig-zag or decorative stitch on your machine, sew down the center of your binding strip, securing the raw edges.
Step 3: Attach the Batting
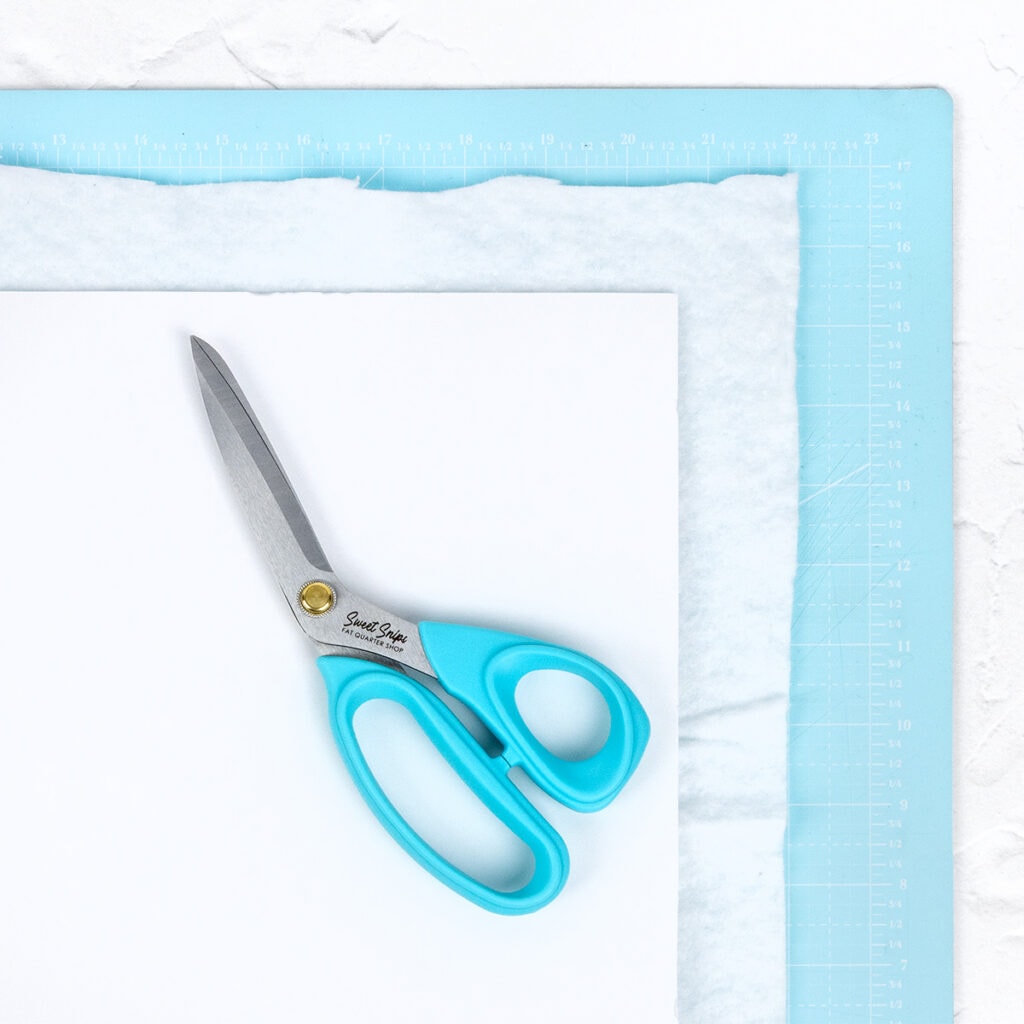
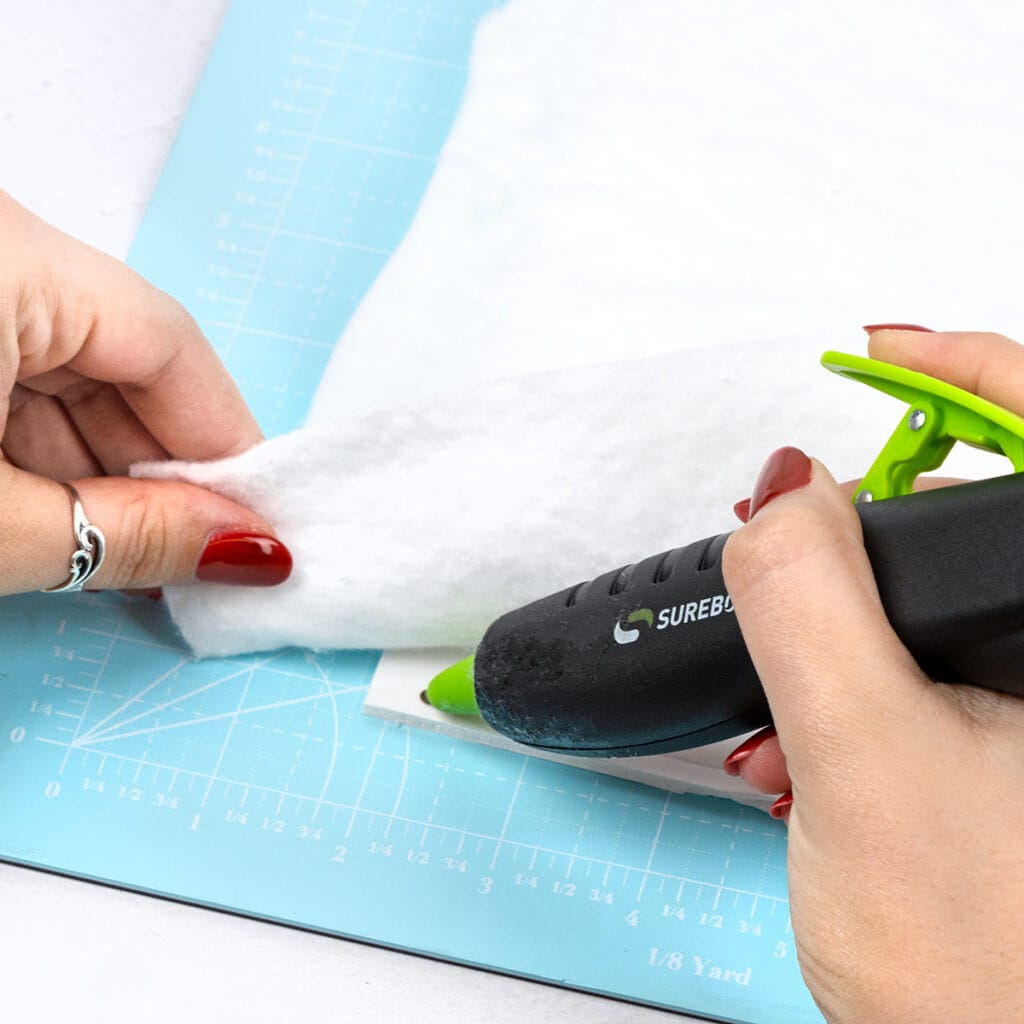
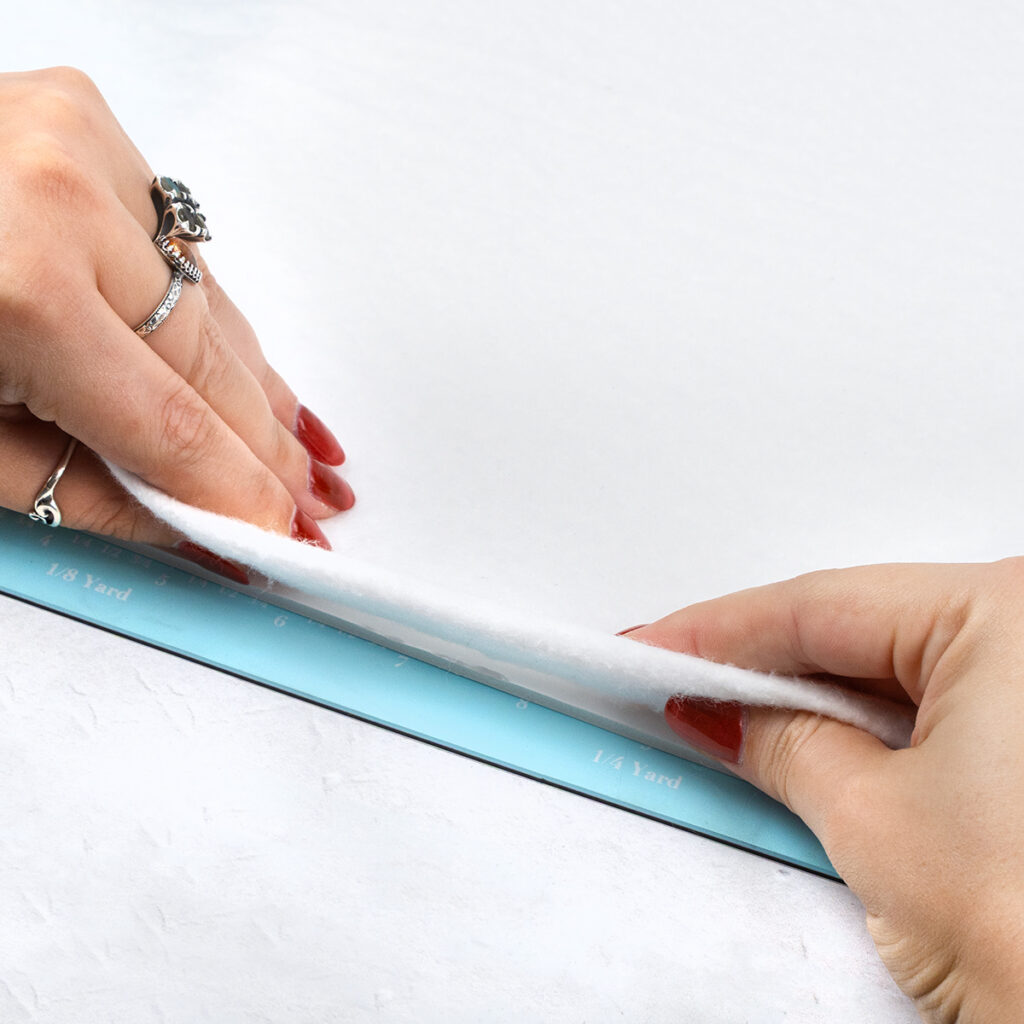
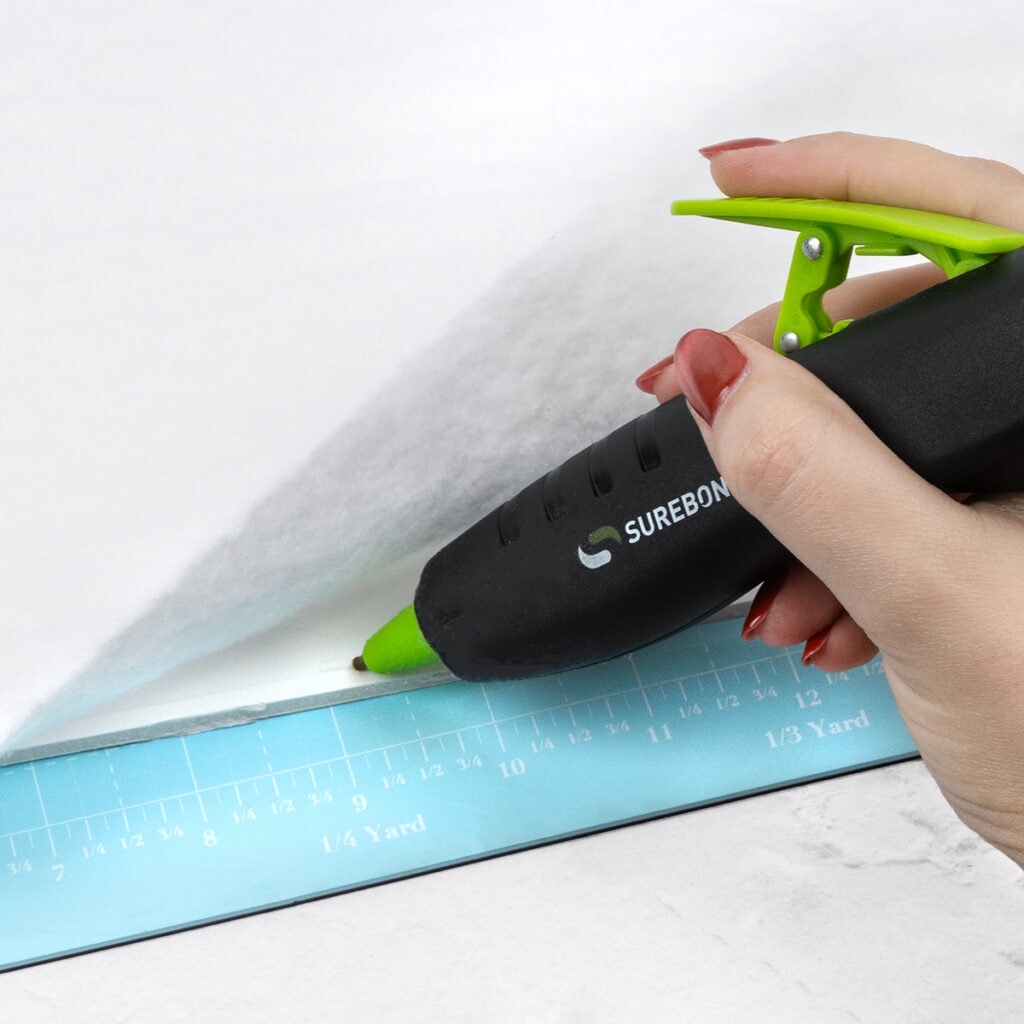
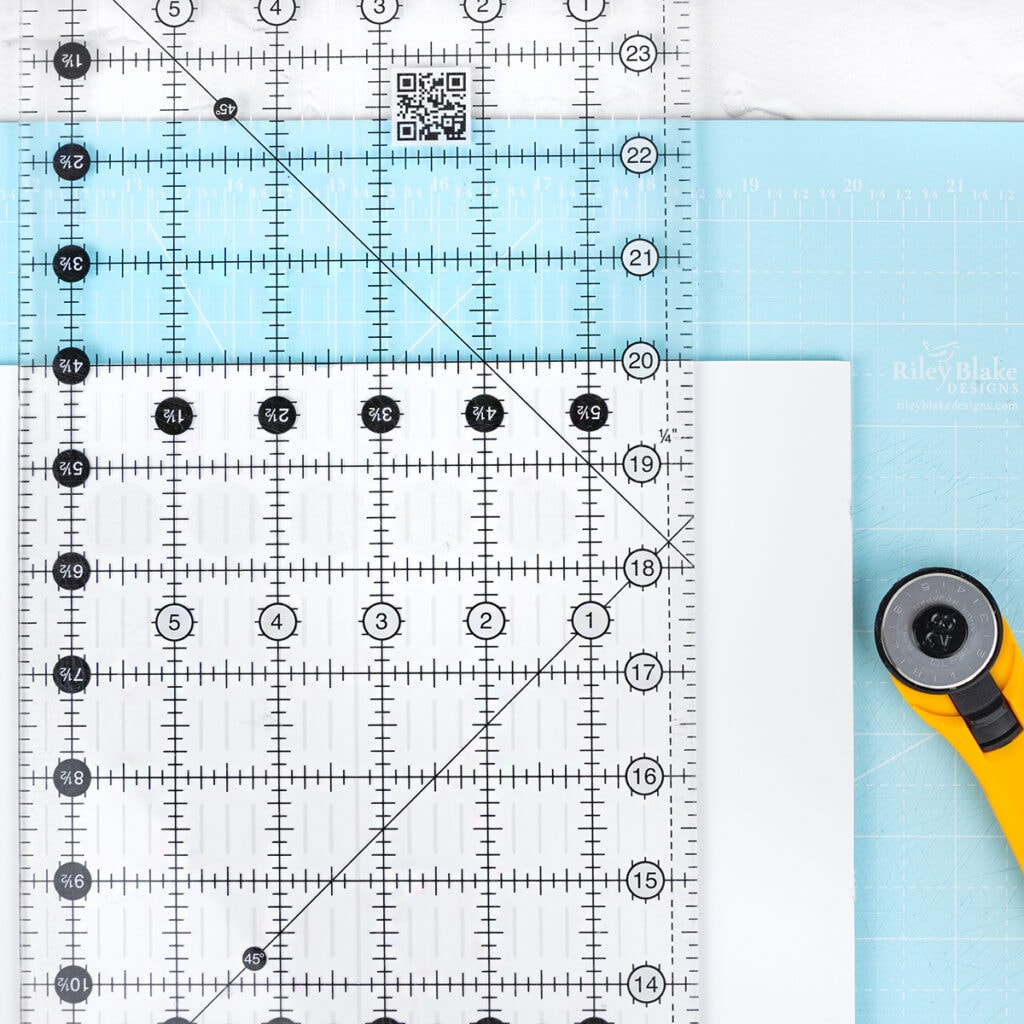
Place your foam board on top of the batting and roughly cut it down to size. Starting on one side, attach the batting with hot glue. Then attach the opposite side, being sure to pull it taut. Secure the other two sides, pulling gently to avoid warping or a loose center. Using a ruler and rotary cutter, trim down excess batting.
Step 4: Attach the Binding
Fold over one raw end of the binding strip and secure it with hot glue. Apply a line of glue to the center of the wrong side of the strip and place the edge of the design board onto the glue, allowing it to set for a few seconds. Repeat for all four sides, trimming the binding to fit with roughly 2″ of overlap, including the folded-down edge.
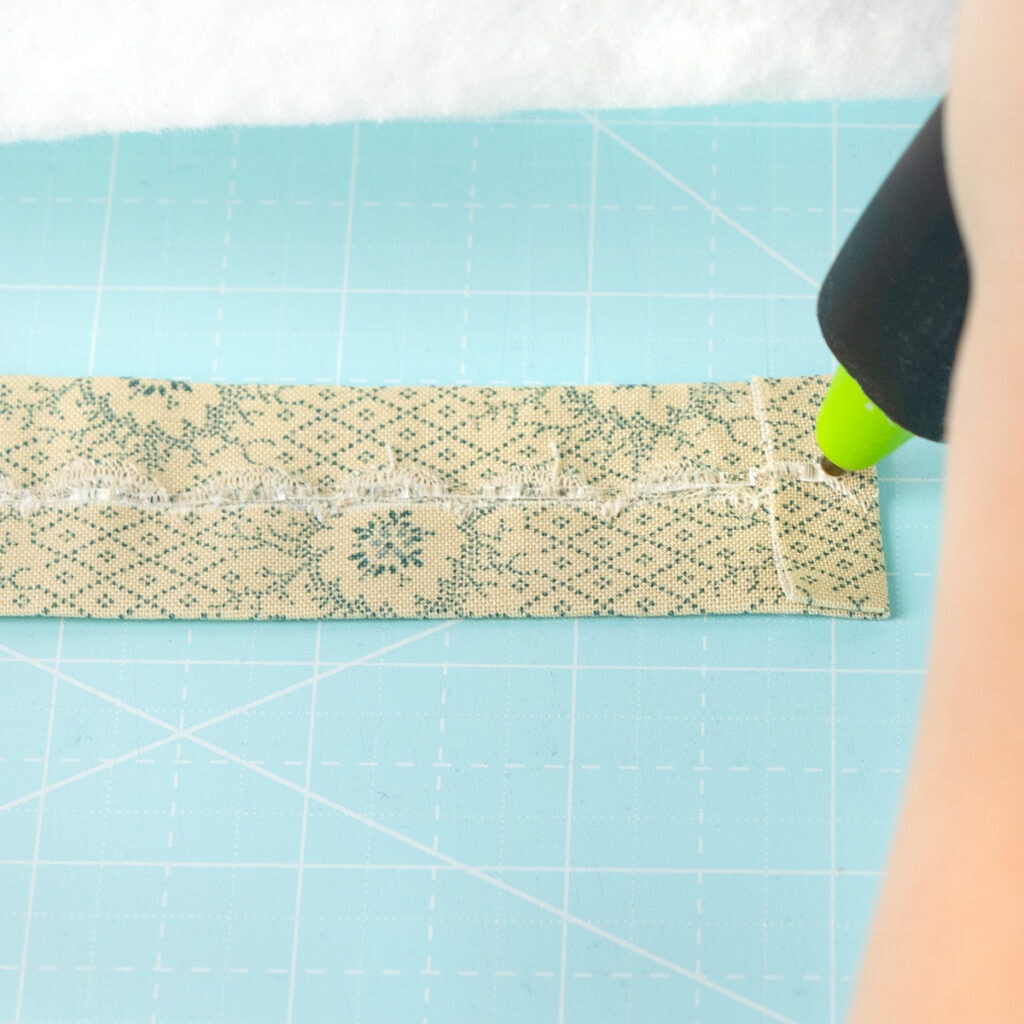
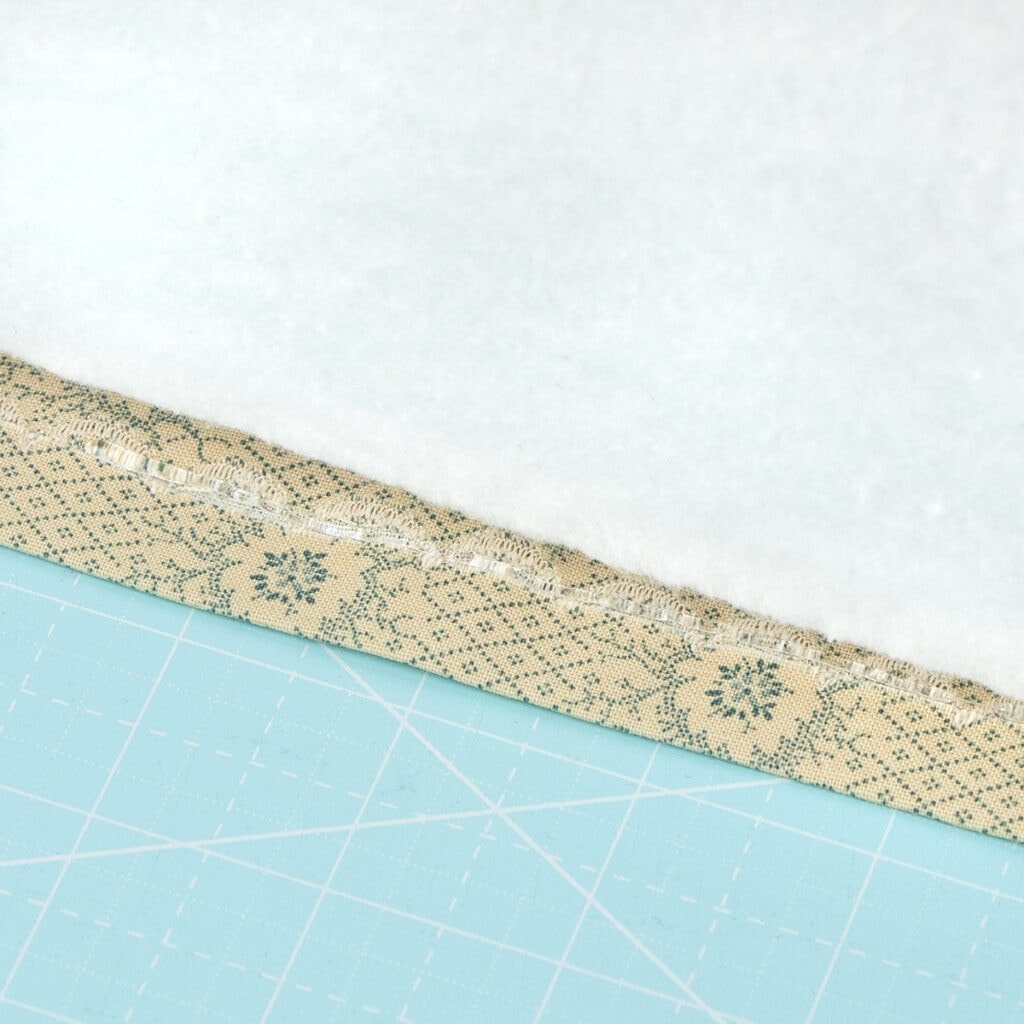
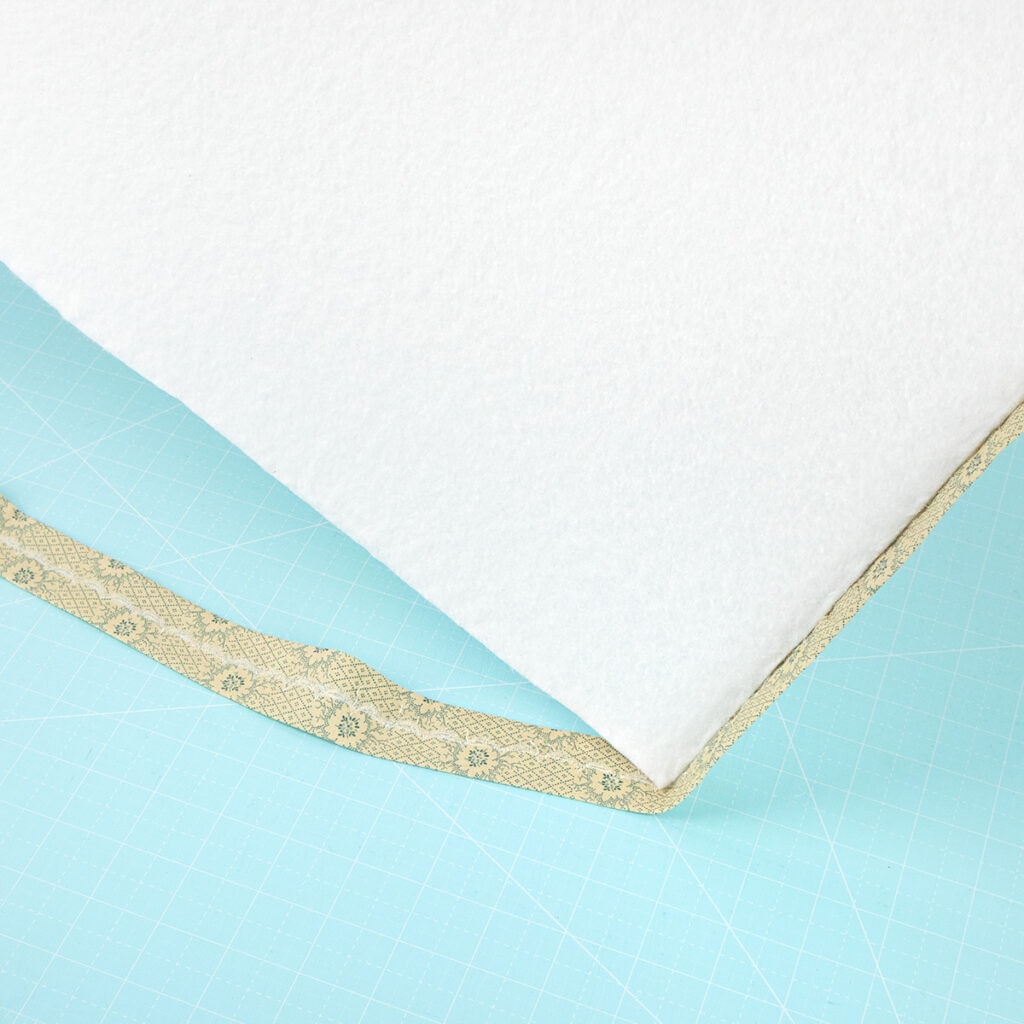
Starting on the batting side of the design board, apply glue to the inside of the binding strip and press down. When you get to the corners, create a mitered corner by first gluing one side and folding the next side to meet it.
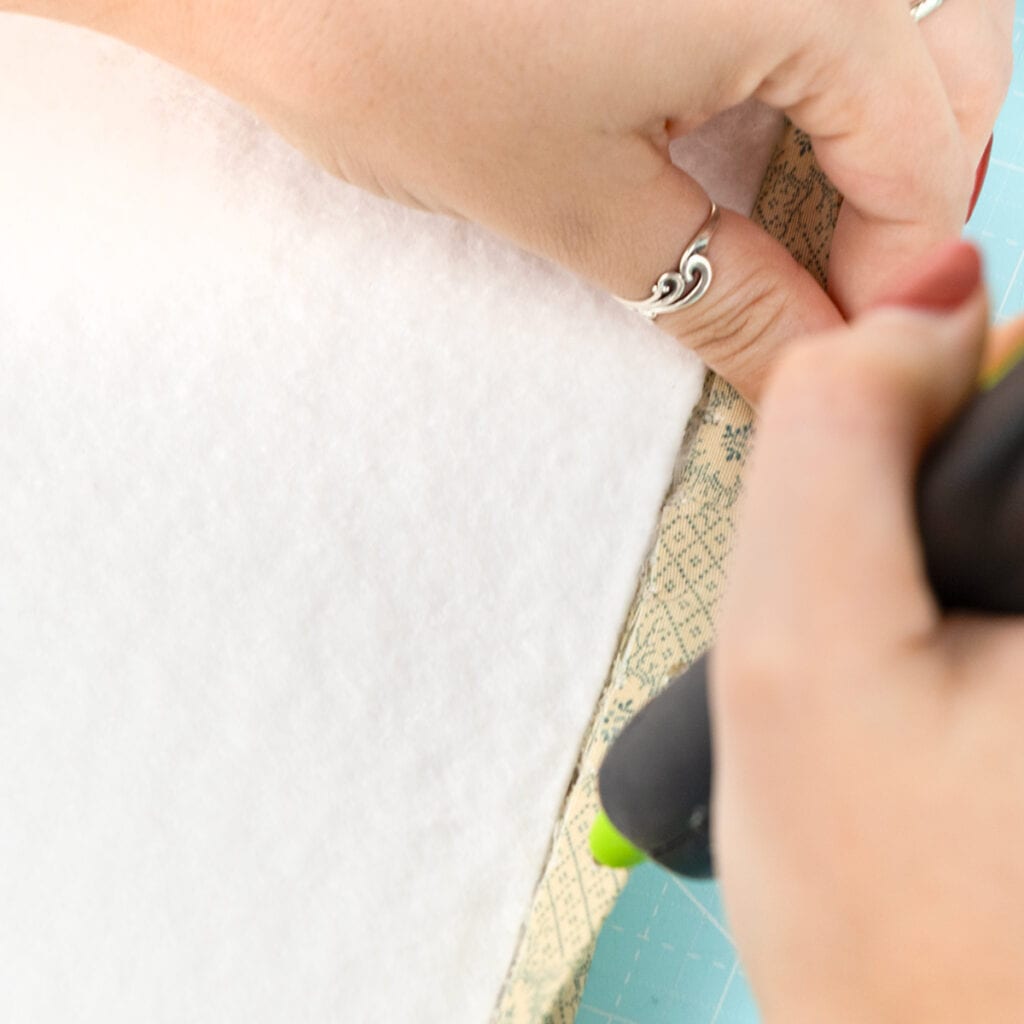
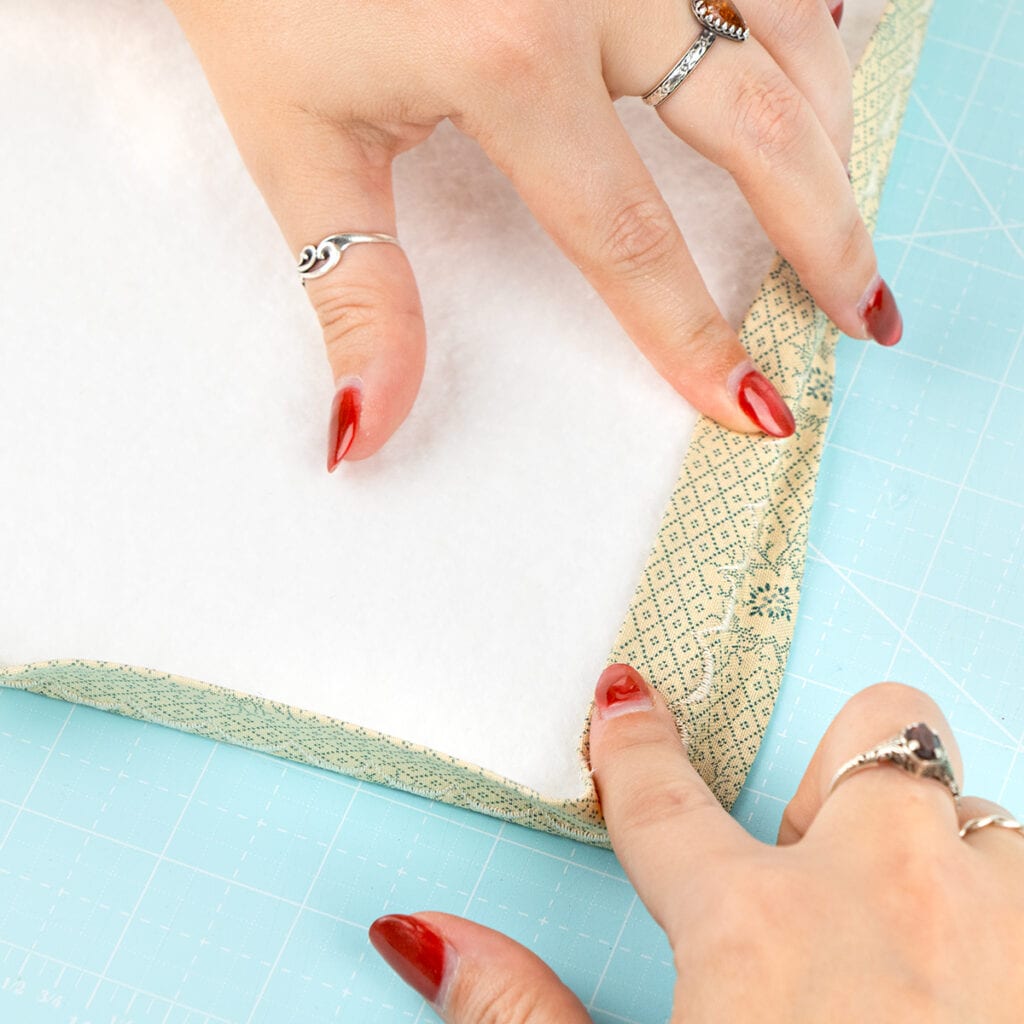
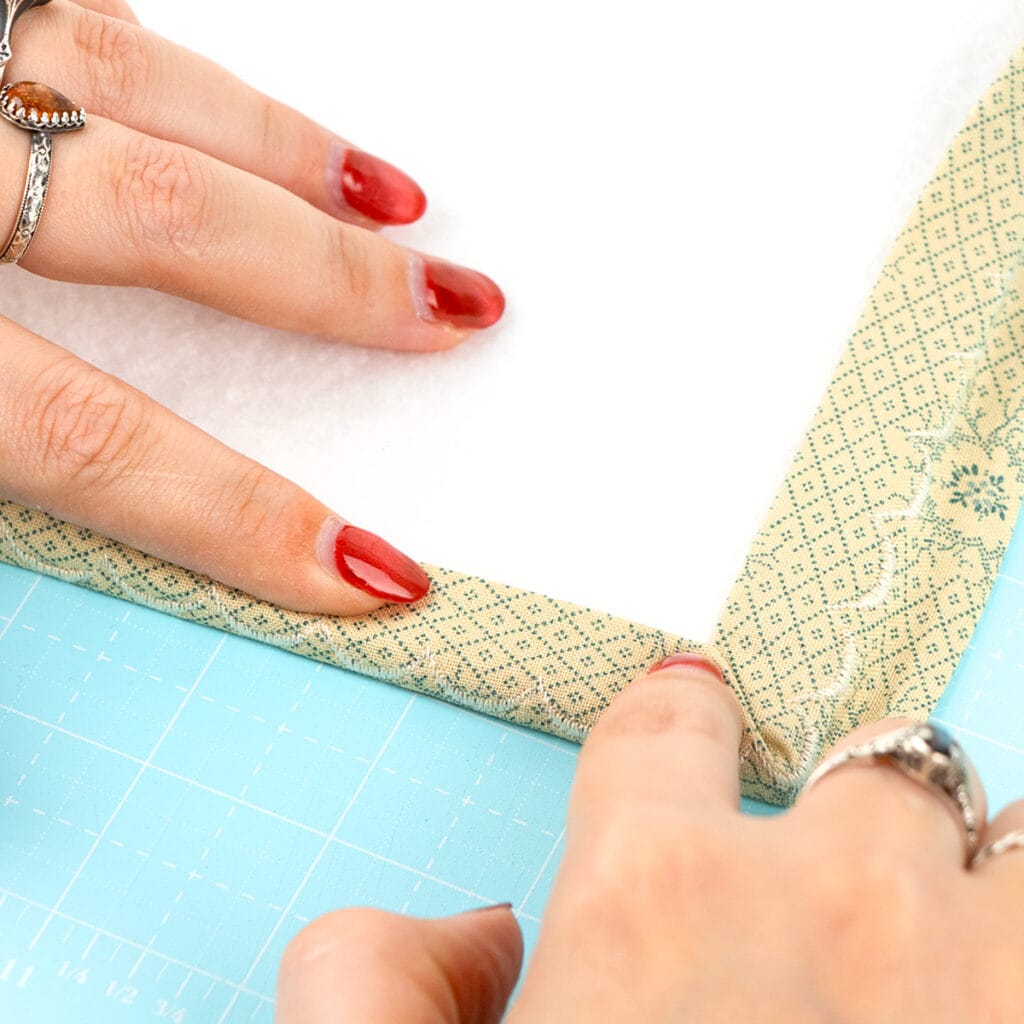
Repeat the process for the back of the design board, and you’re ready to plan your piecing in style!
Share Your DIY Design Boards With Us!
That wraps up the first trend in our Sewing the Trends series! We can’t wait to see how you bring calming neutrals into your own quilting space, whether it’s through a Background Bundle or your very own DIY Design Boards. Share your creations using #SewingTheTrendsFQS on Facebook and Instagram, and tag @fatquartershop so we don’t miss it. Stay tuned for the next trend coming your way soon.
Happy Quilting!
Stay connected to Fat Quarter Shop!


2 comments
That is such a great tutorial! I’m definitely going to try that!
I really like the cream collection! Is it possible to purchase it? Thank you,
Sieba Hiland