
There are sew many creative and cute ways to finish a cross stitch, and today we are breaking down the steps for this cute ruched finish that Denise shared in the FlossTube Livestream on September 16th, 2026. Tune in to the video below to learn how to finish your piece as a pillow with a center seam, and then stitch along as Denise walks you through this vintage-inspired ruching technique. Below the video is a list of all the supplies and a quick breakdown of this ruching technique for you to bookmark and reference the next time you try this fun finish!
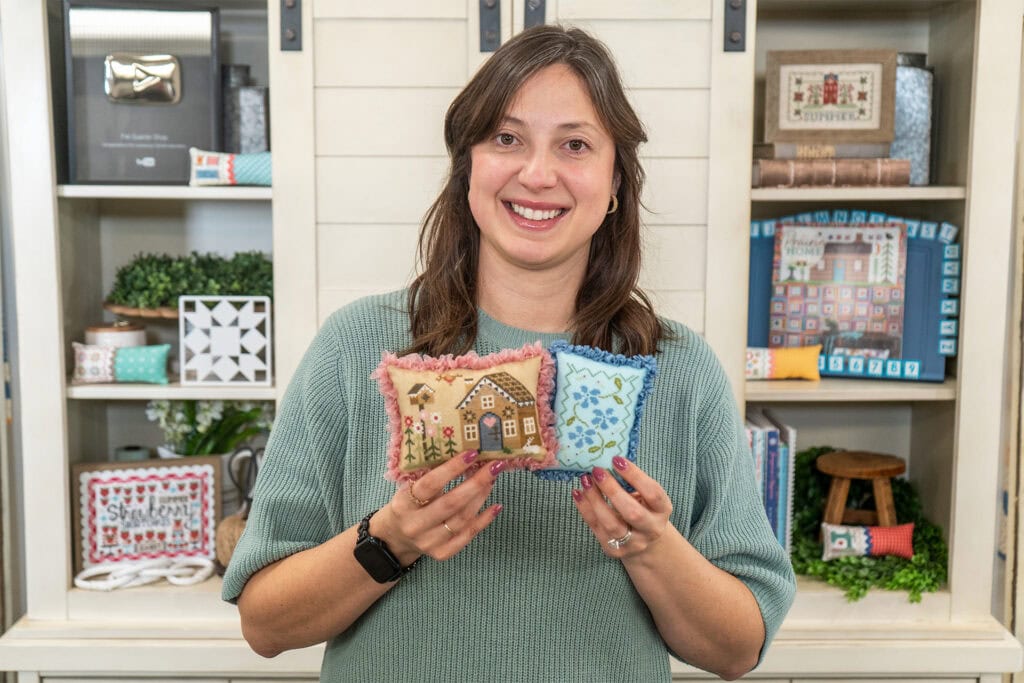
Whether you have some cute cross stitch pillows that need a little extra style, or you have a fully stitched pattern that is ready to be finished into a pillow, here is what you will need:
Ruching Supplies
Pillow Finishing Supplies
- Blue Notes Number Two by October House Fiber Arts
- Pellon Shape Flex Woven Fuse by the Yard 20″ Wide Yardage
- Pellon 20″ x 36″ Shape Flex Woven Fuse
- Nantucket Summer by Camille Roskelley
- Heat n Bond Ultrahold 17″ x 1 Yard Pack
- 1lb White Core Wool Roving
- Clover Black Gold Size 10 Sharp Needles
- Stuffing Tool by Benzie Design
- Black Fineliner Frixion Erasable Marker
- Ultimate Pressing Cloth
Denise’s Ruching Technique
After teaching you how to sew, stuff, and finish a pillow with a center back seam, Denise shares how to add this darling detail (jump to 1:10:00)! Once you have watched through her demonstration, bookmark this blog so you can come back for a step-by-step refresh.
- Thread your needle and secure it to the center bottom seam of the pillow with 2–3 knots. Trim the thread tail.
- Cut a straight edge on your ribbon, but don’t cut it to length yet, since you can trim it to fit at the end. Fold the raw end over twice toward the pillow to hide the raw edge.
- Anchor the folded edge of the ribbon to the pillow with 1–2 tacking stitches.
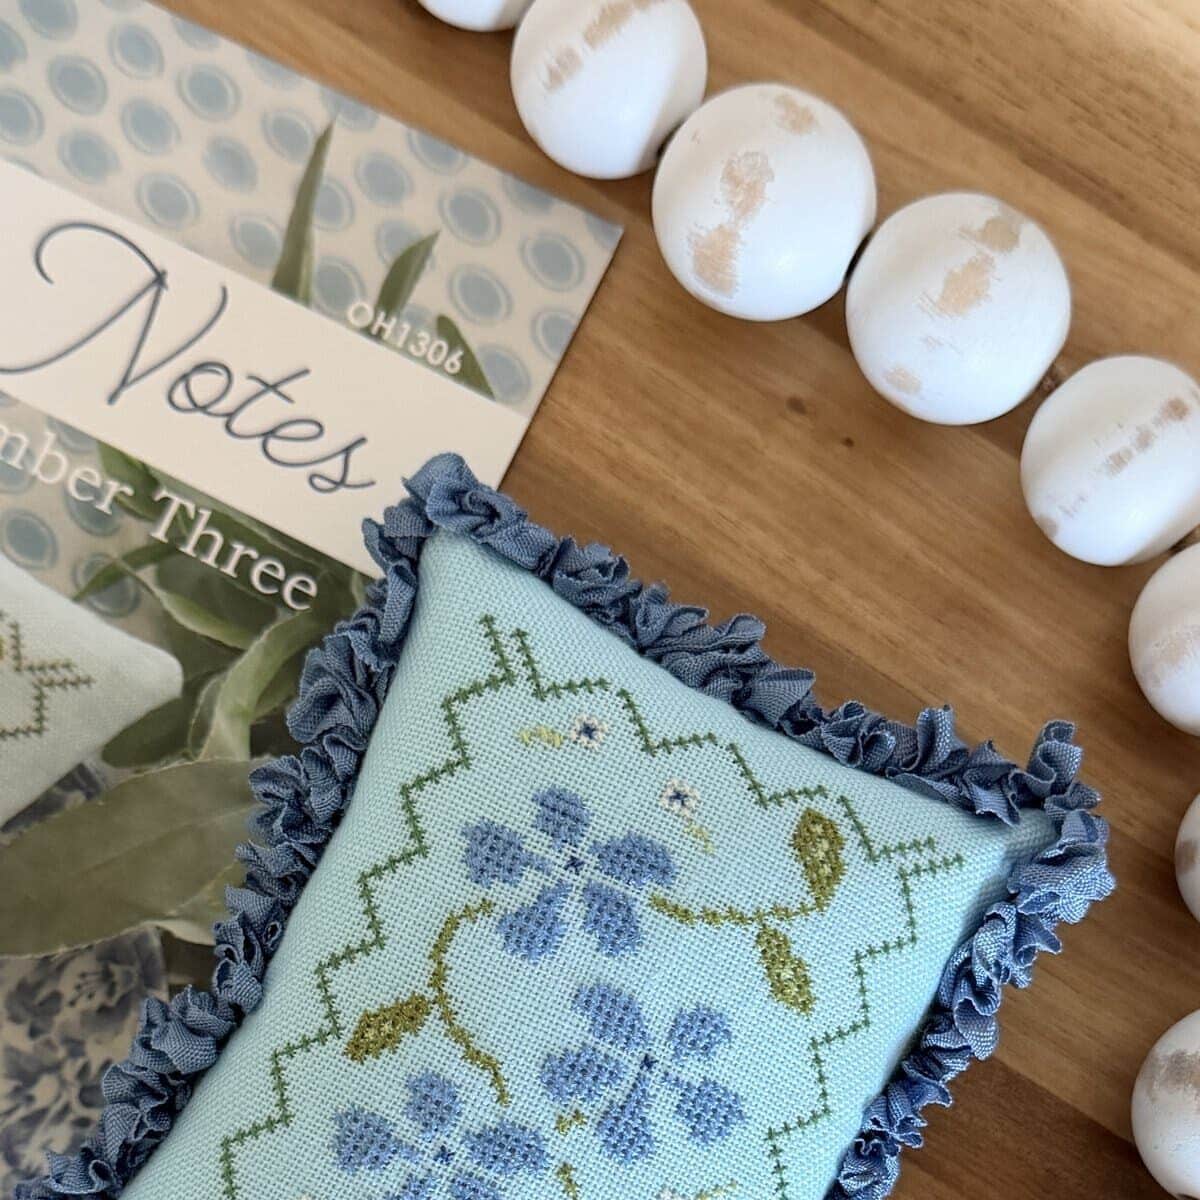
- Starting at the edge of the ribbon closest to you, make two running stitches away from you at a 45-degree angle (/), then two running stitches back toward you at a 45-degree angle (\). Finish with two running stitches straight along the center of the ribbon (–). The shape you are making looks like a triangle with a tail!
- Pull your stitches snug to gather the ribbon, then tack it down with a single stitch to the pillow.
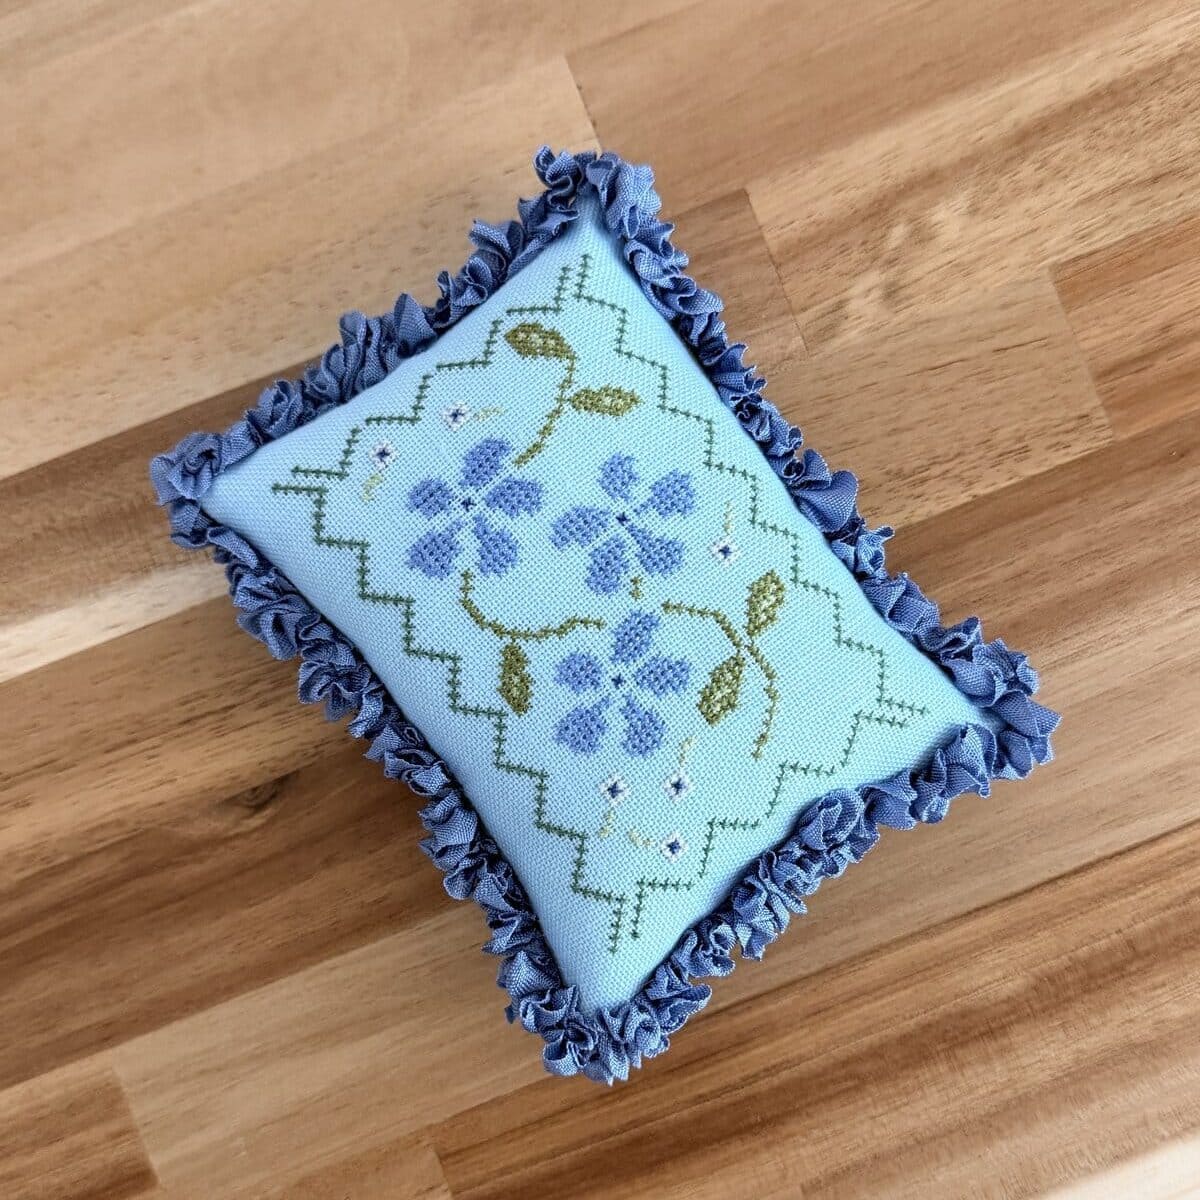
- Repeat steps 4 and 5 as you work around the whole perimeter of the pillow.
- At the corners, make your ruching extra tight and add a few extra tacking stitches to keep the ribbon looking full.
- When you have ½”–1″ left before you reach your starting point, switch to only the 45-degree stitches (/ \) for your final gathers.
- Trim the ribbon to fit, then fold the end over twice toward the pillow to hide the raw edge. Nestle it along the starting fold, tack it down, and secure the thread with 2–3 knots.
- Bury or trim the thread to finish.
Stitch and Share With Us!
Follow Fat Quarter Shop on Facebook and Instagram for updates, or join Kimberly’s Stitch Squad Facebook Group, a supportive group of quilters and stitchers. Be sure to tag us when you post your ruched finishes so we can see and share your work!
Happy Stitching!
Stay connected to Fat Quarter Shop!


