
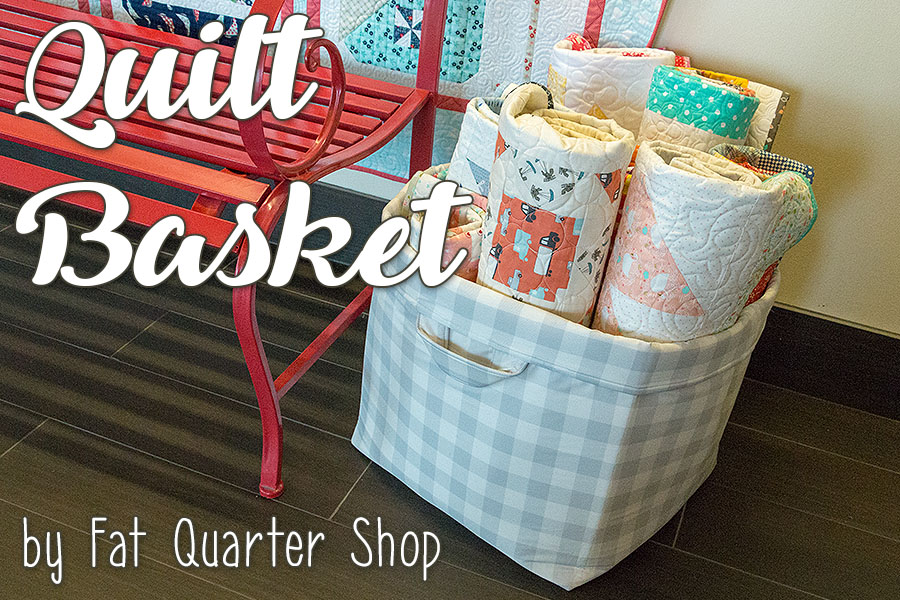
We’re back at it with another FQS Sewing Tutorial! This time, we are bringing you a fun storage solution, which we’re calling the Quilt Basket, using 108″ wide fabric (based on our All About 108″ Wide Fabrics blog post). We made our version of the Quit Basket to use for storing quilts however this project is very versatile. Use it as a scraps holder, toy box or general storage container! This project is a great way to start working with 108″ wide fabric and a very fun sewing project!
The Quilt Basket measures at approximately 15 high” x 16 wide” x 17 deep”. When you’re ready, here’s what you’ll need to get started:
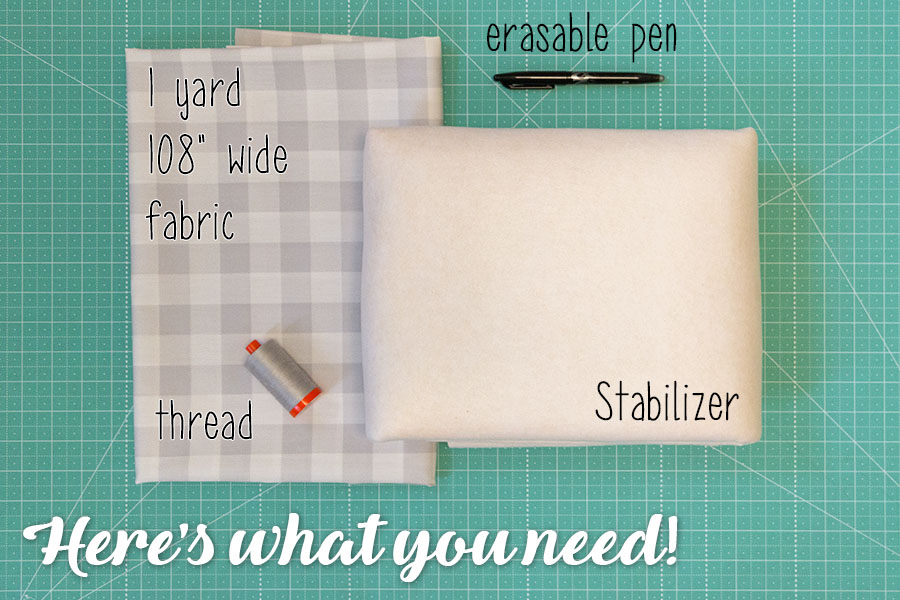
For the quilt basket, you will need the following:
- 1 yard of 108” wide fabric (we used 108″ Wide Buffalo Check Essentially Yours Grey and White Yardage)
- One package of In-R-Form Unique Sew In 36″ x 58″ Foam Stabilizer
- Coordinating Thread (we used Aurifil 50 wt 2615)
- Water soluble or erasable pen
Cutting Instructions:
- Cut the 1 yard fabric into:
- 2 – 32” x 52” rectangles (lining and outer basket fabric)
- 4 – 2 1/2” x 8” rectangles (handles)
- Cut the stabilizer into:
- 1 – 32” x 52” rectangle
How to put it together:
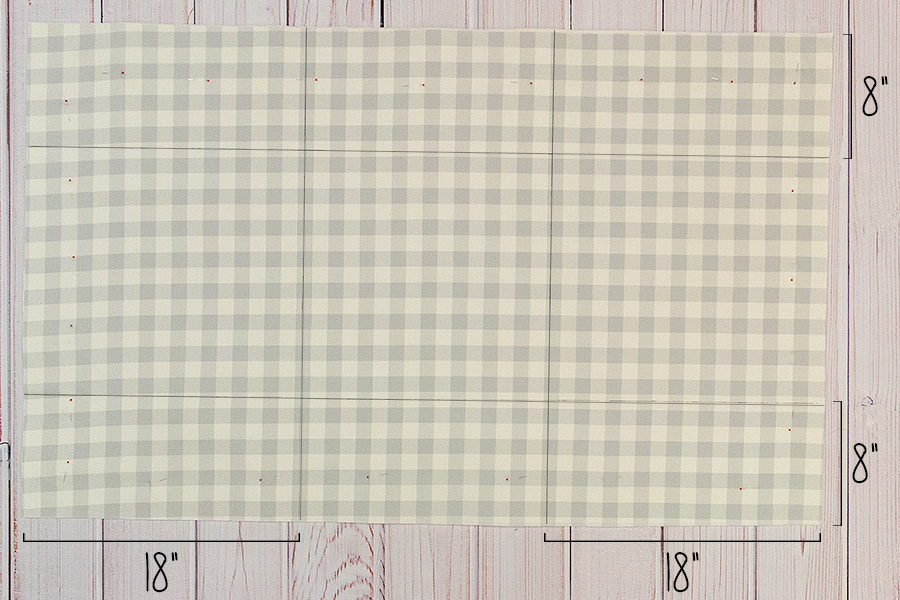
1) With the right side facing up, layer the 32” x 52” outer basket fabric with the stabilizer and pin in place. Draw two lines 8” away from the top and bottom edge and two lines 18” from the left and right edges. Using matching thread, sew on the drawn lines.
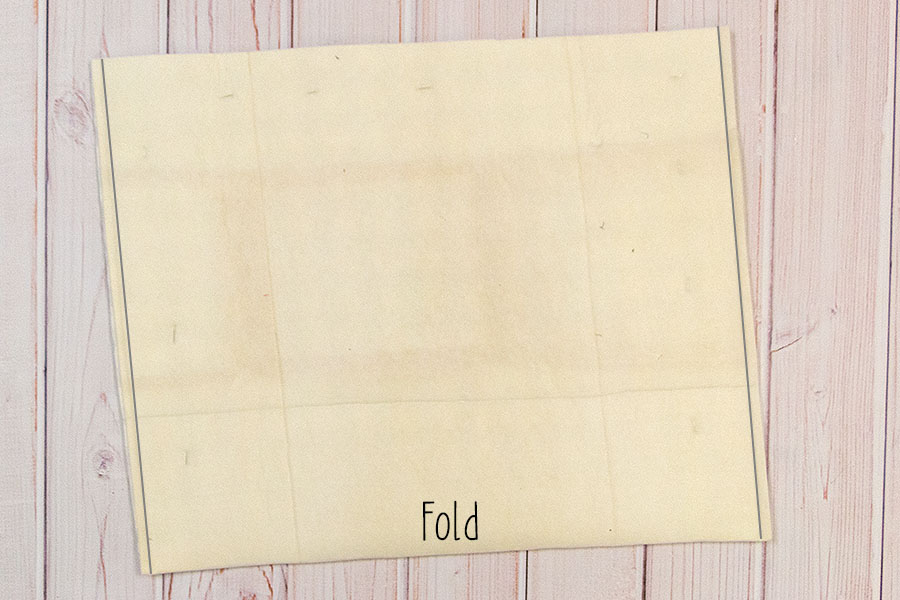
2) With the stabilizer facing out, fold the outer basket unit in half and stitch the sides using a 1/2” seam.
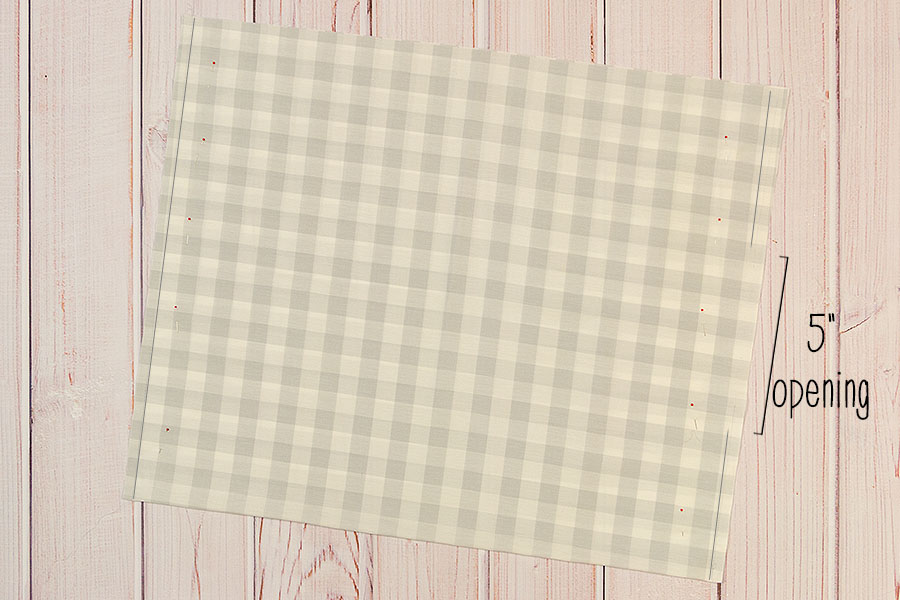
3) With the wrong side facing out, fold the 32” x 52” lining fabric in half and stitch the sides using a 1/2” seam. Leave a 5” opening on one side to pull the outer fabric through later.
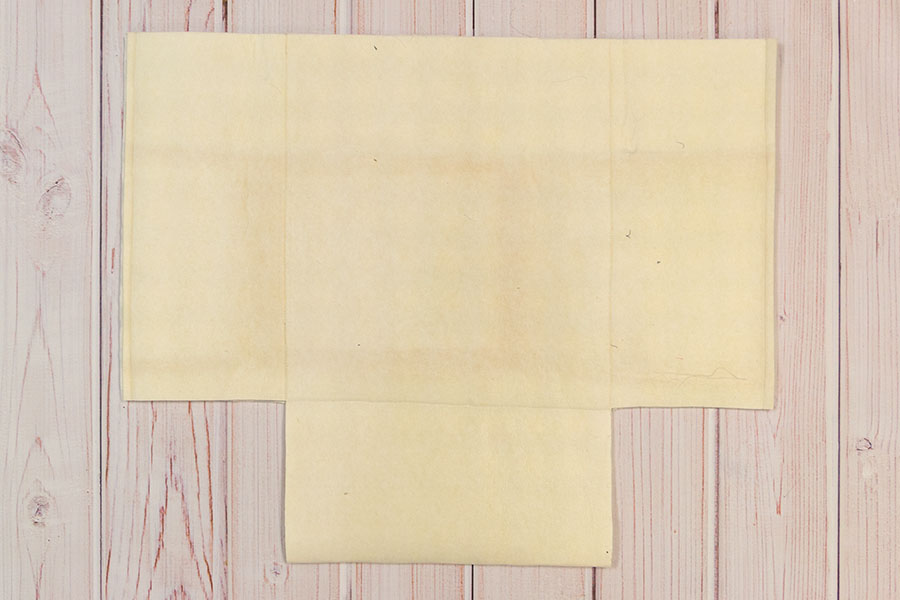
4) Cut an 8” square from the bottom left and bottom right corners of the outer basket unit along the folded edge.
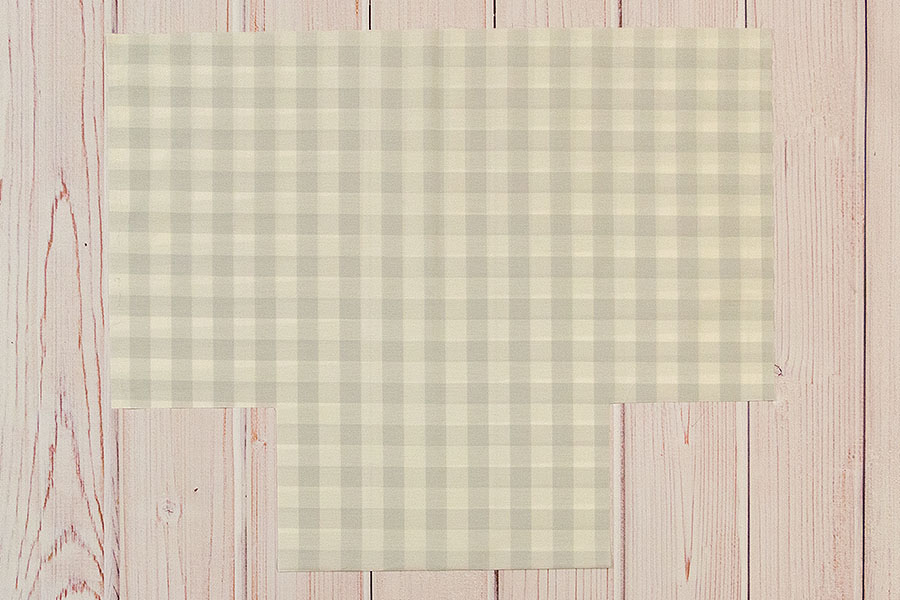
5) Cut an 8” square from the bottom left and bottom right corners of the lining unit.

6) Matching the center fold and the side seams of the outer basket unit, pin in place. Stitch the opening closed using a 1/4” seam. Repeat on the other side.
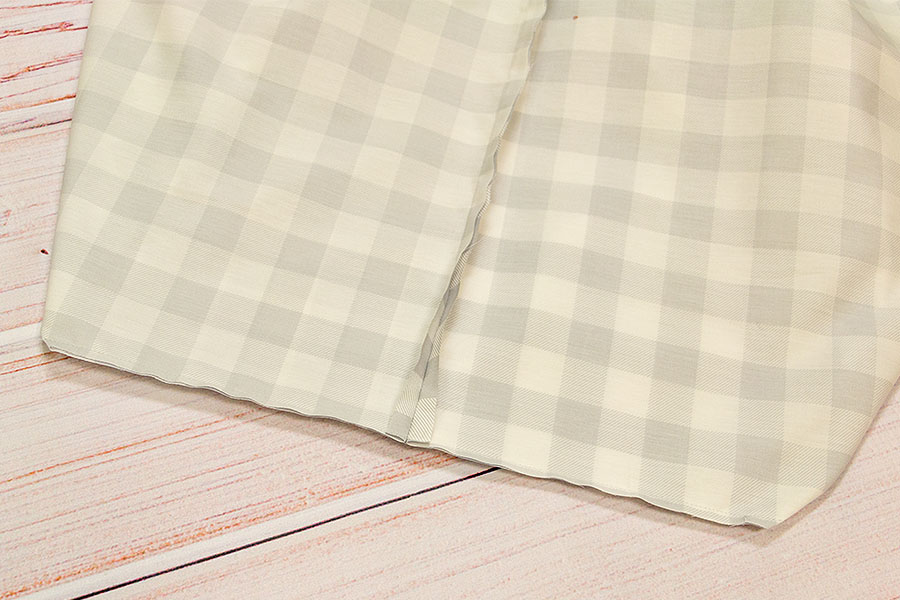
7) Matching the center fold and the side seams of the lining unit, pin in place. Stitch the opening closed using a 1/4” allowance. Repeat on the other side.
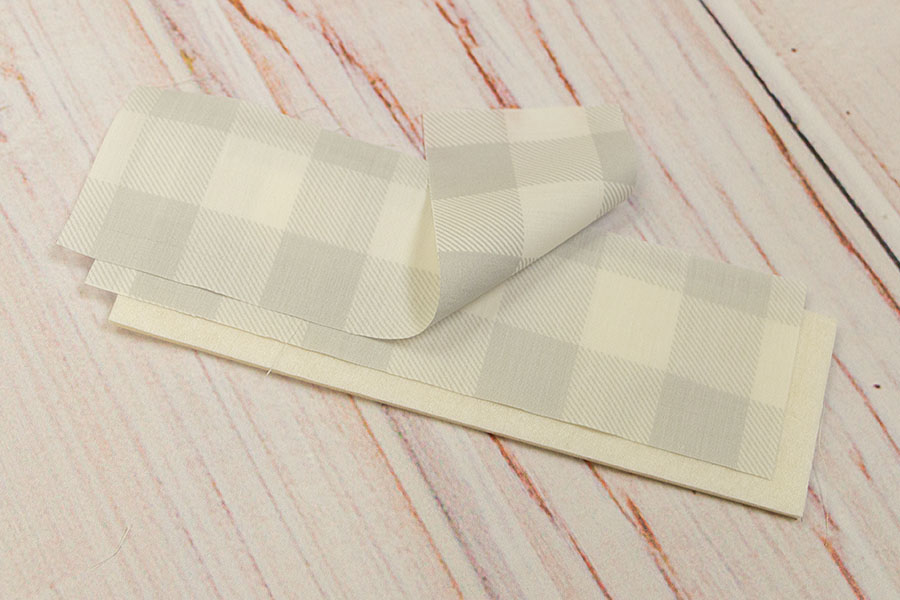
8) With right sides facing, layer the handle fabric with the stabilizer. Make two.
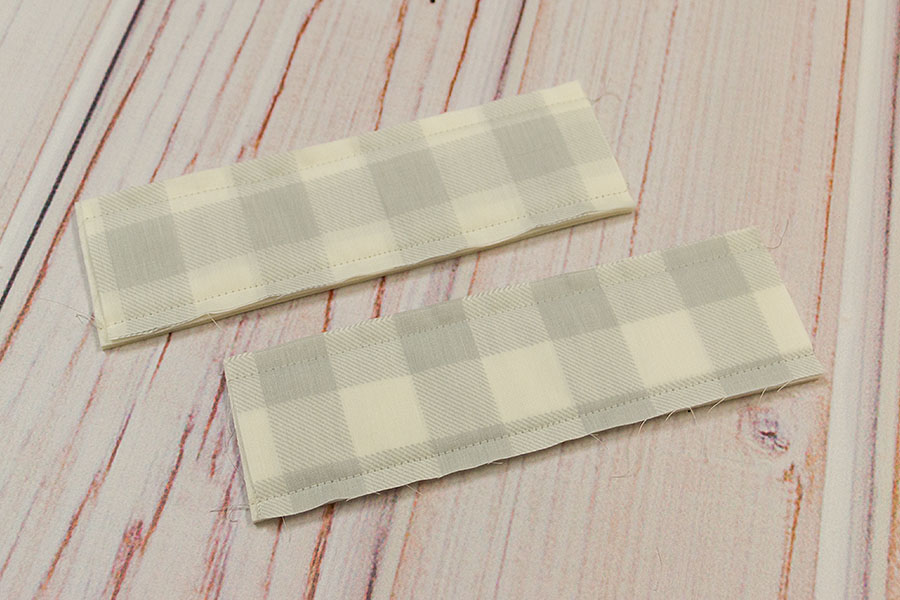
9) Sew a 1/4” seam on the long sides of the handle unit. Make two.
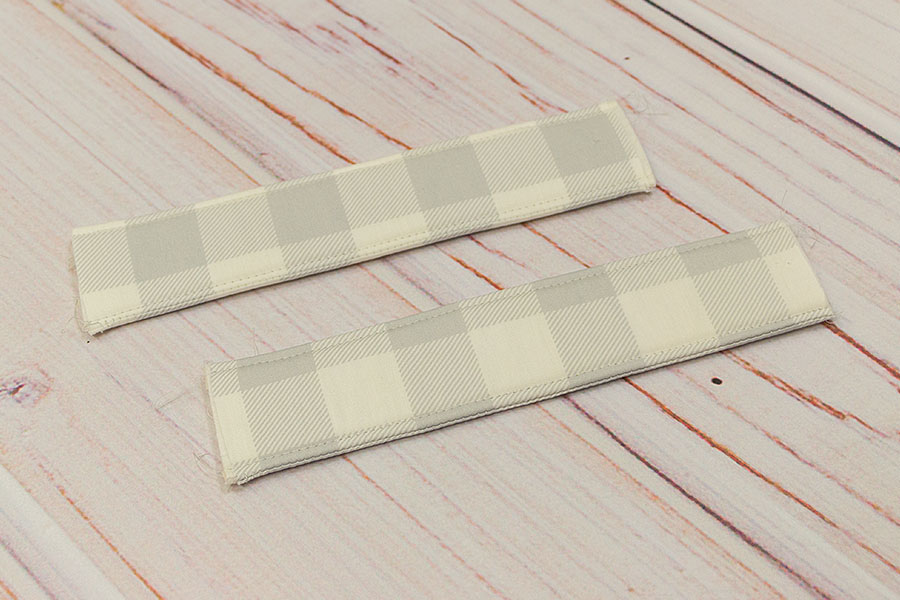
10) Turn the right side out. Topstitch the long edges with matching thread.
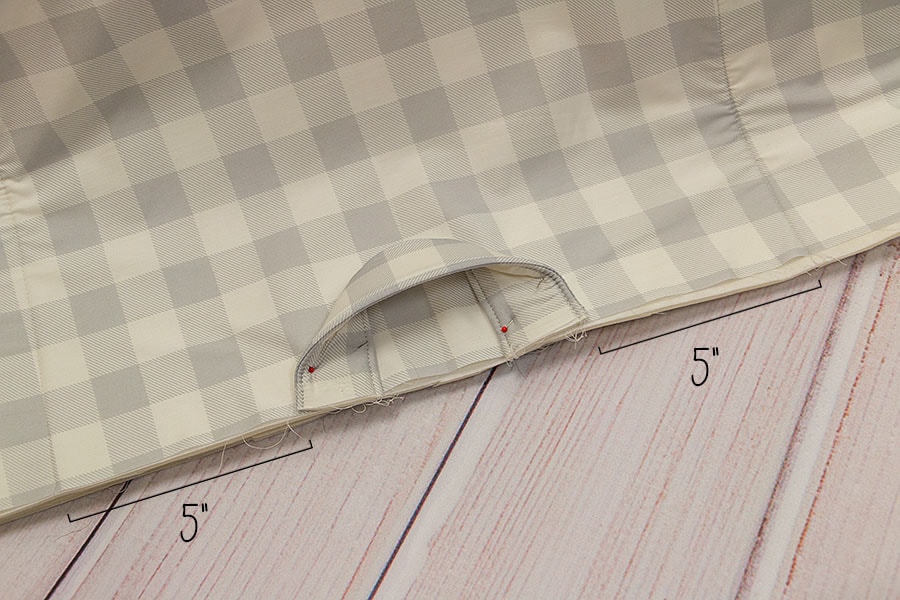
11) Turn the outer basket unit right side out. Matching raw edges layer a handle on the top edge of one side of the outer basket unit. Position each end of the handle 5” from the sides of the outer basket unit. Pin in place.
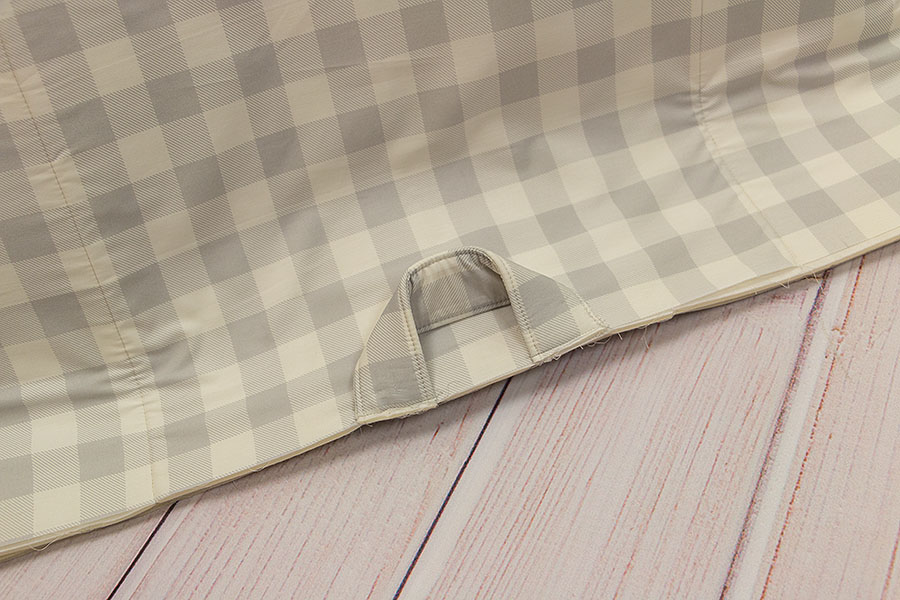
12) Stitch using a 1/4” seam. Repeat on the opposite side.
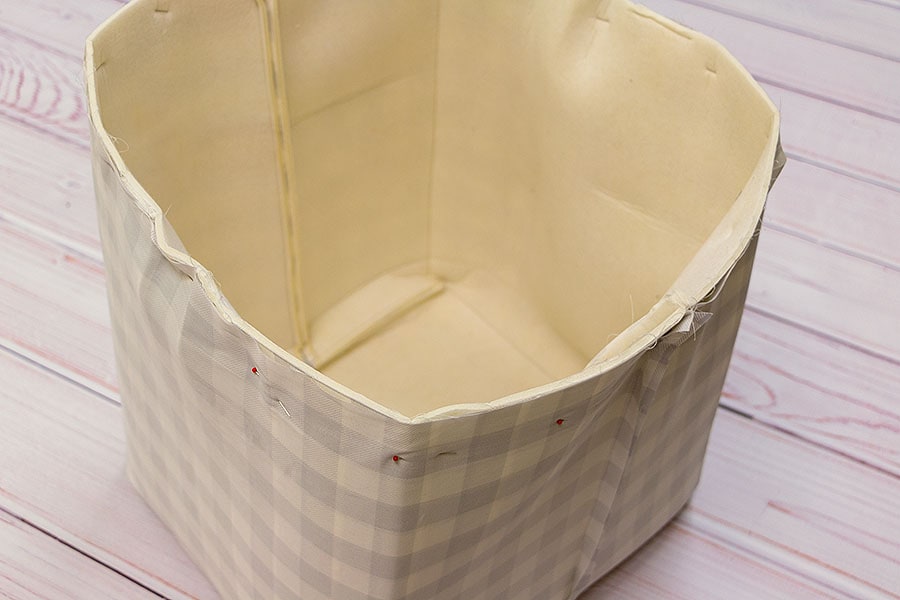
13) Slide the outer basket unit into the lining unit. Matching raw edges and side seams, pin the lining and the outer basket unit together.
14) Stitch around the top edge of the basket using a 1/2” seam.

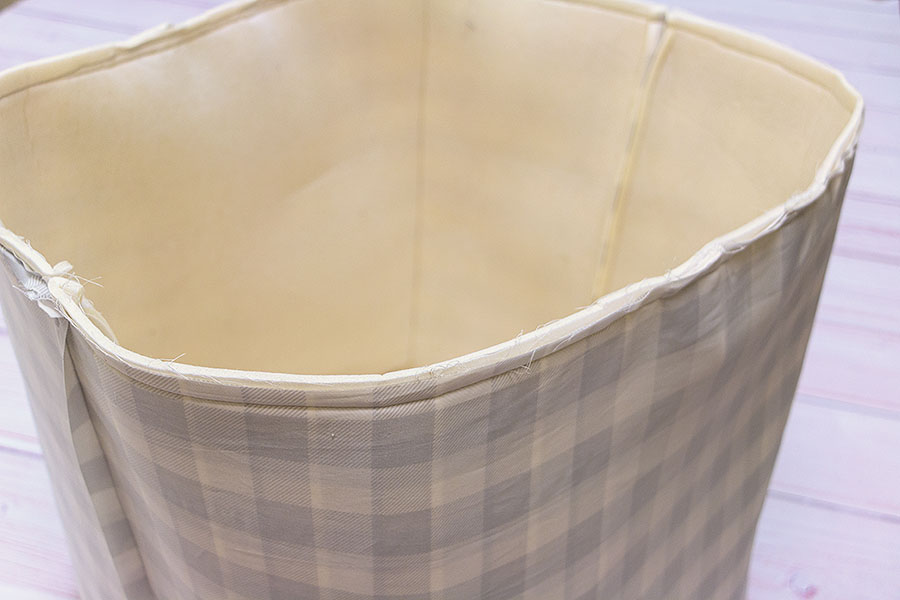
15) Reach in and pull out the outer basket unit from inside the lining unit through the opening.
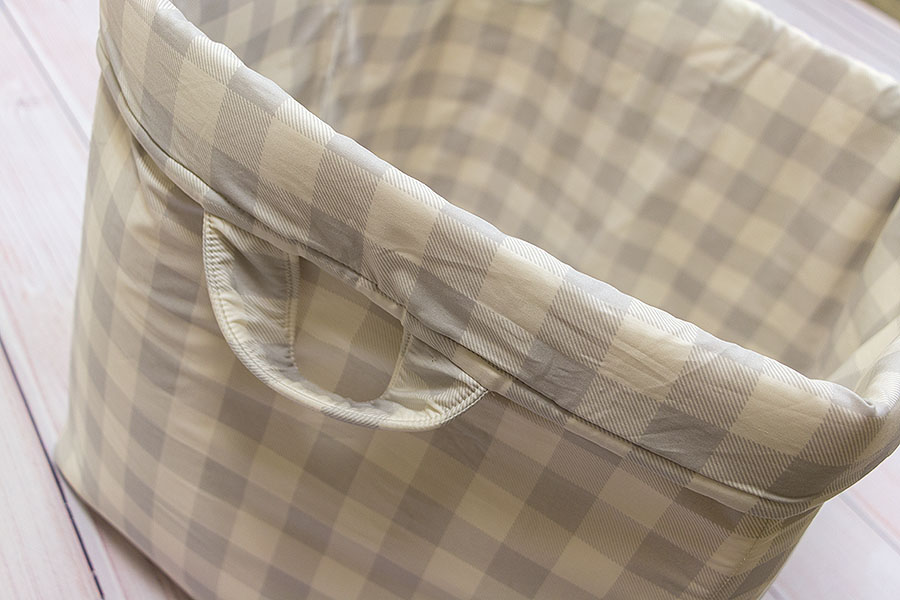
16) Top stitch around the entire top edge of the basket using matching thread. We folded the edges down for fun!
And that’s it! You now have a cute storage bin to hold your quilts! We hope that you decide to give this project a try and if you do, feel free to share your work on Instagram and use #FQSQuiltBasket so we can see and share your work. Happy sewing!
Stay connected to FQS!


3 comments
Awesome! I have the perfect wide backing fabric I’m going to make this with! Would love a video for this…you guys spoil us with all the YouTube videos! 🙂
Love the size of this! I can’t wait to make it!
Thanks for the pattern.
Any recommendations for sizing to 12x12x12 (or even 11x11x11)? I think this would be perfect for making storage cubes for all of our cubbies furniture in the kids’ rooms!