
Ready to take your quilt as you go skills on the road? Our Quilt As You Go Templates aren’t just for quilts and table runners. They also make sturdy, stylish totes! Today we’re sharing three bags in three sizes: The Everyday Tote, The Project Tote, and The Mini Tote. Each one uses the same easy method, so once you’ve made one, you’ll be ready to stitch up the whole set. Let’s get sewing!
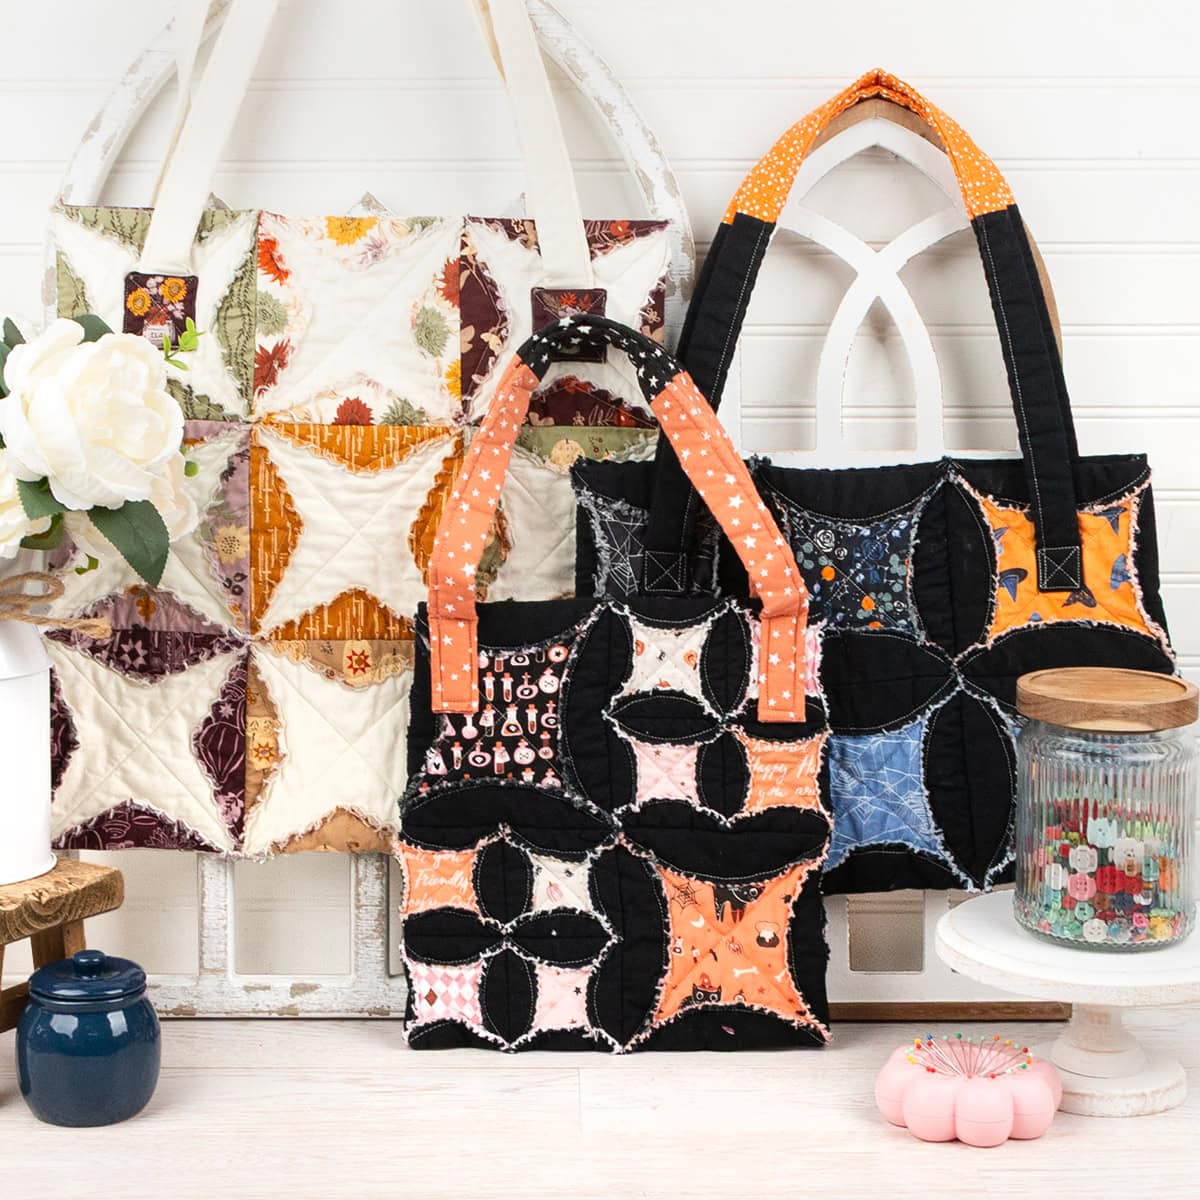
Meet the Totes
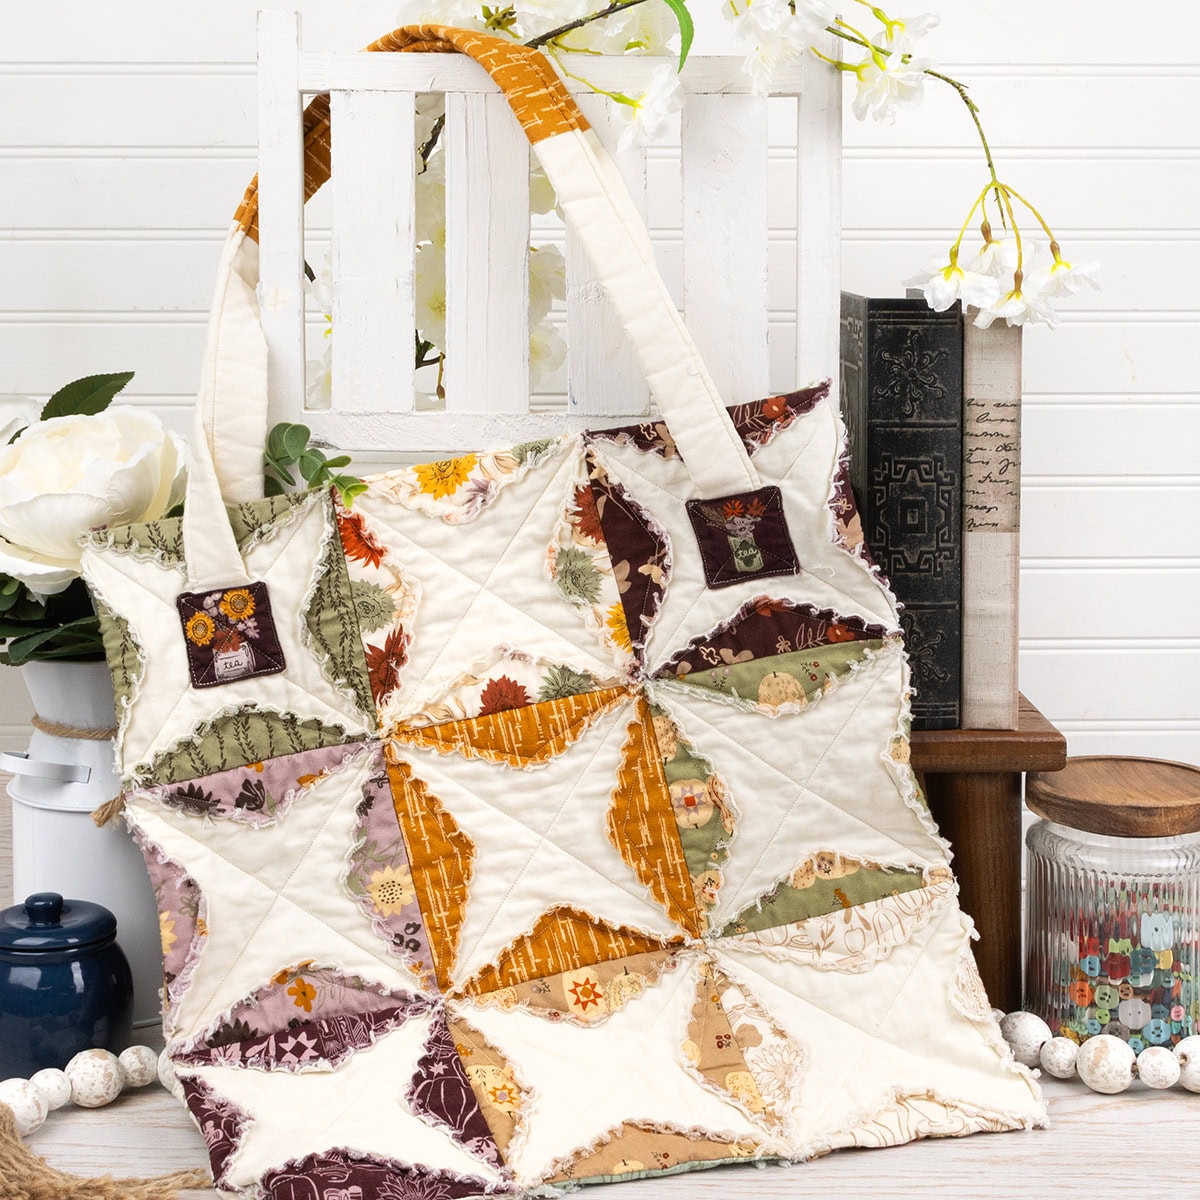
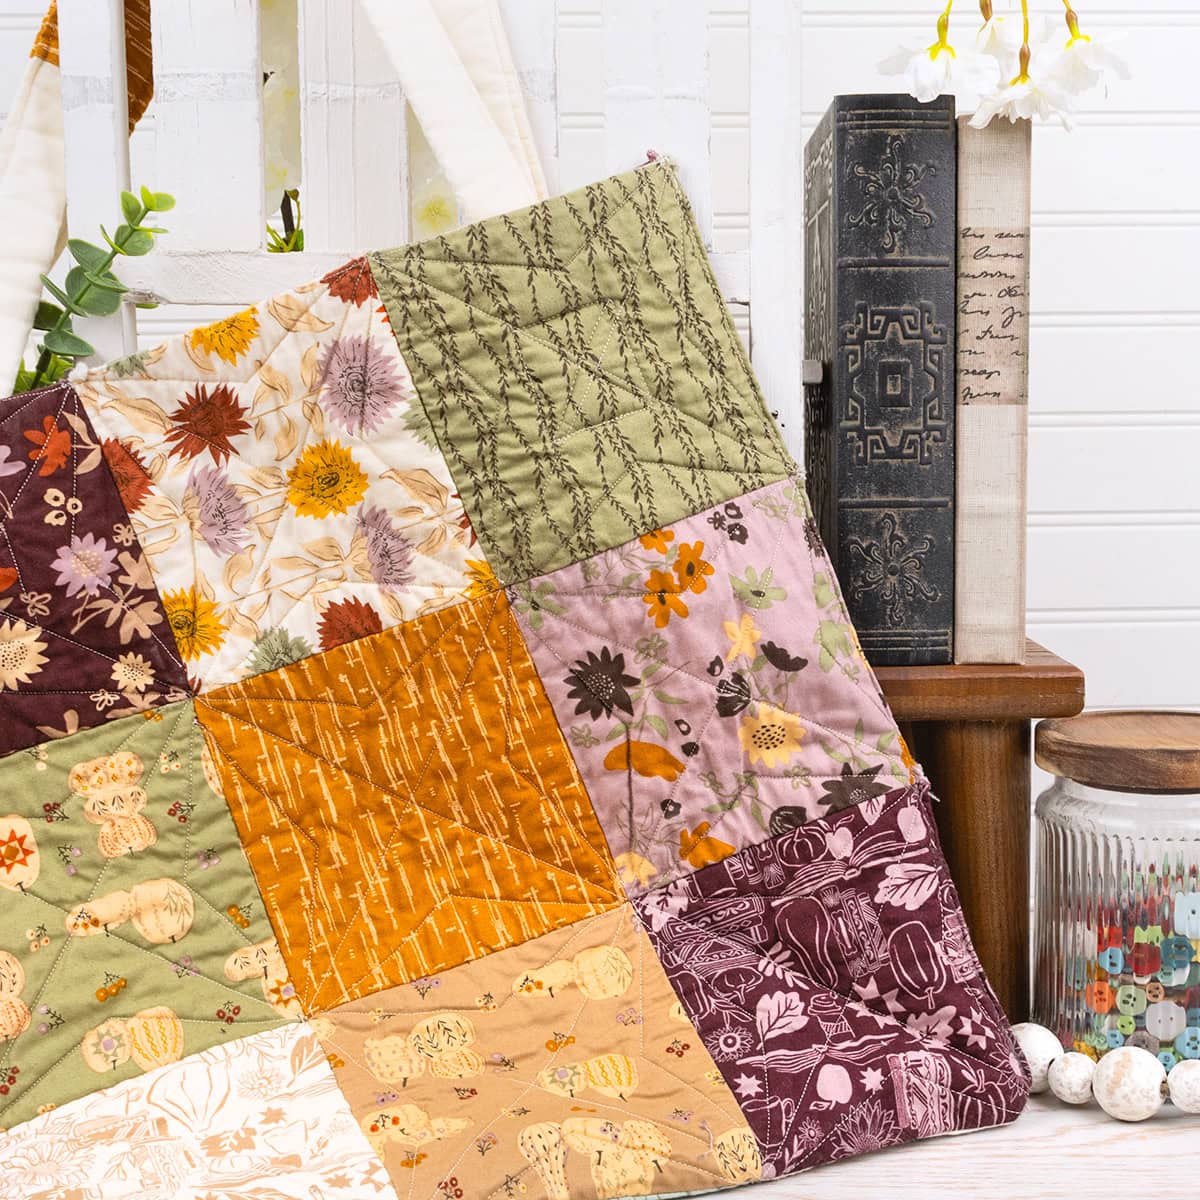
The Everyday Tote
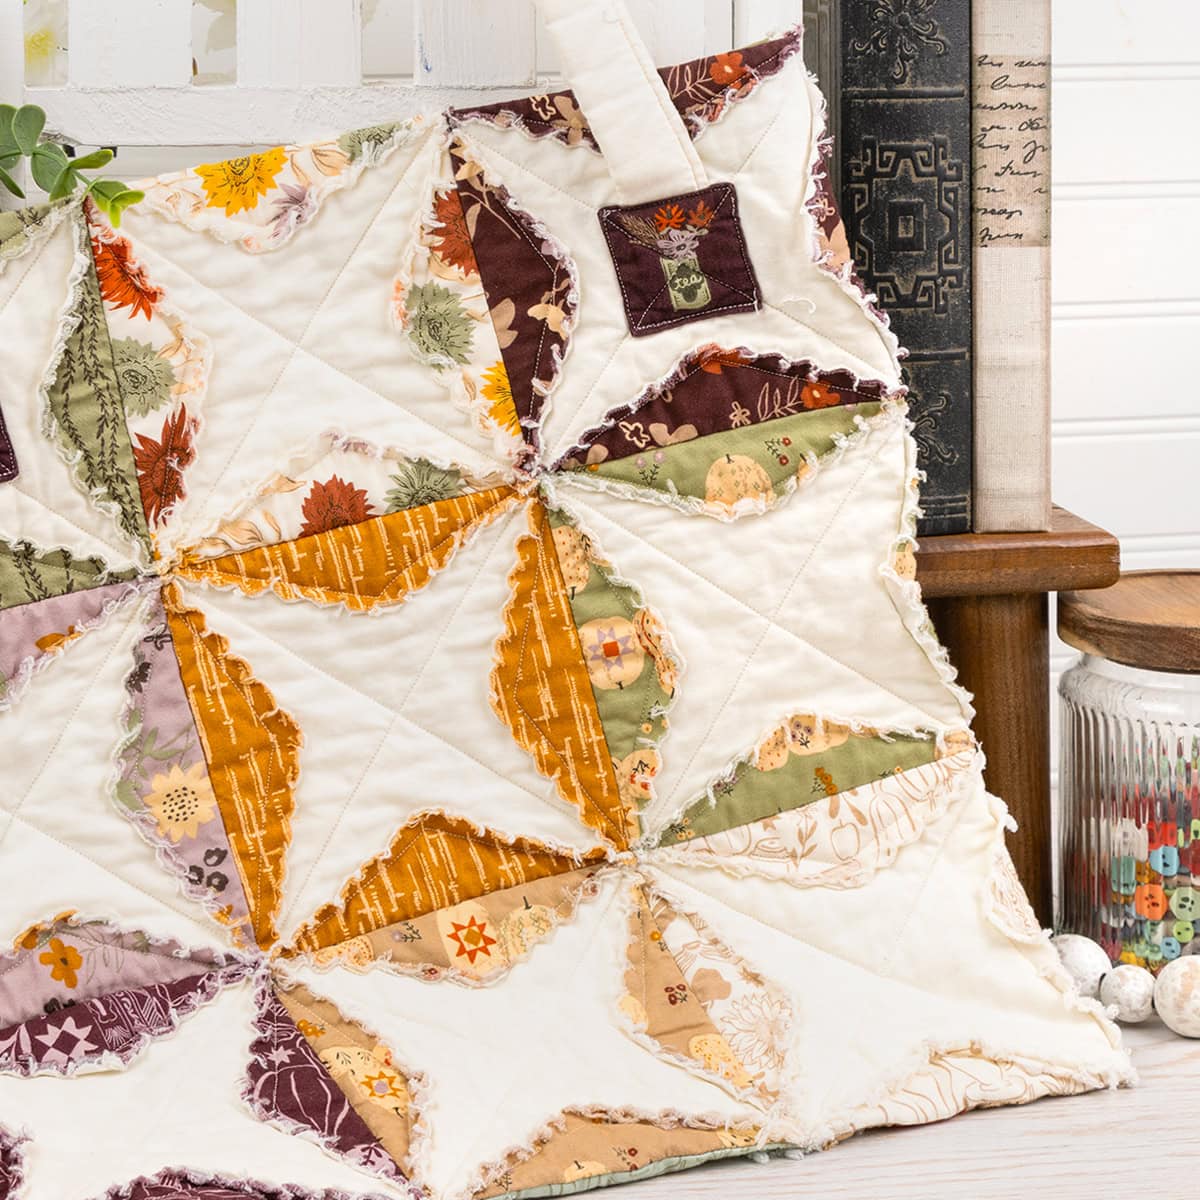
Six rows of three Big Birdie squares make a roomy bag for errands, the library, and beyond. Here is what you need:
- Windfall Layer Cake
- Snow Bella Solids Layer Cake
- Big Birdie Quilt As You Go Template
- 14″ Squares – 12 Pack of 80/20 Silky Blend Happy Cloud Quilt Batting
- Soft and Stable White 18″ x 58″ Stabilizer
- Sewline Blue Fabric Water Soluble Glue Pen
- Clover Blue Water Soluble Marker
- Olfa Coral 45mm Ergonomic Rotary Cutter
- Olfa 45mm Scallop Rotary Blade
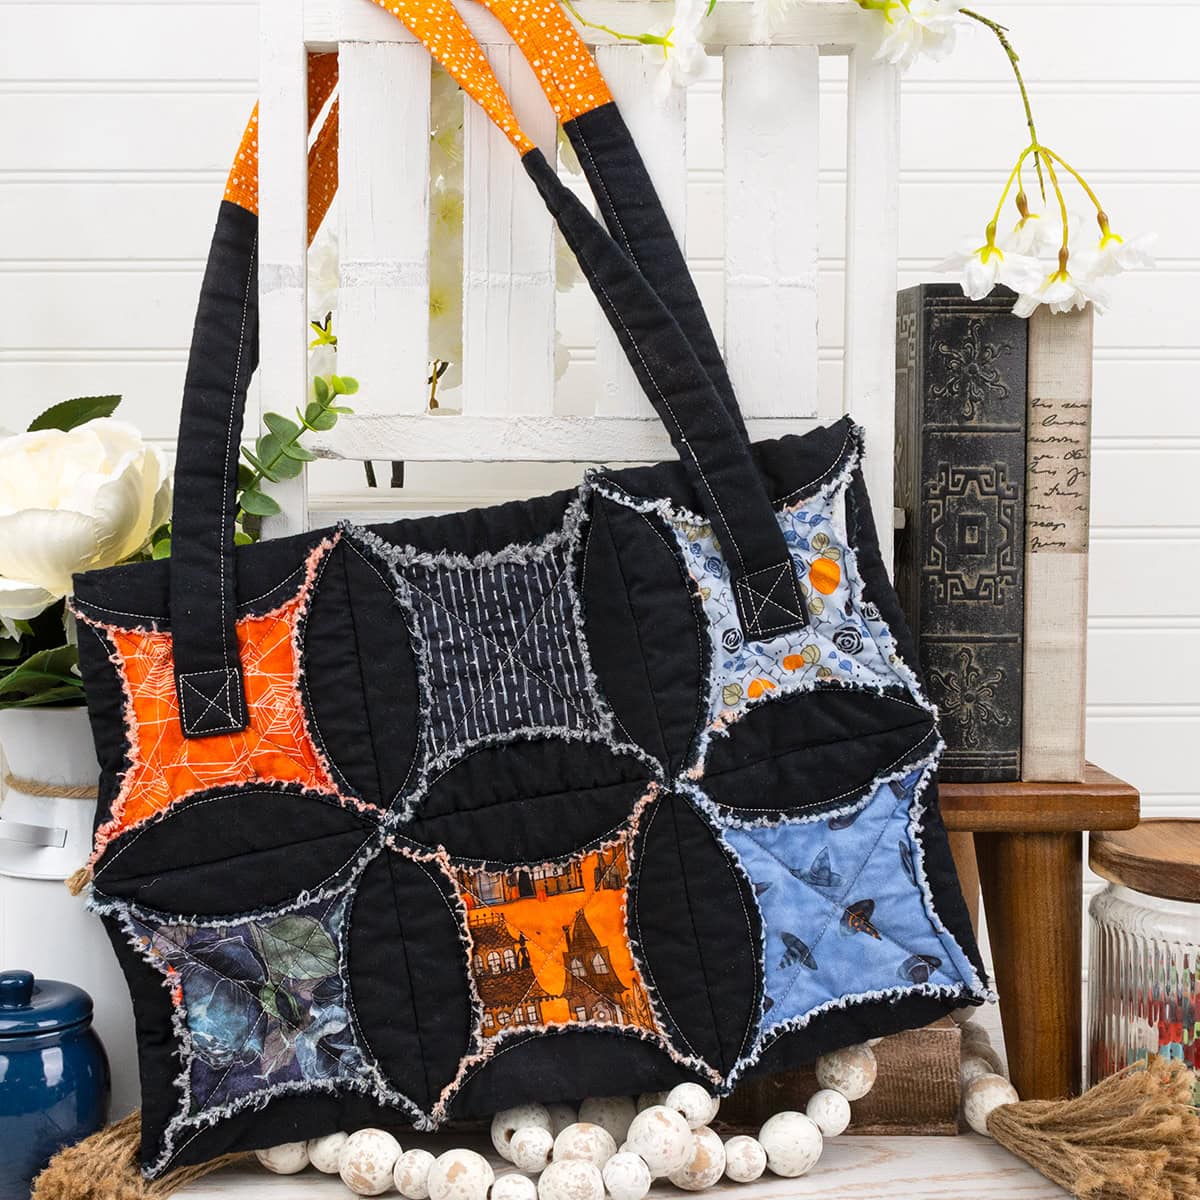
The Project Tote
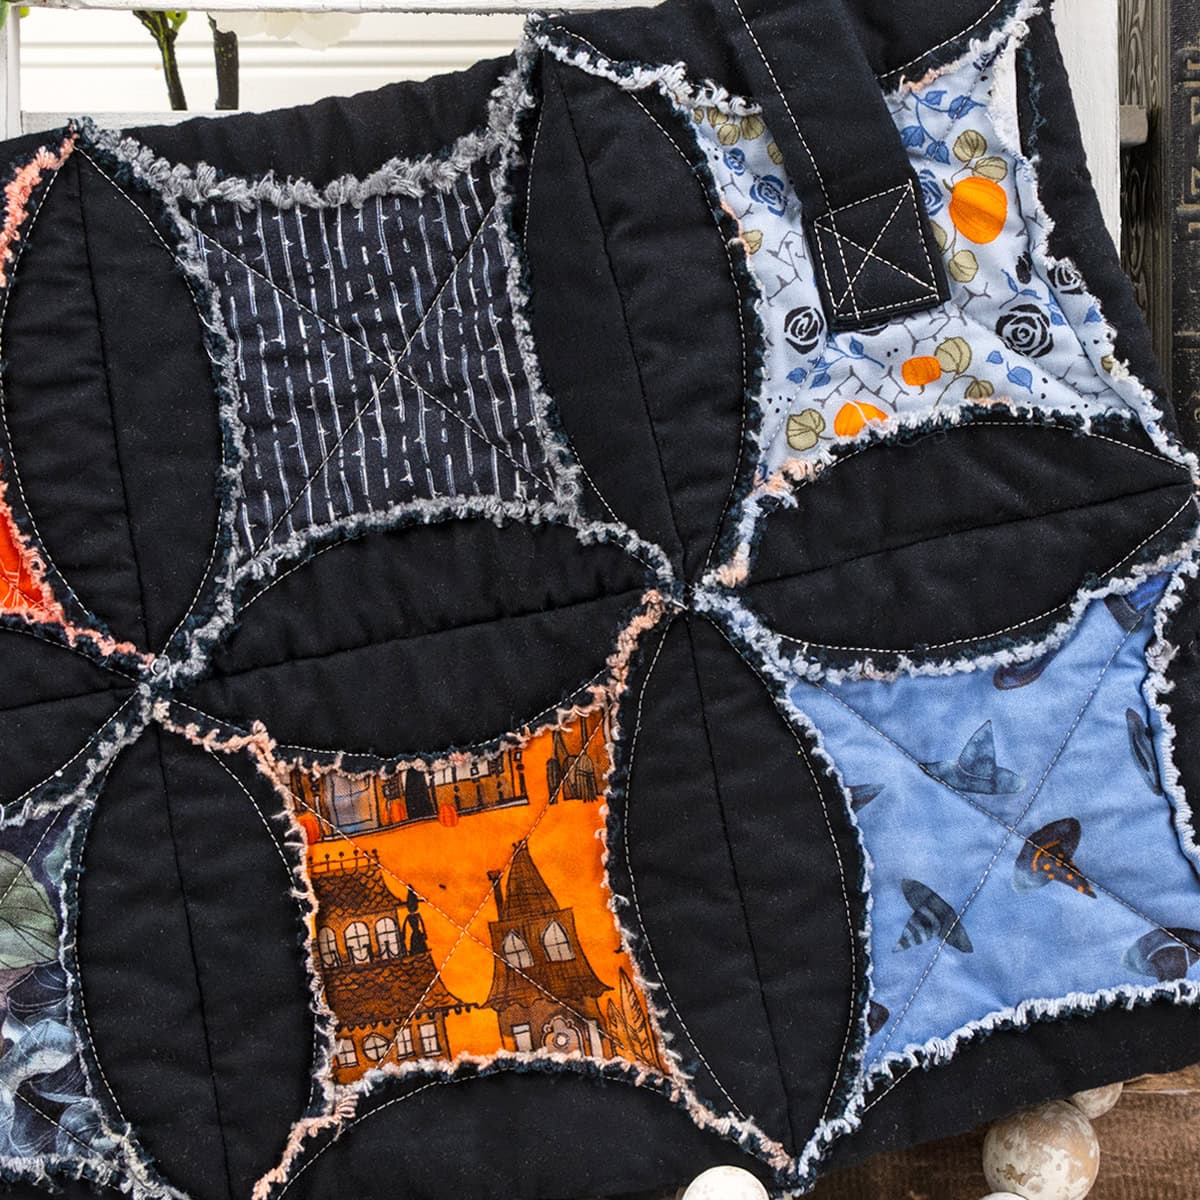
Four rows of three Big Bubble squares, with prints on the front and black fabric on the back, keep your works in progress tidy and together. Here is what you need:
- Coven Layer Cake
- Black Bella Solids Layer Cake
- Big Bubble Quilt As You Go Template
- 14″ Squares – 12 Pack of 80/20 Silky Blend Happy Cloud Quilt Batting
- Soft and Stable White 18″ x 58″ Stabilizer
- Sewline Blue Fabric Water Soluble Glue Pen
- Sewline White Butterfly Mechanical Fabric Pencil & Lead Pack
- Fiskars 10.5″ Easy Action Pinking Shears
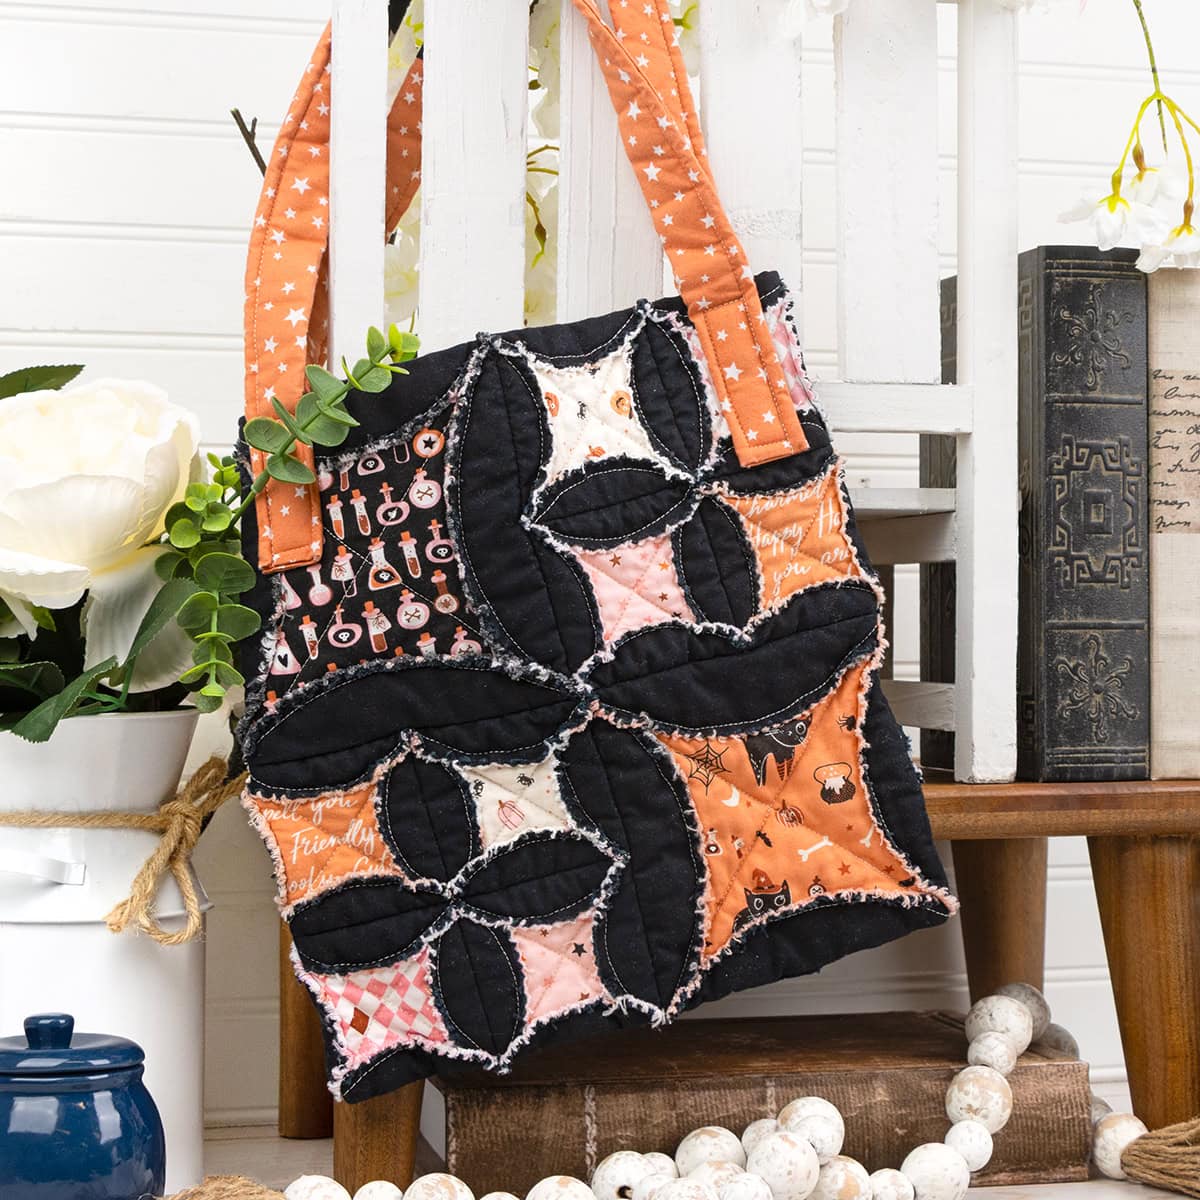
The Mini Tote
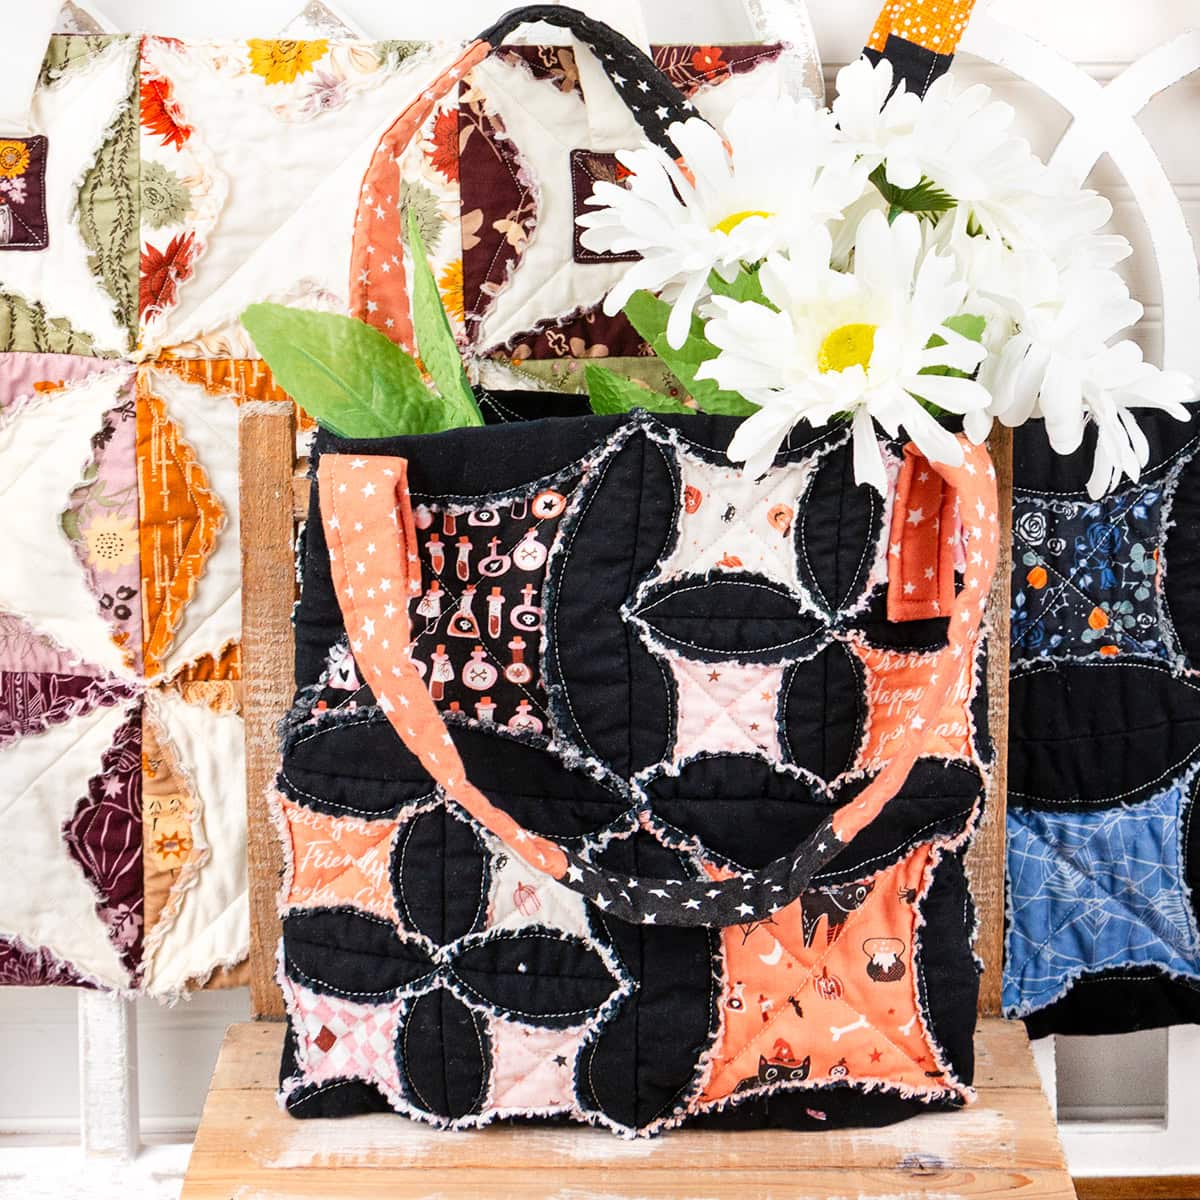
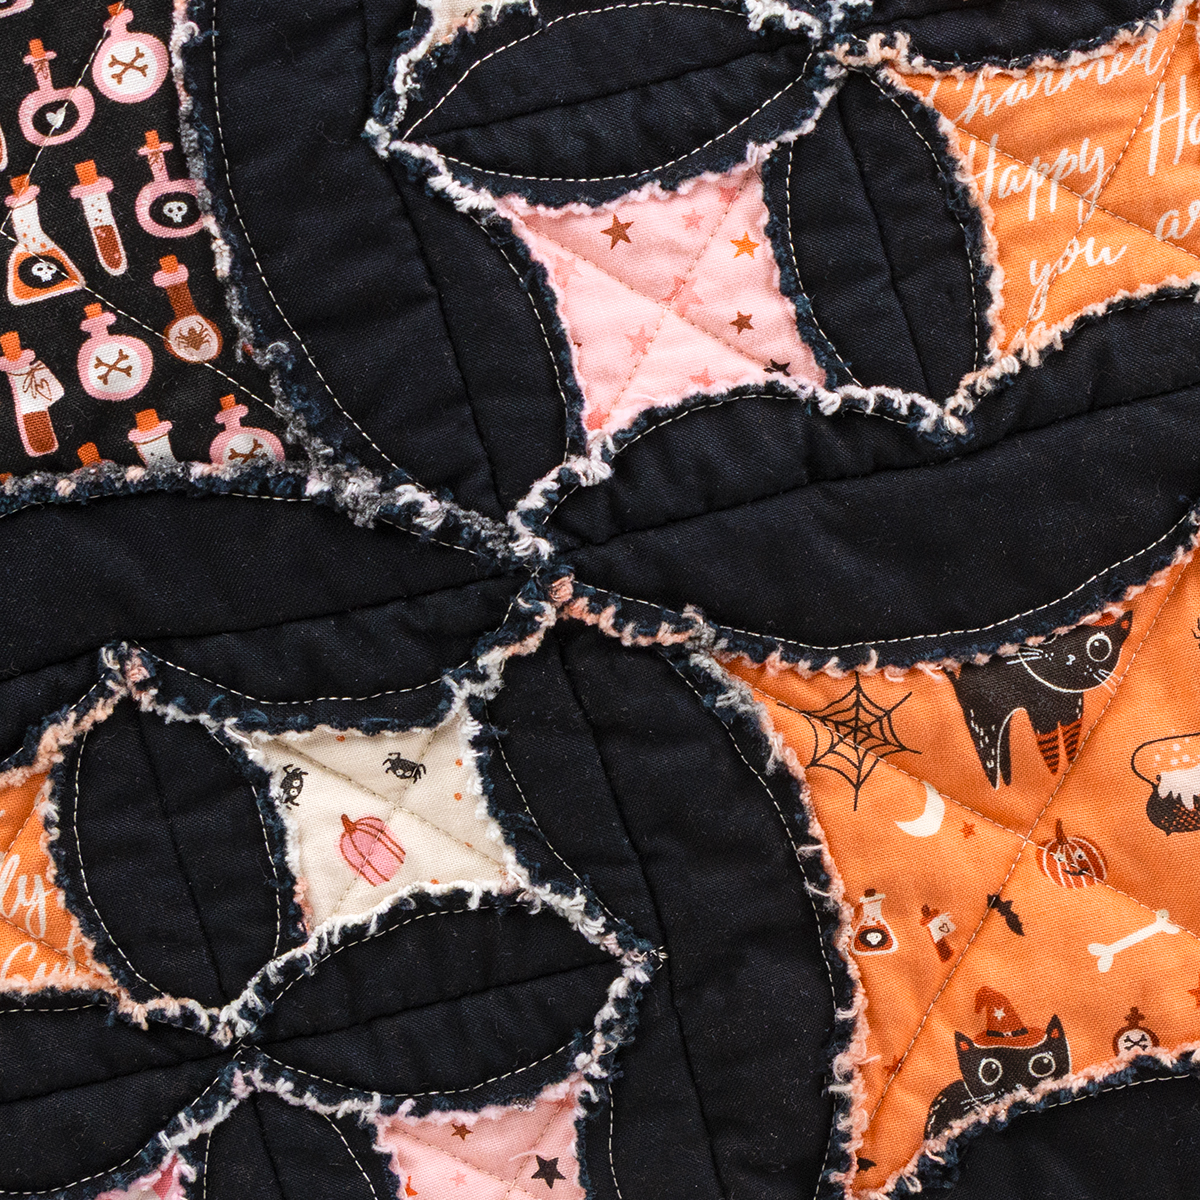
Four Big Bubble and sixteen Little Bubble squares come together in a petite tote that’s pretty and practical. Here is what you need:
- Purrs & Boos Layer Cake
- Black Bella Solids Layer Cake
- Big Bubble Quilt As You Go Template
- Little Bubble Quilt As You Go Template
- 14″ Squares – 12 Pack of 80/20 Silky Blend Happy Cloud Quilt Batting
- Soft and Stable White 18″ x 58″ Stabilizer
- Sewline Blue Fabric Water Soluble Glue Pen
- Sewline White Butterfly Mechanical Fabric Pencil & Lead Pack
- Fiskars 10.5″ Easy Action Pinking Shears
How to Make a Quilt As You Go Tote
Step 1: Make the Quilt As You Go Base
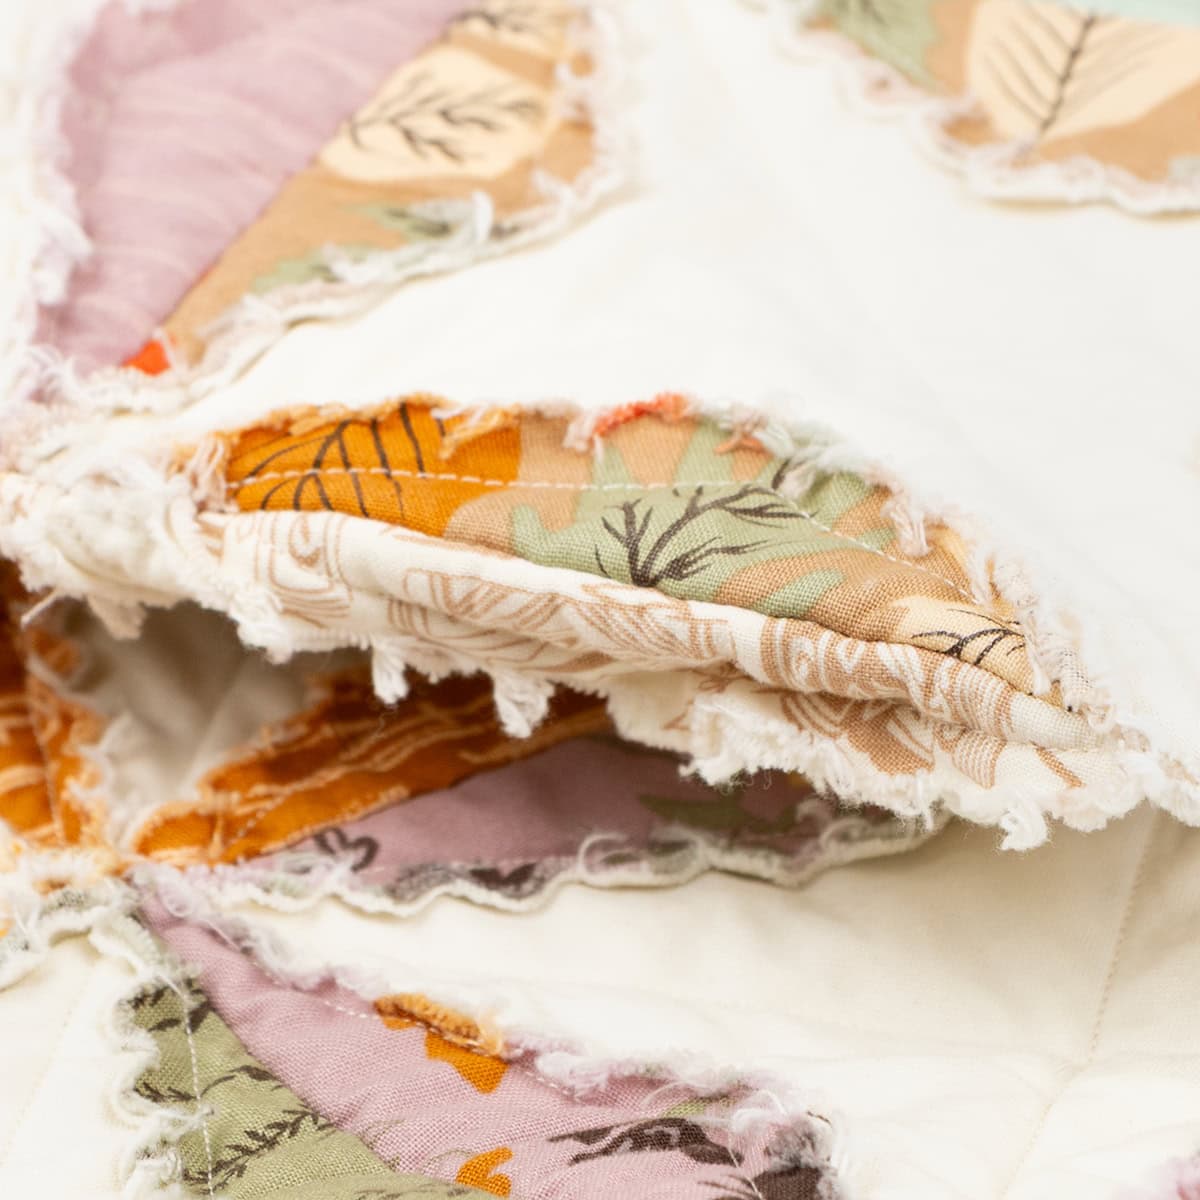
Assemble your quilt as you go squares in the layout for the tote size you’ve chosen. New to the templates? Our Big Birdie, Big Bubble, and Little Bubble video tutorials walk you through every step.
Bulk-Busting Tip: Cut your batting squares at 5″ to reduce bulk in the side seams.
Step 2: Make the Straps
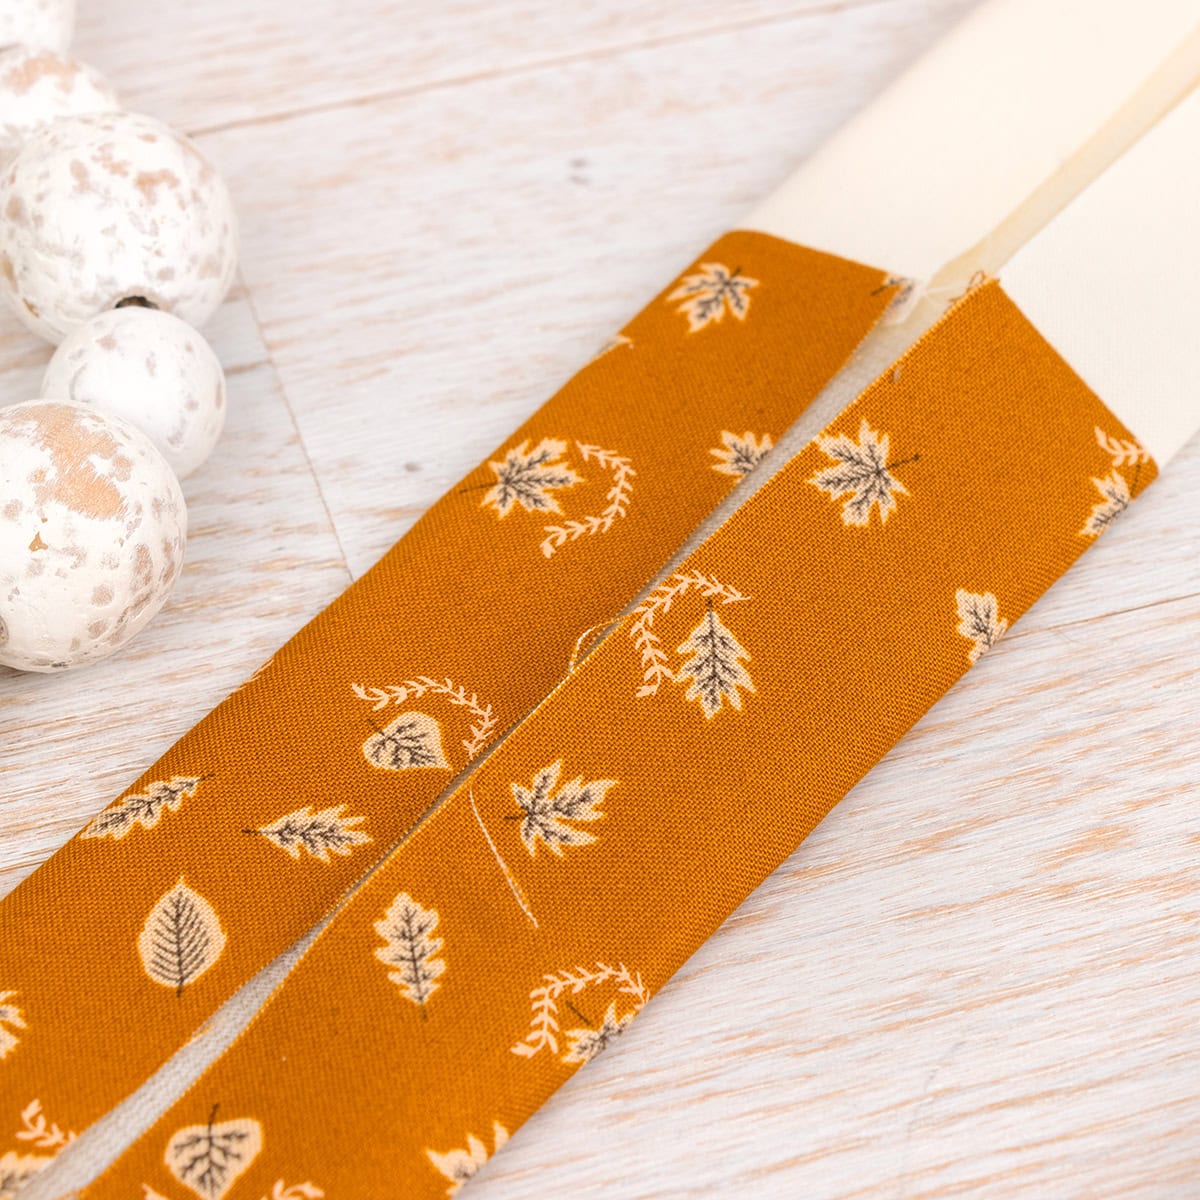
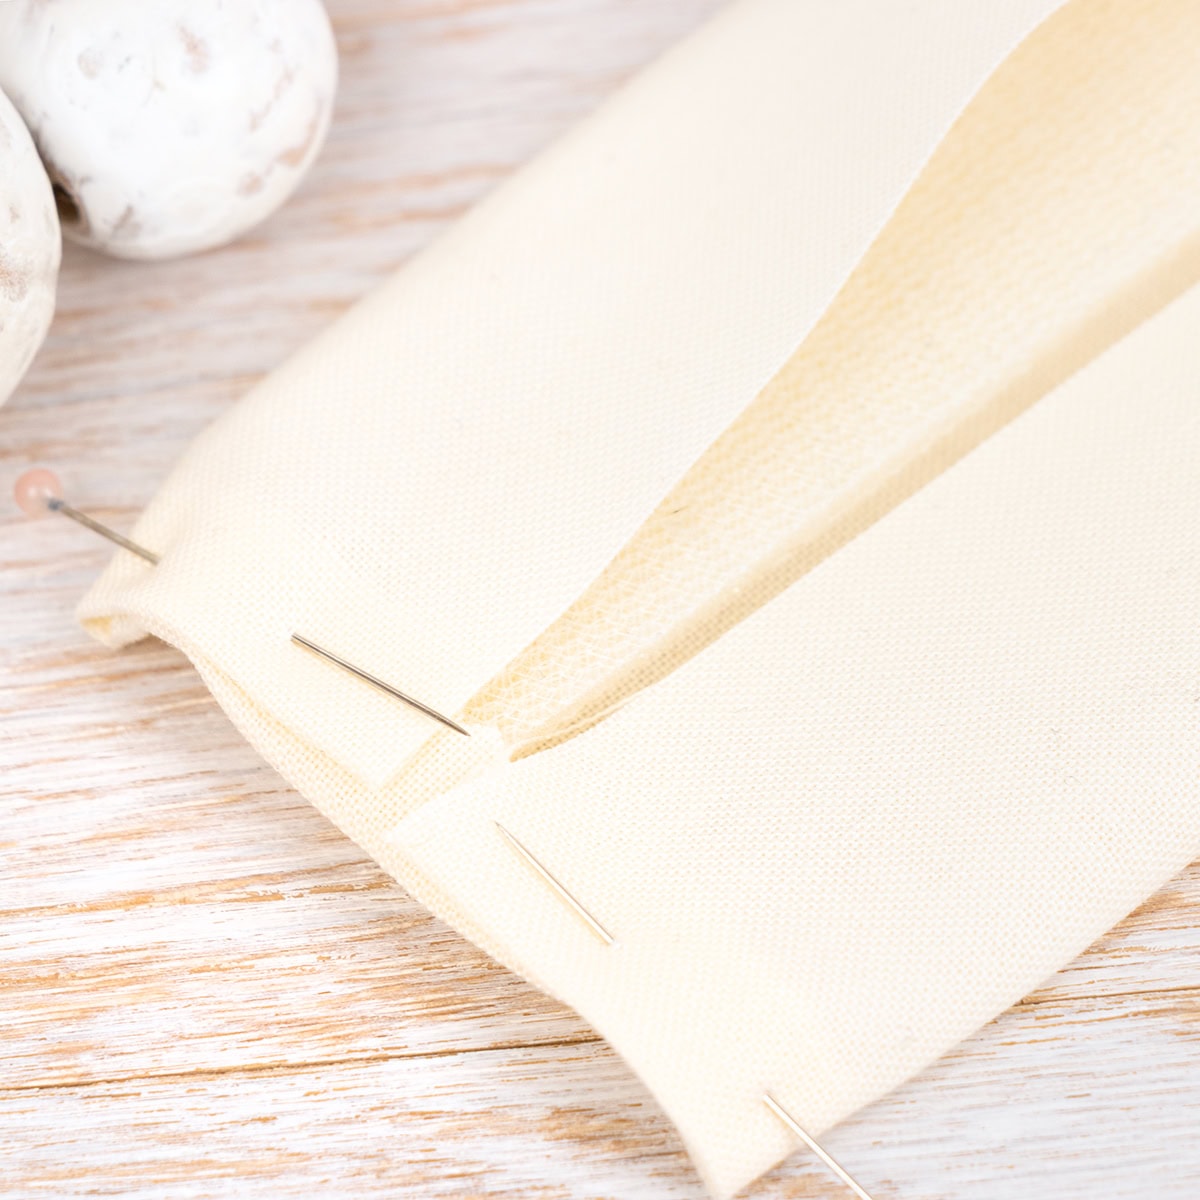
For each strap, cut two 4 1/2″ x 10″ strips from a solid fabric and one 4 1/2″ x 10″ strip from a print. Sew the strips end to end with a 1/4″ seam, placing the print in the middle. Fold the strip in half lengthwise and press. Then fold each long edge in to the center crease and press again.
Cut a 1″ x 29″ strip of Soft and Stable and tuck it inside the folded handle. Topstitch 1/8″ from the edge on all sides to hold it securely in place.
Mini Tote Tip: Keep your solid strips the same, but shorten your print strips to 4 1/2″ x 5″ and your Soft and Stable to 1″ x 24″ for the perfect fit!
Fussy Cutting Tip: Use a Creative Grids 2.5″ Quilting Square Ruler to perfectly center your fussy cut pieces if you’re making strap anchors for your tote.
Step 3: Attach the Straps
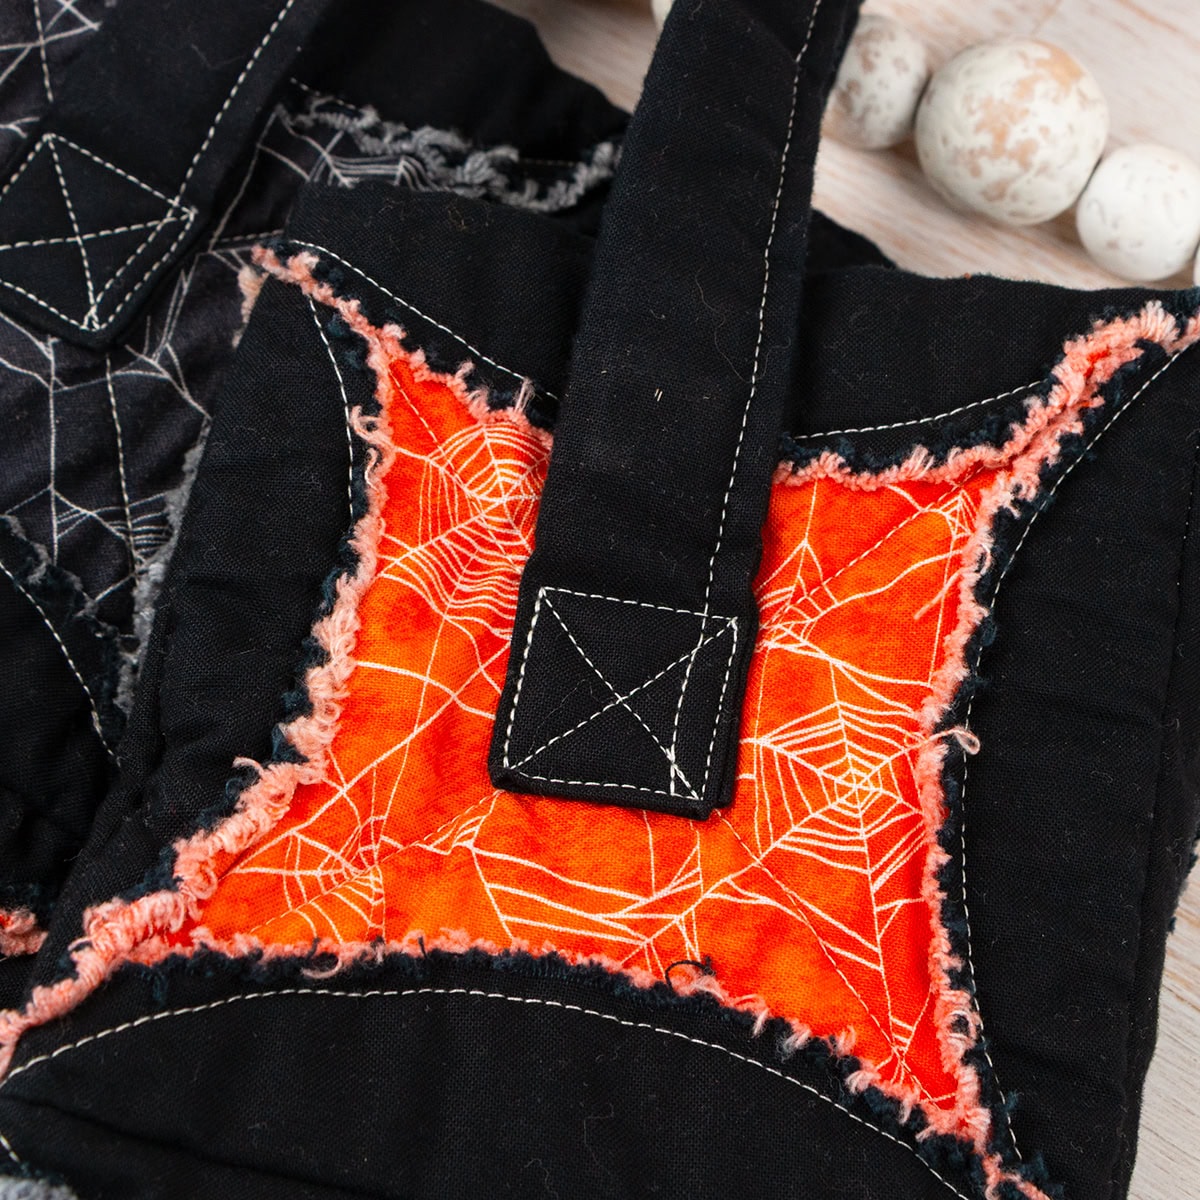
Measure 3 1/4″ down from the bag opening, mark where the bottom of your strap will go, and pin it in place. Click on the photos below to see the three different ways we finished ours, pick your favorite, and secure your straps to your tote.
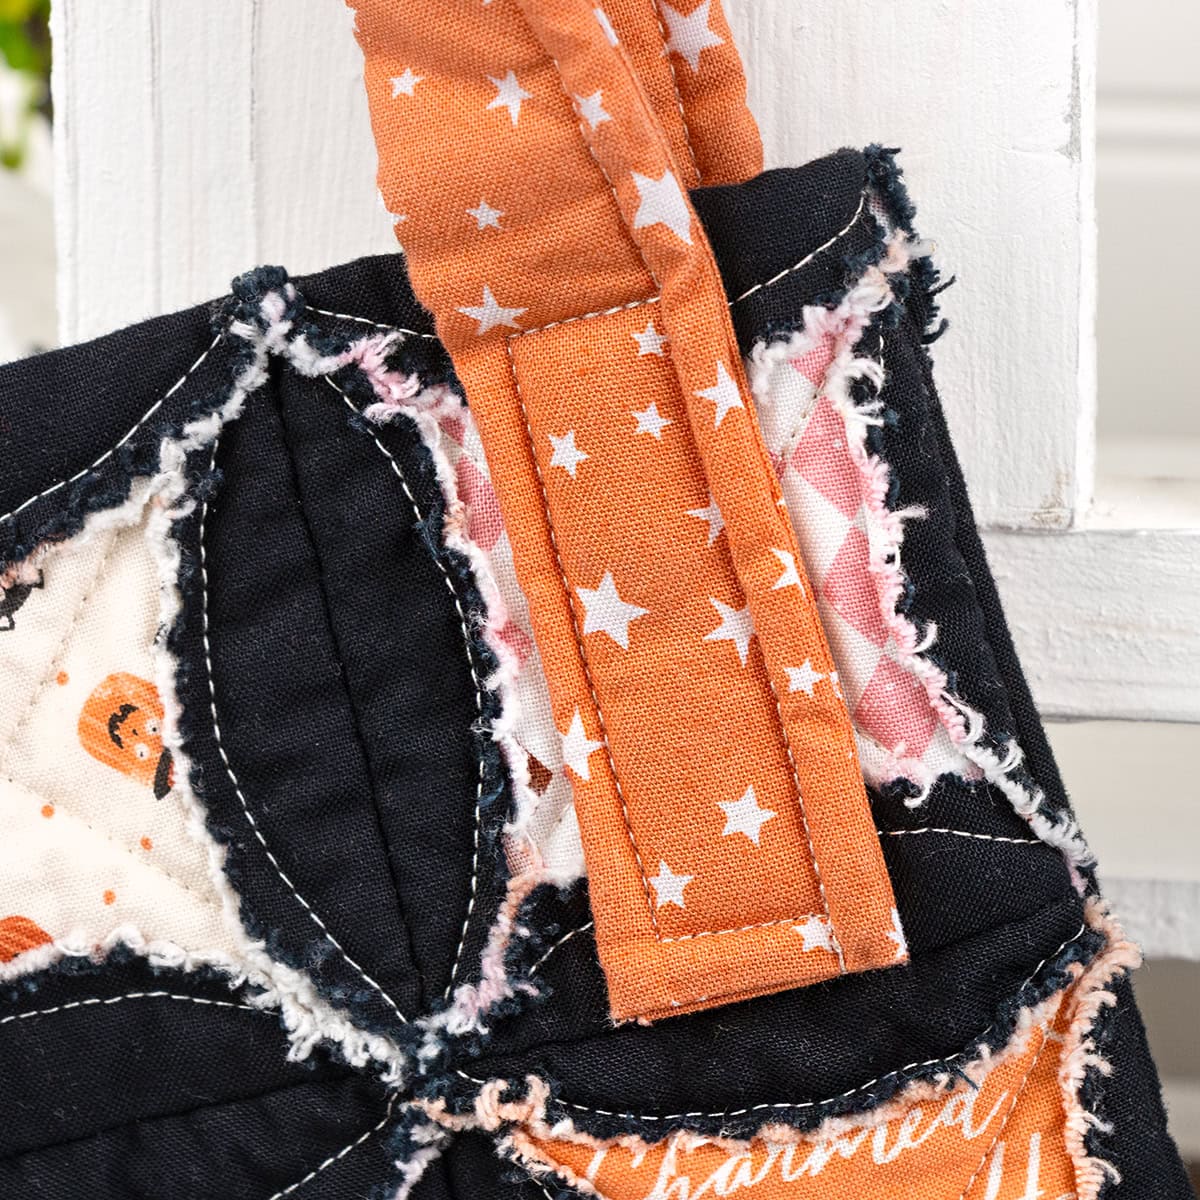
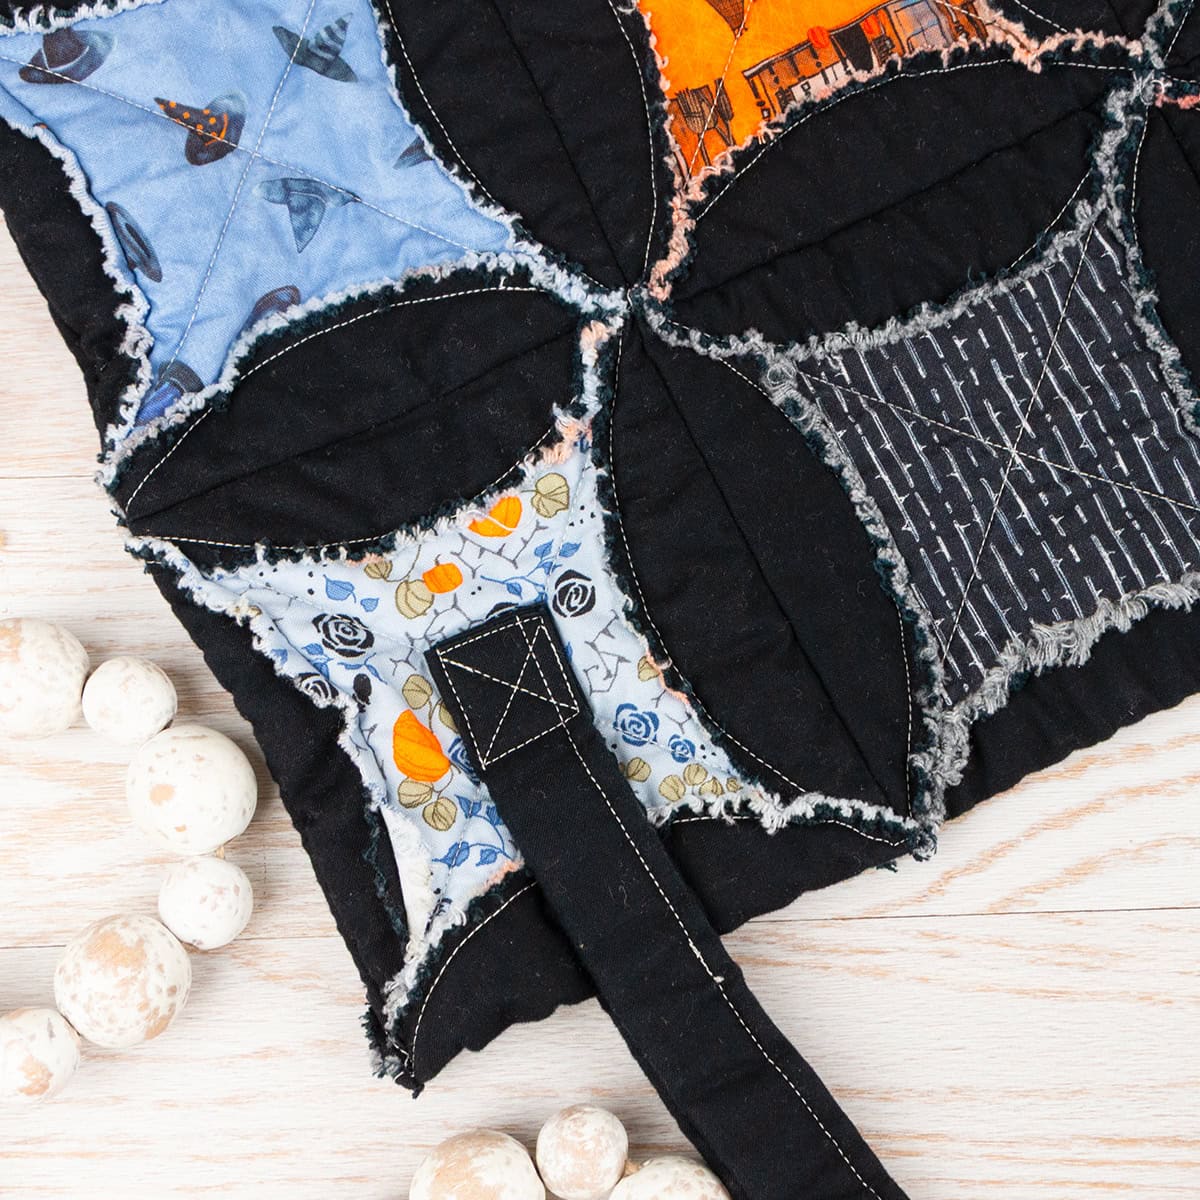
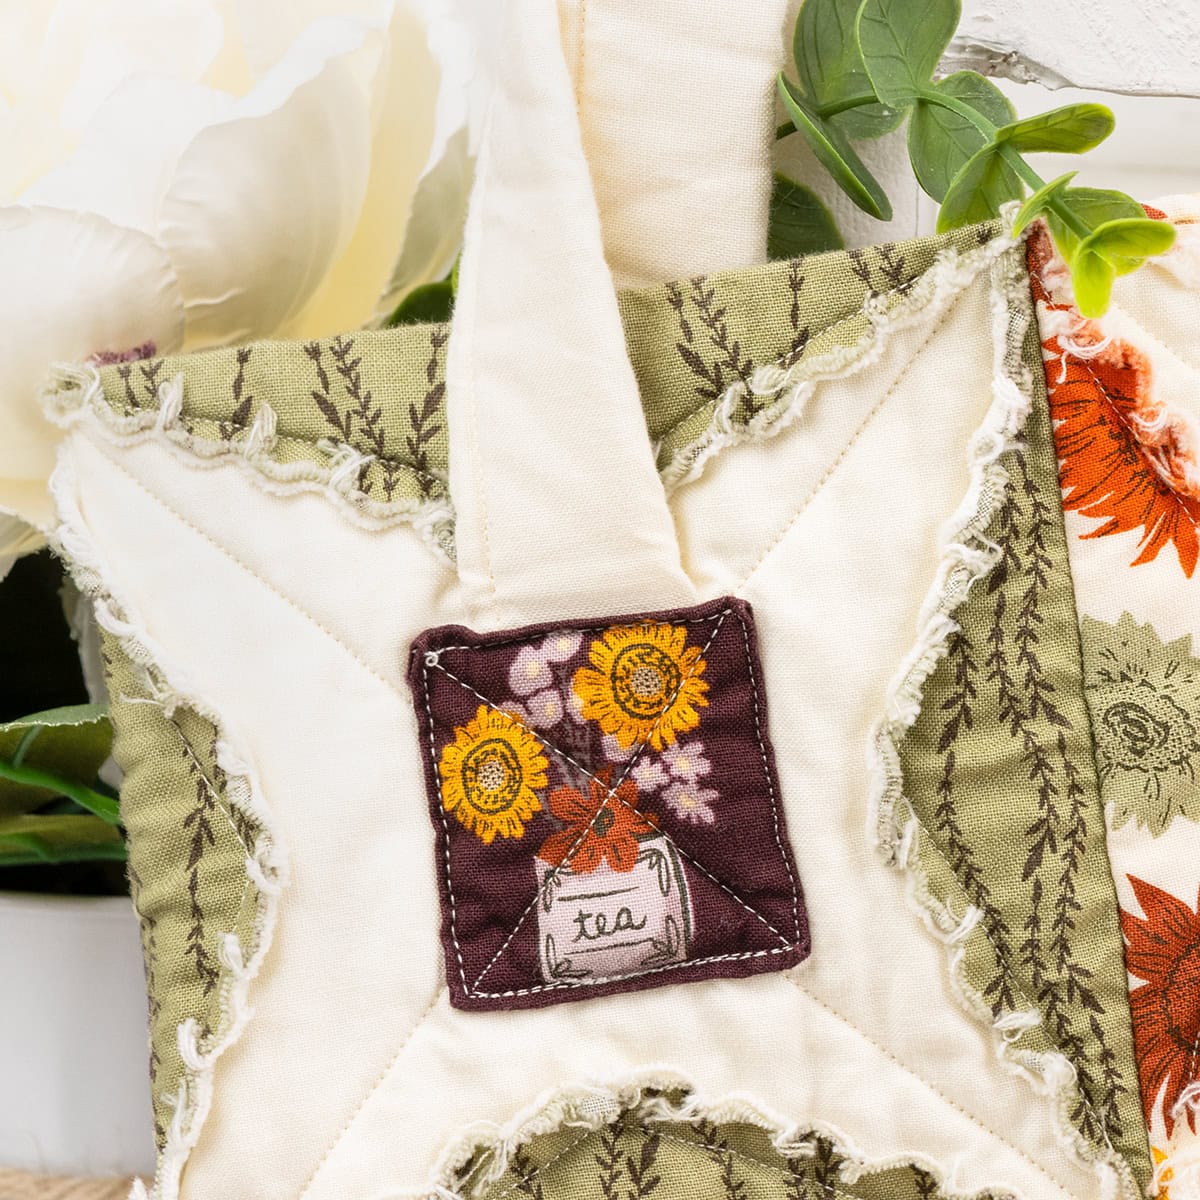
Step 4: Sew the Sides
Fold the bag right sides together and sew a 1/8″ seam along the two open sides.
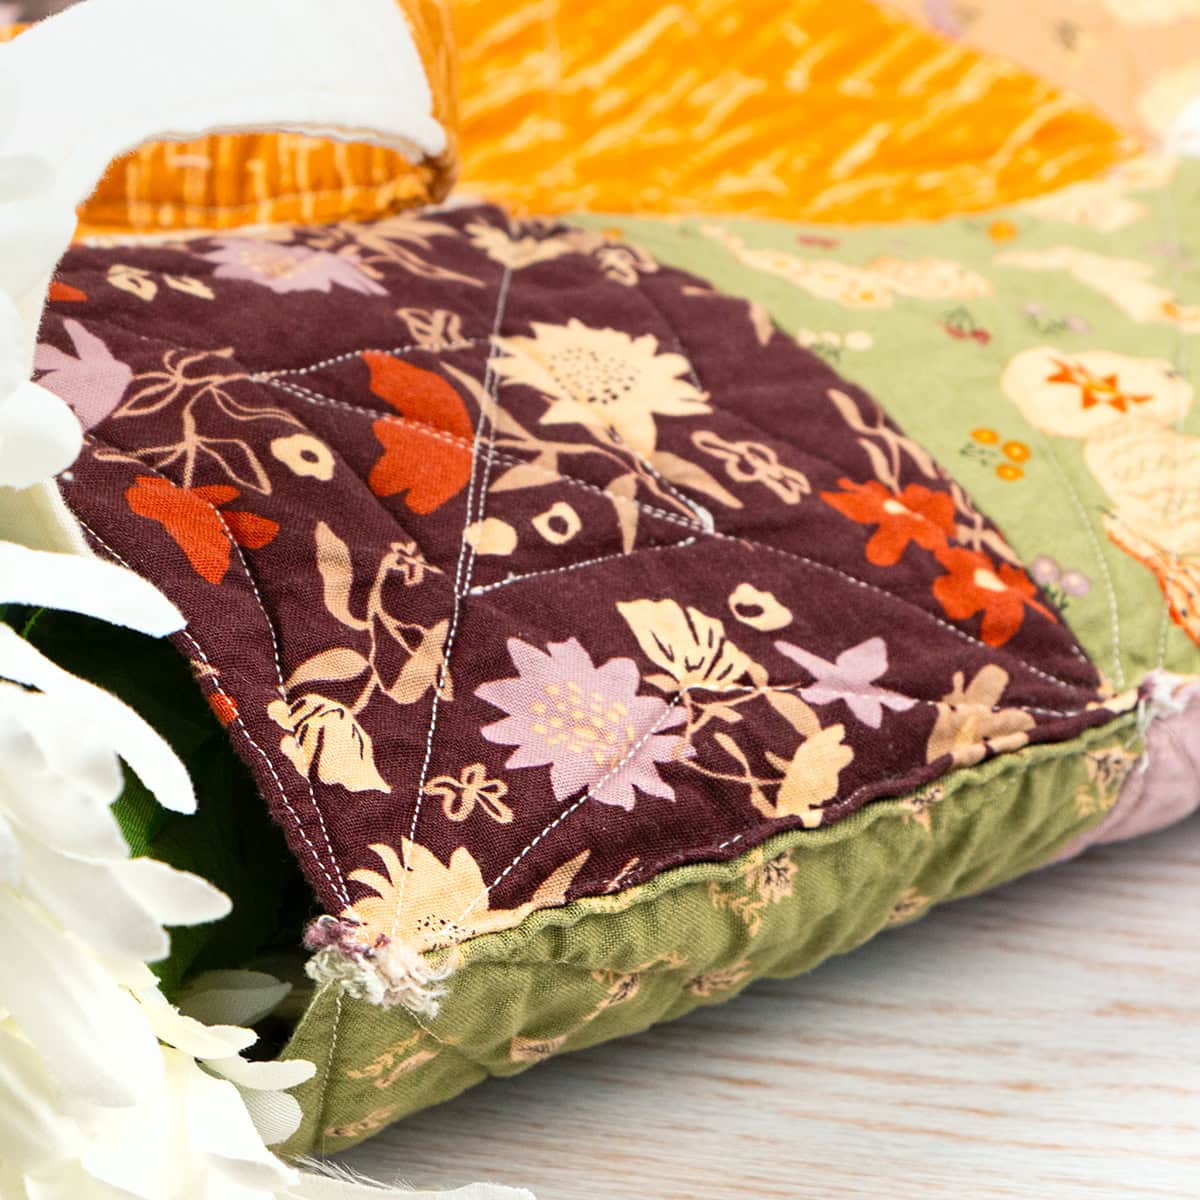
Step 5: Ta-da!
Turn your tote right side out, and it’s ready to fill!
Share Your Totes With Us!
We’d love to see the quilt as you go totes you make! Share them on Facebook and Instagram and tag @fatquartershop. For more quilt as you go inspiration, visit our YouTube channel. Happy sewing from all of us at Fat Quarter Shop!
Stay connected to Fat Quarter Shop!


