
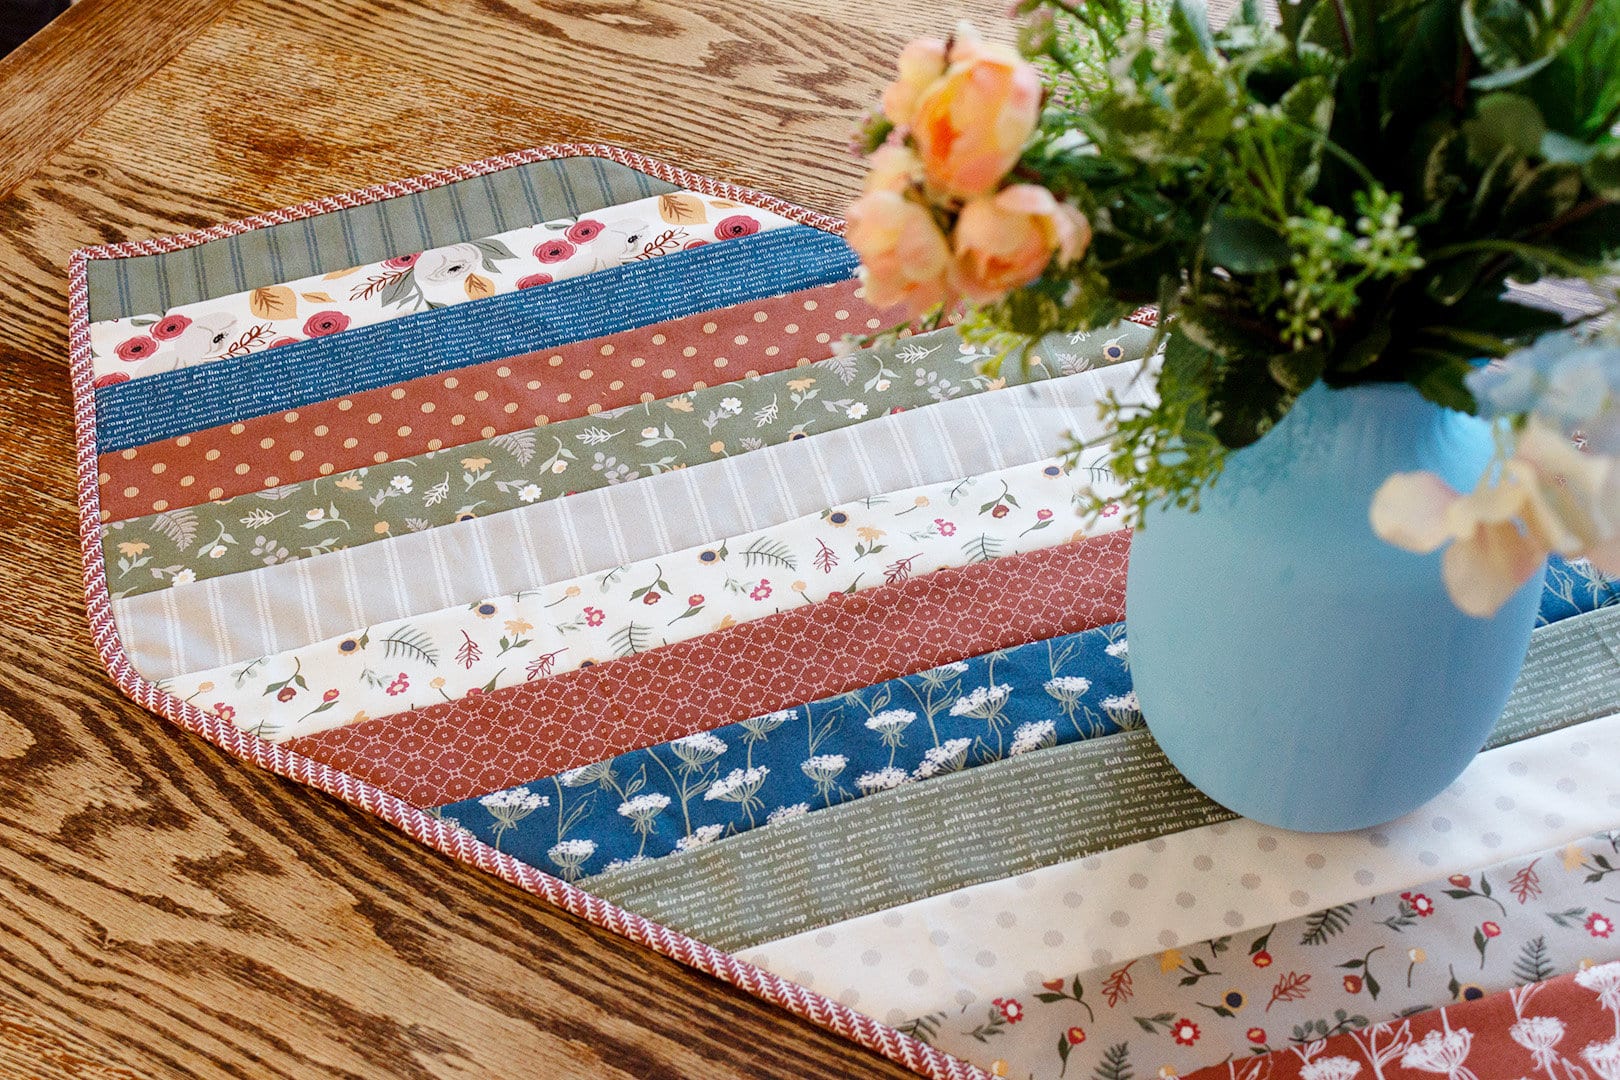
This easy tutorial will get you running to your sewing machine! Today we have a fun and beginner-friendly project that only takes a few hours to complete! Read on for a photo tutorial on how to make a quilt-as-you-go table runner. The magic of this technique is that when you finish piecing the fabric together, you’ll be done with the quilting part, too.
Quilt As You Go Table Runner Supplies
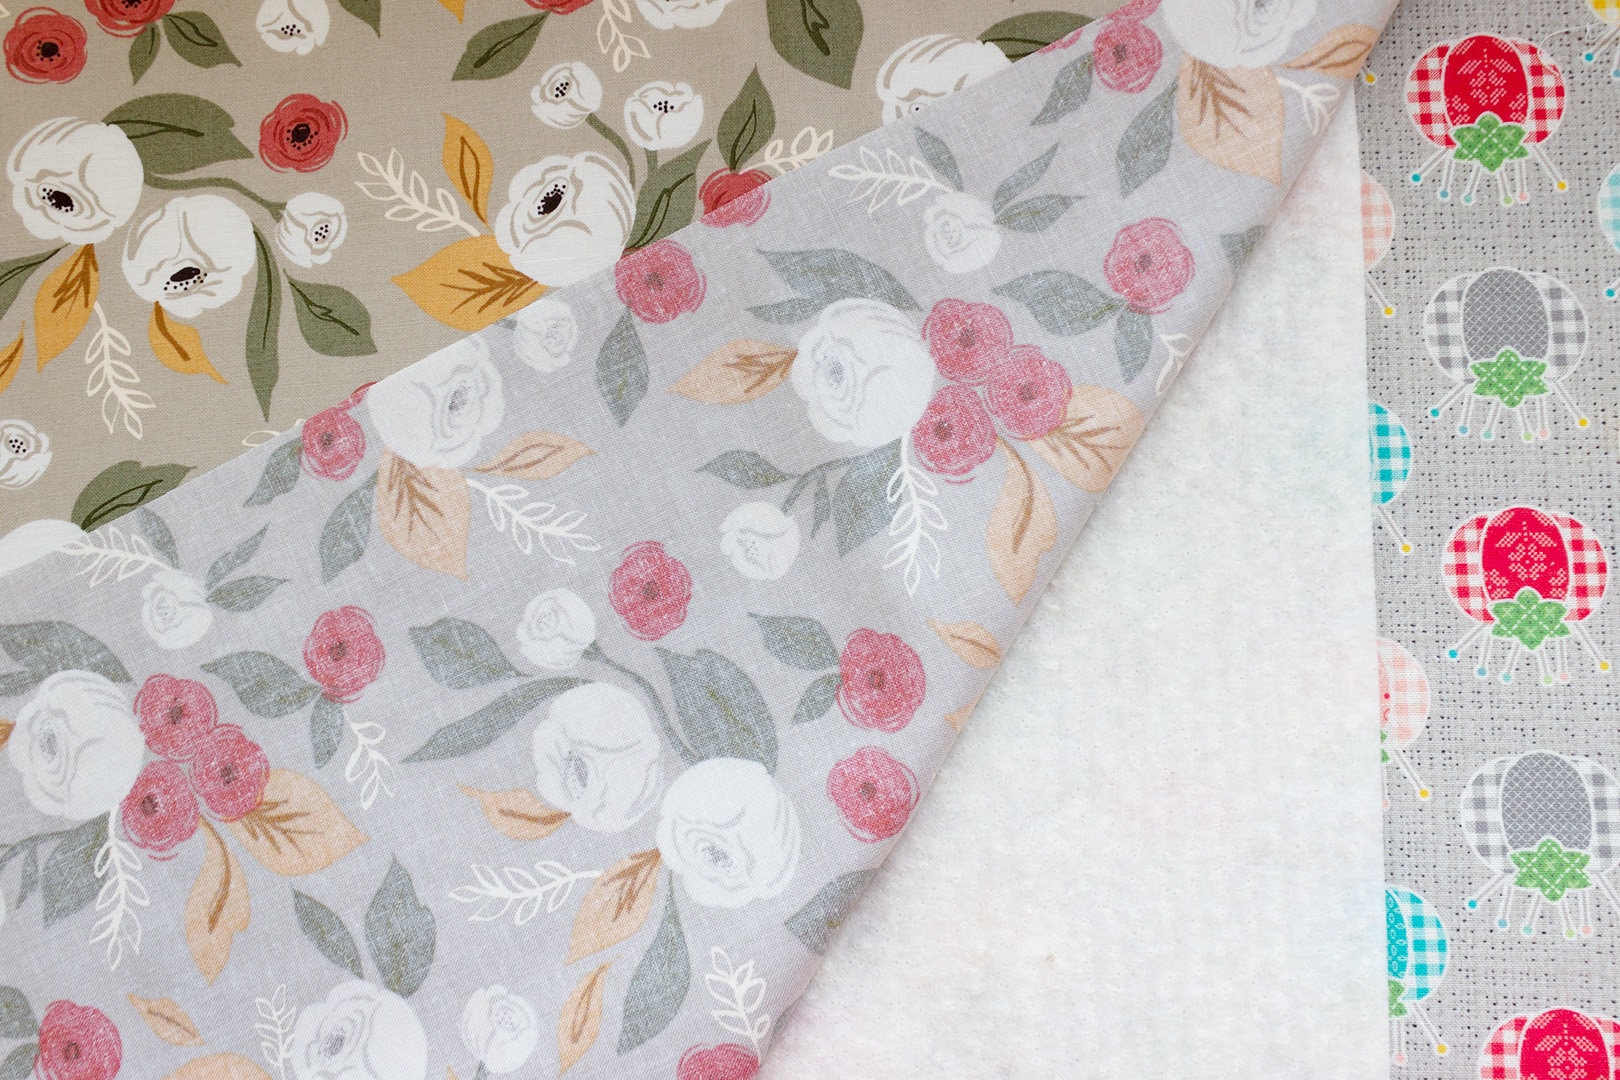
- One pack of Tablerunner Batting by Happy Cloud
- Marking pen (that won’t disappear with heat)
- 1.5 Yards fabric for backing (Cut to 52″ x 33″ rectangle)
- Half Yard fabric for binding
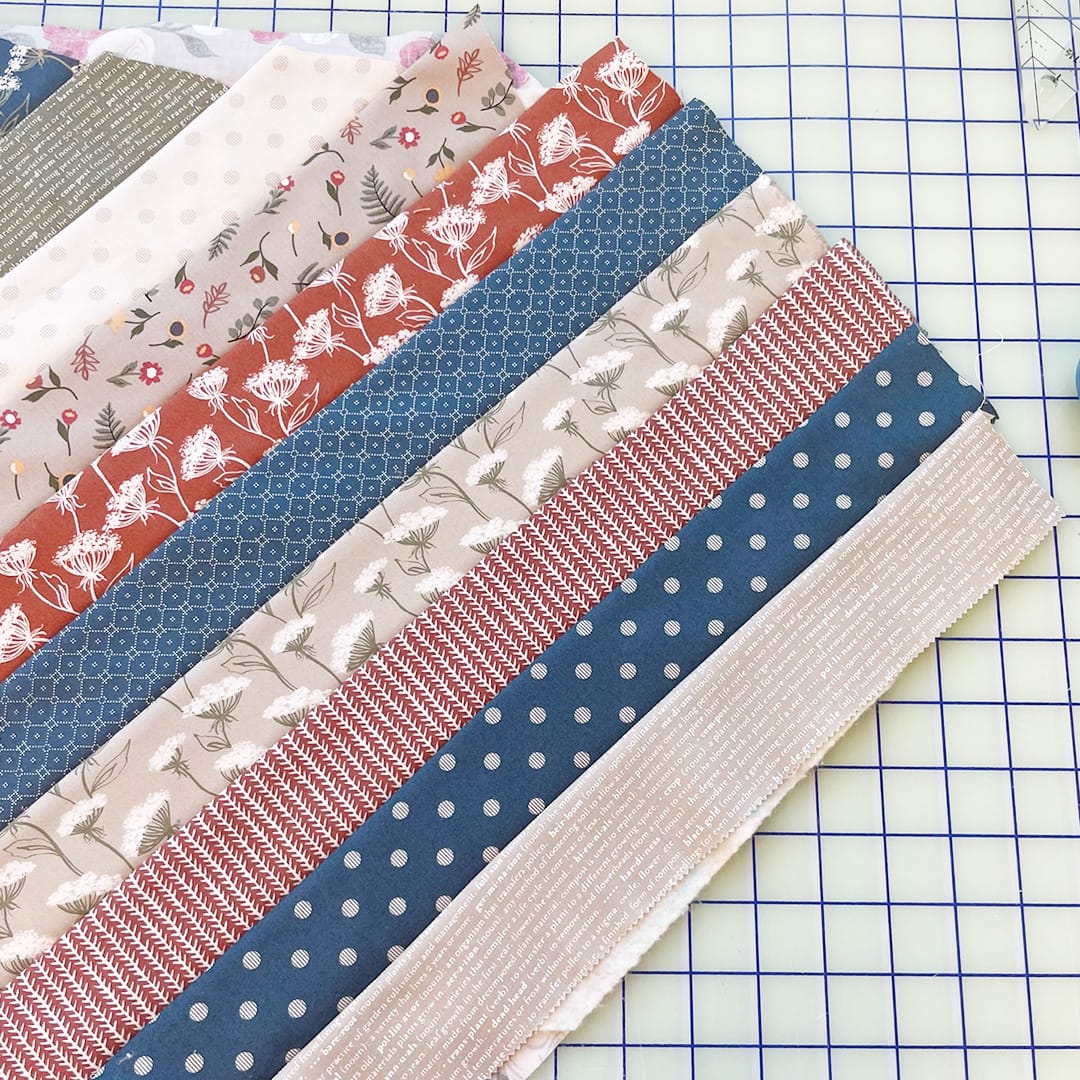
- One Junior Jelly Roll (18 – 2.5″ x 42″ strips)
- For the easiest beginner-friendly option, use 2.5” or Jelly Roll strips as we did, and cut your excess fabric off at the end or as you go.
- If you choose not to use precut Jelly Roll strips, the cutting information for your 2.5” wide strips (in sewing order from one end to the other) is as follows:
| Strip 1 | Strip 2 | Strip 3 | Strip 4 | Strip 5 | Strips 6-13 | Strip 14 | Strip 15 | Strip 16 | Strip 17 | Strip 18 |
| 15″ | 17″ | 19″ | 21″ | 23″ | 25″ | 23″ | 21″ | 19″ | 17″ | 15″ |

We’re using selections from the collection Flower Pot by Lella Boutique for Moda Fabrics. We just had to use these lovely floral designs that are perfect for year-round home decor! Our backing and binding are also from Flower Pot in Taupe Meadow and Clay Sprout.
Steps to Make a Quilt As You Go Table Runner
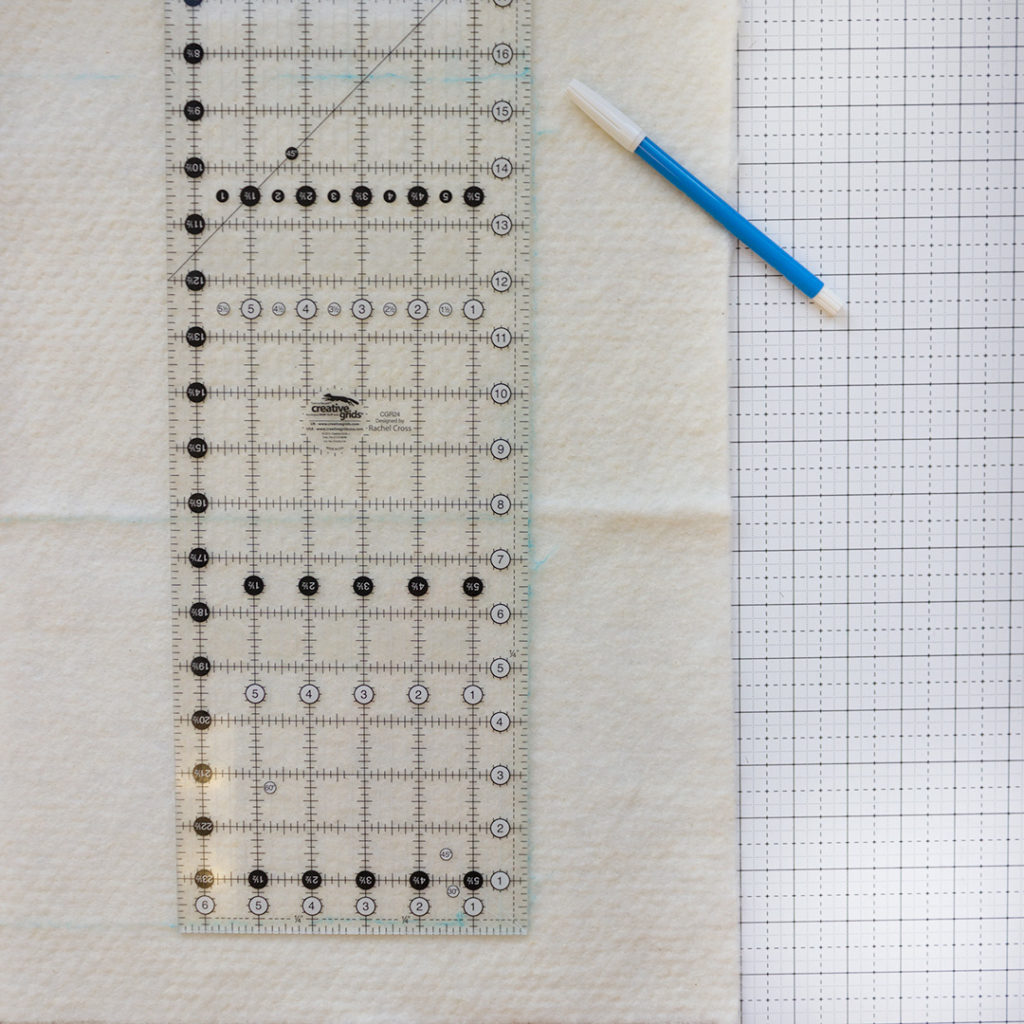
Your first step is to mark the batting. Using a marking pen (you won’t see it once you add fabrics), draw a 48” x 15.5” rectangle. Then find the middle point and draw a center line from one end to the other lengthwise down the middle of your rectangle.
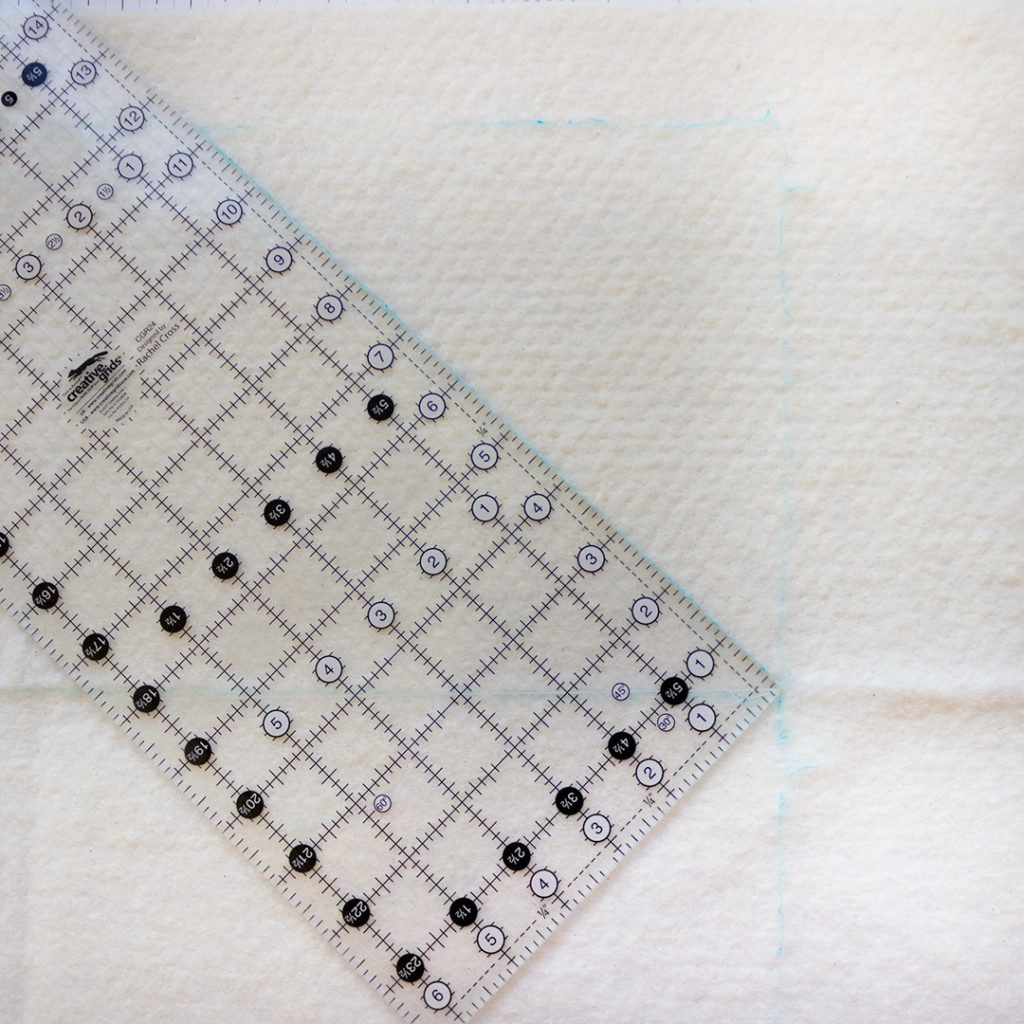
Now it’s time to make the angled points of the table runner, draw an 11” line at a 45-degree angle from the middle point toward the outside line of the rectangle. Repeat on the other side of your center line and then the other end of the rectangle.
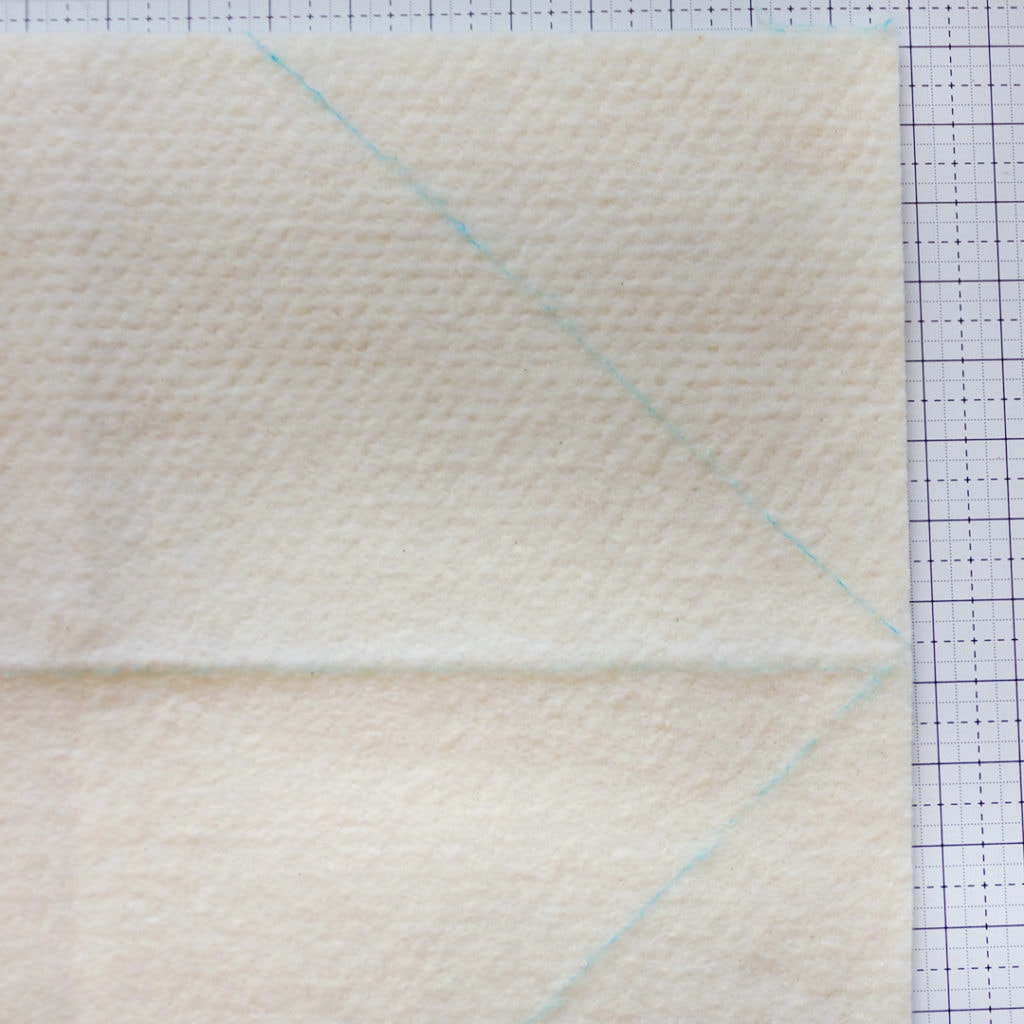
Note: At this point, you can cut on the 11” lines to get pointed ends to guide your cutting at the end, or leave it and measure to cut after sewing the strips in place. We cut after, but it’s up to personal preference.
Center your backing on your batting fabric. Press to ensure there are no wrinkles before you proceed to the next step. You can also choose to baste the backing to the batting at this point, though that’s optional since the piece is so small there shouldn’t be much shifting.
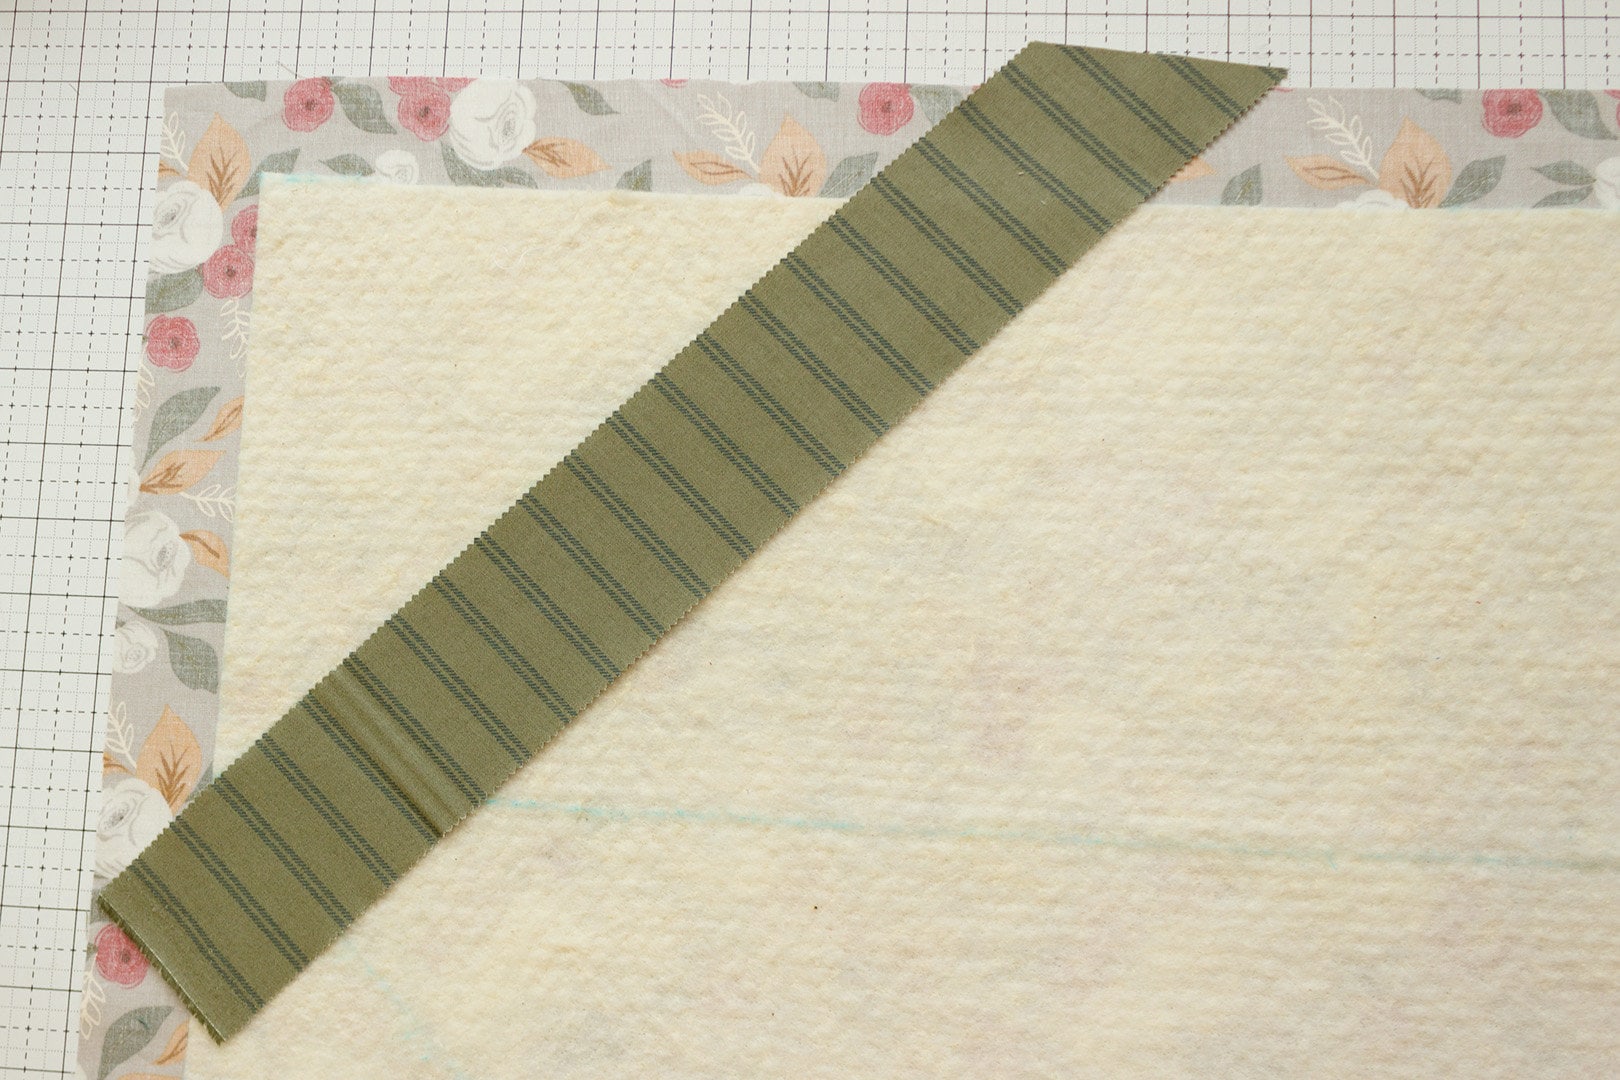
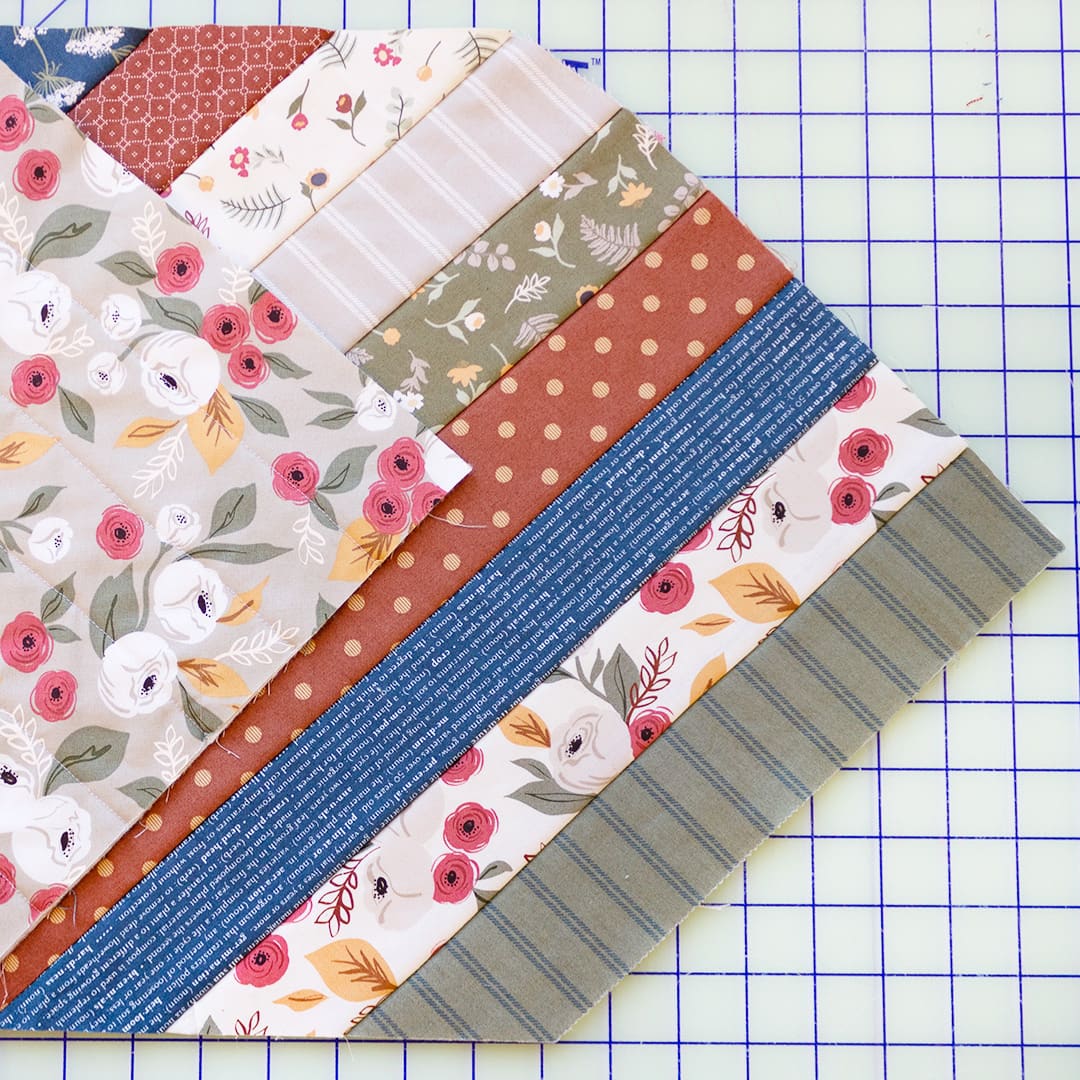
Select a Jelly Roll strip and line up with one of the angled lines at the end. Select a second one, place it on top of the first, right sides together, and pin along the inner edge(toward the rest of the batting).
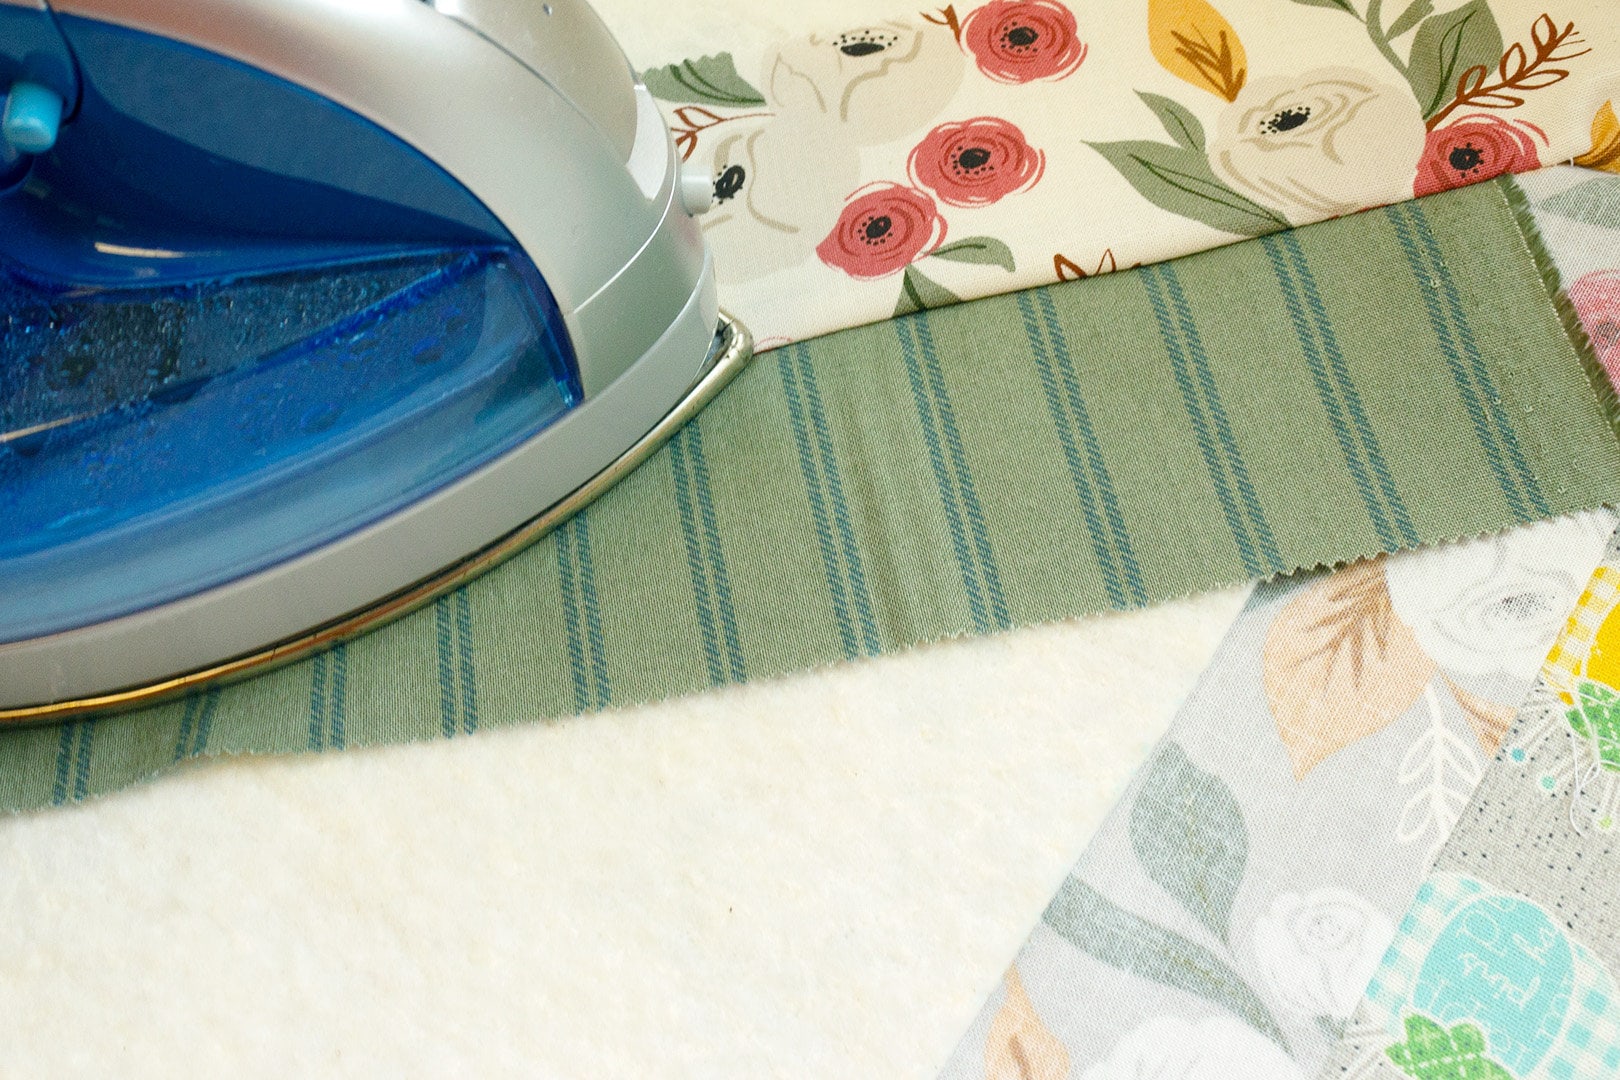
Sew a quarter-inch seam, then press the top fabric piece open. Now you’ll have two strips facing up.
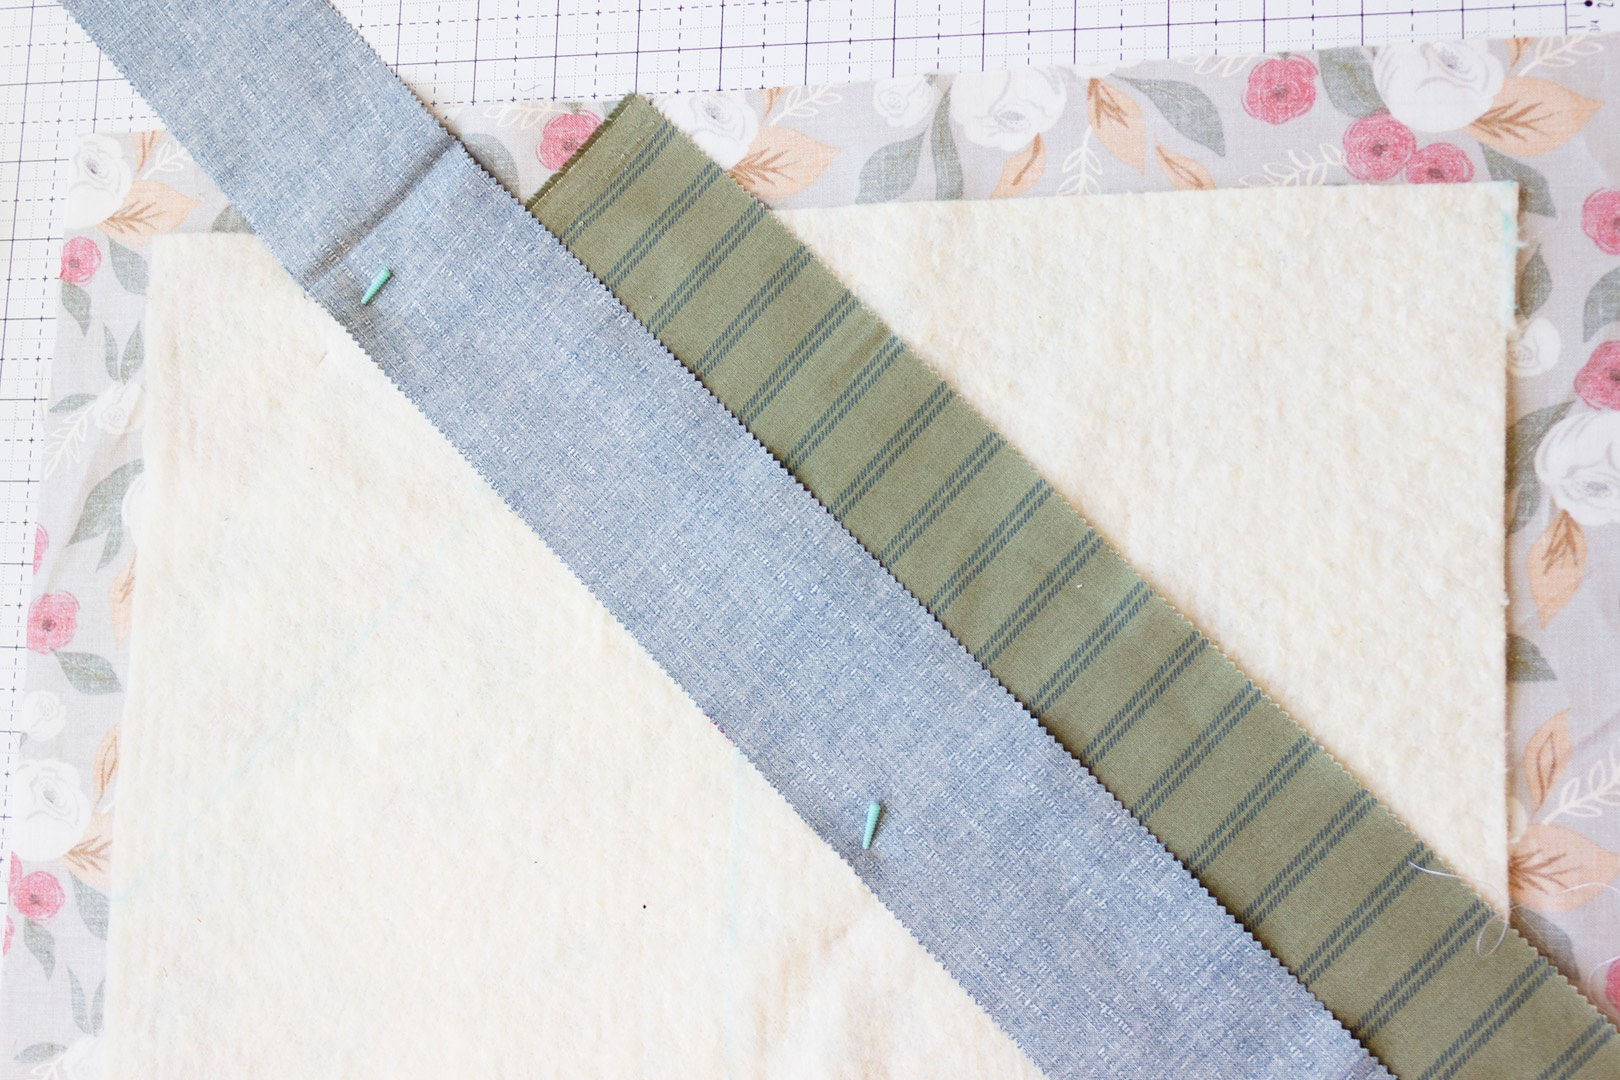
Select another Jelly Roll strip, place it over the second Jelly Roll strip, right sides together, and pin the edges. Sew along this edge and then press the strip open. Repeat this process across the batting with all the remaining strips.
Note: Be sure that the fabric strips extend past the width of your drawn rectangle to ensure your fabric covers the table runner shape. As you’re adding strips, the edges will look uneven, but you will trim off the excess after you’ve sewn all the strips to the batting.
When you’re done, take your ruler and trim down the excess backing and fabric strips that go beyond the rectangle sides and endpoints. The final quilted sandwich should measure 48.5” from point to point, and the rectangular part should measure 15” wide.
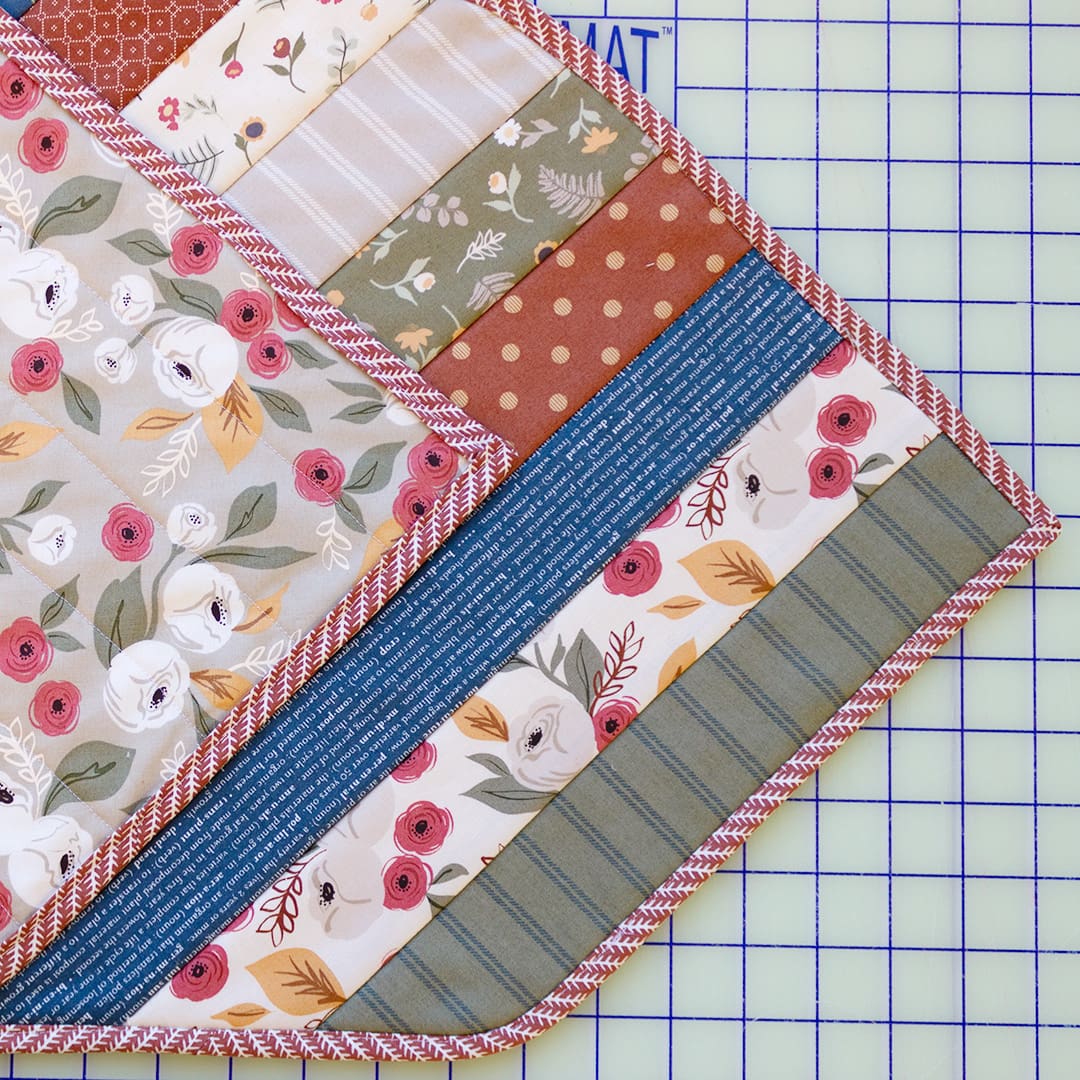
Now it’s time to add bias binding! You will need to make 2.5″ wide strips of bias binding as it will bend to better adhere to the pointed edges of the table runner. We followed this video to make bias binding and attached it using the machine binding method in this video for a quick finish!
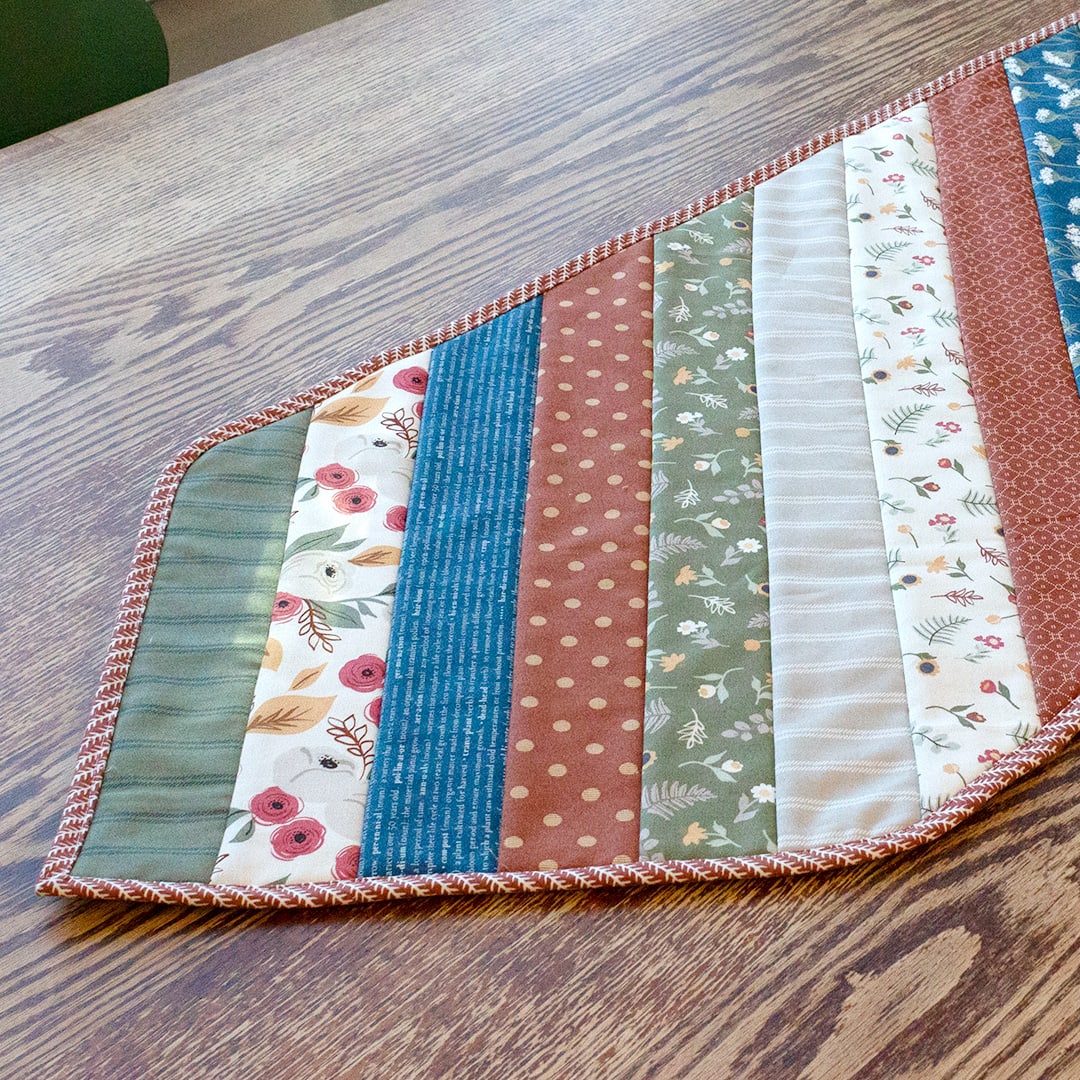
You’re all done! Your new table runner is ready to be placed in your home. You can find more fun and easy projects on our tutorial page!
Share with FQS
We hope you decide to make your own tree skirts this holiday season, and if you do, be sure to share them with us on Facebook and Instagram using #QAYGTableRunner and tagging @fatquartershop so we can see and share your work!
Happy sewing!
Stay connected to Fat Quarter Shop!


