
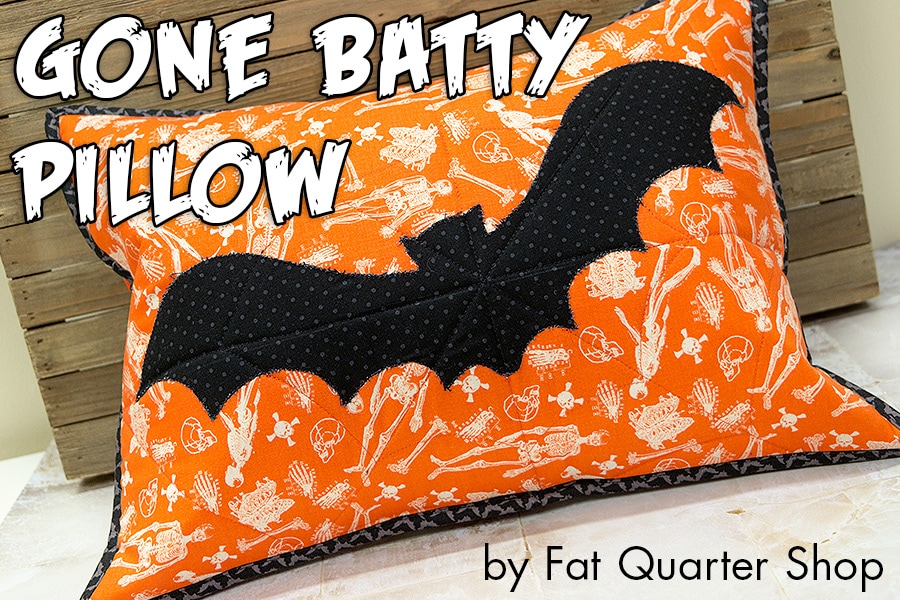
Welcome to the last project in our In Stitches pillow series for the WeAllSew blog! It is now October, and with the impending holiday season upon us, we’re feeling a bit… batty! We hope you love this fun-not-frightening pillow featuring Eek Boo Shriek by Carina Gardner for Riley Blake Fabrics. Featuring an applique of a swooping black bat, we have aptly named it the Gone Batty Pillow, and it can be whipped up in just a few hours, just in time for Halloween. Share your versions with us on Instagram so we can share them too!
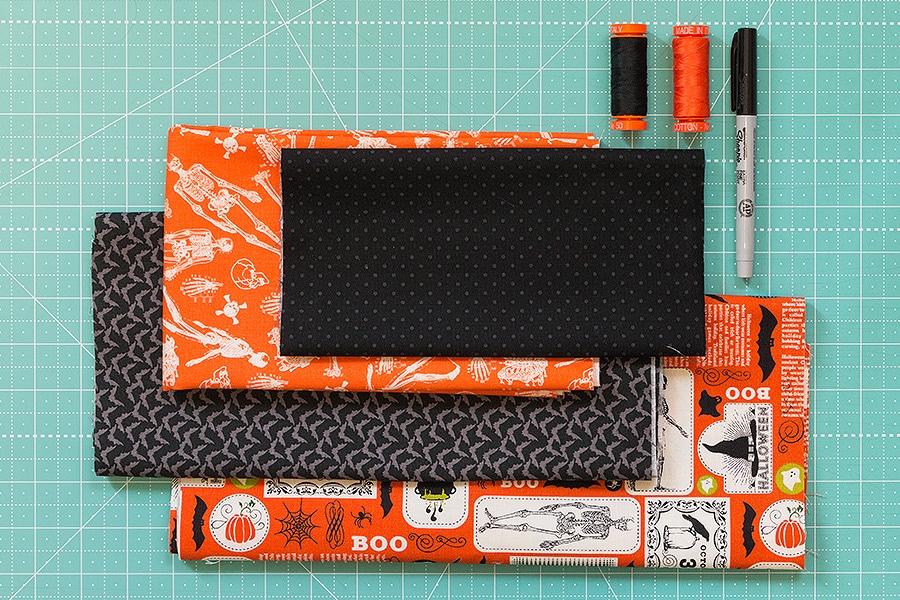
Here’s what you’ll need for the Gone Batty pillow…
Fabric Requirements & Tools:
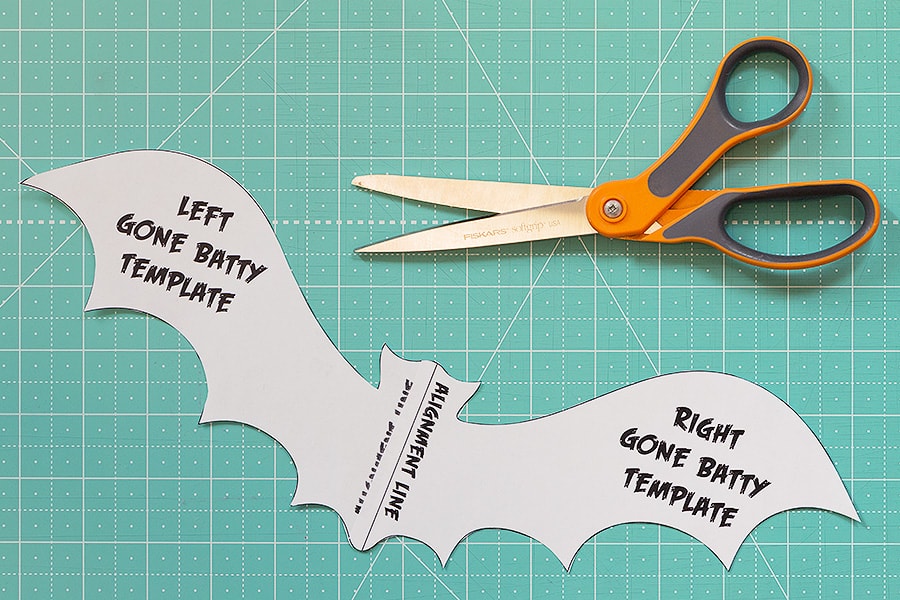
- one printout of the Gone Batty pillow template – please print at 100% scale
- 1/2 yard for pillow top – we used an orange skeleton print
- 9″ x 20″ for bat applique – we used a black dot print
- 3/8 yard for pillow back – we used an orange graphic print
- 1/4 yard for binding – we used a black tonal bat print
- 1/2 yard batting
- 1/2 yard muslin
- coordinating thread for piecing and applique – we used Aurifil 50 wt 2692 and Aurifil 50 wt 1154
- One 12″ x 16″ pillow form
- a marking tool to trace the applique
- paper scissors to cut out the applique
Cutting Requirements:
From the pillow top fabric, cut:
1 – 14 1/2″ x 18 1/2″ rectangle
From the pillow back fabric, cut:
2 – 12 1/2″ x 20 1/2″ rectangles
From the binding fabric, cut:
2 – 2 1/4″ x WOF strips
From the batting, cut:
1 – 14 1/2″ x 18 1/2″ rectangle
From the muslin, cut:
1 – 14 1/2″ x 18 1/2″ rectangle
Assembly Instructions:
Cut out and tape the Left and Right Gone Batty bat template pieces together along the Alignment Line to create the complete bat applique template.
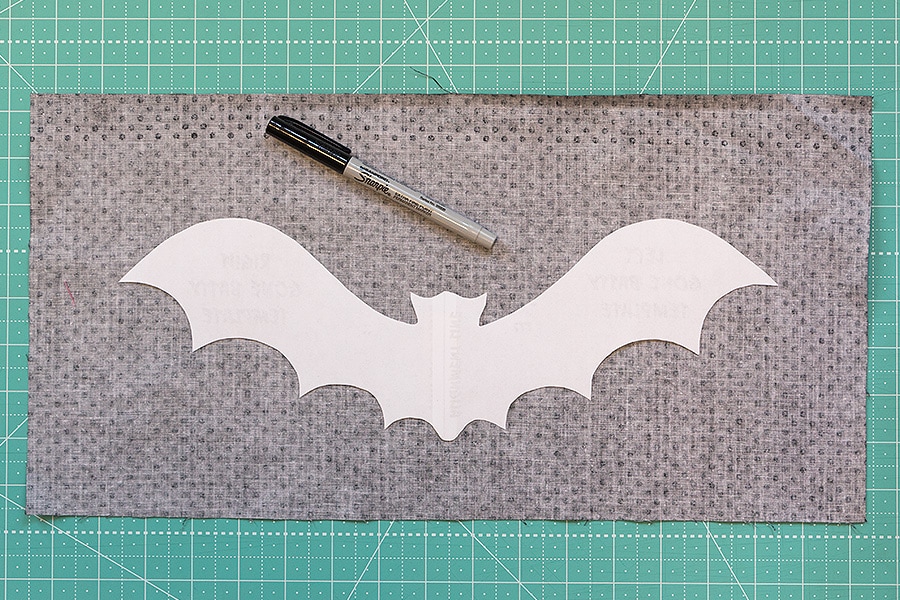
Using the complete bat applique template, trace the bat applique template on the 9″ x 20″ rectangle. Templates are actual size and do not include a 1/4” seam. We used raw edge applique, but if you prefer a needleturn applique method, please add a seam allowance when tracing. Since we used black fabric for our bat, we traced it on the back side of the fabric.
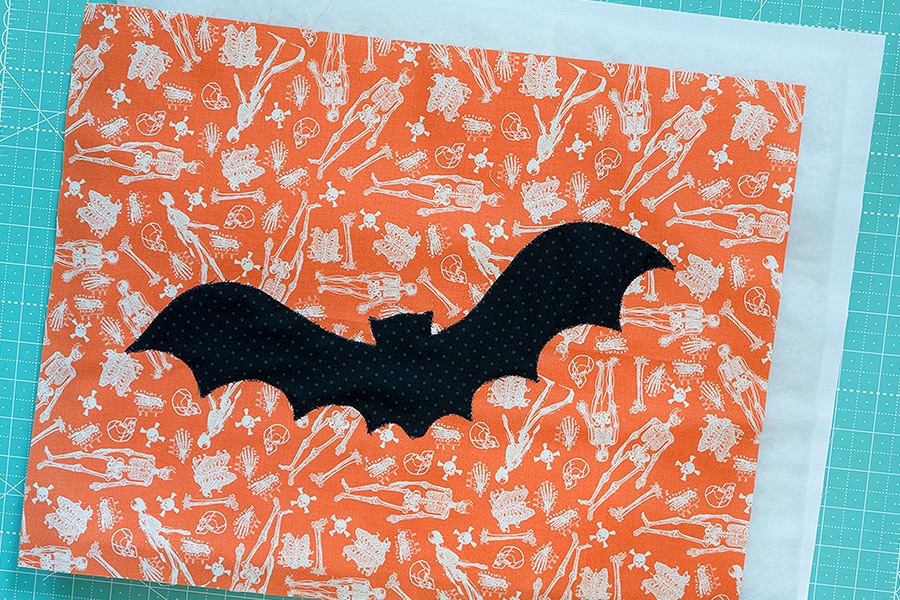
Place the bat as you like on the pillow top fabric. We centered the bat, tilting it slightly down on the left side.
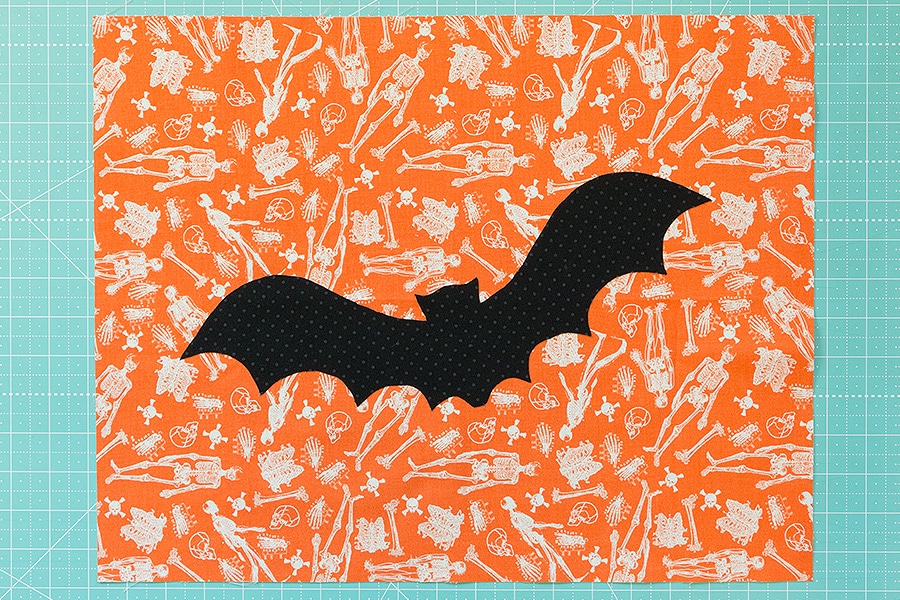
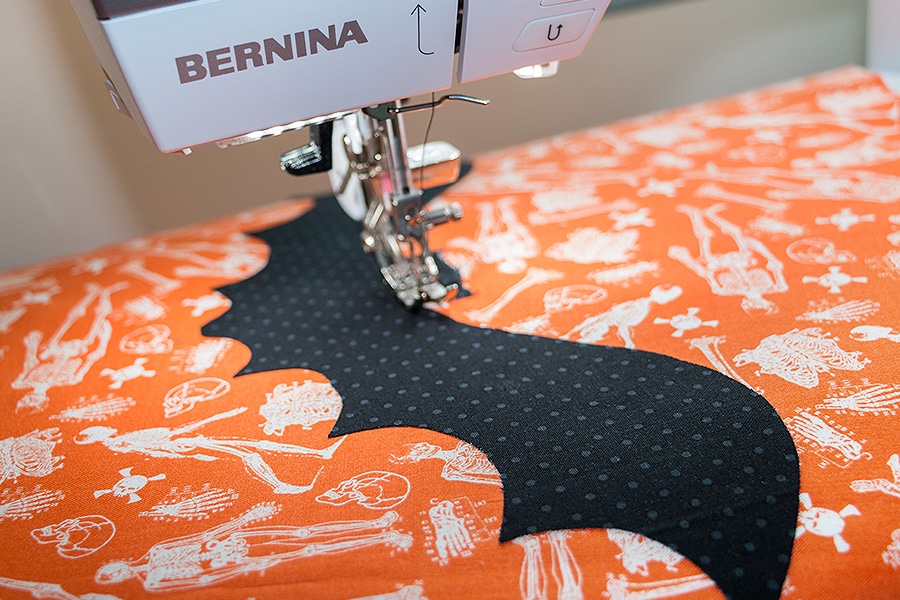
Applique the bat on the 14 1/2″ x 18 1/2″ pillow top fabric. We used black thread and a blanket stitch (stitch #1329) to cover our raw edges.
Layer the pillow top, batting and muslin.
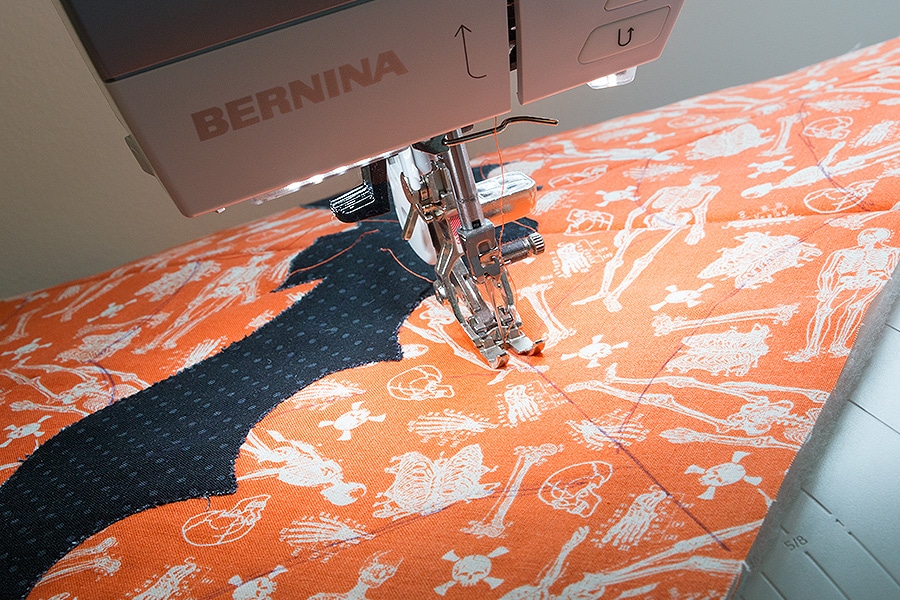
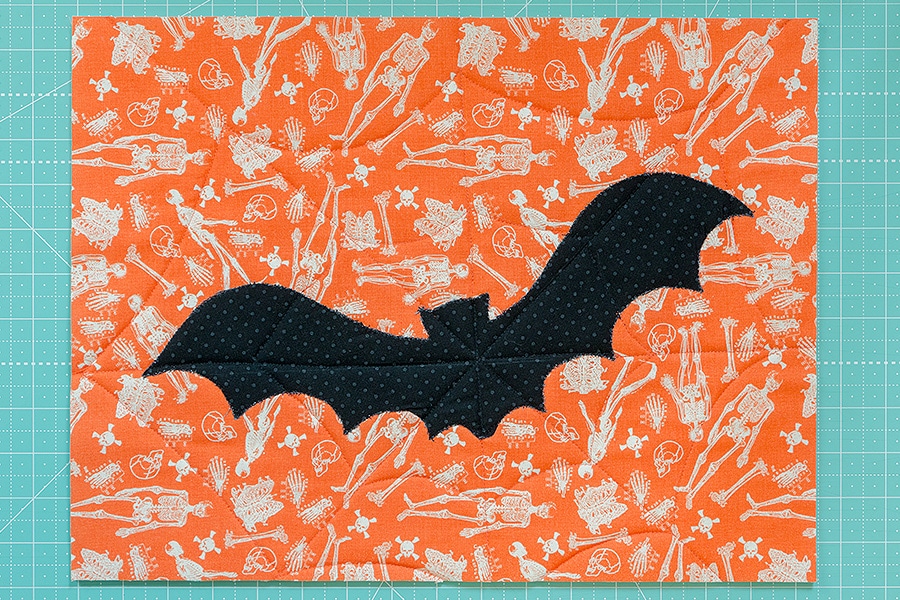
Quilt as desired. With a Frixion pen, we drew a large spiderweb pattern around the pillow and quilted over it with the orange thread.
Trim the pillow top to measure 12 1/2″ x 16 1/2″.
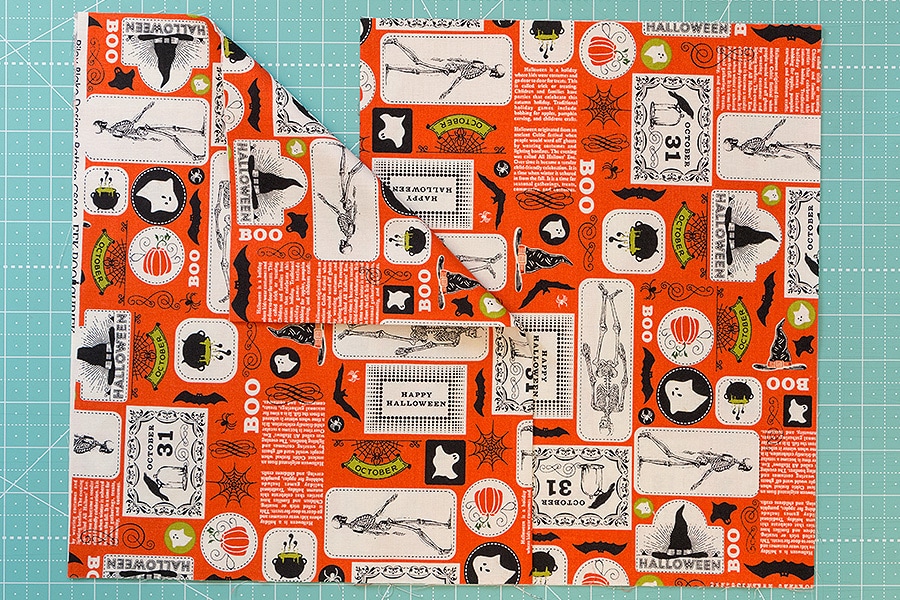
Fold the 12 1/2″ x 20 1/2″ fabric rectangles in half along the 20 1/2″ side with wrong sides together for the Pillow Backing. Folded in half, they should measure 12 1/2″ x 10 1/4″. Layer the two folded fabric rectangles with a 4″ overlap with folds in the center and raw edges on the outside.
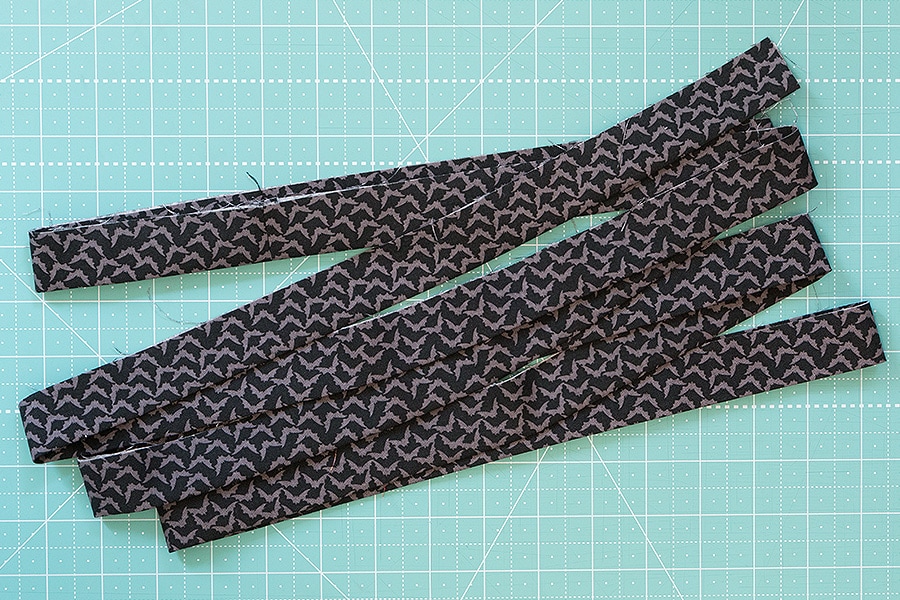
Piece the 2 1/4″ x WOF binding strips end to end for binding.
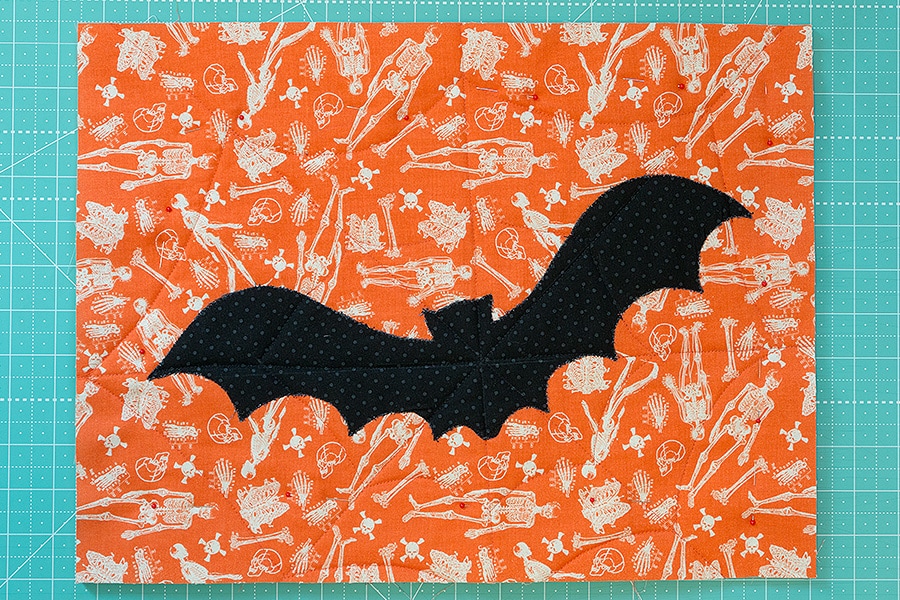
Place the pillow top right side up on the pillow back. Pin all the layers together and baste 1/8″ away from the edge.
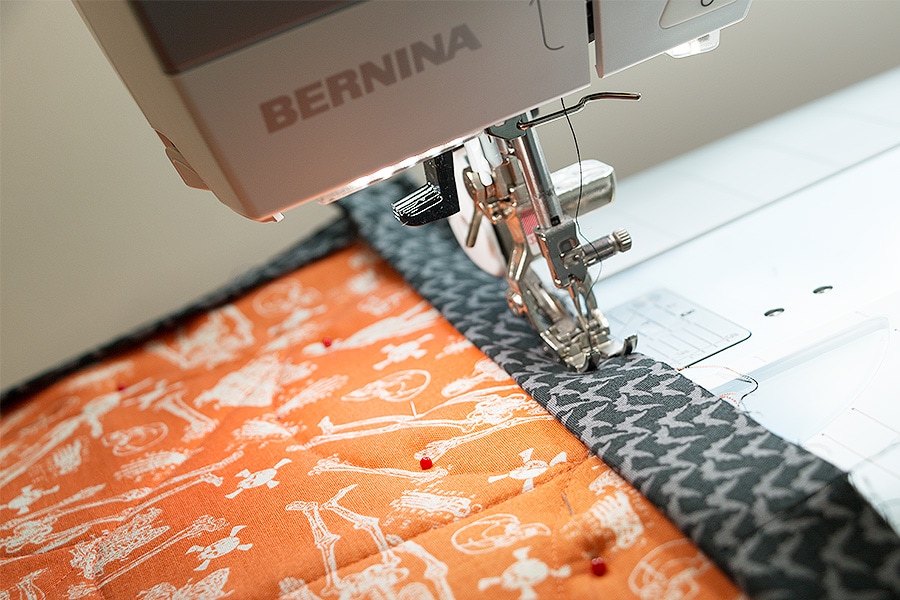
Bind as desired. We have a fantastic machine binding tutorial if you need a little help on this step!
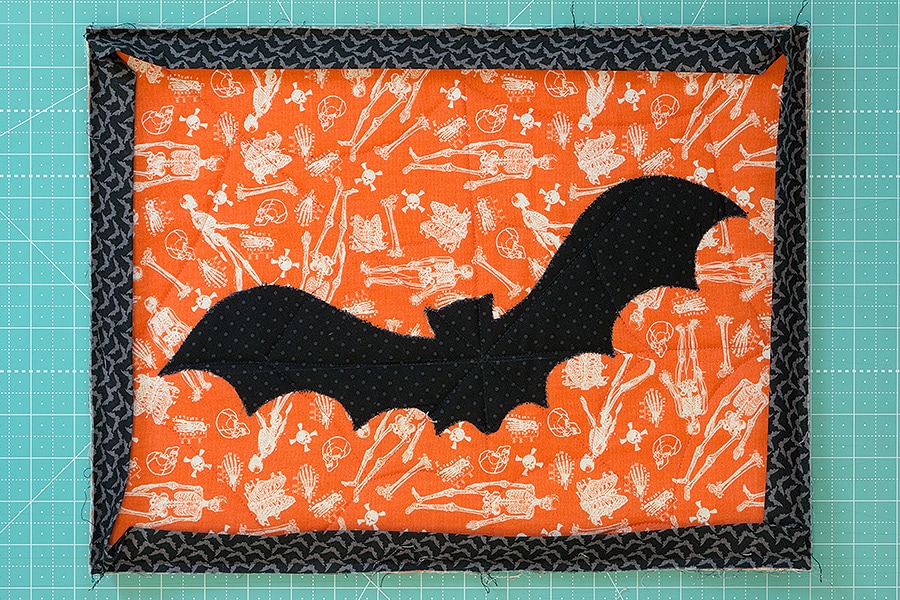
Once the binding is sewn down, insert the pillow form and enjoy your Gone Batty pillow!

8 comments
This pillow is “sew” cute! Thank you for the inspiration.
Love the bats! Real cute pattern and fabric
Real cute pattern and fabric
Very cute pillow. I kind of wish the series would continue through Christmas for a cute xmas pillow. I have really enjoyed the In Stitches series, thank you FQS.
I can’t believe you guys are still using Frixion pens on the front of quilts.
there are two different measurements for the binding
Good catch! I have updated the blog post to be the same. The 2 1/4″ width strips is correct. THanks!