
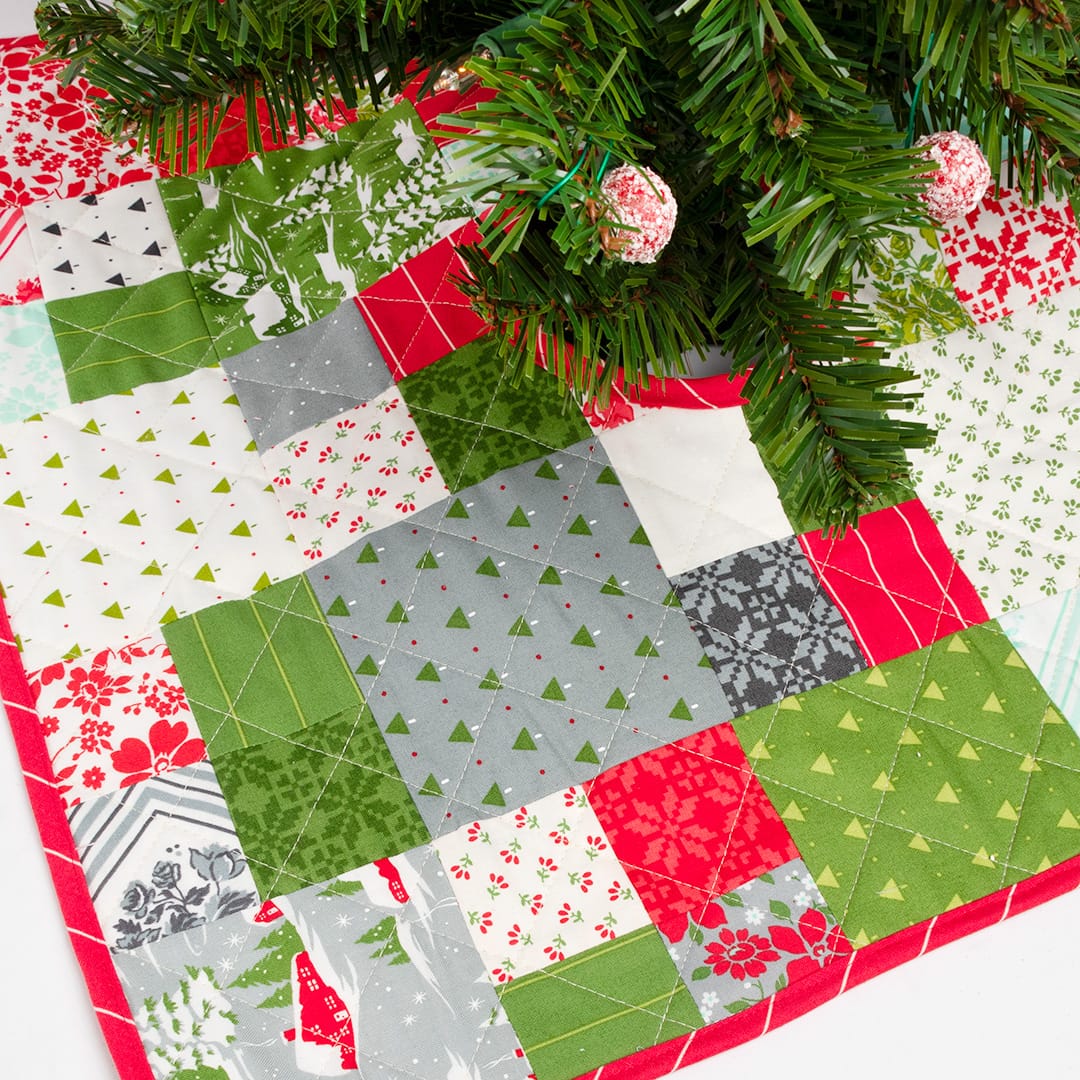
Are you getting ready to decorate for the holidays? Today we have the perfect addition to your Christmas tree, or your mini trees, that is! Read on for a photo tutorial on how to make a mini tree skirt, PLUS check out some of our full-size tree skirt patterns at the end!
Quilted Tree Skirt Supplies
You’ll need a few things to get started on your mini tree skirt. This one is designed to go under a 2′ tall desktop tree.
- One Charm Pack
- One Mini Charm Pack
- One yard of fabric for backing
- Quarter-yard of fabric for binding
- Batting (We recommend using 36″ Squares-2 Pack of Happy Cloud Batting)
- Multi-Size Curved Corner Cutter Ruler from Creative Grids (A plate or bowl will also work.)
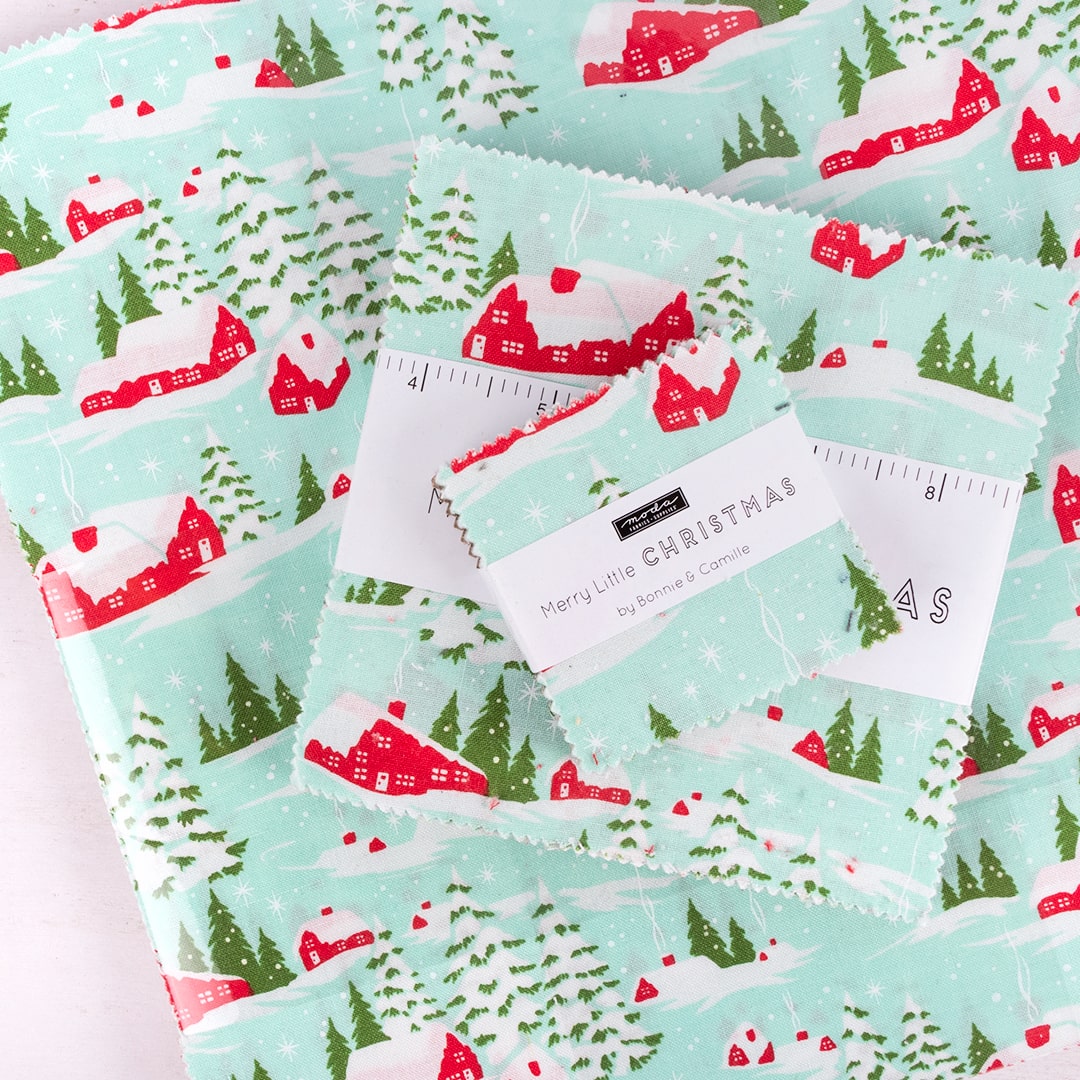
We’re using selections from the collection Merry Little Christmas by Bonnie & Camille for Moda Fabrics. The designs made us think of a winter wonderland and were too cute for the holiday season! Our backing and binding are also from Merry Little Christmas in Silver Winterberry and Red Holiday Stripe.
Steps to Make a Mini Tree Skirt
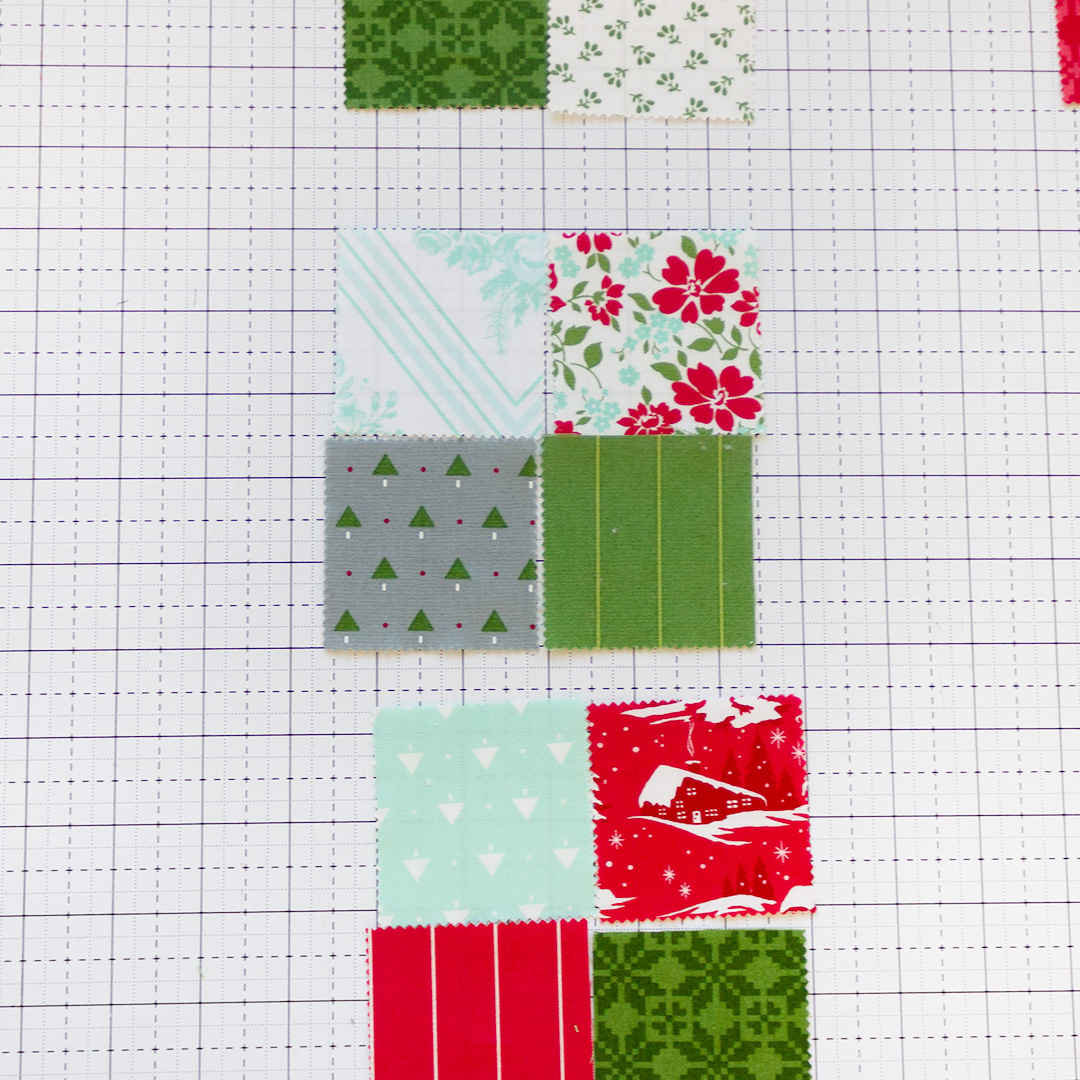
Start by assembling 48 mini charm squares into four-patch units. To get the extra six mini charm squares you’ll cut them from some of the extra 5″ squares. You will end up with twelve 4.5” x 4.5” four-patches. Press as desired.
Next, trim thirteen 5″ charm squares down to 4.5″ x 4.5″. This will make sure everything stays lined up as you continue assembling your mini tree skirt. For ours, we used the Creative Grids 4.5″ Square Ruler to trim the 5″ squares.
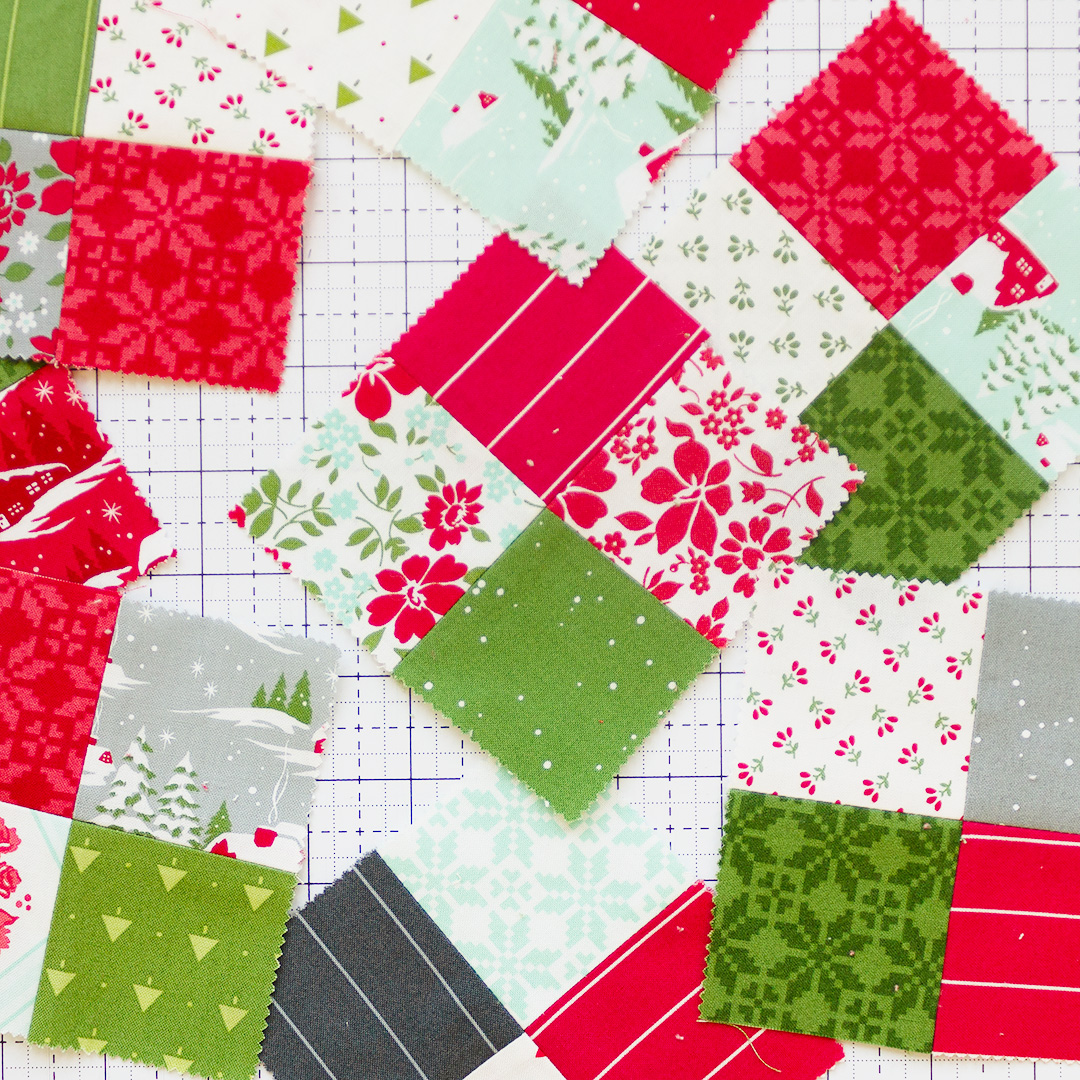
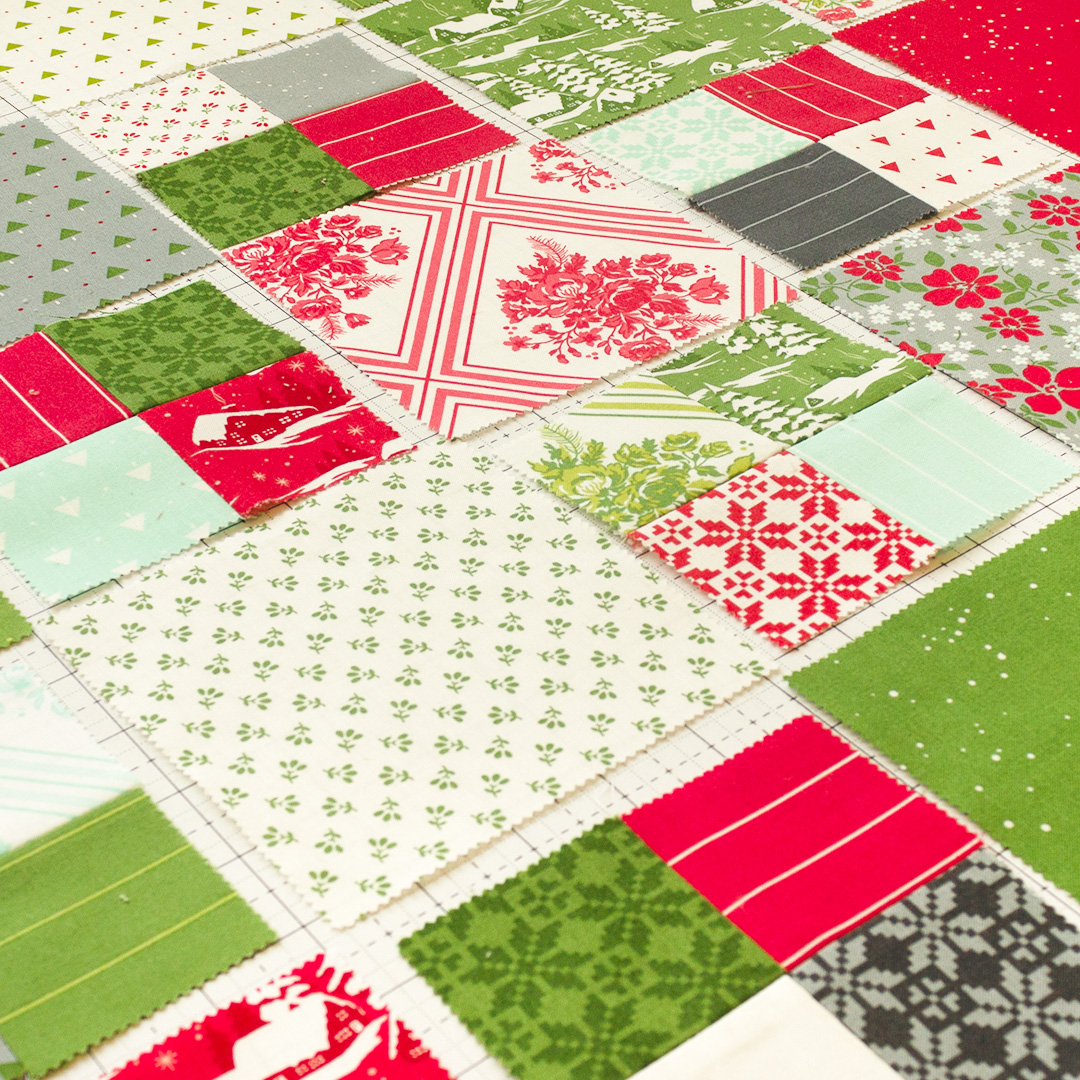
Then you’ll want to lay out all your blocks! Do this starting with the top left 4.5” fabric square, alternating charm square pieces and four-patch squares until you have a row of five. In the next row alternate the layout, starting with four-patch squares then 4.5” fabric squares. Do this until you have five rows of five blocks and a 4.5″ charm square in each corner.
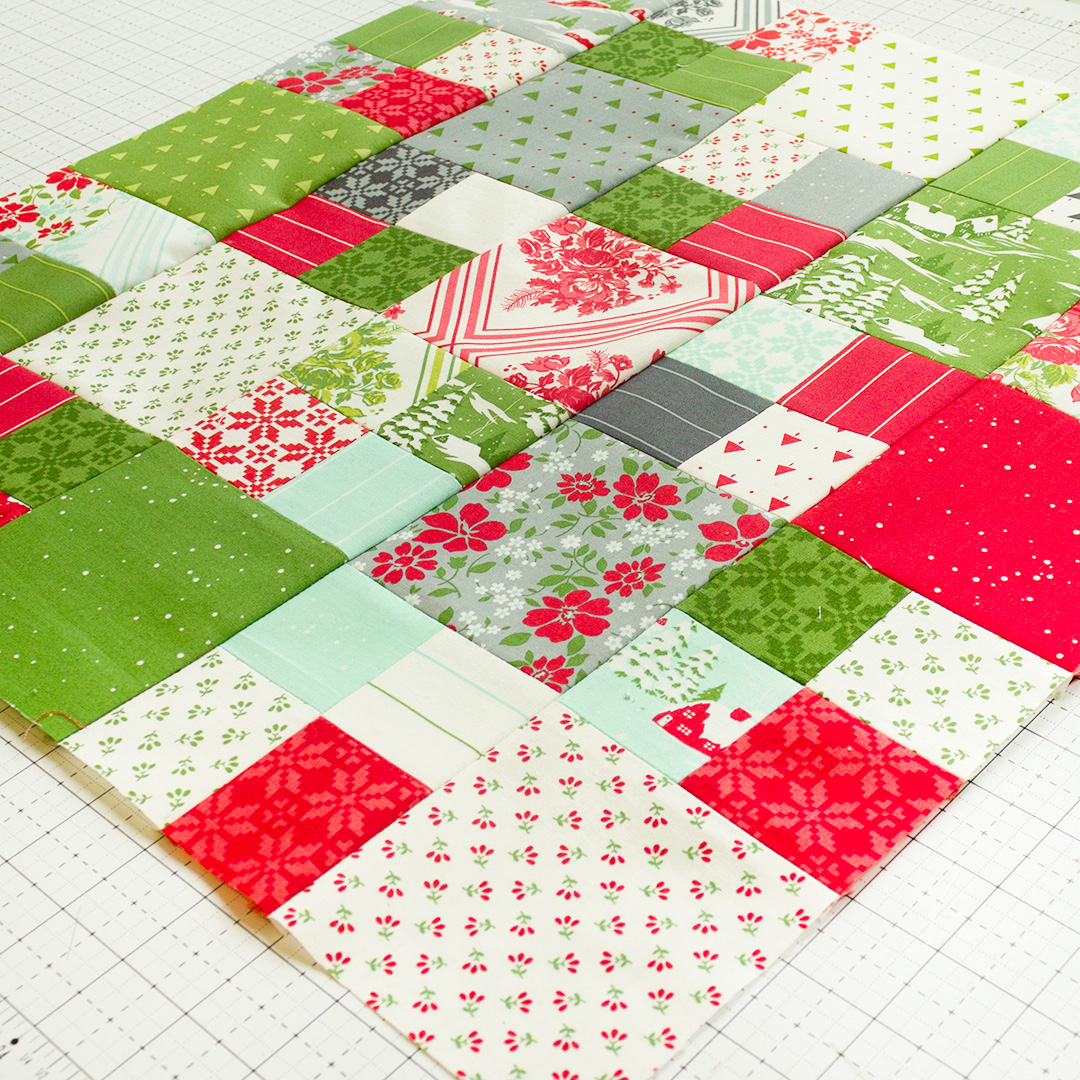
Sew together the blocks in each column and then attach the columns together. Be sure to give everything a good press again!
Now it’s time to assemble your quilt sandwich of tree skirt top, batting, and backing. You can send it off to a longarm or do it yourself. We chose to assemble our backing, batting, and quilt top ourselves and follow Sherri McConnell’s Cross Hatch Quilting Tutorial to quilt on our machine.
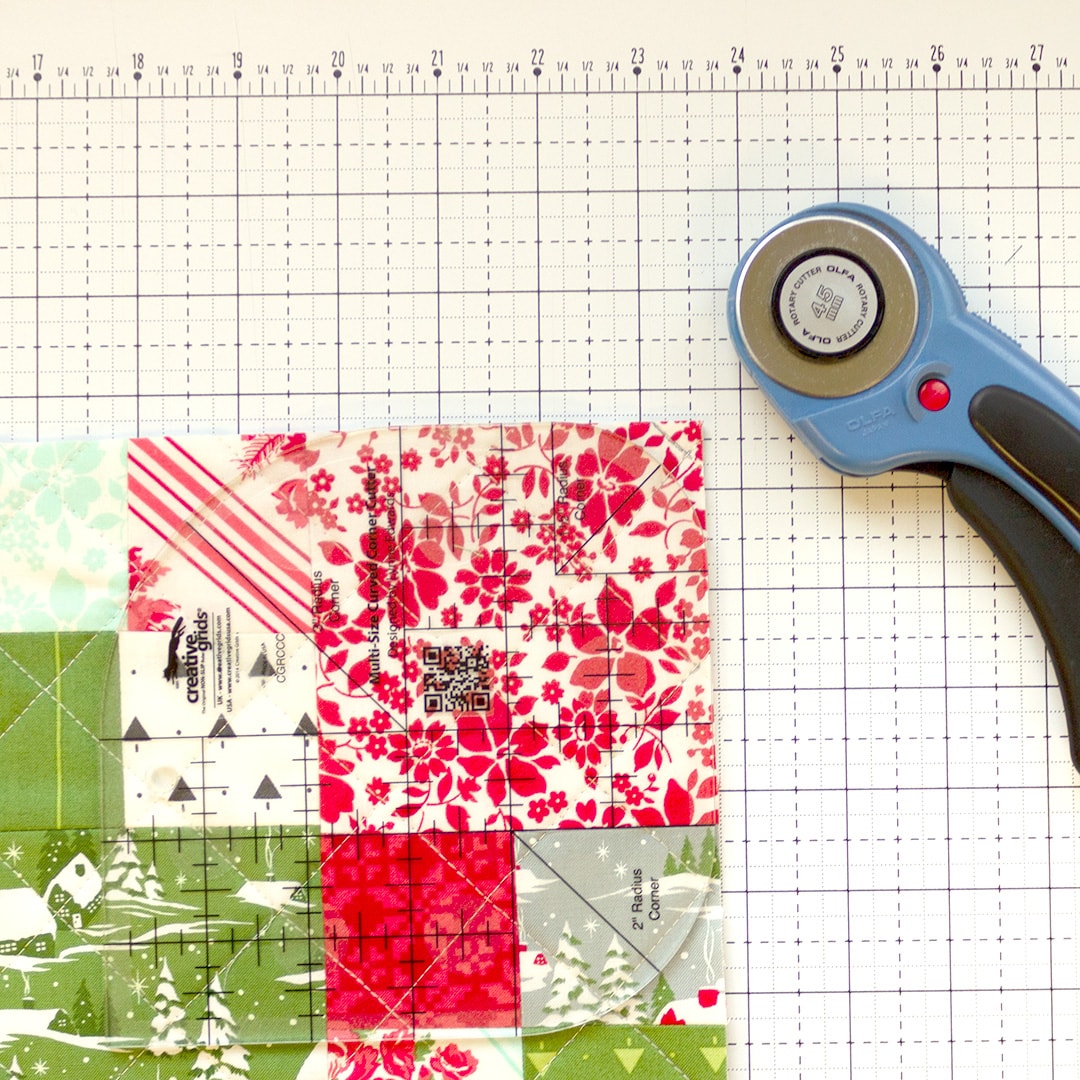
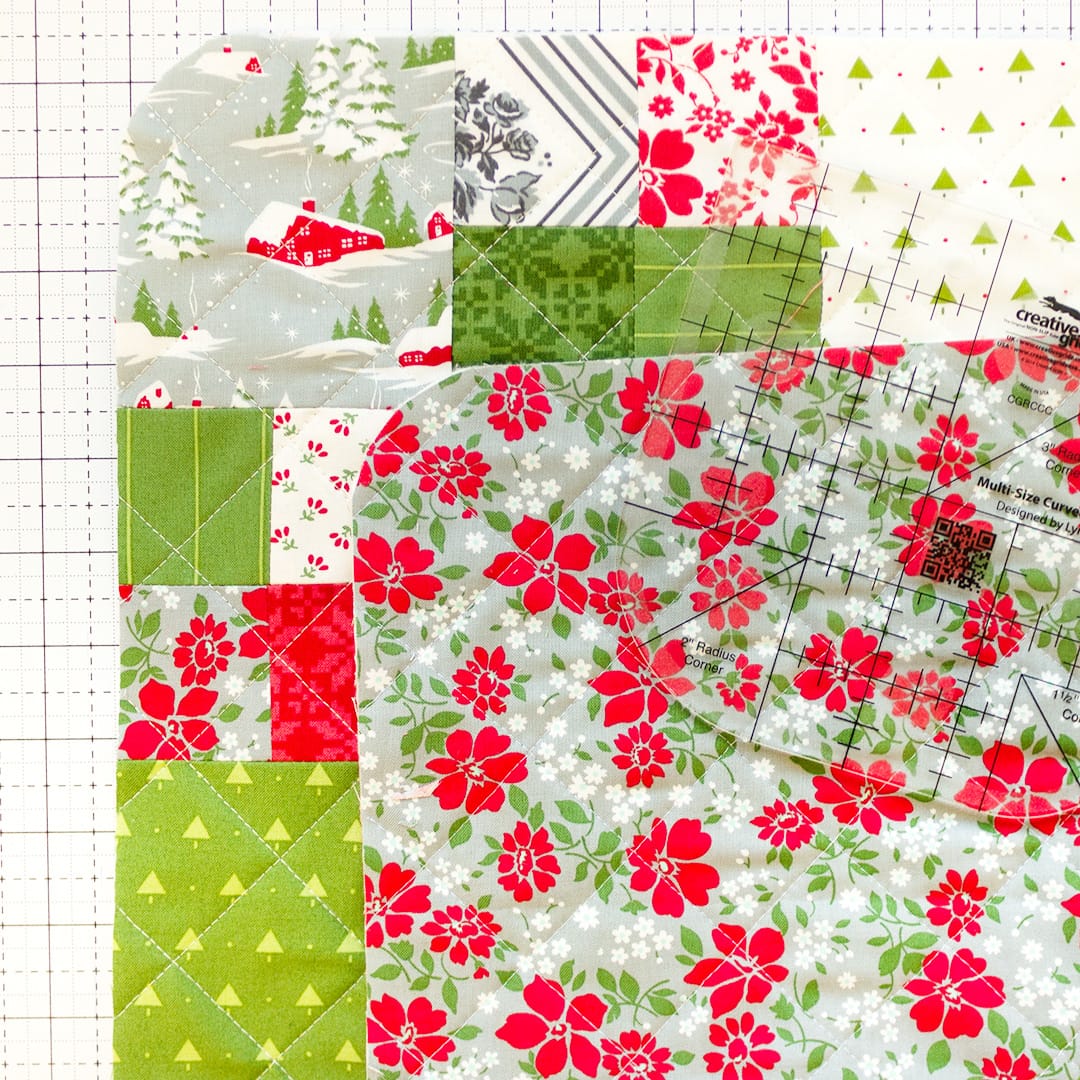
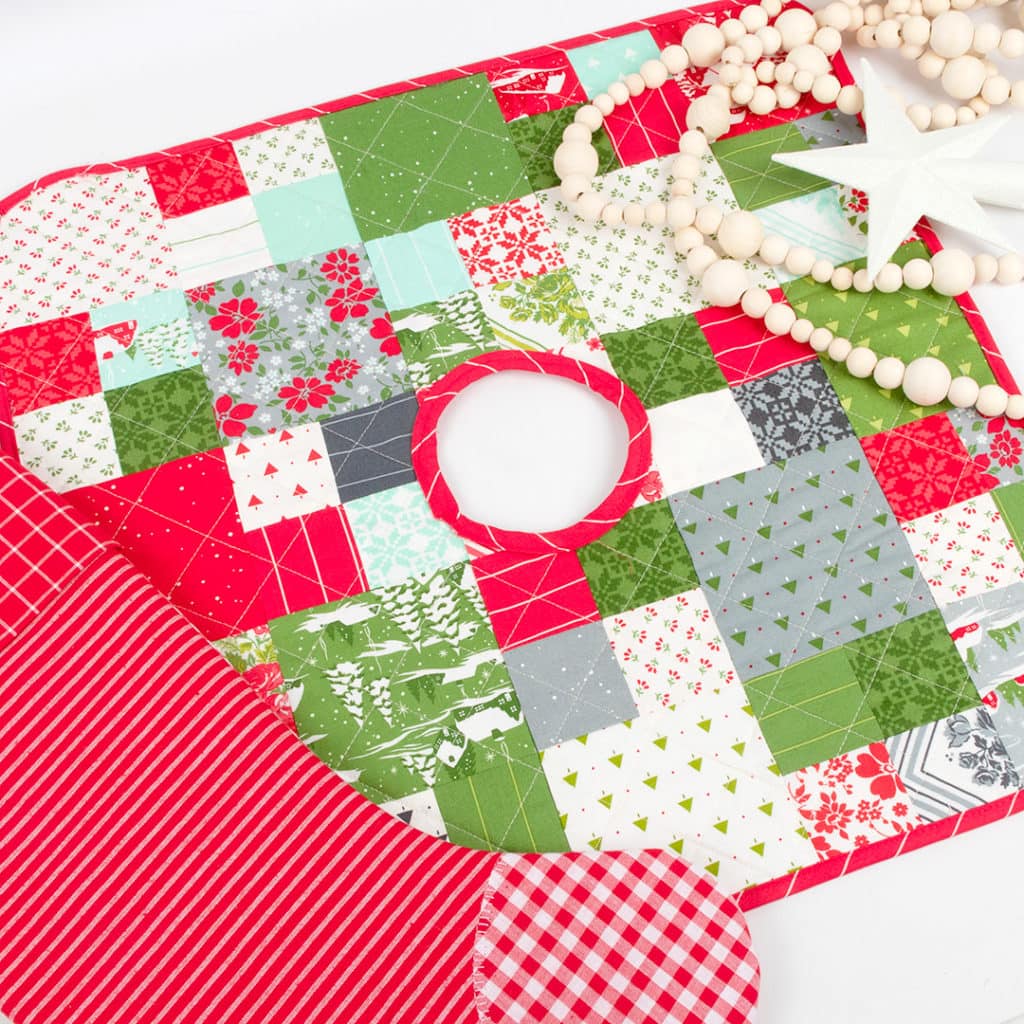
After your quilting is done, it’s time to cut out the inner circle and round your edges! To cut out the inner circle we used a small bowl that measures about 3” in diameter. We judged the size of the circle based on the opening needed to fit the mini tree stand. Then to round the outer corners, we aligned the 1.5” radius corner on the Multi-Size Curved Corner Cutter Ruler and cut!
For this last step, you will need to make 2.5″ wide strips of bias binding as it will bend to better adhere to the rounded edges of the tree skirt. We followed the above video to make bias binding and attached it using the machine binding method in this video for a quick finish (the holidays are always a busy time!)
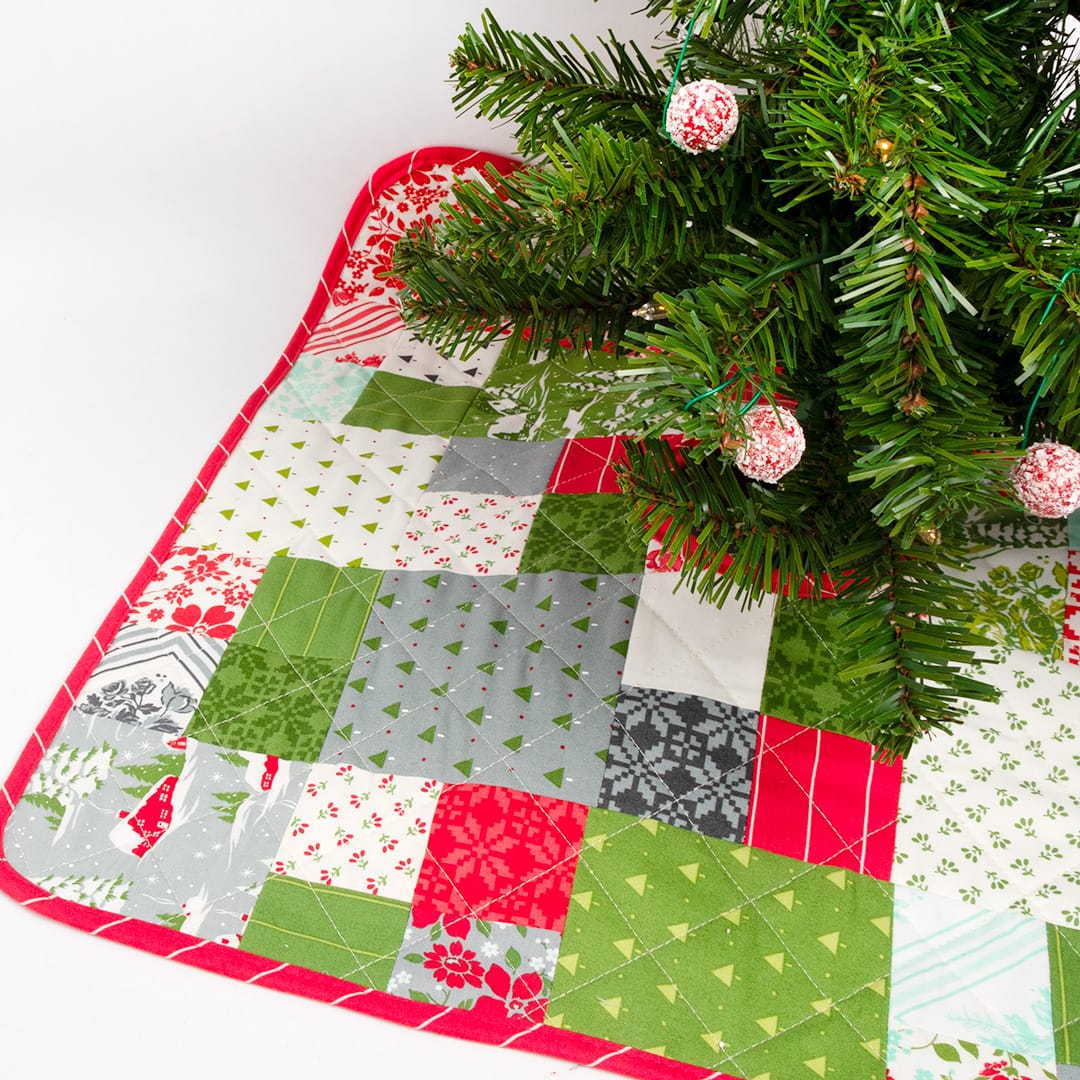
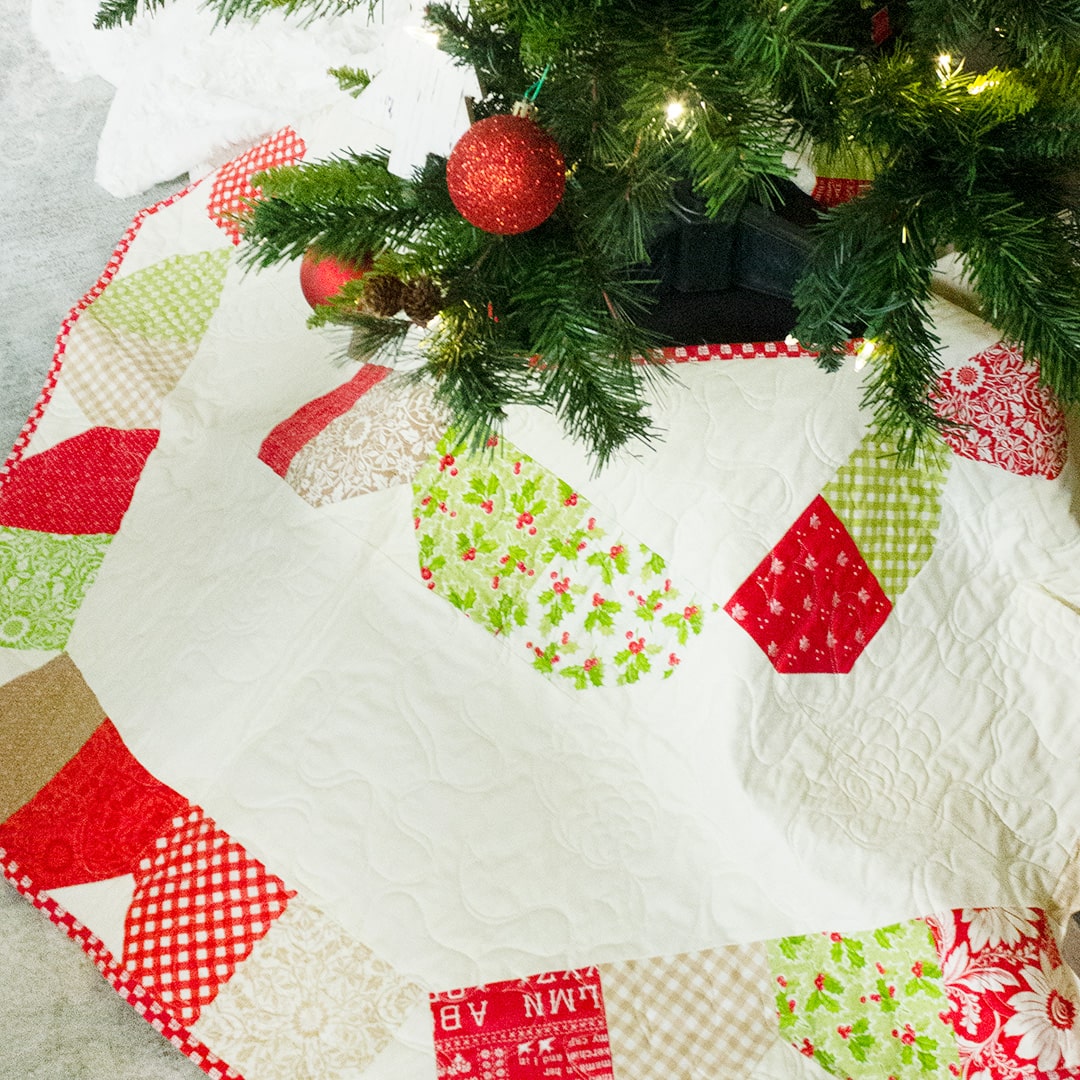
You’re all done! You can add your mini tree skirt to your favorite little tree and enjoy it all season long. You can find more holiday projects on our tutorial page, or try making one of our full-size tree skirts!

Share with FQS
We hope you decide to make your own tree skirts this holiday season, and if you do, be sure to share them with us on Facebook and Instagram using #FQSJollyHoliday and tagging @fatquartershop so we can see and share your work!
Happy sewing!
Stay connected to Fat Quarter Shop!


2 comments
These are great ideas! Thanks