Hello Quilters! By now you must know about Minki Kim, as she creates so many fabulous things across different mediums, especially sewing, needlework and quilting. Just take a glance at Minki’s Instagram for the proof! She has now made her debut as a Riley Blake Designs fabric designer with her sweet yet modern fabric collection Dear Diary. Above all, Minki is a shining example of living creatively and trying new endeavors, and she is pushing us out of the box today with her fun Triangle Quilt tutorial! (Yes, triangles can be fun!)
Have you tried sewing with triangles before? If you have, you know they can be sew frustrating at times, in matching up points, working with bias edges and squaring off rows. In this tutorial, Minki shows how she makes hers with a trusty triangle ruler, AND there is no finicky squaring up at the end! Read on to find out what her secret tool is!
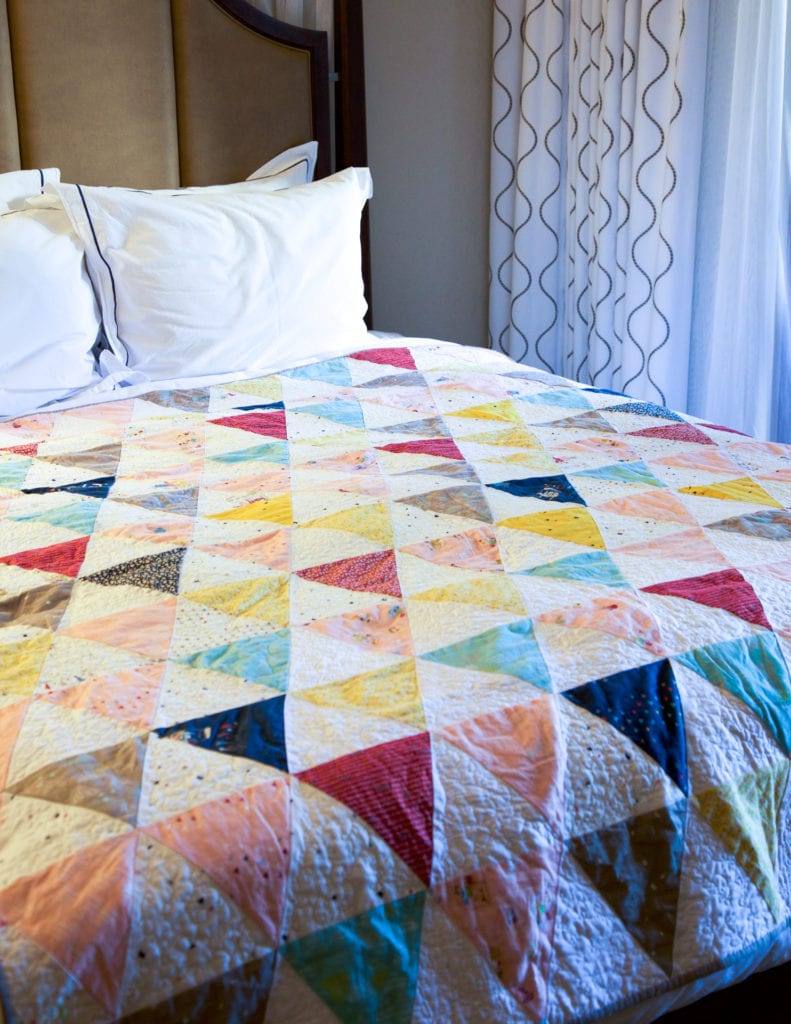
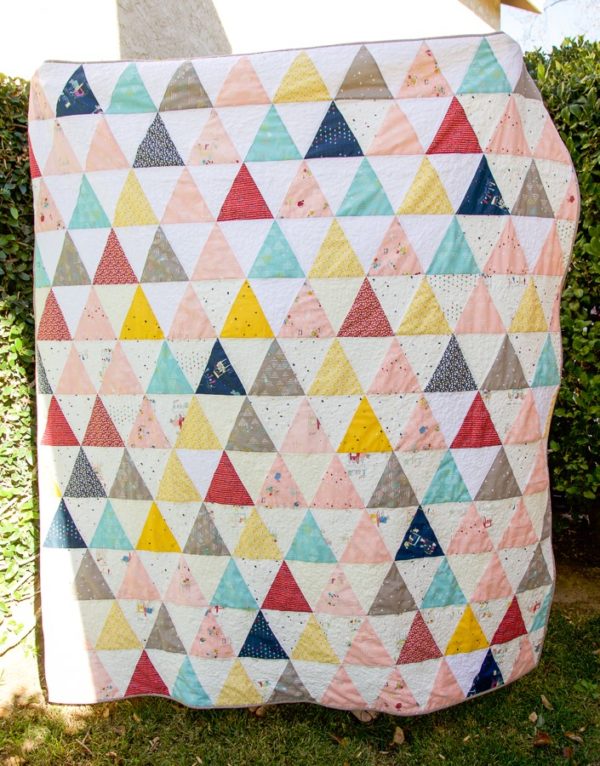
Minki’s triangle quilt finishes at 63 1/2″ x 72 1/2″.
Triangle in a Square Quilt Fabric Requirements
For Minki’s version of this Quilt, she is using her Dear Diary collection for Riley Blake Designs. Here is how much of each fabric she used to make her quilt:
- White print 1 1/3 yards
- White solid 1 1/3 yards
- Pink print 1 1/8 yards
- Gray print 1/2 yard
- Yellow print 1/2 yard
- Blue print 1/2 yard
- Red print 1/2 yard
- Navy print 1/3 yard
- Binding fabric 2/3 yard
- Backing fabric 4 5/8 yards
- Bloc Loc 6’’ Finished Triangle In A Square ruler template set (click here to see Bloc Loc’s full video demonstration of this ruler set)
Cutting
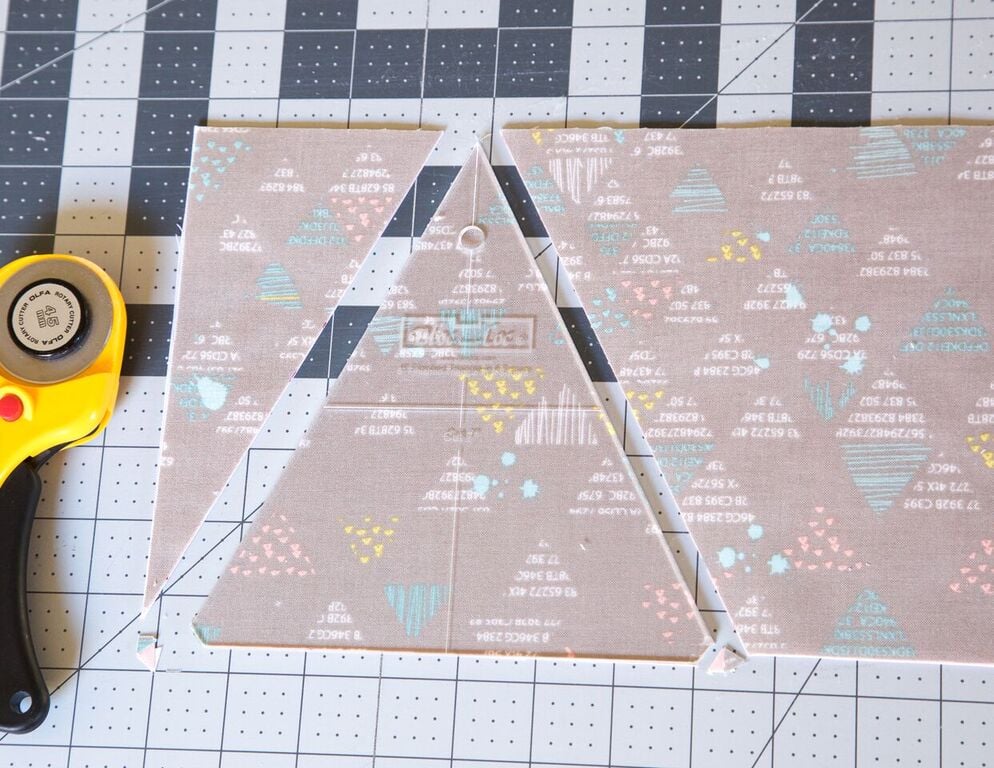
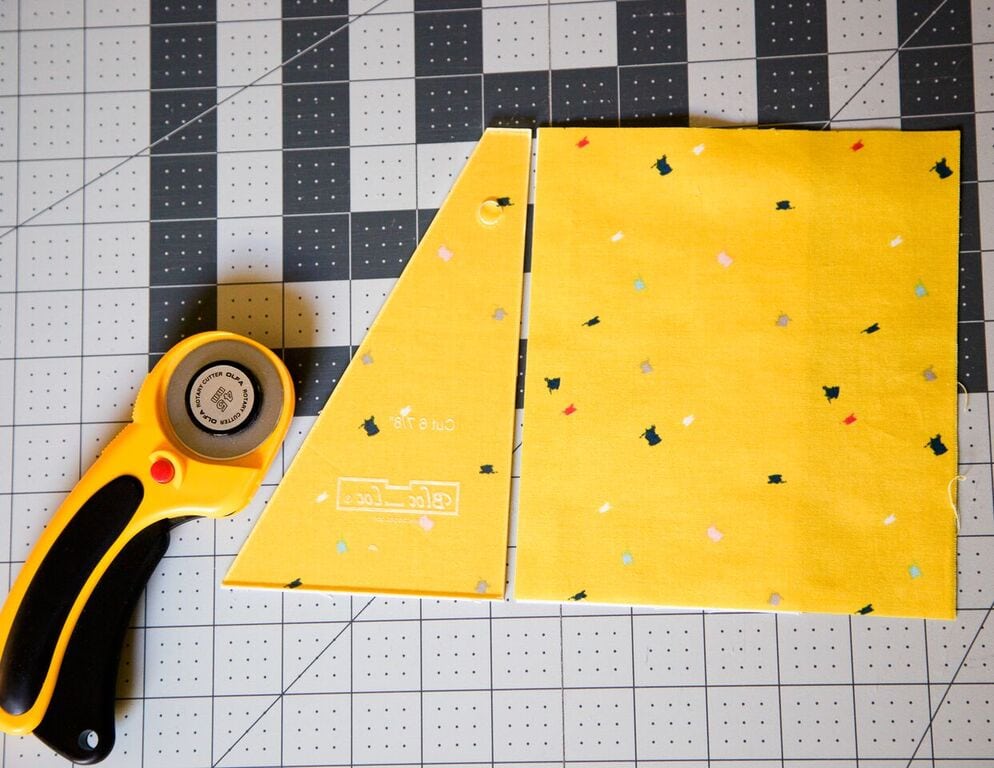
See below for images of cutting with the triangle and half-triangle ruler templates.
- From the white print, cut (6) 7″ x WOF strips. From 5 strips, cut 11 triangles. From the last strip, cut 5 triangles and 6 half-triangles. You should have a total of 60 triangles and 6 half-triangles.
- From the white solid, cut (6) 7’’ x WOF strips. From 5 strips, cut 11 triangles. From the last strip, cut 5 triangles and 6 half-triangles. You should have a total of 60 triangles and 6 half-triangles.
- From the pink print, cut (5) 7” x WOF strips. From 4 strips, cut 11 triangles. From the last strip, cut 1 triangle and 3 half-triangles. You should have a total of 45 triangles and 3 half-triangles.
- From the gray print, cut (2) 7” x WOF strips. From 1 strip, cut 11 triangles. From the last strip, cut 6 triangles and 1 half-triangle. You should have a total of 17 triangles and 1 half-triangle.
- From the yellow print, cut (2) 7’’ x WOF strips. From 1 strip, cut 11 triangles. From the last strip, cut 7 triangles and 3 half-triangles. You should have a total of 18 triangles and 3 half-triangles.
- From the blue print, cut (2) 7’’ x WOF strips. From 1 strip, cut 11 triangles. From the last strip, cut 4 triangles and 2 half-triangles. You should have a total of 15 triangles and 2 half-triangles.
- From the red print, cut (2) 7’’ x WOF strips. From 1 strip, cut 11 triangles. From the last strip, cut 3 triangles and 3 half-triangles. You should have a total of 14 triangles and 3 half-triangles.
- From the navy print, cut (1) 7” x WOF strip. From 1 strip, cut 11 triangles.
- From the white print and white solid, you should have a total of 120 triangles and 12 half-triangles. From the assorted color prints, you should have a total of 120 triangles and 12 half-triangles.
Directions
- Using the Bloc Loc Triangle template and 7″ x WOF strips, first cut the full triangles as directed above. Be sure to cut off the tips on two corners of the triangles, following the shape of the template. This will provide a clear spot to align the triangles before sewing with a quarter-inch seam.
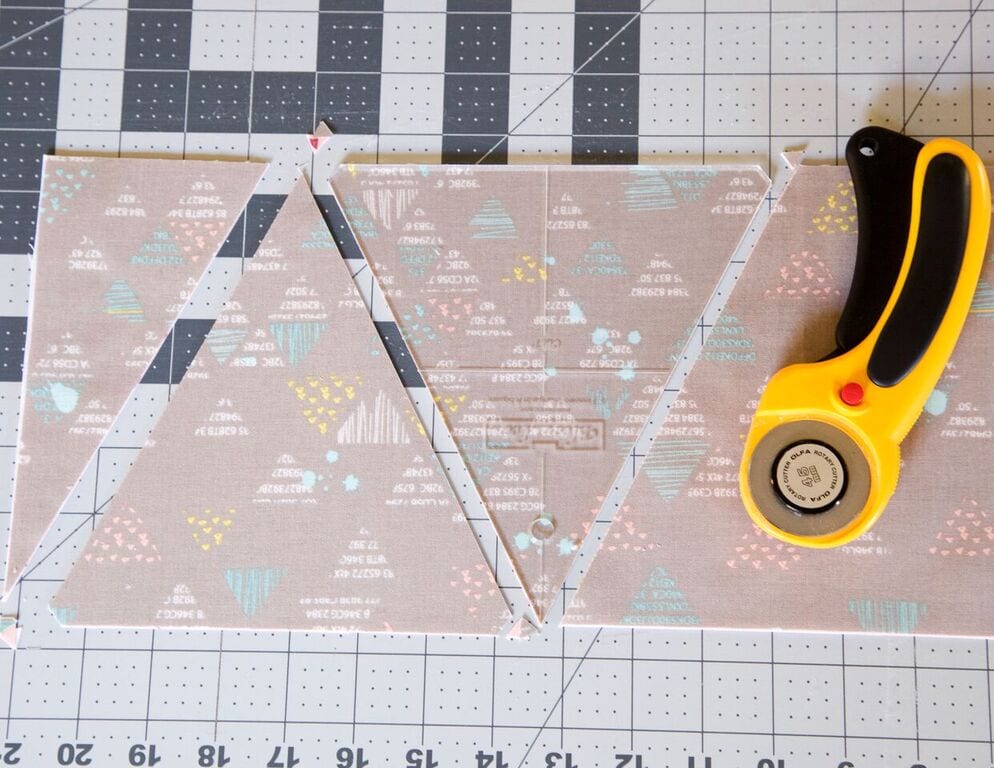
- Using the Bloc Loc half-triangle template and the remainder of the 7″ x WOF strips, cut half triangles as directed above.
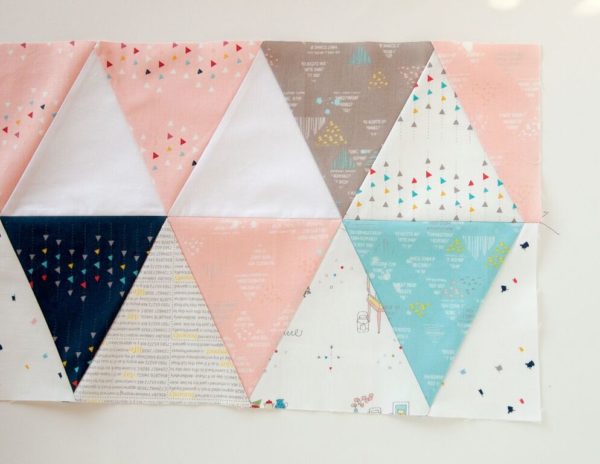
- Layer a white solid or white print triangle right sides together on top of an assorted print triangle with the white triangle pointed tip turned up and the print triangle pointed tip turned down, so they are flipped opposite directions from each other. Line them up so the pointed tip extends past the blunt tip. Sew them together along the right edge with a quarter-inch seam. I like to chain piece the pairs of triangles. Press toward the print triangle. Repeat until you have 114 two-triangle units. This quilt is meant to have a mixed look, so pair up triangles as you desire. After your two-triangle units are assembled, you should have 6 white print/solid triangles and 6 assorted print triangles left over.
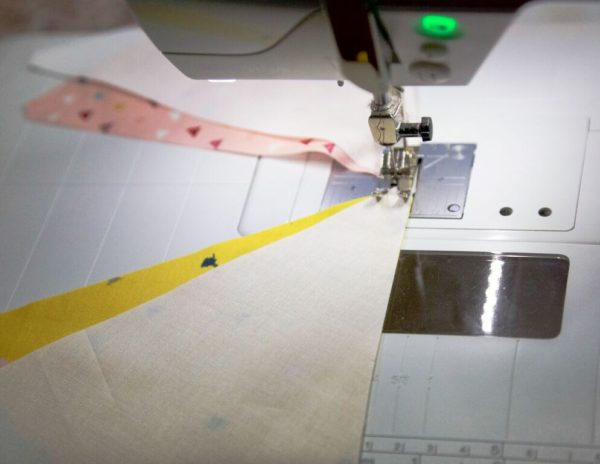
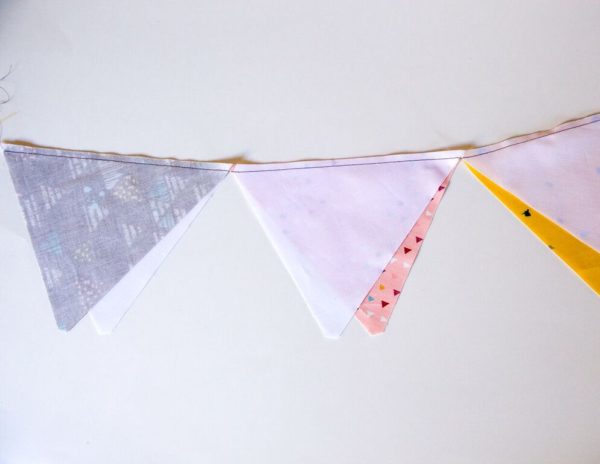
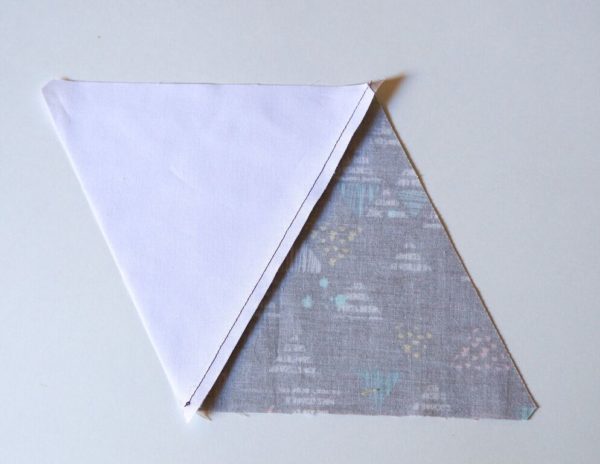
- Assemble the two-triangle units into rows. Place 2 two-triangle units right sides together, with the print triangle and white triangles touching and turned opposite directions. The pointed tip should again extend past the blunt tip. Sew along the right edge with a quarter-inch seam. Press toward the white triangle. Continue until you have 6 rows of 10 two-triangle units (Row A) and 6 rows of 9 two-triangle units (Row B).

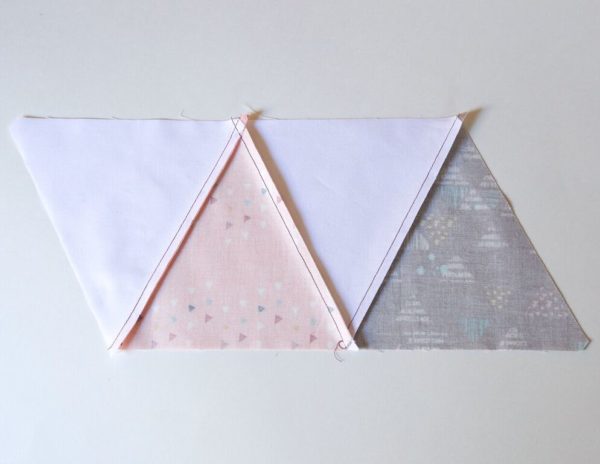
- Take your Row B’s with 9 two-triangle units and add a white print/solid triangle to the left end, next to a print triangle. Then add an assorted print half-triangle to the left end of the white print/solid triangle. On the right end of the same rows, add an assorted print triangle to the right end, next to the white triangle. Then add a white print/solid half-triangle to the right end of the print triangle. Press these 6 rows to the left. Because you end your rows on both sides with half-triangles, there is no need to square up the triangle rows.
- Take your Row A’s with 10 two-triangle units and add a white print/solid half-triangle to the left end, next to a print triangle. On the right end of the same rows, add an assorted print half-triangle, next to the white triangle. Press these 6 rows to the right.
- Join your rows, alternating between the A and B rows. (FQS pro tip: We recommend pinning at every seam intersection to get perfect points!) Press the seams open.


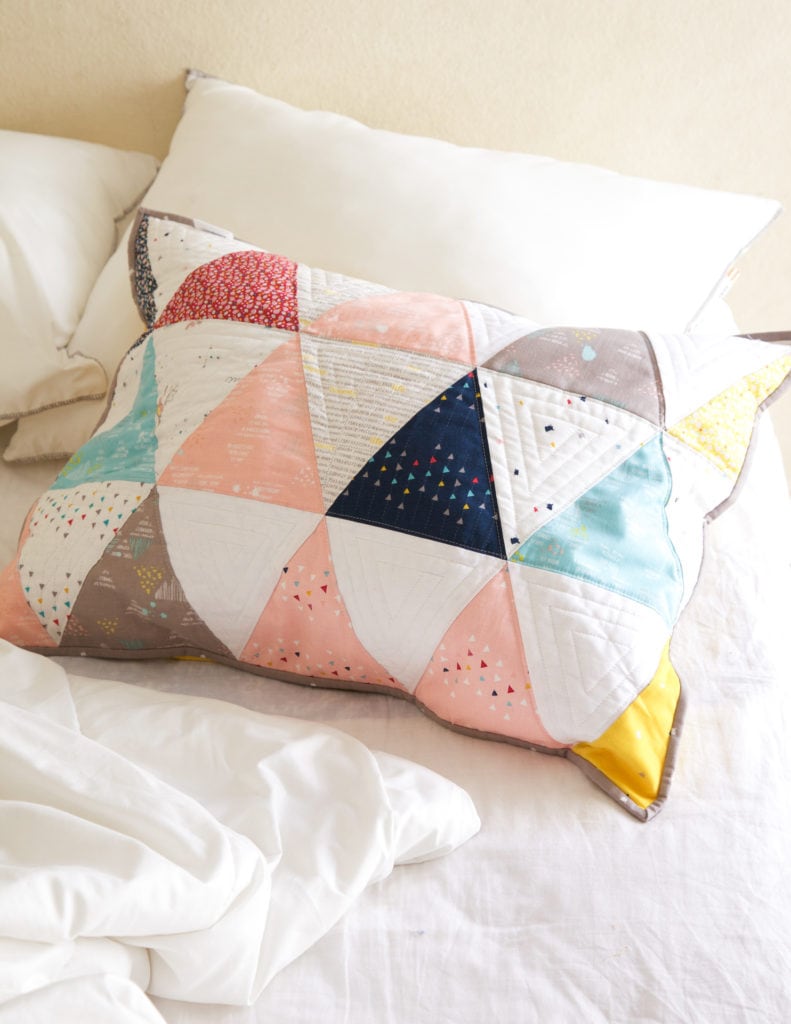
You now have a completed, gorgeous triangle quilt, with no funky squaring up to do! If you cut extra triangles, use the same piecing method to make coordinating pieces, like this adorable pillow Minki made with her extras.
Along with the Triangle Quilt and matching pillow, the Dear Diary collection can be used to make a variety of projects, including some of the ones below:
 |
 |
|
We hope you have enjoyed learning how to make the Triangle Quilt using the Dear Diary collection by Minki Kim for Riley Blake fabrics! Be sure to share your projects on Facebook, Twitter, and Instagram using the hashtag #deardiarytrianglequilt so we can see and share your work!


1 comment
I think I can actually make this and have triangles be my friends for once! Thanks for the pattern with out squaring up, it has caused me pain in the past, lol! I’d also like to know what that rectangular created item in the left photo of three is (sewing notions box?) and where can I find instructions?
Have a blessed & merry Christmas!
Deborah (JoyfullyOrange)