
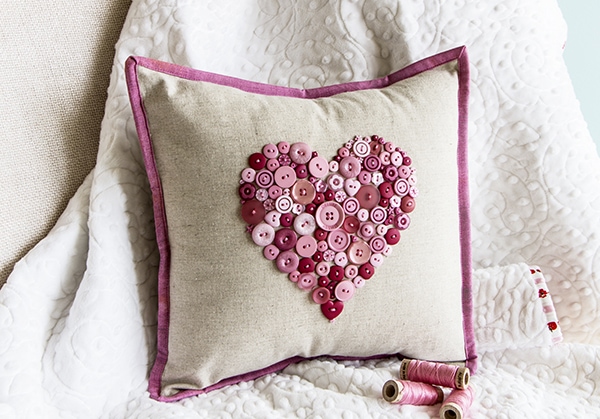
Hi everyone, it’s Kimberly! I love thread and buttons, so when we started the Button Lovers’ Monthly Club I was inspired! I made a quick project to help inspire all of our club members – a Button Heart Throw Pillow! This pillow was a quick and easy project and it makes a great gift!

Here are the supplies you need to make this pillow:
Buttons from two of the June Button Lovers’ Monthly Club boxes
1 yard Mochi Linen Unbleached Solid for background and backing
¼ yard Grunge Basics Rose Yardage for binding
#24 Primitive Gatherings Chenille needle
AuriFloss Bright Pink #2425
FREE Button Lovers’ Heart Template
14” pillow form
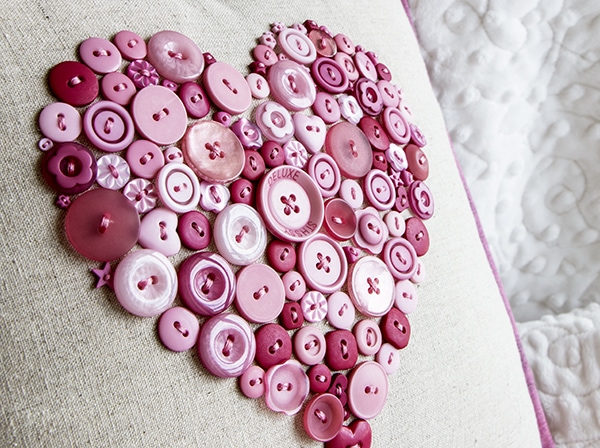
Step One: Download our Heart Template and trace the heart on a 18” x 21” rectangle of your background fabric using a Frixion pen. Using two strands of Aurifloss attach the buttons to the heart. I used two stitches on each button.
Step Two: When you are finished adding the buttons trim the block to 12 ½” square.
Step Three: Cut two 14” x 21” rectangles for the backing. Fold each rectangle in half for a 10.5” x 14” rectangle. With the folds in the center, overlap the backing pieces 3”. Place the top and back together and top stitch 1/8” from the edge. Trim the backing.
Step Four: Cut two 2” binding strips and join on the diagonal. Add the binding and you are done!
4 comments
This is a really nice project, but to make it you need to buy 2 of your button boxes. It would have been nice if you'd had a project that uses the buttons from one box. Are many people subscribing to more than one box?
How pretty!
Que bonito y original!!!!
Hi Karen,
This project can be easily modified to use buttons from one box. Instead of sewing the buttons on so close together, simply add a bit of space around each button. Thank you for your comment!
FQS