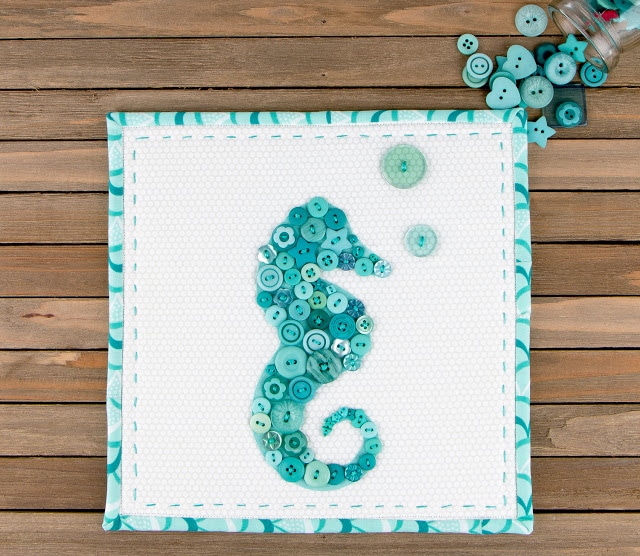
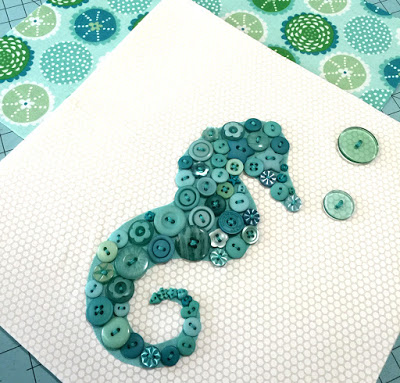
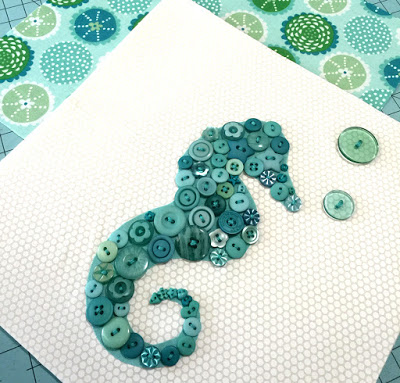
Calling all Button Lovers! Have you signed up for the Button Lovers’ Club yet? The upcoming September box of buttons includes 86 hand-dyed buttons in a variety of sizes and styles. The color? OCEAN! When your buttons arrive you’ll be ready to dive right into this fabulous project we created just for you: a Seahorse Mini Quilt with a FREE downloadable template!
SEAHORSE MINI QUILT
Finished Size: 9 ½” x 9 ½”
Materials Used
Button Lovers’ Club September buttons: Ocean color
White or off-white background fabric of your choice
Aqua Fabric (behind Seahorse)
Aurifil Thread
Binding Fabric
Batting
Free Downloadable Template
DIRECTIONS
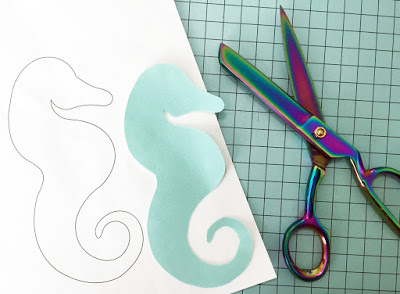
Step One: Download the Seahorse Template here. Select a solid piece of fabric – we chose an aqua color that coordinates well with the buttons (Bella Solids Caribbean). Fuse solid fabric to a sheet of Fusible Web. Once fabric has cooled, use a Frixion pen to trace the Seahorse template to the wrong side of the fabric. TIP: We used a light table to trace. Once you have your Seahorse drawn, cut out the seahorse shape along your traced line.
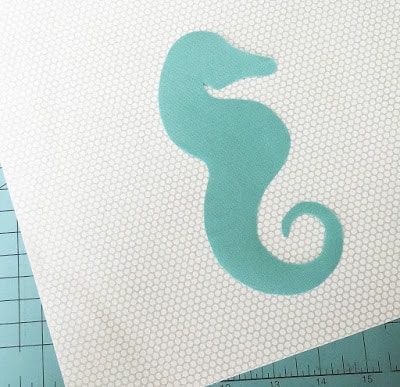
Step Two: Fuse your Seahorse template to a white piece of fabric. We cut our white fabric 12” square. First find the center of the white fabric then place your Seahorse in the middle and fuse in place with your iron.
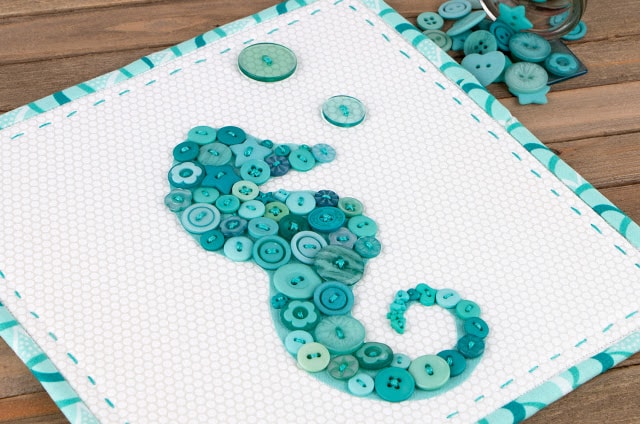
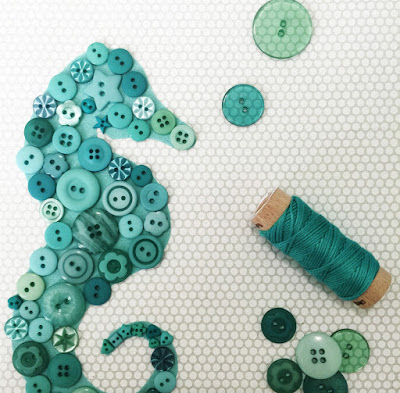
Step Three: Now the fun part: start laying out your buttons! You want to get an idea of which buttons fit where before sewing, using the blue seahorse area as a guide. Don’t worry if your buttons extend past the blue. It will look adorable regardless!
Step Four: Move the buttons to the side while you sew on the buttons one by one. If you gently slide them off the fabric it will keep the seahorse shape nicely. Using two strands of AuriFloss, start sewing on each button (we used Jade AuriFloss). We suggest starting with the tail and the tiny buttons.
Step Five: Once you have completely filled in your seahorse, consider adding a few buttons near the mouth to represent air bubble floating to the surface of the water. (optional)
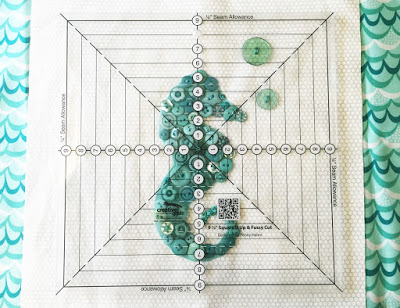
Step Six: Trim your block. We used a Creative Grids 9 ½” Square it Up ruler. Trim slowly – you won’t have much grip because the ruler is on top of the buttons.
Step Seven: Trim your backing piece to 9 ½” square. Layer your pieces with some batting and baste. We used Soft and Stable for our mini quilt to keep it nice and firm when hung on the wall.
Step Eight: Bind your Mini Quilt as desired.
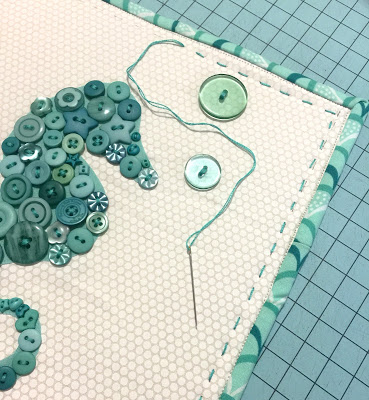
Step Nine: An optional step to show more Jade AuriFloss: Hand stitch just to the inside of the binding. It creates a nice frame for your adorable Seahorse.
Step Ten: Hang and ENJOY!
If you aren’t already a member, sign up for the Button Lovers’ Club today. You won’t want to miss the upcoming collections and our FREE project ideas!


5 comments
I have lots and lots of buttons, over a 30 yr. collection. While I do incorporate them into some quilts I make (I no longer make garments for a business), I had not thought about making button art. This opens up a plethora of new projects. Where will I find the hours. 🙂
tushay3 (at) yahoo (dot) com
Cute idea! Thank you for sharing the template and the inspiration. It's lovely!
What a terrific idea. I've been sewing since the 80's and have tons of buttons! Can't wait to start on a project!
Love this
Did you know you can shorten your links with AdFly and make cash for every visitor to your shortened links.