
Today we’re continuing with The Ultimate Beginner Quilt Series with a lesson on using a sewing machine. It’s the ultimate power tool!
If reading this in email, click this link to watch the video.
In today’s video, Kimberly Jolly shows you some pointers for using your sewing machine. While each sewing machine is different, there are standard elements that every machine has. Please refer to your own sewing machine’s manual for specific instructions for your particular machine. Kimberly is using the EverSewn Sparrow 30.
Stitching a Quarter-Inch Seam
One of the key elements for quilt success is sewing an accurate 1/4″ seam. If you don’t have a 1/4″ presser foot for your machine, don’t worry! At 12:25 min Kimberly shows you how to test your seam allowance using two strips of fabric.
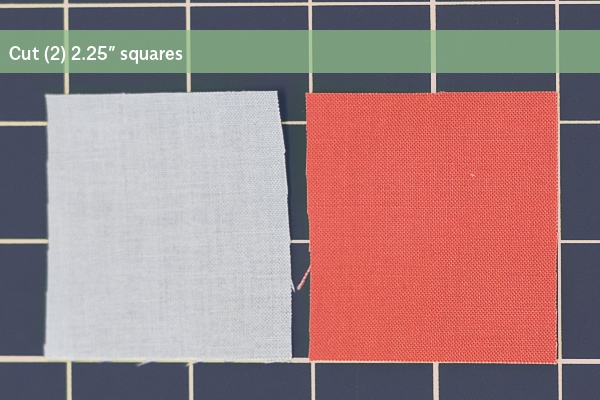
Take two, 2.25″ squares and sew them together using a 1/4″ seam.
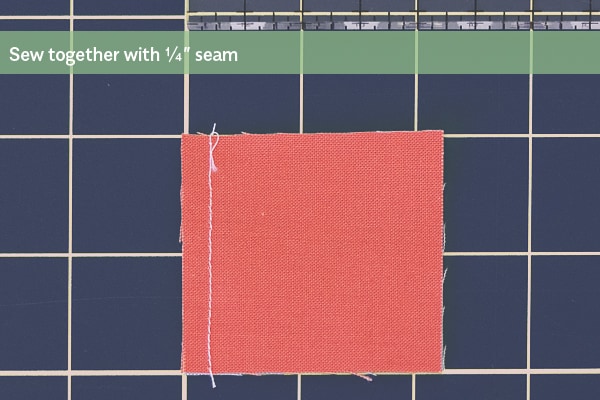
Take the unit to your ironing surface and press them open along the seam with a hot iron.

With a ruler, measure the unit. If it measures a total of 4″ across, then your seam is accurate. If it doesn’t measure 4″ across, you will need to adjust your seam allowance. No matter what presser foot you have, you can find where on the table or presser foot to line up your fabrics by using this method. Once you find the right spot, mark that line on your sewing machine with some washi tape or painter’s tape for future reference (it’s easy to move and doesn’t leave a residue).
Keep up with The Ultimate Beginner Quilt Sew Along!
If this is your first time participating in a sew along, it’s easy. You can follow along at home with us as we sew the quilt. With each new video and pattern release you can sew those elements, too. Be sure to follow along with The Ultimate Beginner Quilt Sew Along on Facebook, and Instagram, and share your progress on Instagram or Facebook with #ultimatebeginnerquilt and #myfirstquilt, or comment on our blog or video with your quilting questions.

![]()
![]()
If you haven’t seen it yet, check out the previous blog post in this series to learn our must-have sewing supplies, ideal cutting tools, and the extra notions that make quilting a breeze.
Stay tuned for next week’s video. On Thursday, August 8, we’ll start with Block 1. We’ll share the free pattern, tips and tricks in the video, and we’ll share that here on the blog, too. Click the button below to subscribe to our YouTube channel so you don’t miss a video.
Subscribe to our YouTube channel for updates.

Happy Quilting!
Stay connected to FQS!


3 comments
Along with sewing an accurate seam, you should also stress cutting an accurate piece of fabric. The first picture is horrible as both squares, but especially the grey one is cut very inaccurately.
Yes, you’re right about that! Cutting is very important for accuracy. I cut that square and I didn’t do a great job there.