
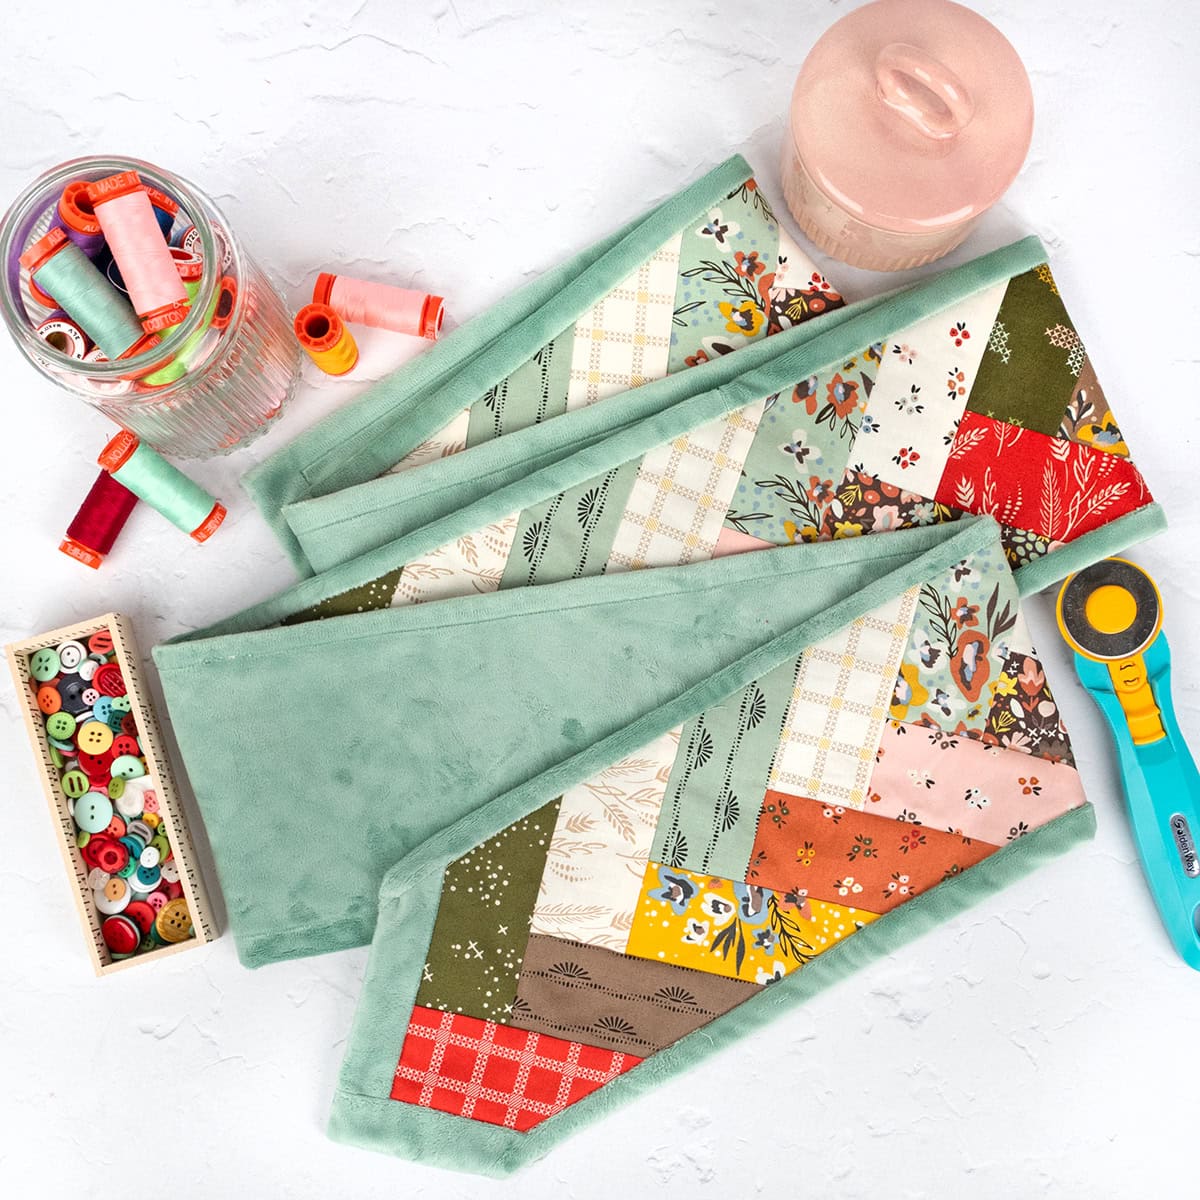
Are you looking for a quick and cozy project for the fall? Then, this Cuddly Jelly Braid Scarf is definitely worth adding to the top of your sewing agenda! As soon as we started playing with the Jelly Braid Paper, we wanted to wrap ourselves up in yards and yards of it. By adding Quilting Cuddle fabric to the back, our dreams came true in the coziest way we could imagine!
Supplies Needed
Quilting Cuddle fabric is a great backing fabric for smaller projects like this, because the low pile makes it easy to piece without getting too bulky. Here is everything we used for ours, but feel free to explore our entire collection of Quilting Cuddle and Jelly Rolls to make one that will weave seamlessly into your wardrobe:
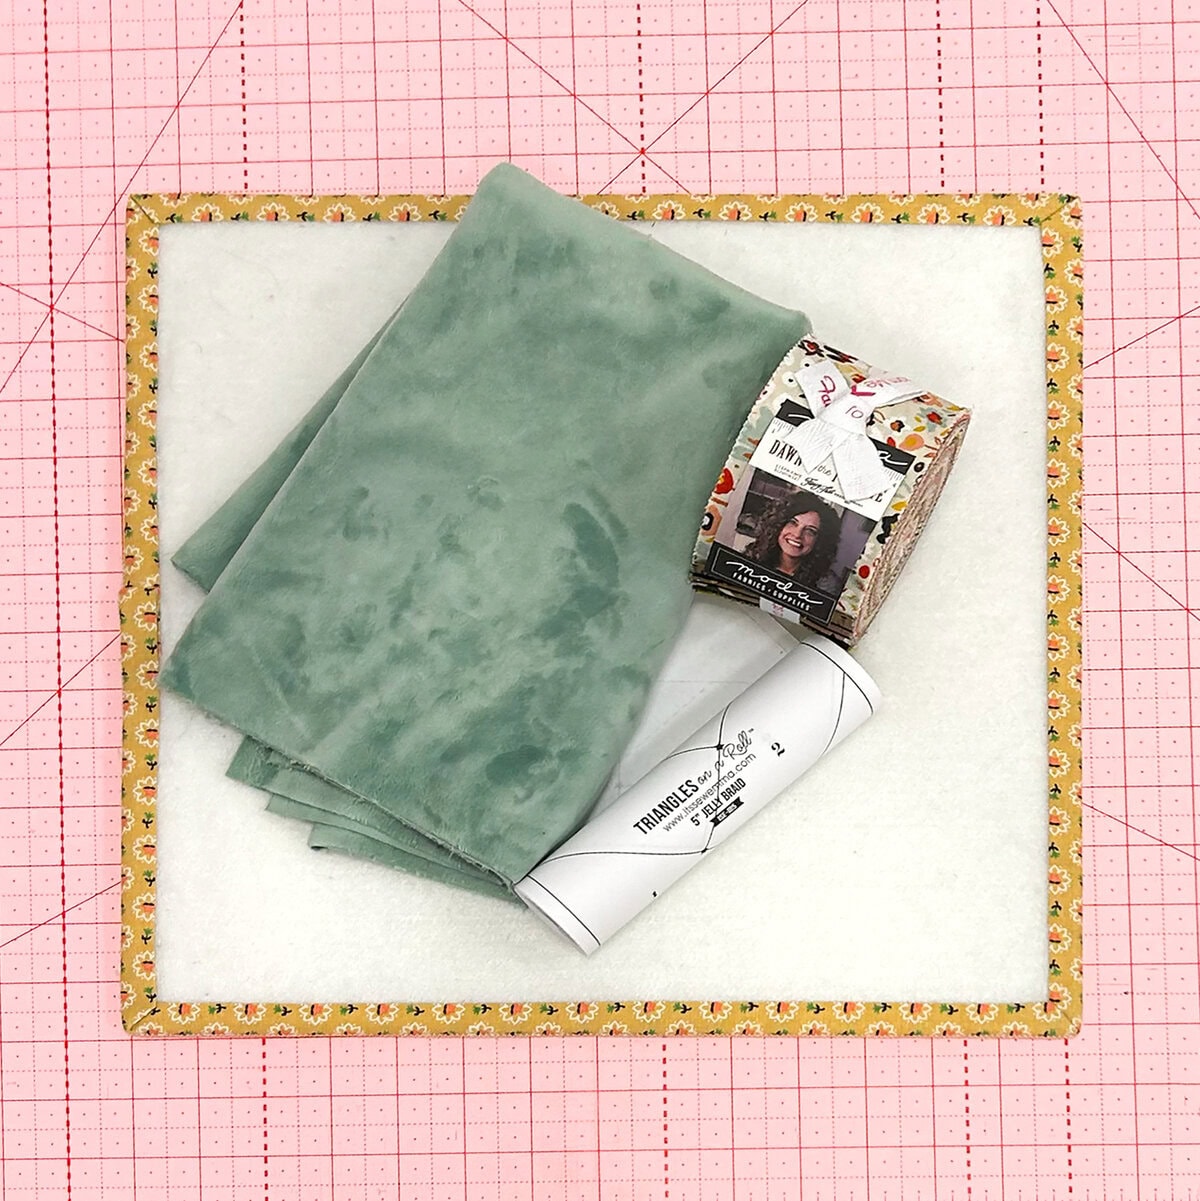
- 5″ Jelly Braid Paper
- Grove Dawn On The Prairie Junior Jelly Roll, a Fat Quarter Shop Exclusive
- 0.5 yards of Quilting Cuddle Juniper Solid Low-Pile Polyester Yardage
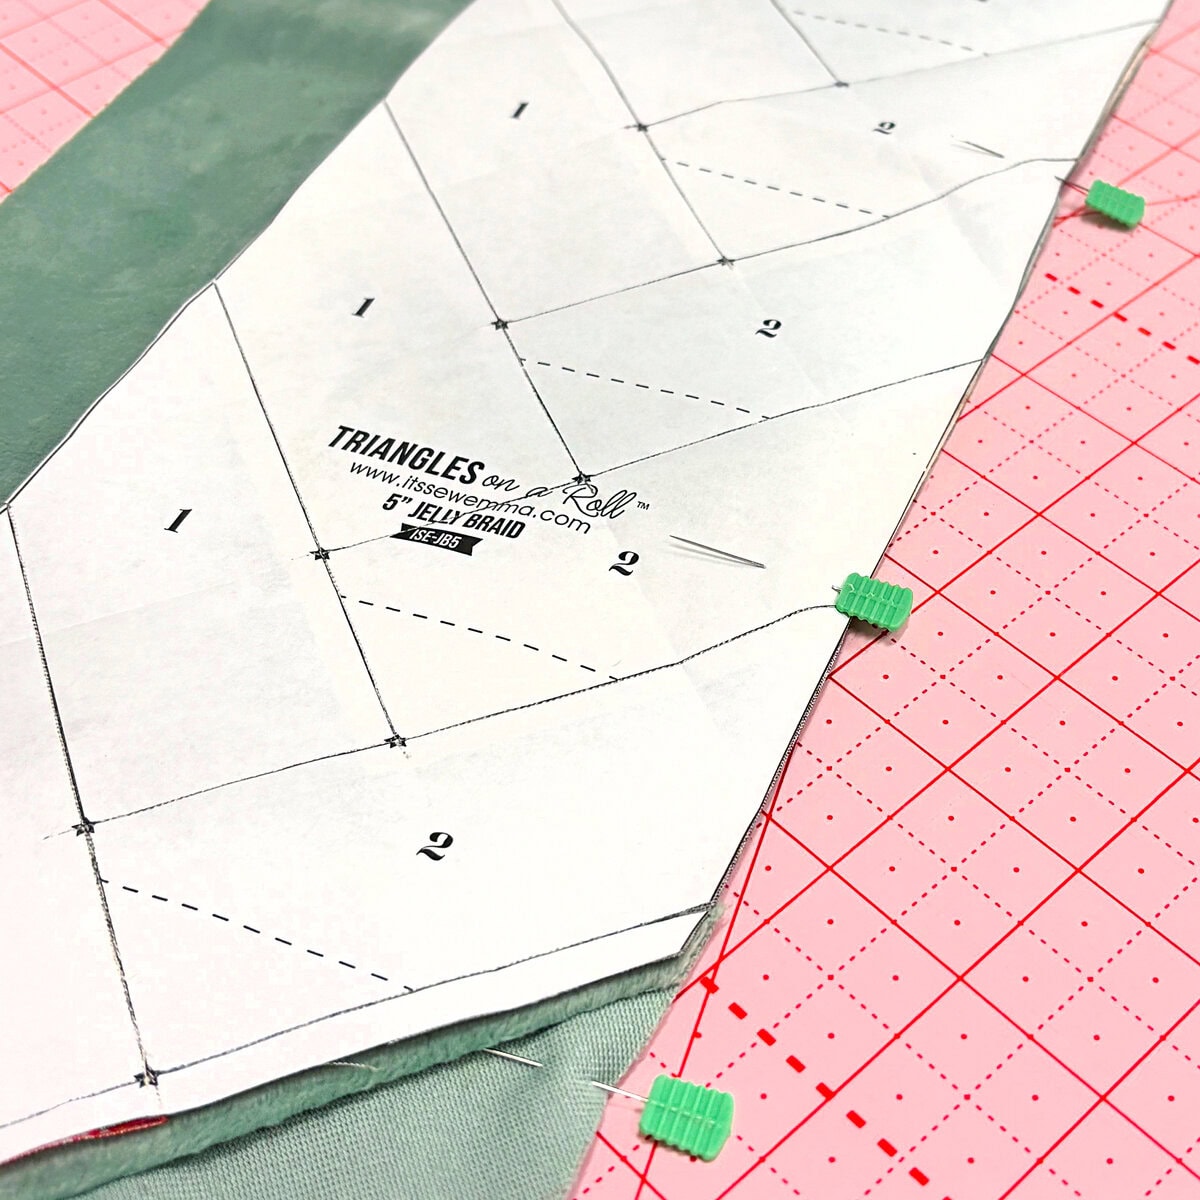
1. Piece the Jelly Braid
Using your favorite Jelly Roll and the 5″ Jelly Braid Paper, follow all the steps in the video above to make an 80″ Jelly Braid, noting these key changes:
- The last two pieces of the Jelly Braid are made with Cuddle
- Trim this point to 1.25″
- On the other end, add a 1.5″ x 5.5″ strip of Cuddle

2. Attach the Cuddle Backing
The next step is to attach your self-binding backing to your Jelly Braid! Follow the steps below:
- Cut two strips of Cuddle measuring 6.5″ x WOF and sew them together to create a 6.5″ x 87.5″ strip
- Press the center seam open with a dry iron on the lowest setting
- With right sides together, align one edge of the Jelly Braid with the Cuddle fabric, pin, and sew with a 0.25″ seam
- Repeat this step for the other long edge, leaving a 6″ gap in the middle to turn the scarf right side out later
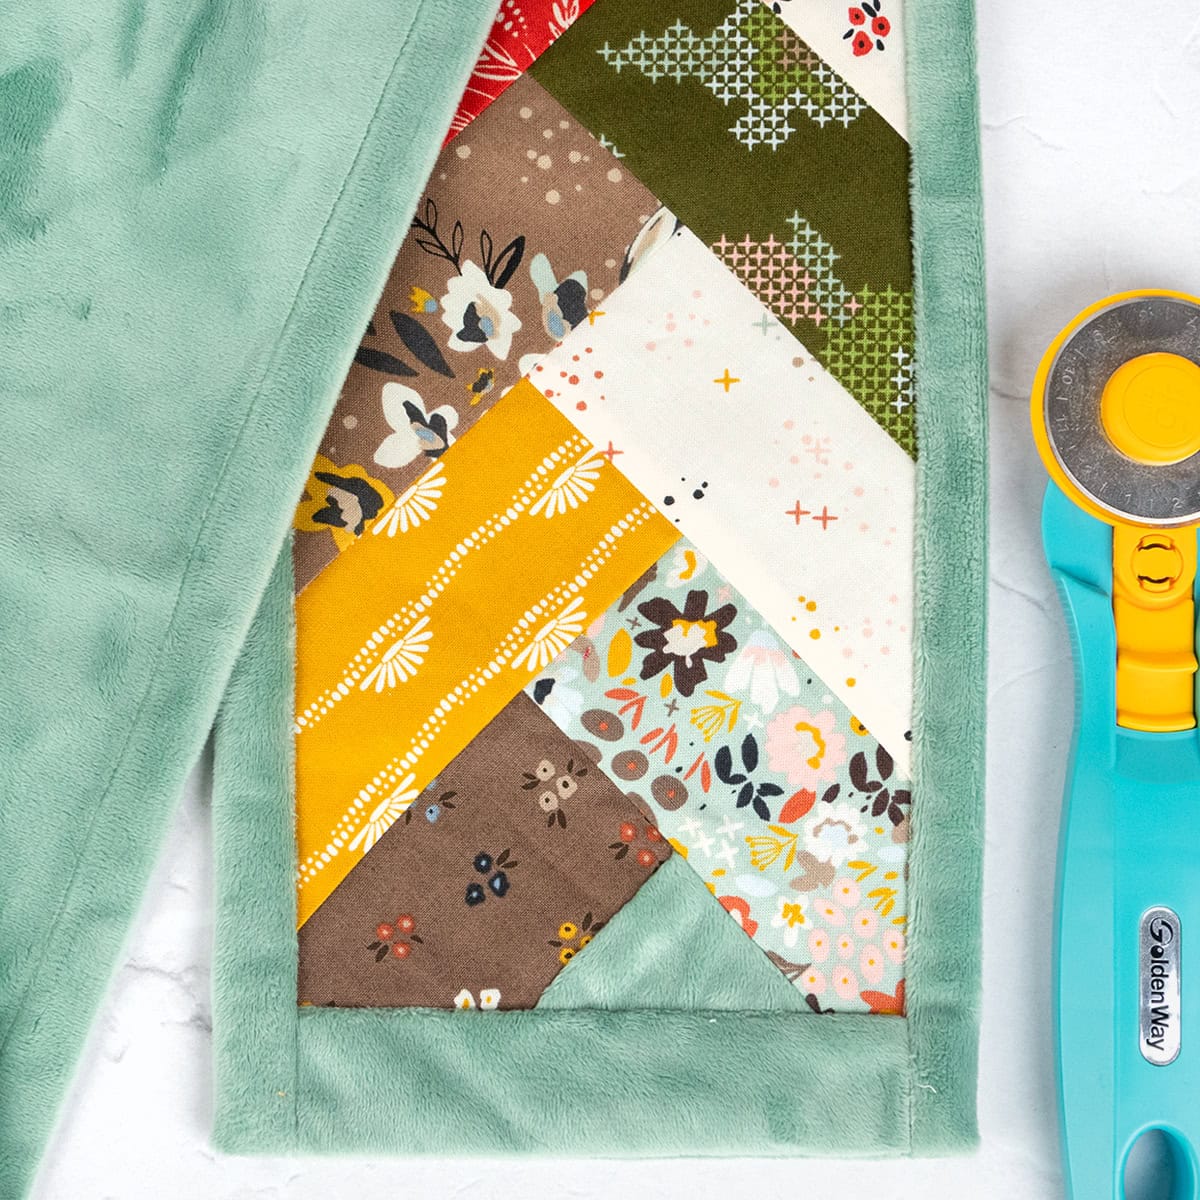
- Adjust the Jelly Braid until you have a roughly .5″ border of Cuddle fabric on either side
- Sew the ends of the scarf shut with a 0.25″ seam
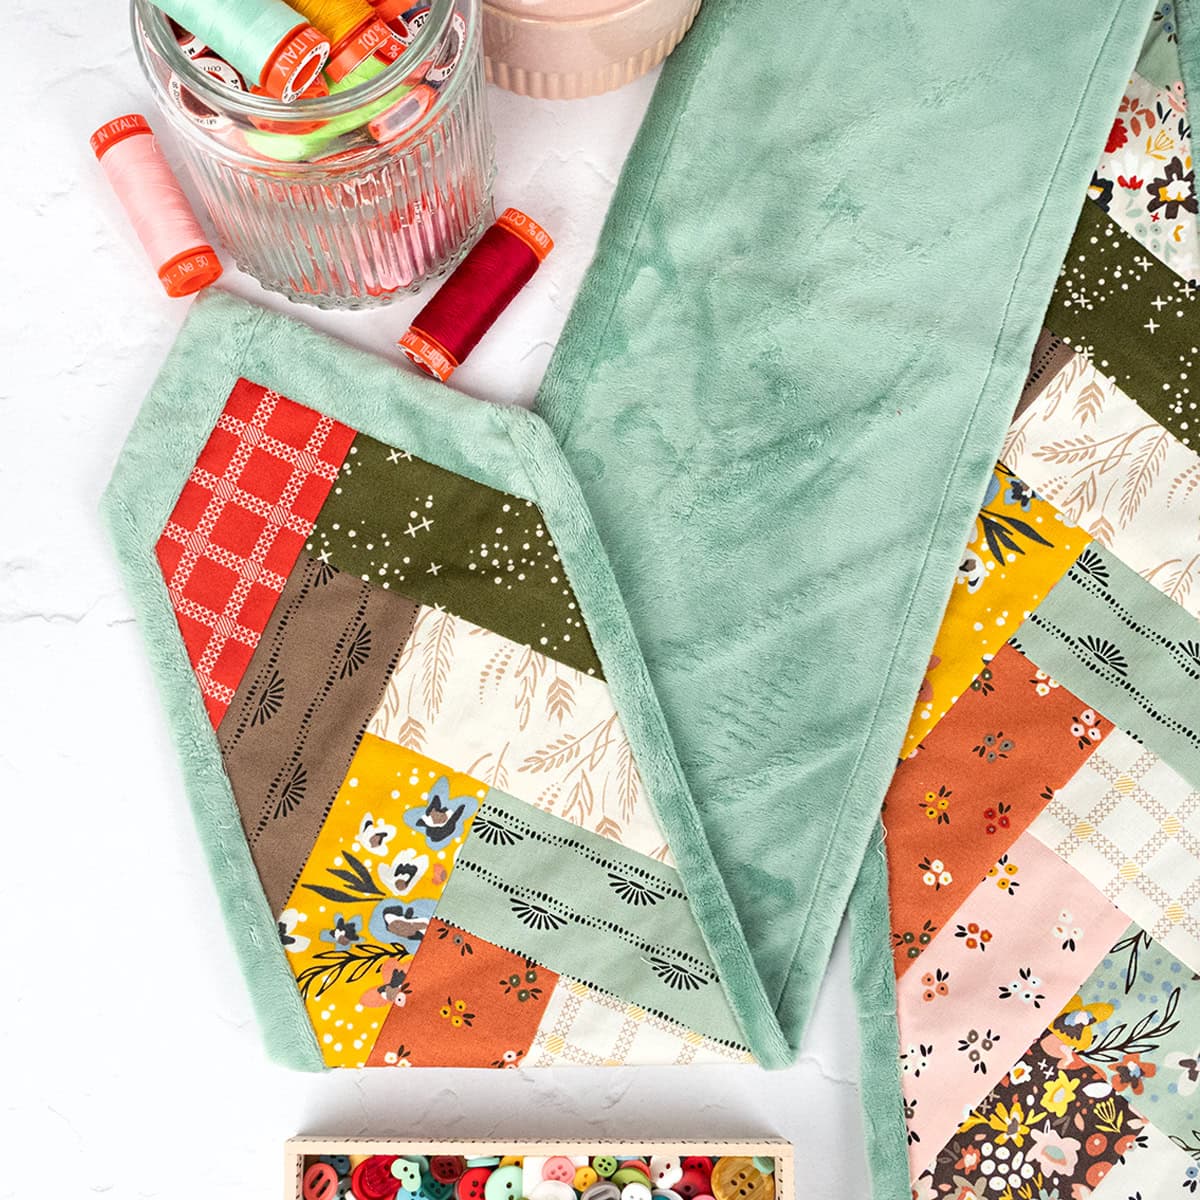
3. Finish Your Scarf
The final step before adding this scarf to your cold-weather wardrobe is to secure everything in place! Here are the steps:
- Turn your scarf right side out, and use a whip stitch to close the 6″ gap
- Readjust the Jelly Braid until you have a roughly 0.5″ border of Cuddle fabric on either side
- Use plenty of pins to hold it in place—the Cuddle fabric can get slippery
- Top stitch all the way around the scarf, following the edge of the Jelly Braid, to secure the cozy Cuddle binding
Share Your Cuddly Jelly Braid Scarves With Us!
Finding fun new ways to use our favorite Foundation Paper is always sew exciting! Check out the Jelly Braid Tote Pattern that uses the 9″ Jelly Braid Paper. Imagine how cute a coordinating scarf and tote would be while you’re out doing all of your favorite cold-weather activities!
Be sure to post photos of your Cuddly Jelly Braid Scarves on Facebook and Instagram and tag @fatquartershop so we can see and share your work!
Happy Sewing!
Stay connected to Fat Quarter Shop!


4 comments
I love this idea so much!
Maybe I’m missing something but don’t you take the paper off before joining to the cuddle? The photo shows them being pinned together with the paper still on.
Great question! Because the cuddle is so slippery, we decided to keep the papers on until we were ready to turn the piece right side out.
We would need a video to better understand