
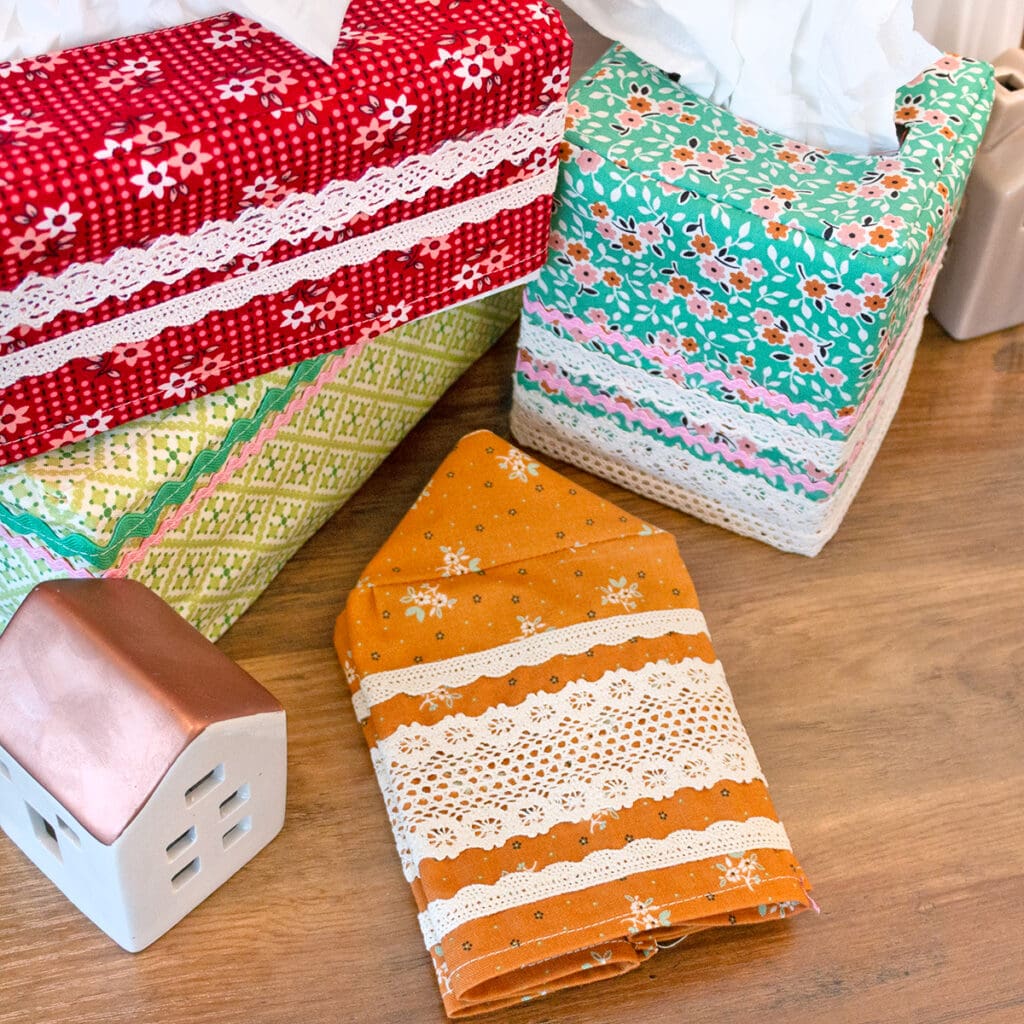
National Sewing Month has us thinking about all the ways we can sit down at our sewing machines and come away with a project that will add a touch of charm to our homes. At the beginning of the month, we brought you a roundup of 5 Cute Weekend Sewing Projects For The Kitchen, and this week, we have a brand new tutorial for the cutest tissue box cover with all the trimmings!

1. Gather Your Supplies
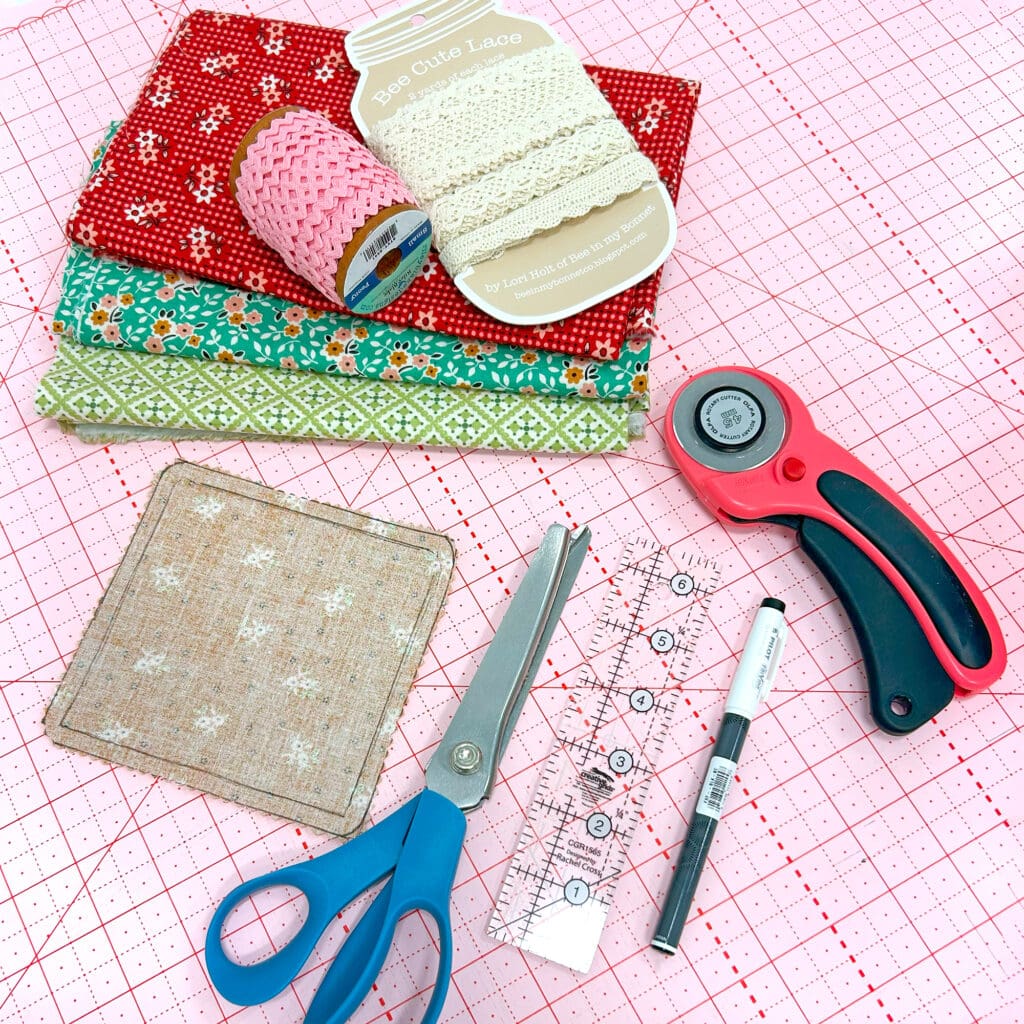
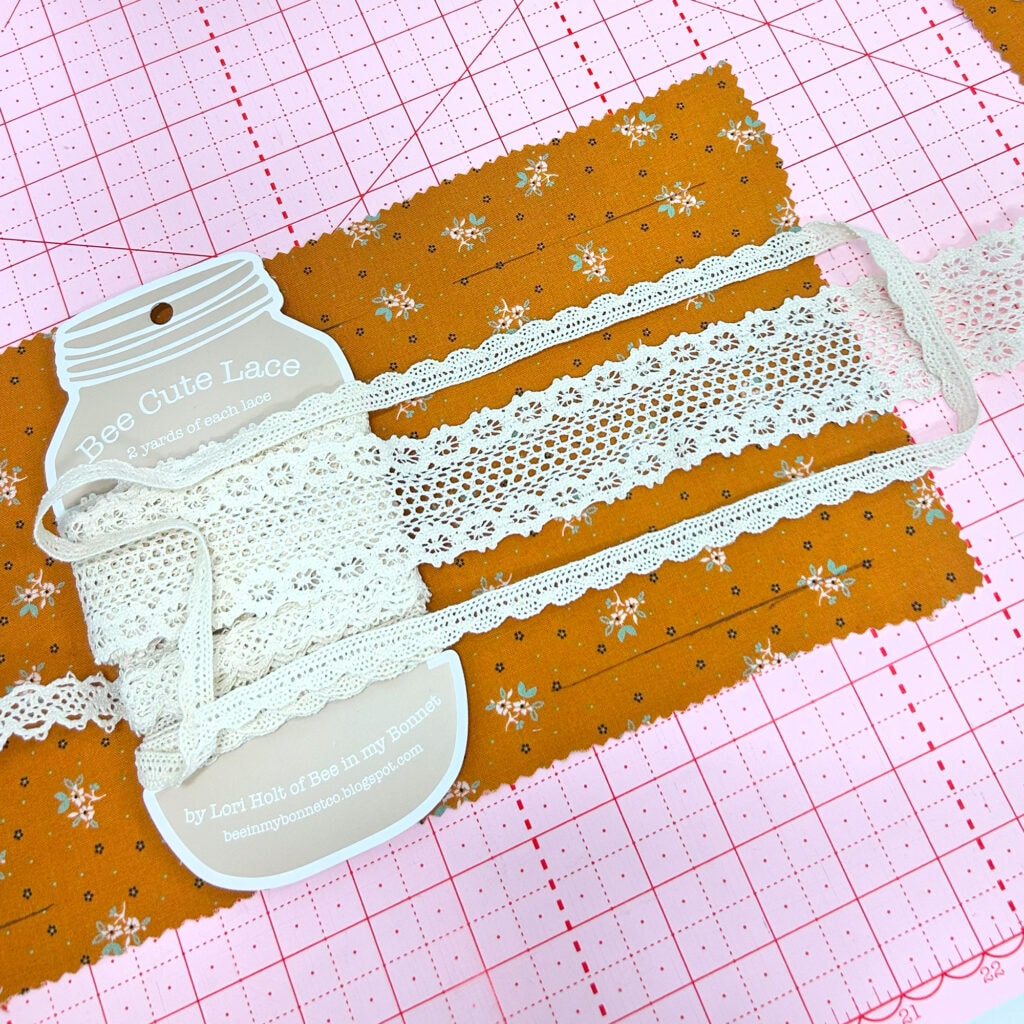
If you love collecting cute trims and pretty lace as much as we do, you probably have everything you need for today’s project in your stash! See the list below for what you’ll need, and what we used for ours.
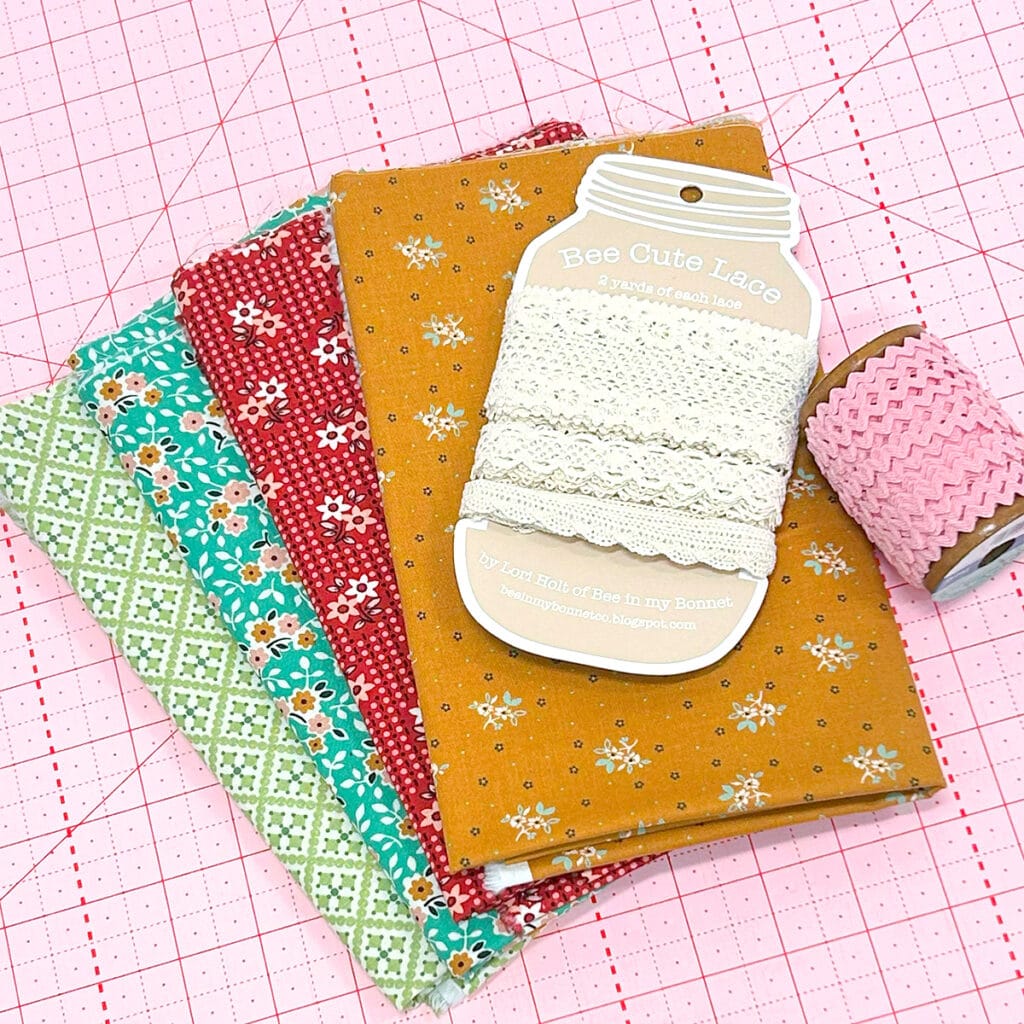
All The Trimmings Tissue Box Cover Supplies
- Tissue Box
- 1/4 yard of fabric
- Here are the four we used:
- If your tissue box is square, you can use a Fat Quarter
- All the trimmings your heart could want
- Sewline Blue Fabric Water Soluble Glue Pen
Explore our entire selection of trims, and let your creativity guide you!
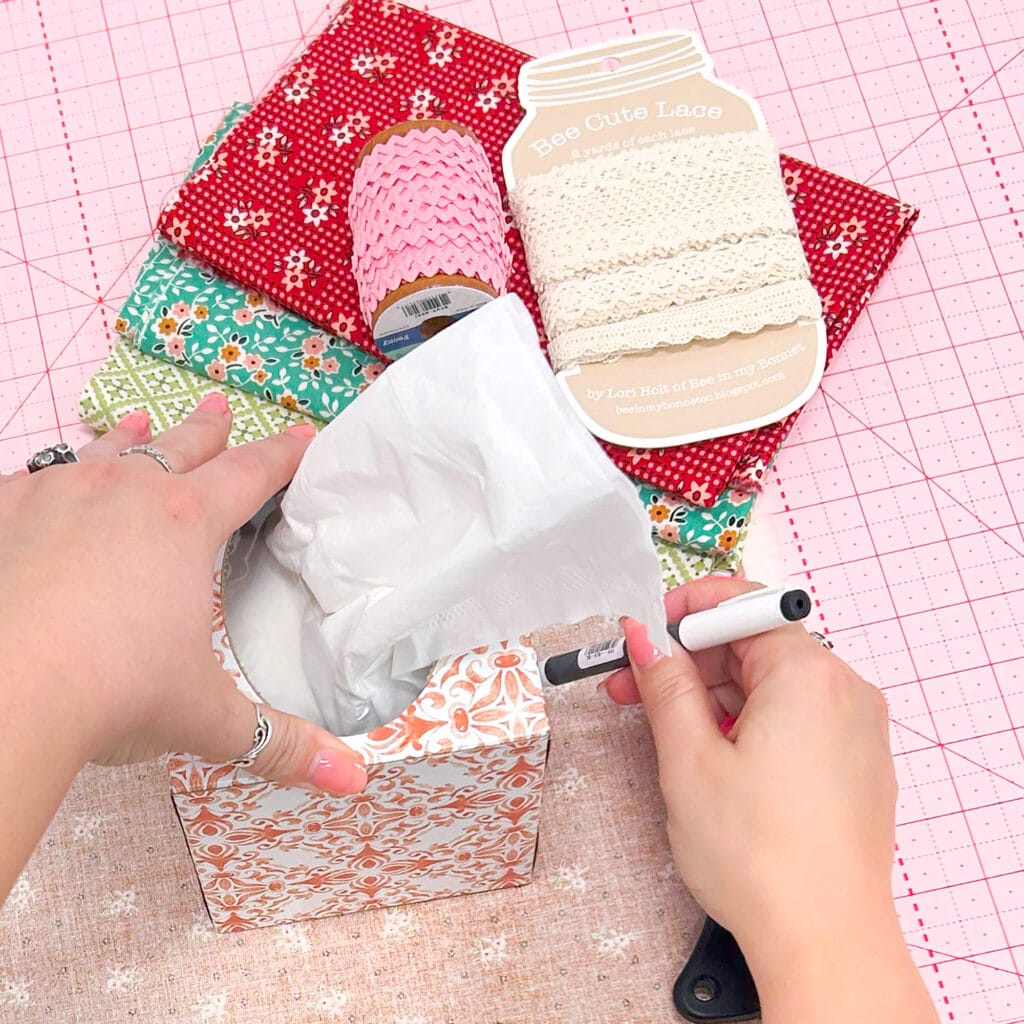
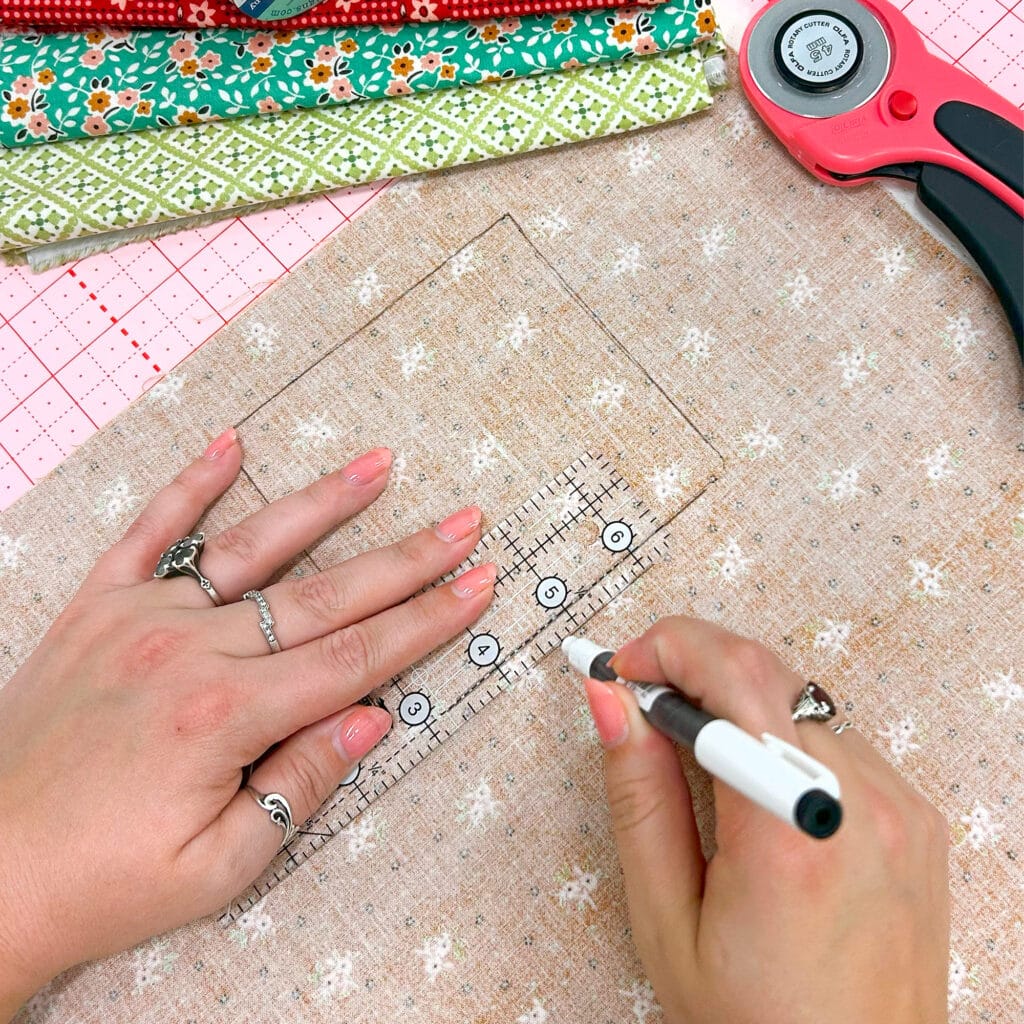
2. Trace & Cut Your Pattern
Trace
On the wrong side of your fabric, trace the top of your tissue box, add a 1/4″ seam allowance, and round out the corners. Then, for the body piece, lay the tissue box on its side and trace the height onto the right side of the fabric, flipping the box and repeating this for all four sides.

Cut
Cut out the top following the lines you drew. We used pinking shears to reduce, but this is optional! Cut out the body about an inch away from the drawn lines. We’ll trim the body piece down in a future step.
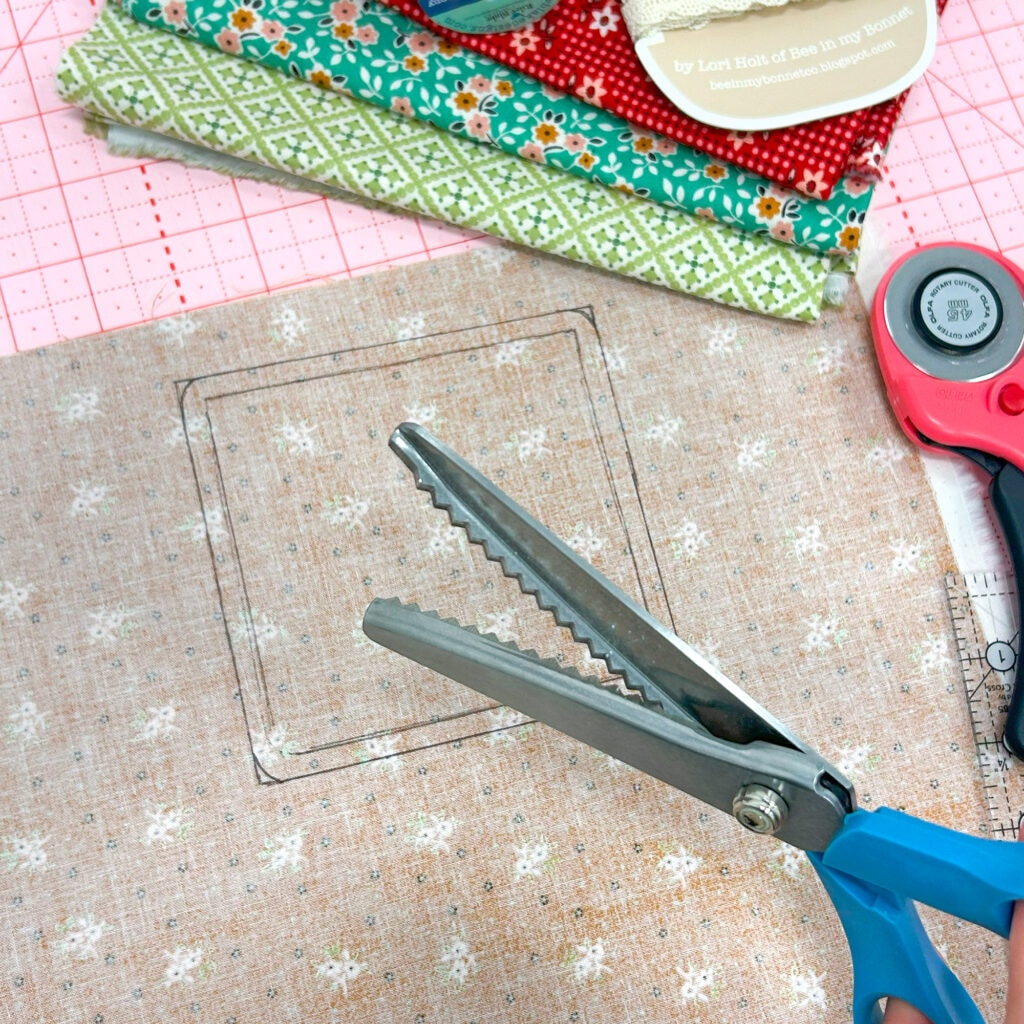
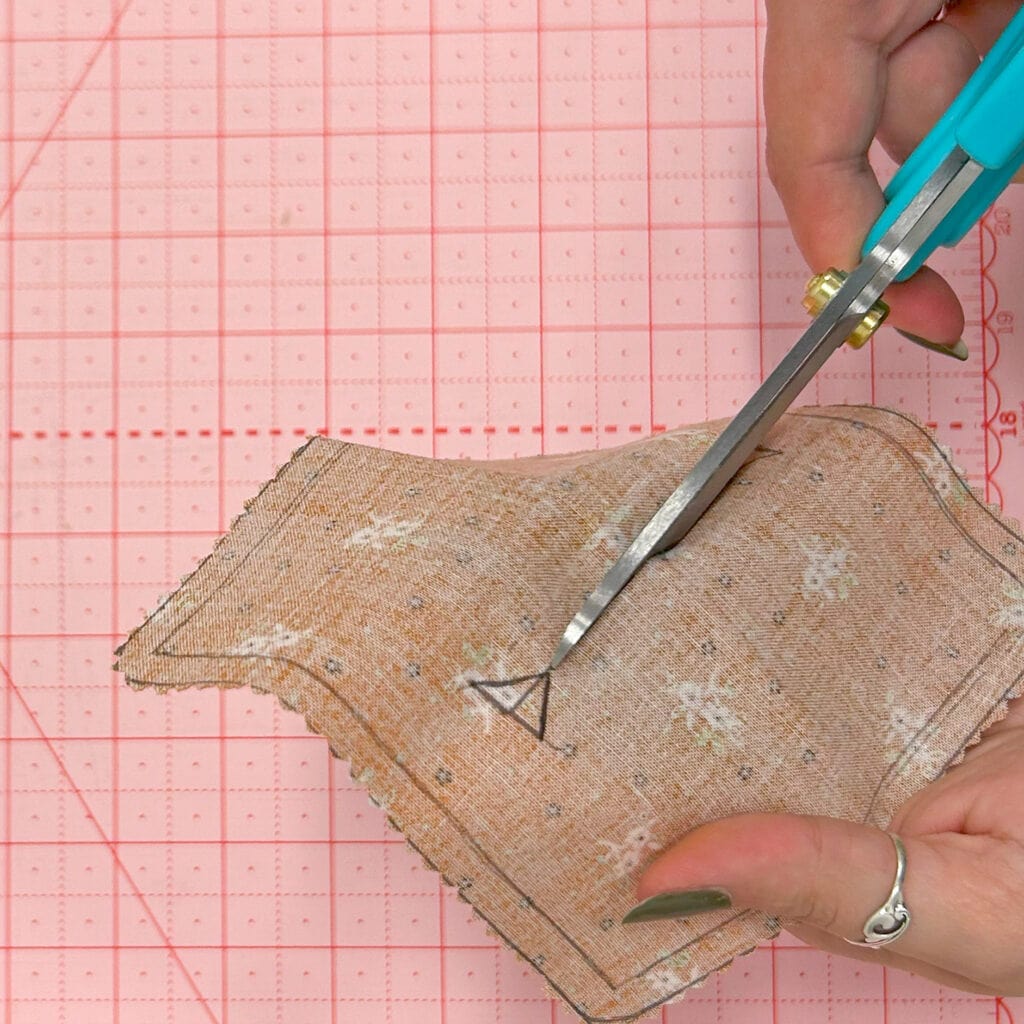
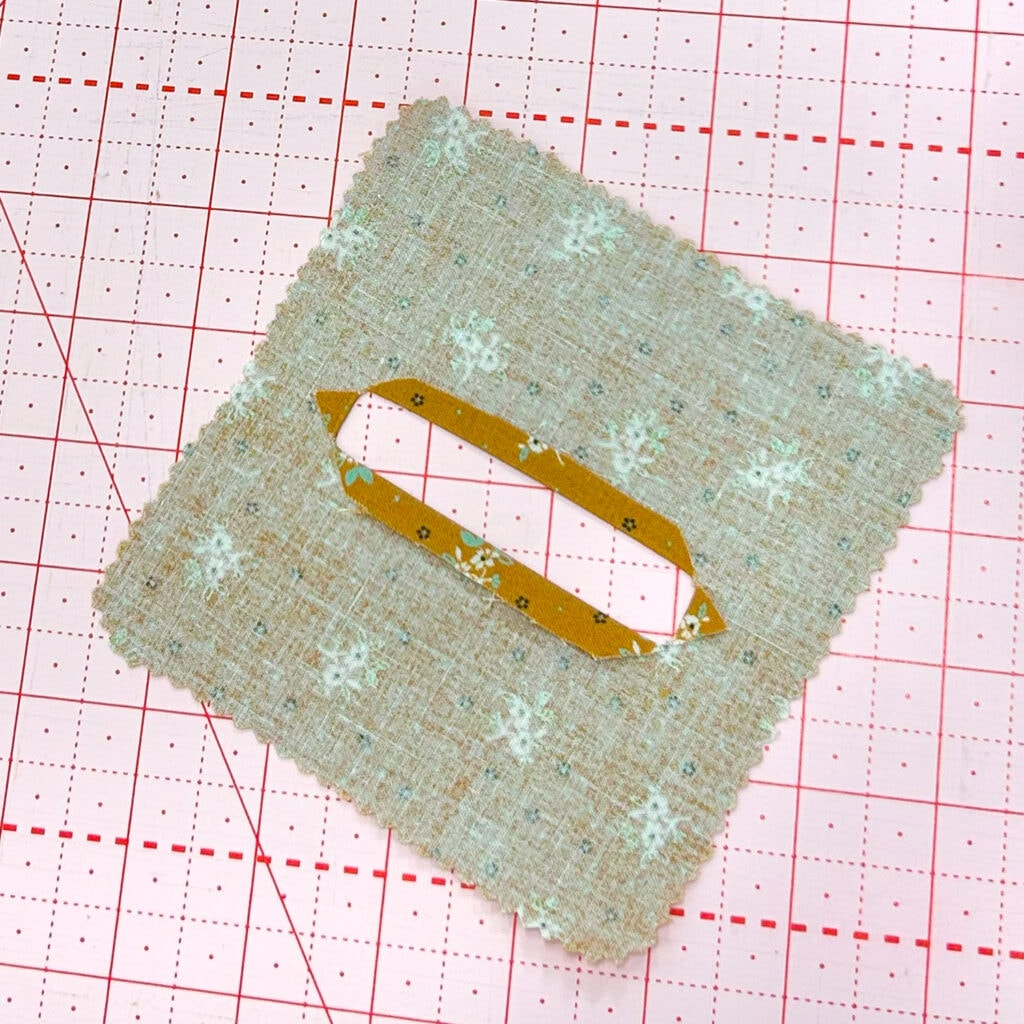
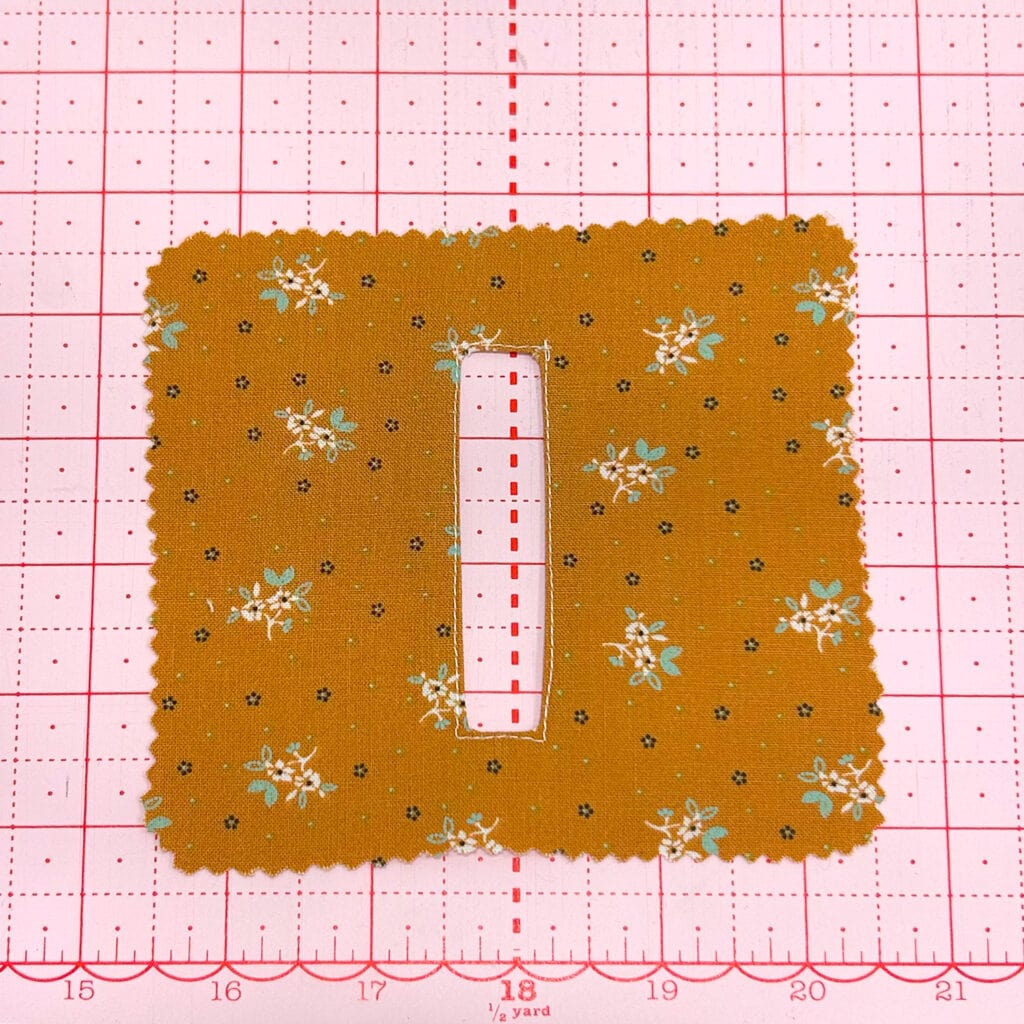
3. Make the Opening
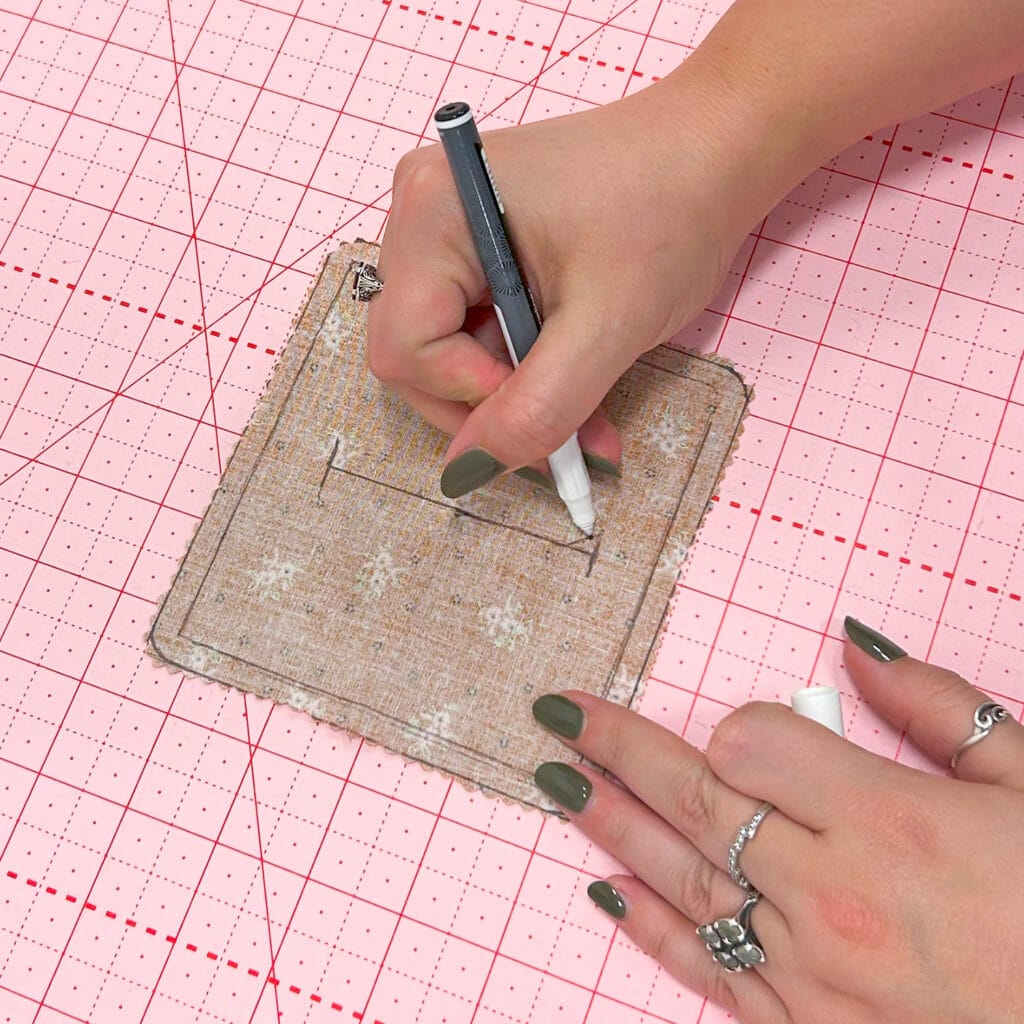
We begin this step by drawing the cutting guide on the wrong side of the fabric. Start by finding the center of the piece, and then draw a line that is about 3 inches long. At both ends of the central line, draw 1/2″ lines. Finally, measure 1/4″ up from where the lines meet on either end, and draw a diagonal line to connect the two as shown below.
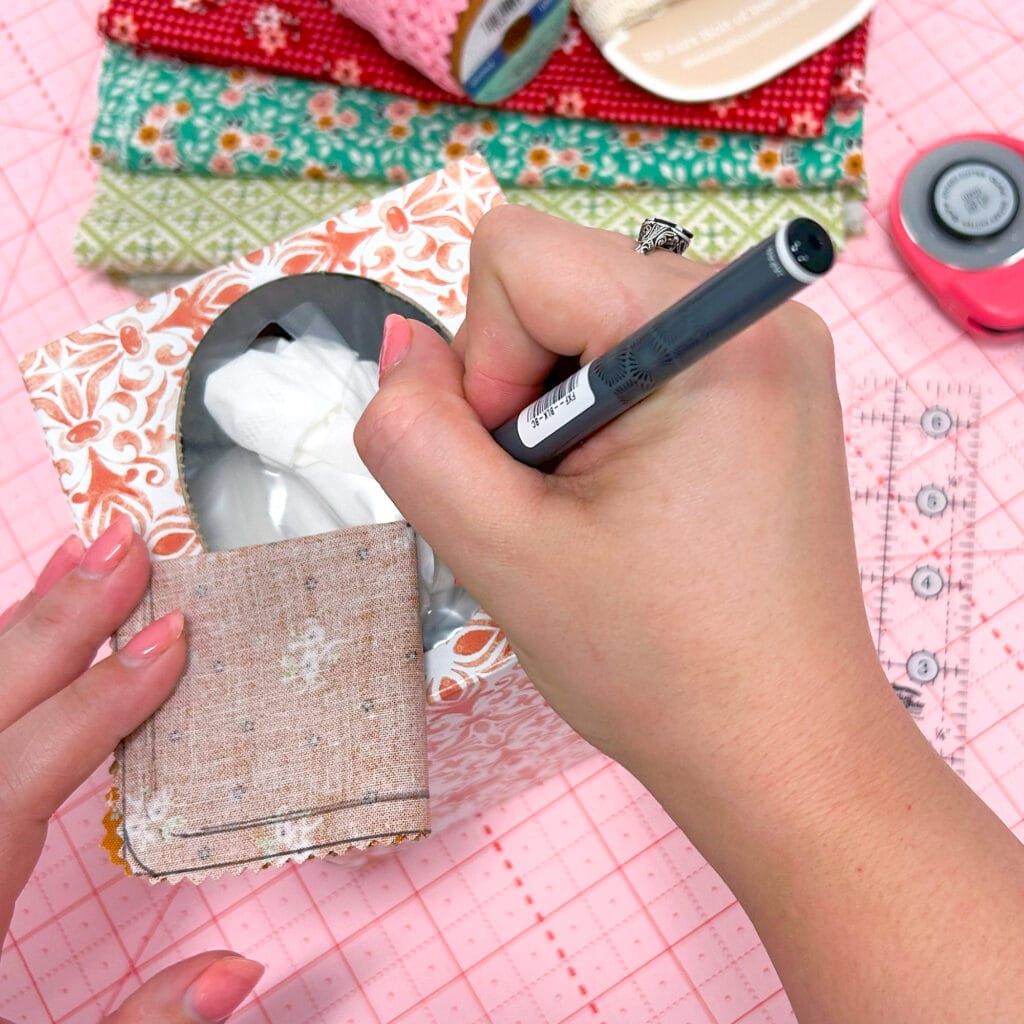
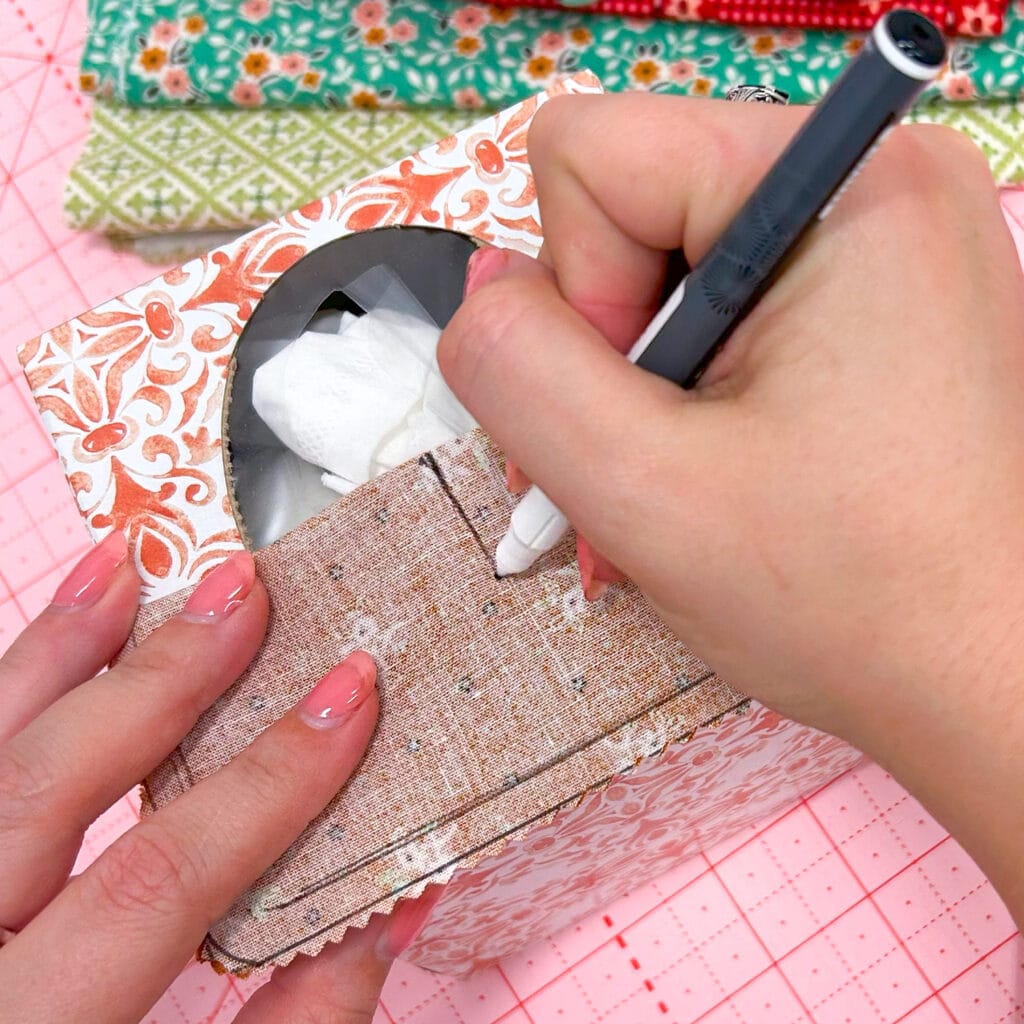
Cut along the center line, stopping at the point of the triangles you made. Then, snip along those diagonal lines. Fold and press the flaps open as seen below, and top stitch around the edges of the opening to tack down the flaps.
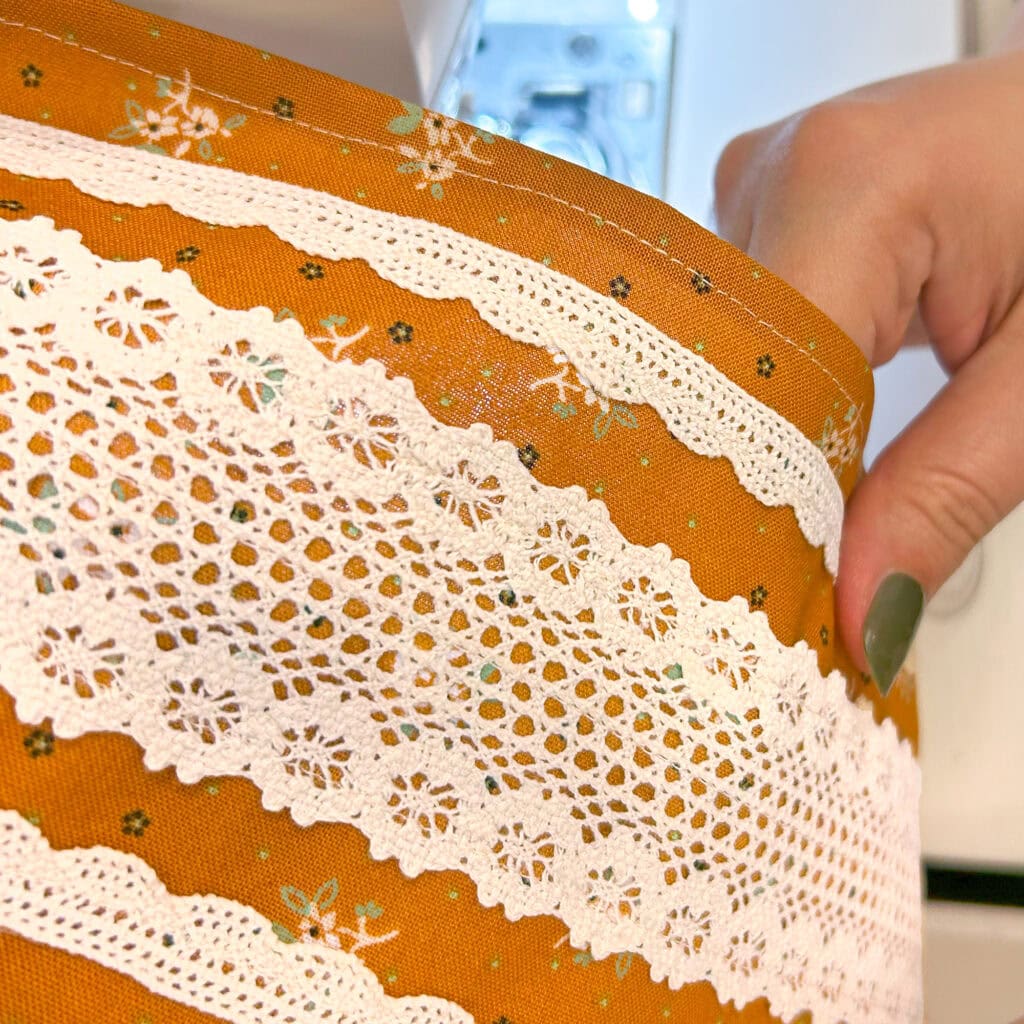
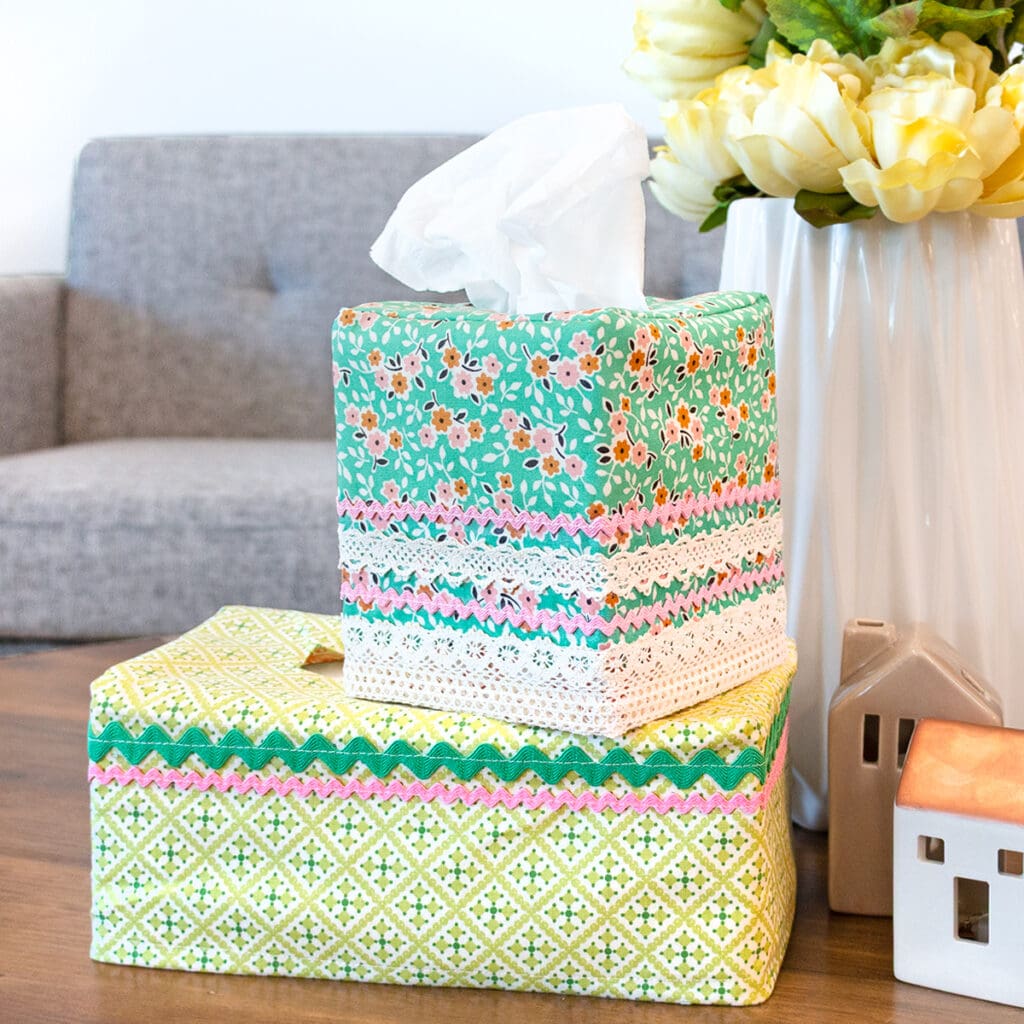
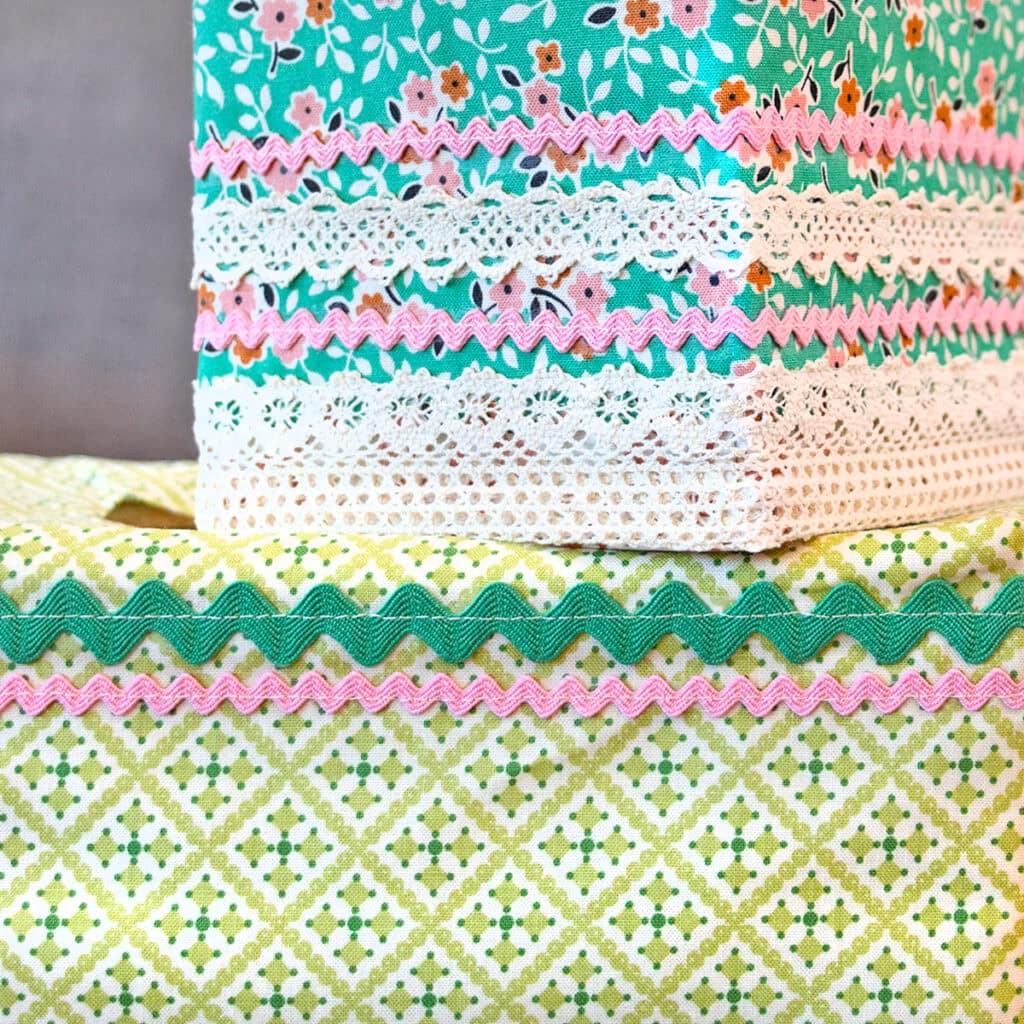
4. Decorate the Sides
This step is where we get to be creative! Pull out your trim, and have fun coming up with a layout you love. Once you’ve settled on your design, either pin down your trim or use the Sewline Glue Pen to baste it into place. We used a simple straight stitch and Aurifil 2000 thread to attach the trimming, but playing with decorative stitches and contrasting threads would be sew much fun!
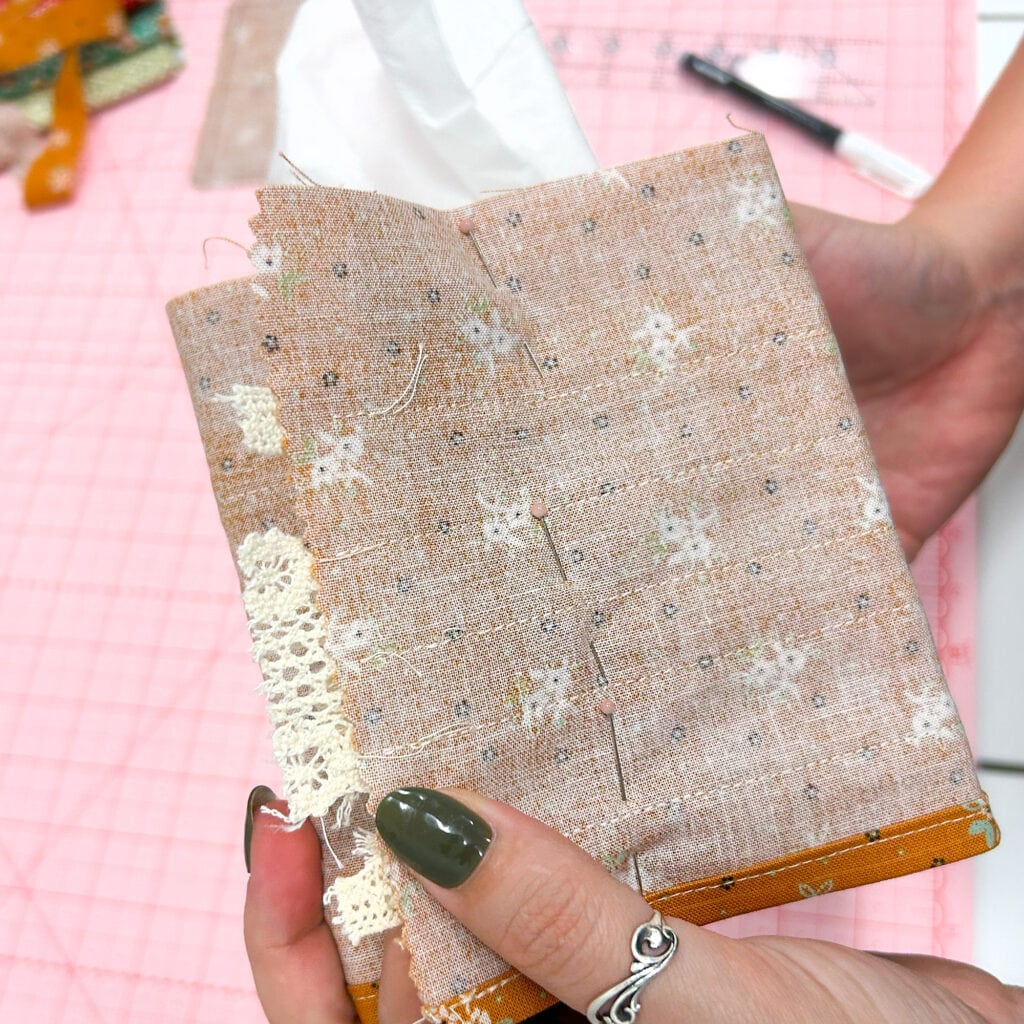
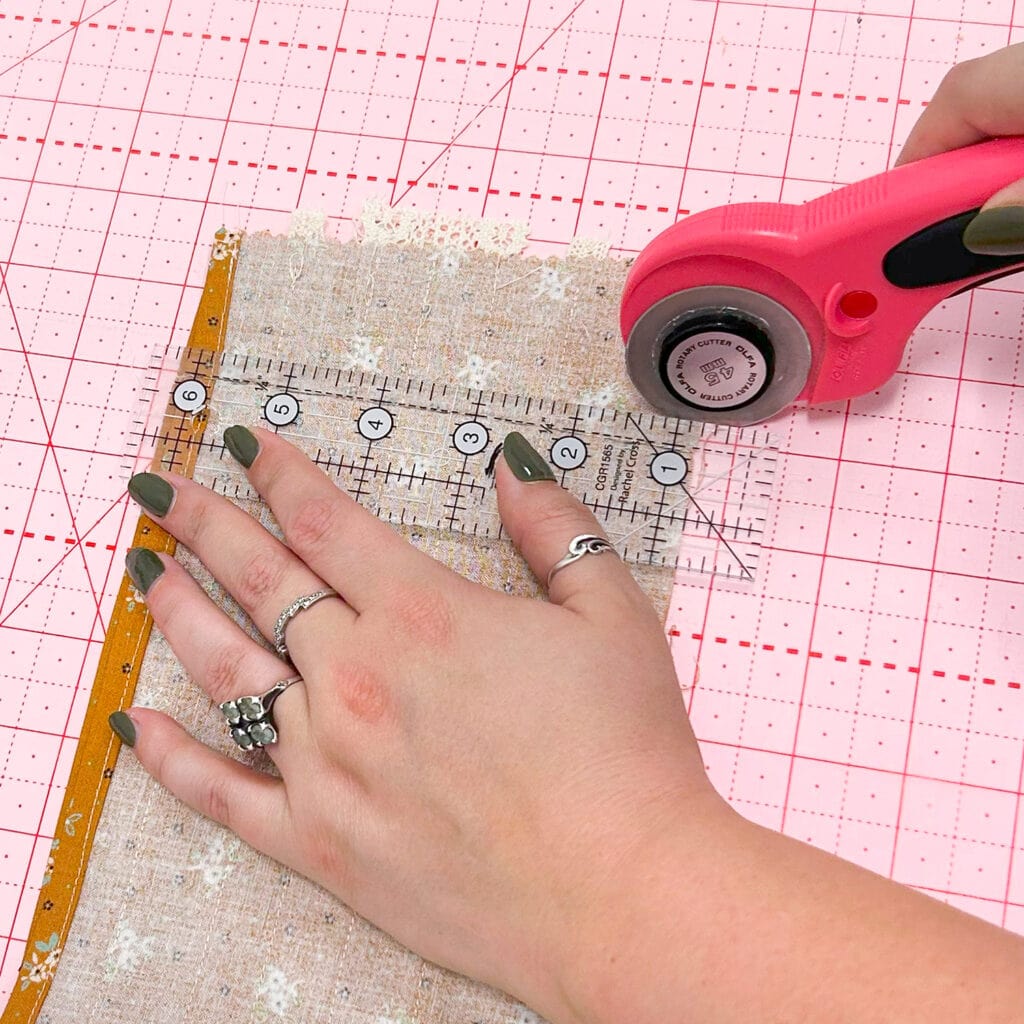
5. Assemble The Tissue Box Cover
Hem and trim the body piece so it’s 1/4″ taller than your tissue box. We did a quick double-folded 1/4″ hem at the bottom, wrapped the body piece around the tissue box, secured it with pins, took it to the sewing machine to sew it into a tube, and trimmed down the excess to 1/4″.
Now it’s time for pinning, pinning, and more pinning! With right sides facing each other, ease the top and body pieces together. The trick for this step is to use as many pins as you need, and to go slowly when you’re sewing them together, especially around the corners. Once you’ve done that, you can flip your new tissue box cover right side out and admire your creation!


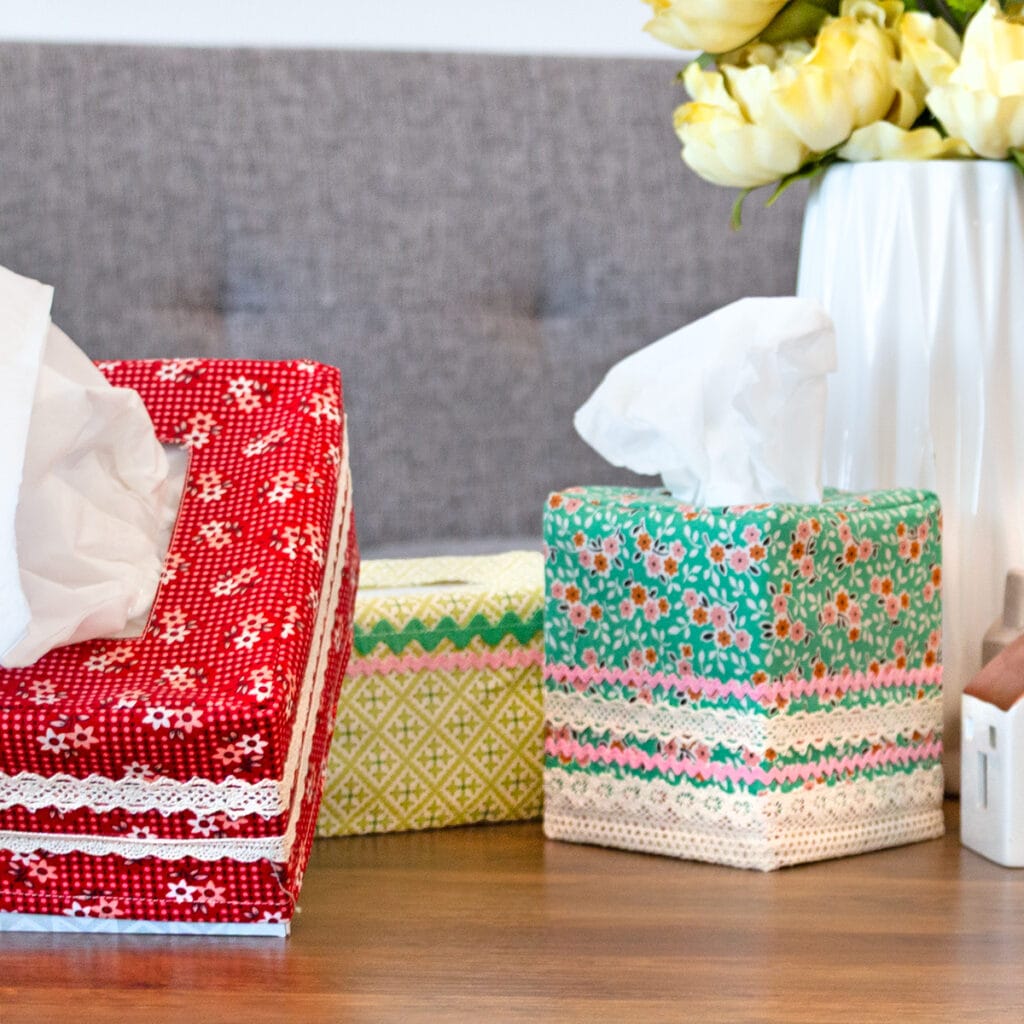
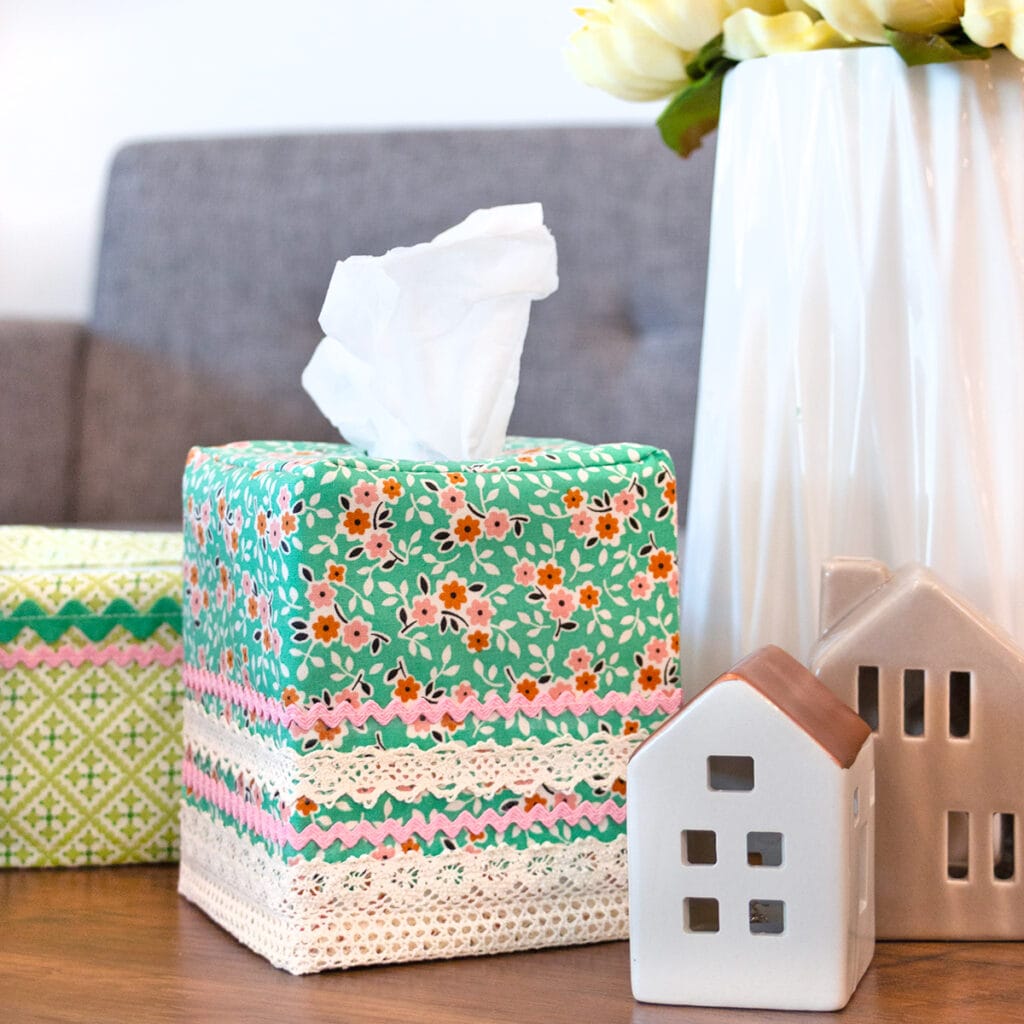
Share Your All The Trimmings Tissue Box Cover
We can’t wait to see all the creative ways you use your favorite trims and lace. Be sure to tag us in your photos so we can see and share your All The Trimmings Tissue Box Covers.
Happy Sewing!
Stay connected to Fat Quarter Shop!


1 comment
Super cute. I love small, quick sewing projects.