
Fall is finally here! After a long, hot summer, we are more than ready for cooler temps and sweater weather. But with that seasonal change comes plenty of sniffles and sneezing, so we’ve got just the thing to use up some trimmings from your favorite quilts and keep your necessities looking fab! In today’s post, we’re showing you how to sew an easy DIY Travel Tissue Pouch using scraps with a free video tutorial and step-by-step guide. Sniffles don’t stop for winter, so make sure your loved ones have a Tissue Pouch in their favorite color!
Watch the Video Tutorial
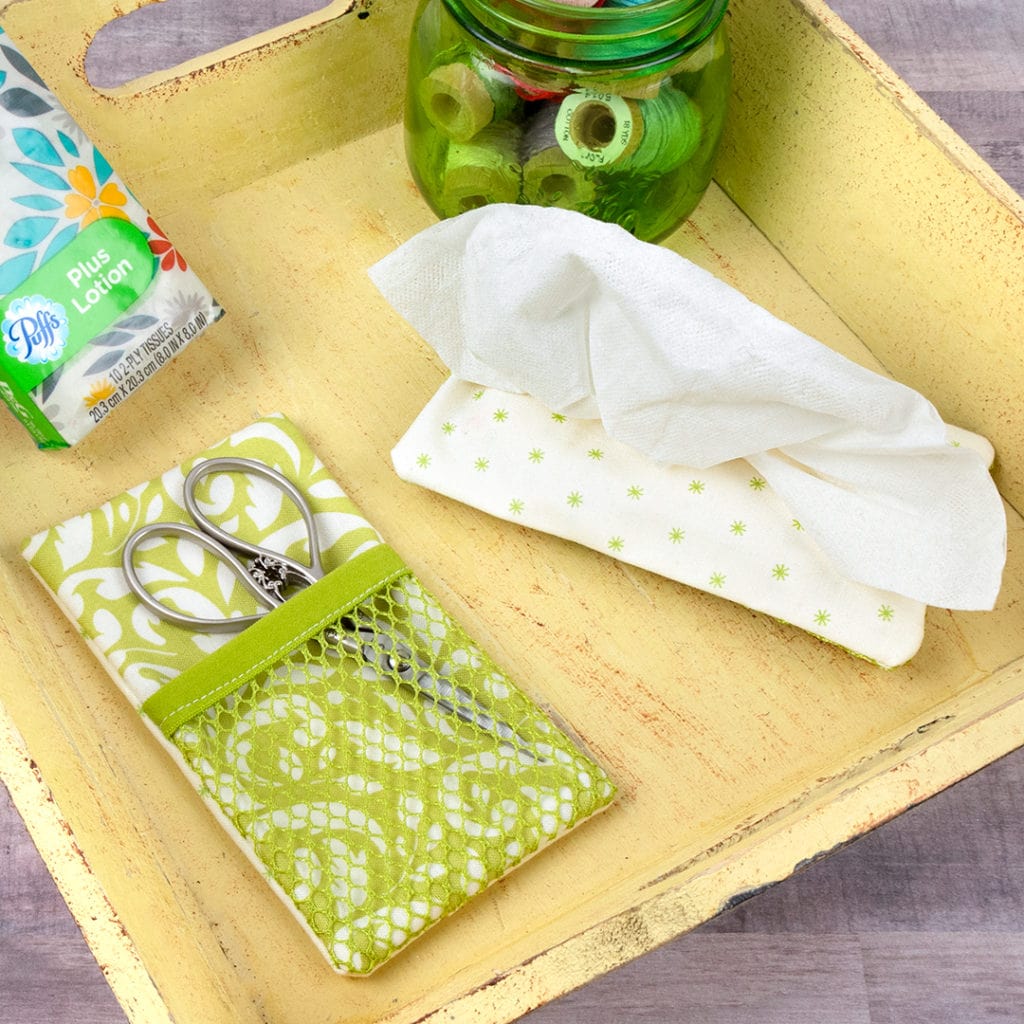
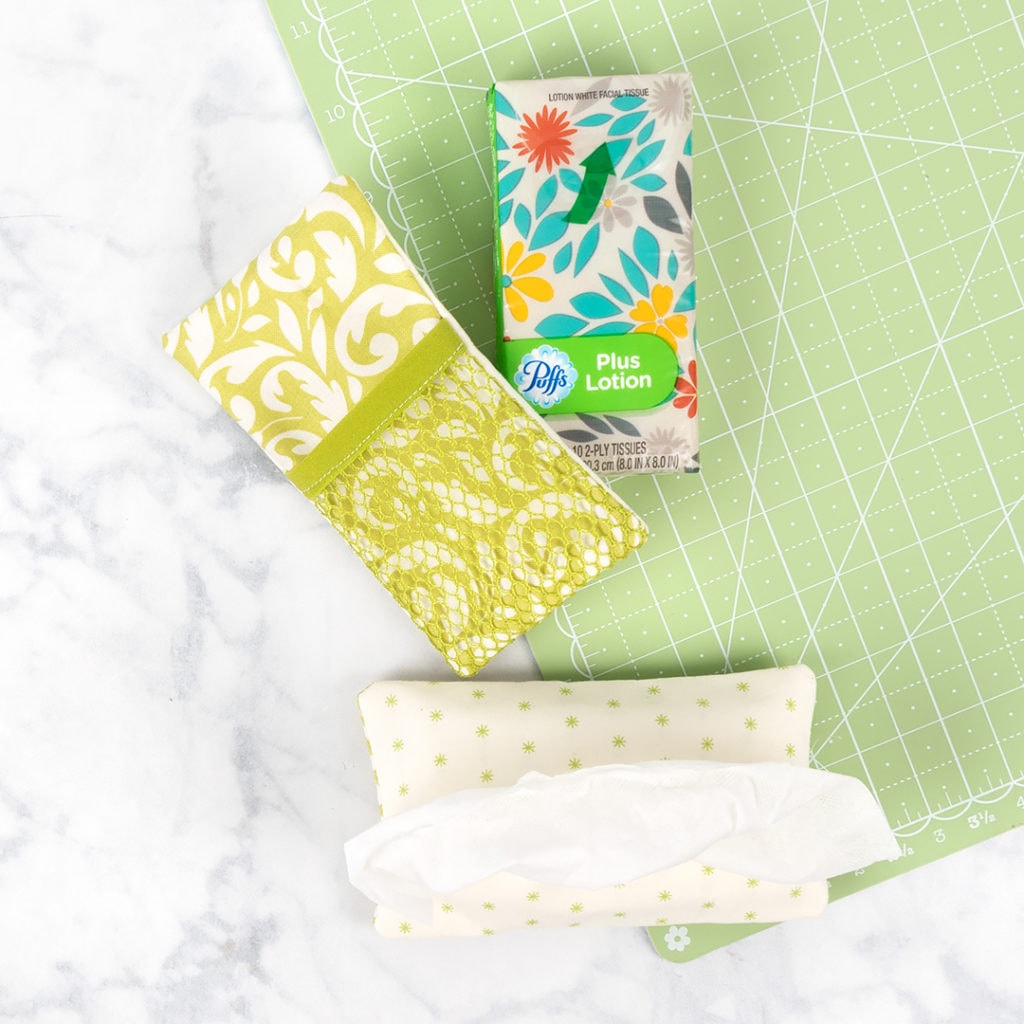
Kimberly shows you how she made her own DIY Travel Tissue Pouch in this video tutorial. It’s the perfect size to stuff in a stocking, add to a gift or to make for yourself. This pouch is not only great for putting your travel tissues in but also your Sew Fresh Hand Sanitizer!
If you are reading via email, please click here to watch the video.
Supplies You’ll Need
Other than your regular sewing machine, needle and thread, you only need a handful of supplies to recreate this DIY project! Have a ruler handy, some scraps and you are ready to sew.
- Scraps of fabric (we used Christmas Figs II by Fig Tree Quilts for Moda Fabrics)
- Creative Grids 6.5″ x 12.5″ Quilting Ruler
- Apple Green Lightweight Mesh Fabric by ByAnnie (Available in more colors)
- Apple Green Fold Over Elastic by ByAnnie (Available in more colors)
- Clover Point 2 Point Turner
DIY Travel Tissue Pouch Instructions
You can download the DIY Travel Tissue Pouch Diagram to get started.
Cutting:
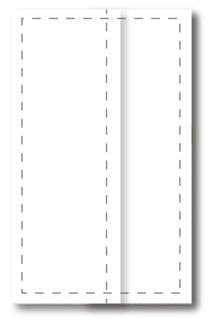
- Front – (2) 4.25” x 5.75” rectangles
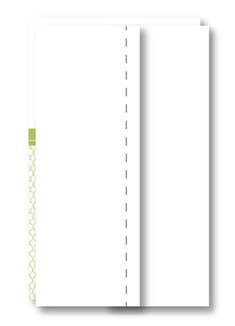
- Back – (1) 3.5” x 5.75” rectangle
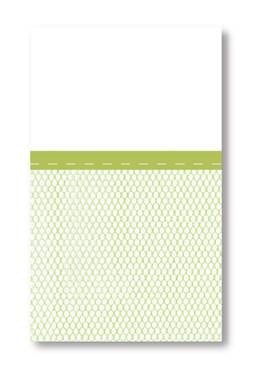
- Mesh Pocket – (1) 3.5” x 3.5” square
- Elastic Band – (1) 3.5” long piece
Assembly:
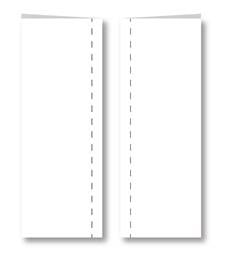
- Take ‘front’ pieces and fold in half lengthwise, wrong sides together. Press. Sew folded edge with ¼” seam. They will measure approximately 2” x 5.75.”
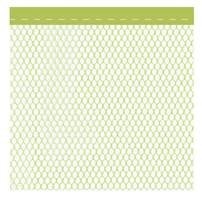
2. Take mesh square and fold over the elastic on the stretchy side. Stitch using a little less than a .25” seam to bind your mesh. Use either the shiny side or the matte side of the elastic.
3. Layer this mesh pocket on top of the ‘backing’ piece.
 4. Now layer your top two front pieces on top of your backing and pocket. Use pins/wonder clips to keep in place. Sew using .25” seam all the way around.
5. Clip the corners to reduce bulk and turn right sides out. Use a point turner on the edges. Insert Tissues and enjoy!
If you would like more DIY gift inspiration, you can visit Fat Quarter Shop’s DIY Holiday Gifts Pinterest Board. Fat Quarter Shop’s Pinterest is full of tips, tricks, and video tutorials for all kinds of projects that you’ll enjoy making, giving, and receiving!

Share with #FQSTissuePouch
We hope you decide to make your own version of the DIY Tissue Pouch, and if you do, be sure to share it with us on Facebook and Instagram using #fqstissuepouch so we can see and share your work!
Happy crafting!
Stay connected to FQS!


2 comments
DO you have a printable version of these directions? My computer isn’t anywhere near my quilt studio.
We do! It’s linked above and here is the link for you https://blog.fatquartershop.com/wp-content/uploads/2020/10/TravelTissuePouch-Diagram.pdf